Hello Ai Watercolour fans!

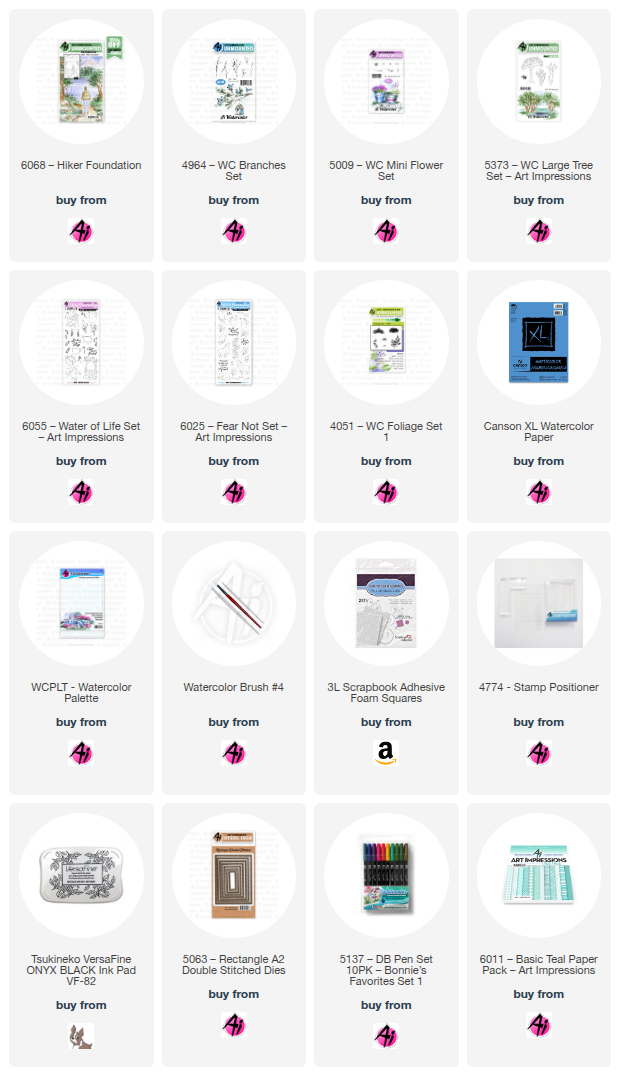
My first card is using one of the newly released Scenic Foundation sets that have more of a masculine feel to them. This is the 6068 - Hiker Foundation set.

Using my Misti, I stamped the image onto my Canson XL watercolour paper using Tombows #969/565. *With a larger image like this, it helps to use a stamping platform, as you can reink and stamp it a second time if your first impression isn't perfect. Before stamping the foliage, I painted light shades of #565 on the mountains, getting a little darker for the hills in the foreground. I was aiming for some striking contrast, so used #346 to paint in the two closest bits of land. I wanted a bit of a sunset sky, so I started by mixing #991 and #856 to give me tones of yellow and peach. I echoed the same colours in the water, reflecting both the mountains and the sunset. I added streaks of darker tones to the water to make it look like ripples on the lake.

The grass in the foreground was painted with a wash of #177, and layers of #992 were painted on the pathway. The two main trees were painted with streaks of #992/969/947, as were the edges of the pathway under the grass overhang. After pulling out the colour of the rocks with my damp brush, I added more shades of N52/565/992 to the stones, creating contrast between the rocks. I used the foliage stamp from 5373 - WC LG Tree Set and #177/249 to stamp the foliage on each of the trees, turning the stamp so that it would appear irregular. I touched the foliage with a damp brush to soften it, and added in a few darker tones for shadows. I used the tiny sprig from 5009 - WC Mini Flower Set and #177/346 to add a few low shrubs in and around the trees and rocks, then added a few branches from 4964 - WC Branches Set in #969. A little grass was added in #177 using the small grass from Foliage Set - 4051.

I painted the hiker in coordinating colours #565/992/177/969, other than his bright hat in #856. I hadn't painted in the sun before I added the foliage (should have!), so I just dabbed some white at the edge of the mountain, and then painted some white streaks into the water to indicate the sun. White paint was also used to add in some flowers on the shrubs. As a final touch, I used my paint brush and #346 to add a line of pine trees to one of the hillsides. The image was die cut with the 5063 - A2 Rectangle Double Stitched Dies, matted with a warm brown, and adhered to my base with 3D foam adhesive.
My second card is using two of the new sets from the Bible Journaling line.

I die cut my Canson XL watercolour paper with the 5063 - A2 Rectangle Double Stitched Dies, and stamped the sleeping lamb from 6025 - Fear Not Set using #969/565. After masking him, the stone well from 6055 - Water of Life Set was stamped behind him. I pulled out the colour from the lines on the well, concentrating the colour where shadows would be - then added more N52/565 to darken the stones. On the lamb, I added #850 to his ears and nose, and painted it as a wash over his fleece, to add a little warmth. N52/565 were used for shadows, and to add some dabbled texture to indicate the fleece.

#126 was painted as a wash for the grass, and #493 done as a wash in the sky. The two long grass stamps from 6025 were stamped around the well in #177, and two of the floral images were stamped in #177/856, on either side. The small grass from Foliage Set - 4051 added a little texture in #177 around the bottom. I used a light version of #565 to paint the bird, and touch some pale orange to his beak. I used my black Twintone marker to darken the eye of the bird, and those of the lamb. My grey Twintone marker was really helpful in redefining the lines of the well that had blurred a bit after painting, and for darkening the bird's legs. Since I don't have a lot of luck in spattering paint on my images, I used the grey Twintone to add little dots around my image to suggest a little texture in my painting.

The sentiment is from the retired Exclusive Daisy set from several years ago. I added a grey mat to my painting, and adhered it with 3D foam adhesive to my base which is paper from the 6011 - Basic Teal PP.










.jpg)
.jpg)