Showing posts with label Watercoloring. Show all posts

Sunday, August 25, 2024

Halloween Potting Garden Shed and Slimline Cards by Jami Steiger

Halloween Potting Garden Shed and Slimline Cards by Jami Steiger


Happy Watercolor Weekend!  

My goodness, how time flies these days!  I know we are MONTHS away from Halloween but I was so inspired by Kim painting the Potting Garden Shed in a fall design that I wanted to paint one in soft fall colors and then I wanted to paint a Halloween Potting Garden Shed. 

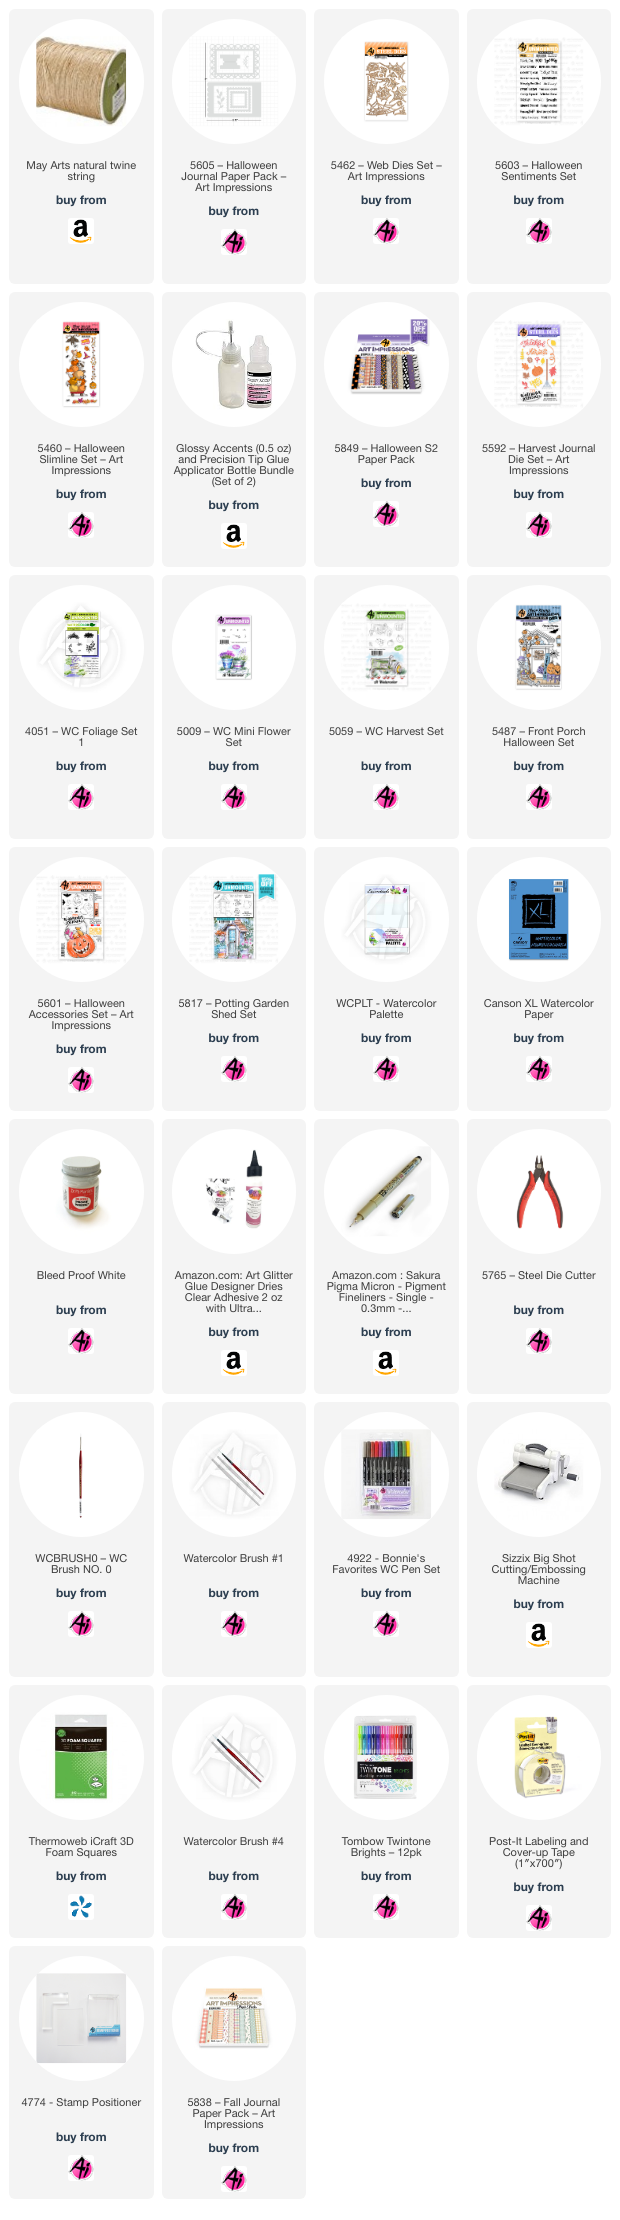
Well, I painted three!  I couldn't decide what color scheme I wanted to go with so I kept experimenting with colors and by the time I had all three completed I liked them all!  I had my family vote on the one they liked the best and the first card was voted number one.  I used the following stamp sets and dies to create all of the "Hello Fall" cards except the original fall card which is posted at the bottom of the Halloween cards.  5817 - Potting Garden Shed, 5487 - Front Porch Halloween (tree), 5601 - Halloween Accessories (ghosts and spiders), 5059 - WC Harvest (pumpkin and wheat grass), 5009 - WC Mini Foliage, 4051 - Foliage, 5592 - Harvest Journal Dies (Hello Fall)

The following are the markers used on all of the cards:  565, 969, 947, 177, 933, 856, 126, 679, 985, 837, 526, 026, 312, N52, N65, N55, and N45

I stamped all of these cards using the technique of coloring the stamped image with 565 and 969, then stamped off twice.  I drew in the spider webs in the tree and on the door.  I added some white accents with Dr. PH Martin's Bleed proof white.  For the final touches I stamped and die cut the ghosts and spiders and popped them up with foam squares for dimension.  The twine is from May Arts and I started on the front of the card by holding a long end and wrapping the twine around 4 times ending in the front and tying a bow.  You need to do this before you mount your finished front to the card base.


Card 1:  Background paper, 5849 - Halloween S2 PP


Card 2: Background paper 5838 - Fall PP


Card 3: Background paper, 5605 - Halloween Journal PP.  For the red color on the shed I mixed markers 856 and 177 to get a more rustic red.


When Kim painted the Garden Shed image during Watercolor Wednesday I knew I wanted to paint one like she had demonstrated.  Kim's card was so pretty and I think my card goes perfectly with the plaid paper from the 5838 - Fall PP.  


Slimline Halloween card

For this card I stamped and painted all of my images onto watercolor paper and then die cut them using the coordinating dies.  
Then I cut a card base 4 1/4 x 8 1/2 inches.  Scored at 3 1/2".  This leaves an edge of 3/4" to attach the full card base to after you die cut the front of the card.  I then cut a piece of decorator paper 3 1/2 x 8 1/2 for the front of the card and glued the paper to the front of the card base.  Next I decided where I would place my biggest die cut of stacked animals and pumpkins.  Using some washi tape to hold the die in place I then ran it through my Big Shot laying flat.  At this point I cut another piece of cardstock 3 1/2 x 8 1/2 and glued it to the short side of the card base on the inside which be on the right side of the base.   Now that I have an opening in the front of the card I could place my painted stack exactly through the opening into the card base and glue it in place.  Now it was time to glue down all of my other painted decorations. I cut a final piece of decorator paper 1 1/4 x 8 1/2 for the very back of the card.  I used a paper punch to punch a decorative edge and then glued it down on the back of the card to cover the small edge.  

I took pictures to show you the front, inside and back of the card but if you have any questions, please ask!  Thank you so much!  


Tuesday, May 5, 2020

Feline Groovy Twist Card by Jil Lebel

Hello Ai fans!

I used the Cat Twist stamp Set along with the Twist Frame Set make my card.  I am hooked on the Twists!  They are so fun to move back and forth and have great punny greeting.
I started by stamping the images onto Arches 140 lb. cold pressed watercolor paper with Versafine Clair Nocturne ink and colored it with Daniel Smith watercolors. Then I cut both images with the matching dies and glued them together. I colored the cats body with Goethine ( Brown Ochre) and Burnt Umber.  I used Jane's Grey for the tummy and Lamp Black for the paws. The ears are colored with Permanent Alizarin Crimson.
I cut a layer of Doodlebug Kitten Smitten 6" x 6" paper onto a white A2 card base with Stick It adhesive. Then I used the Twist Frame Set to cut an opening in my card.  I then wanted to add a decorative frame with blue glitter paper.  I used the Twist Frame Set to cut out the center of the glitter but left it in place.  I traced around the outside of the frame with a pencil and cut it out before I attached it to my card. I stamped the Feline Groovy greeting with Versafine Clair Nocturne Ink  and attached the cat image in my card.


Thanks for stopping by and Have a Great Day!


Monday, August 5, 2019

2019 Mega Sponsor Fall Blog Hop Begins Today! [WINNER ANNOUNCED]


WINNER ANNOUNCED!
Congratulations Sue Symens for winning our $25 gift certificate in this blog hop! Thank you to all who hopped and participated in this giveaway!

Hello Ai (and stamping) fans!

Today is the big day! We are excited to be part of this stamp-tastic event! We have partnered with 14 other stamp and papercraft companies to do a special blog hop and will be giving away 15 prizes to 15 lucky winners!

Blog hop begins today, August 5 12 noon EST
Ends Monday, August 19 12 midnight EST
Winners announced: Monday, August 26 12 noon EST

Here's how you enter:
1) Follow this blog and each participating sponsor in the hop
2) Comment at each blog stop

2018 Mega Sponsor Blog Hop

Bonus Prize Sponsors

Since it's Monday, we have a fun project from our design team member, Carol Hintermeier!


Happy Monday Ai Fans!!

Today I'm sharing a card using the beautiful Gazebo TryFold set.  The images in this set are so pretty and just as timeless as when the set was first released!


This is so easy to create!  All the directions you need are on the back of the packaging.  The images were stamped onto Bristol Smooth cardstock with Versafine Onyx Black ink since I was planning on using my Zig watercolor markers. (If you aren't watercoloring, the pre-folded cards from the TryFold Cardstock & Envelope pack make this even easier!)  I've listed all my Zig colors below.  Since there aren't a lot of instructions for me to give you, I have LOTS of photos!! 

I decided to use the beautiful Butterfly Clasp die on this to hold it closed for mailing. 


This is the view when the left panel is opened.


The right side is open, revealing the final image and sweet sentiment.


Here's a final look at the card after removing it from the envelope.


I hope this has inspired you to give the TryFold cards a try!  There are many Tryfolds and mini TryFolds for every occasion.  Thank you for stopping by!  Have a fun, crafty week!


Watercolor markers:
Zigs: Pale Green, Light Green, May Green, Pink, Scarlet, Yellow,
Bright Yellow, Shadow Mauve, Violet, Pale Violet, Lilac, Fog Gray,
Gray, Light Gray, Mid Brown, Blender
 Tombow #565 & #977; Marvy Olive Green


Thanks for stopping by the hop! Make sure to follow our blog by clicking one of the blog readers in our right column and comment below to be entered to win a $25 gift certificate!

Your next stop is ...
Pink and Main

Happy Stamping!

Friday, July 7, 2017

Watercoloring Fun!

Hello Ai Fans!
I am having more fun practicing my watercoloring and watching more of Bonnie's wonderful video's! If you haven't seen the "Watercolor Wednesday's" that Bonnie does then you have to head on over to YouTube and get watching! It's watercoloring the Art Impressions way and Bonnie has so many great tips and tricks to get you started!
I played around combining a bunch of different stamps sets to make these cards! That's part of the fun....... there are a million different combinations you can create with just a few sets of the Watercolor stamp sets. Ok..... maybe not a million LOL, but many different ways that's for sure!
I used the following sets on these 3 cards:
Tombow markers used:
N60, 925, 249, 126, 879, 725, 451, 847

Happy Stamping!

Supplies: