Showing posts with label Halloween. Show all posts

Tuesday, September 30, 2025

Welcome to Art Impressions Frankie! by Reneé Matarese

 Hello Ai fans!

DID YOU SEE???

Oh my gosh!

The cutest little Frankenstein has been added to the
Art Impressions Puppet Series.

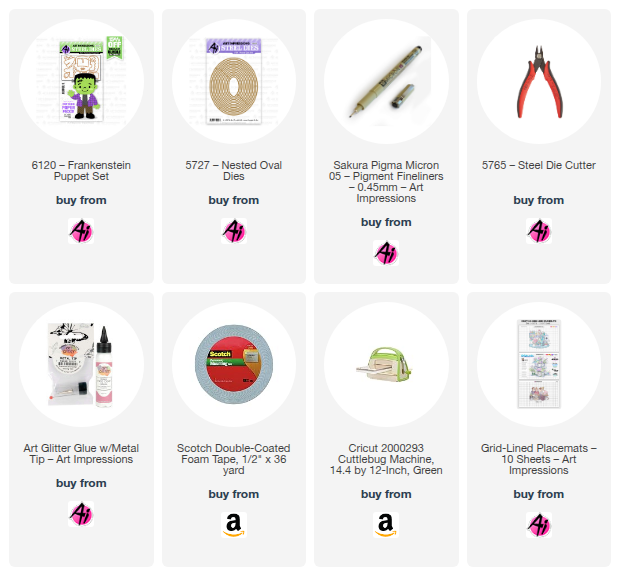
6120 – Frankenstein Puppet Set

Let's start off by saying, I know that his head is upside down.
This was the second one I created and I wanted his jaw to be a little more
squared off and his ears higher this time. It was intentional to create a different
look. One makes him a little "cuter" and this one makes him a little scarier.


Giving him a frown also changes the mood of the set.
As you can see, he's smiling on the packaging.


After I created him, I thought...hmmm...with the right paper and clothes
he could probably be used for Valentine's Day too. Why limit poor Frank
to just one holiday...lol?

His eyebrows were created by cutting the side burns off of his hair,
but they can easily be drawn to your liking as well.


I wrote a little play on words on his shirt. Instead of I ❤ you, I wrote I ❤ BOO! I trimmed out a little bottle of poison...I mean potion...he he he...from the paper
and placed it in his hand. I love him so much! I hope you do too.


Tuesday, September 2, 2025

Tonight We Fly! by Reneé Matarese

 Hello Ai fans!
Who is a fan of all things spooky like I am?
I start work back at school today so for me, summer is officially over and fall is here.
I was inspired by a black lacy butterfly adorned with jewels in the Michael's Halloween Dept. and came up with this card.


I used lots of sets from Art Impressions to create my card and you can find everything linked below.
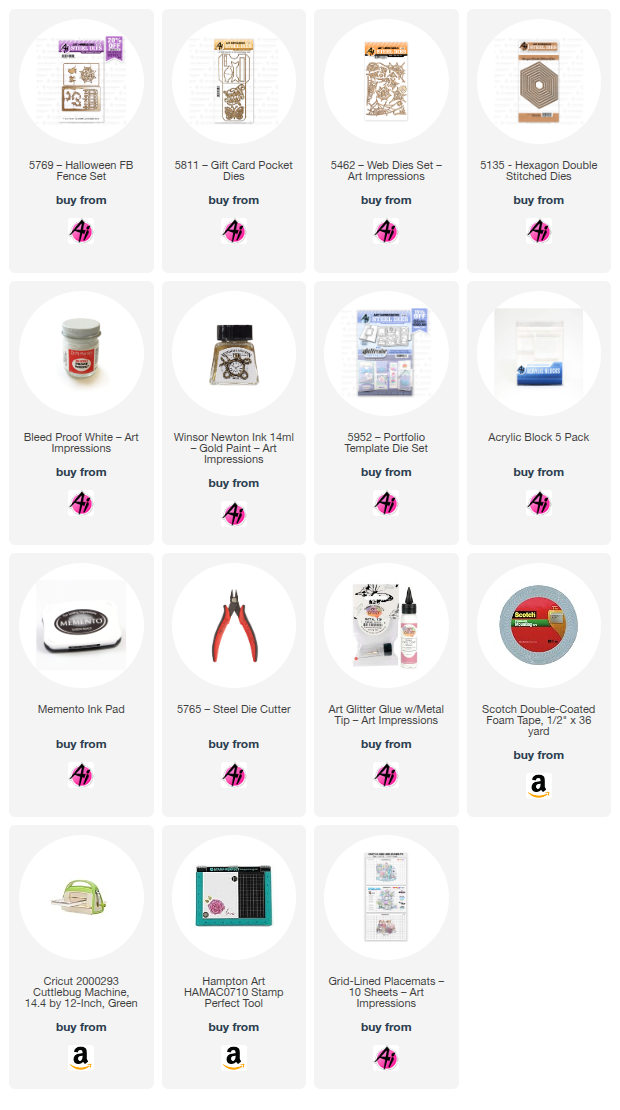
The matte for the butterfly was made using the double stitched hexagons. The butterfly is from the Gift Card Pocket Dies.


I used other things that "fly" on my card too. The raven, bats, web and spider are from the Halloween Front and Back Fence set. Although spiders don't technically fly, if you Google "flying spiders," you'll see plenty of them. Eek and GAG!

Tonight We Fly is from the Halloween Sentiments Set and it's stamped on a banner from the Portfolio Dies Set.


One last thing...paint.
I used the Winsor & Newton Gold paint to paint some cardstock that I then cut a matte for using the butterfly to trace. I wanted his wings to really pop so I added the gold under them. I also used Dr. Ph Martin's Bleed Proof White to paint the silk strand that the spider is dangling from.


Tuesday, October 22, 2024

Girl Scout Halloween Fun! by Reneé Matarese

Hello Ai fans!

Last night I helped some little girls earn their Craft and Tinker badge for Girl Scouts.
We made some Halloween bookmarks and they seemed to really enjoy themselves.


I created individual baggies with lots of stamped and die cut choices.


The girls ranged from 2nd - 5th grade with a few younger siblings and they all did an amazing job!


It was so fun to see their individual personalities come out in their choices.


I had so much fun doing this and I hope they need help again in the future.


Sunday, August 25, 2024

Halloween Potting Garden Shed and Slimline Cards by Jami Steiger

Halloween Potting Garden Shed and Slimline Cards by Jami Steiger


Happy Watercolor Weekend!  

My goodness, how time flies these days!  I know we are MONTHS away from Halloween but I was so inspired by Kim painting the Potting Garden Shed in a fall design that I wanted to paint one in soft fall colors and then I wanted to paint a Halloween Potting Garden Shed. 

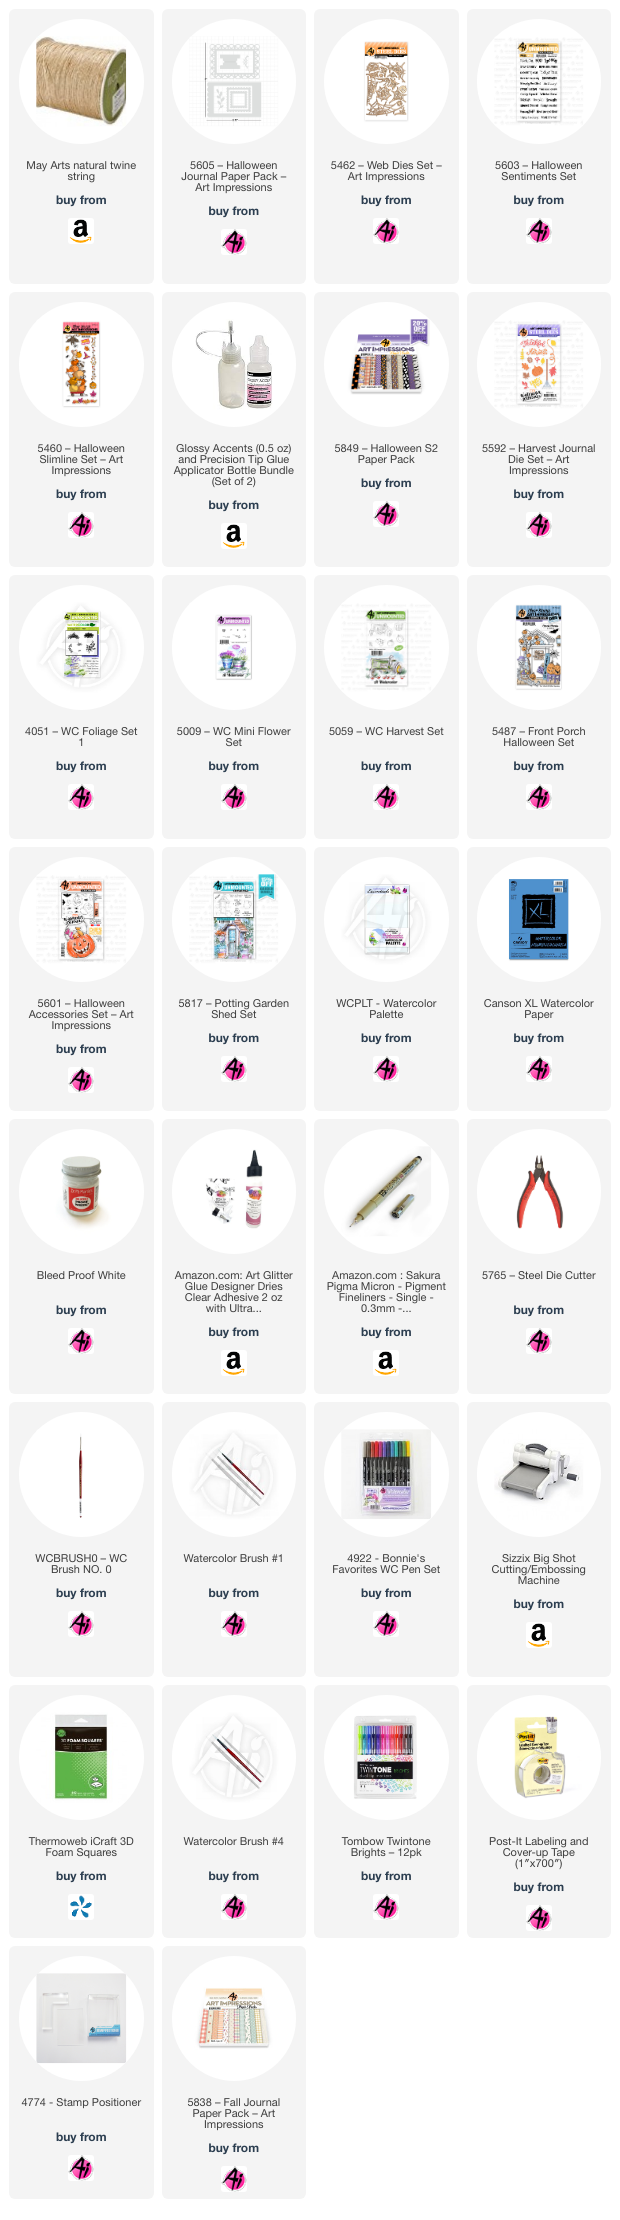
Well, I painted three!  I couldn't decide what color scheme I wanted to go with so I kept experimenting with colors and by the time I had all three completed I liked them all!  I had my family vote on the one they liked the best and the first card was voted number one.  I used the following stamp sets and dies to create all of the "Hello Fall" cards except the original fall card which is posted at the bottom of the Halloween cards.  5817 - Potting Garden Shed, 5487 - Front Porch Halloween (tree), 5601 - Halloween Accessories (ghosts and spiders), 5059 - WC Harvest (pumpkin and wheat grass), 5009 - WC Mini Foliage, 4051 - Foliage, 5592 - Harvest Journal Dies (Hello Fall)

The following are the markers used on all of the cards:  565, 969, 947, 177, 933, 856, 126, 679, 985, 837, 526, 026, 312, N52, N65, N55, and N45

I stamped all of these cards using the technique of coloring the stamped image with 565 and 969, then stamped off twice.  I drew in the spider webs in the tree and on the door.  I added some white accents with Dr. PH Martin's Bleed proof white.  For the final touches I stamped and die cut the ghosts and spiders and popped them up with foam squares for dimension.  The twine is from May Arts and I started on the front of the card by holding a long end and wrapping the twine around 4 times ending in the front and tying a bow.  You need to do this before you mount your finished front to the card base.


Card 1:  Background paper, 5849 - Halloween S2 PP


Card 2: Background paper 5838 - Fall PP


Card 3: Background paper, 5605 - Halloween Journal PP.  For the red color on the shed I mixed markers 856 and 177 to get a more rustic red.


When Kim painted the Garden Shed image during Watercolor Wednesday I knew I wanted to paint one like she had demonstrated.  Kim's card was so pretty and I think my card goes perfectly with the plaid paper from the 5838 - Fall PP.  


Slimline Halloween card

For this card I stamped and painted all of my images onto watercolor paper and then die cut them using the coordinating dies.  
Then I cut a card base 4 1/4 x 8 1/2 inches.  Scored at 3 1/2".  This leaves an edge of 3/4" to attach the full card base to after you die cut the front of the card.  I then cut a piece of decorator paper 3 1/2 x 8 1/2 for the front of the card and glued the paper to the front of the card base.  Next I decided where I would place my biggest die cut of stacked animals and pumpkins.  Using some washi tape to hold the die in place I then ran it through my Big Shot laying flat.  At this point I cut another piece of cardstock 3 1/2 x 8 1/2 and glued it to the short side of the card base on the inside which be on the right side of the base.   Now that I have an opening in the front of the card I could place my painted stack exactly through the opening into the card base and glue it in place.  Now it was time to glue down all of my other painted decorations. I cut a final piece of decorator paper 1 1/4 x 8 1/2 for the very back of the card.  I used a paper punch to punch a decorative edge and then glued it down on the back of the card to cover the small edge.  

I took pictures to show you the front, inside and back of the card but if you have any questions, please ask!  Thank you so much!  


Sunday, October 22, 2023

Haunted House and Batty Gnome by Jami Steiger

Hello Ai fans!

It's an exciting day. 

This is Reneé and I'm here to introduce our newest Watercolor Design Team Member,

JAMI STEIGER!

She's working on getting a blog set up.
For now you can follow her on Facebook and Instagram.
We know you're going to love her work!

Welcome to Watercolor Weekend


Jami has two fabulous Halloween cards for you today.

She's listed her products used below. Tell us a bit about how you made your cards Jami.


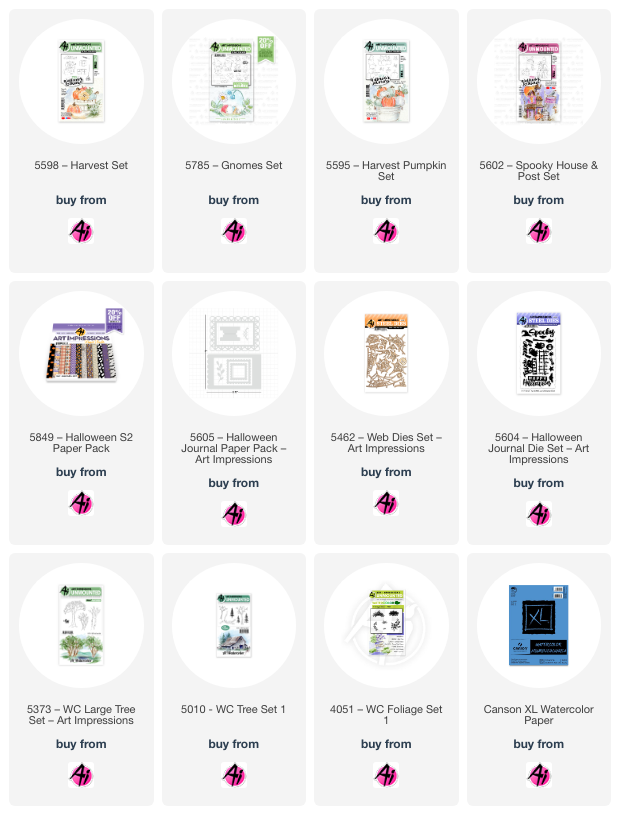
 For my haunted house I used the following products:

Stamp sets:

5602 Spooky House and Post Set

5010 WC Tree Set (I used the largest tree)
5373 WC Large Tree Set (I used the foliage for both trees)

Dies:

5462 Web Dies Set
5604 Halloween Journal Die Set

Paper:

Watercolor Canson XL
5605 Halloween Journal Paper

I hand drew in the spiderweb, spider, ghost and fence.


For my second card, I created a "batty" gnome.

Here's a list of what I used.

Stamp Sets: 

5785 Gnomes Set (I used the largest gnome, but I did not stamp his left arm and then hand drew it in. I also hand drew the bat wings, ears and the tip of the gnome’s hat.) 

5595 Harvest Pumpkin Set. (I stamped only the bottom 3 pumpkins of the stacked pumpkins in a set of 6.) 

5598 Harvest Set - used only the wheat.

4051 WC Foliage Set - used the small grass. 

5487 Front Porch Halloween Set (I stamped the tree multiple times to make the tree larger.  I used black archival ink to stamp the bats and spiders.  I then die cut them out.  I also stamped the spider web on the gnome’s beard.  For the final details I used Glossy Accents on the spiders and bats to make them stand out and used pop dots to give the card further dimension. 


Paper: 

Watercolor Canson XL

5849 Halloween S2 PP 


Thursday, October 19, 2023

Give Us a Fright Challenge #362 Week Two!

 Welcome to week #2 of our Give Us a Fright challenge!

We're loving all of the incredible Halloween cards that we're seeing so far. Keep them coming!!

 
Last week I was the featured artist and I made several projects.
You can find the picture tutorials and links to all the products I used HERE.


Now we have the rest of the Design Teams creations for you.  They're all SO CUTE!!

Tasha used:


Nina used:


Links to Diane's amazing card are HERE.


Thank you to our amazing Design Teams for their gorgeous Halloween inspiration!

✻ Please make a new card or handmade crafty creation. You can make any item you wish; this is not limited to cards!
✻ Limit two submissions per person. You will receive extra votes if you use Art Impressions stamps!
 ✻Please include your first name and last initial on your submission.
✻We love to comment on your entries, but keep in mind if you use a private group or a platform that you need to sign up for, we probably won't be able to.
✻ The Ai Challenge is open to everyone, international submissions are welcome!
✻ Include a link back to the Ai Blog or grab our button on the top right of our sidebar!
✻ Share the Ai love if you can, by clicking and commenting on your fellow crafters.
✻ Make sure to get your link up by the deadline to enter your creations.
✻ Good luck and happy stamping!

We want to see your handmade Halloween cards and crafty items!


You are invited to the Inlinkz link party!

Click here to enter