Halloween Potting Garden Shed and Slimline Cards by Jami Steiger
Happy Watercolor Weekend!
My goodness, how time flies these days! I know we are MONTHS away from Halloween but I was so inspired by Kim painting the Potting Garden Shed in a fall design that I wanted to paint one in soft fall colors and then I wanted to paint a Halloween Potting Garden Shed.
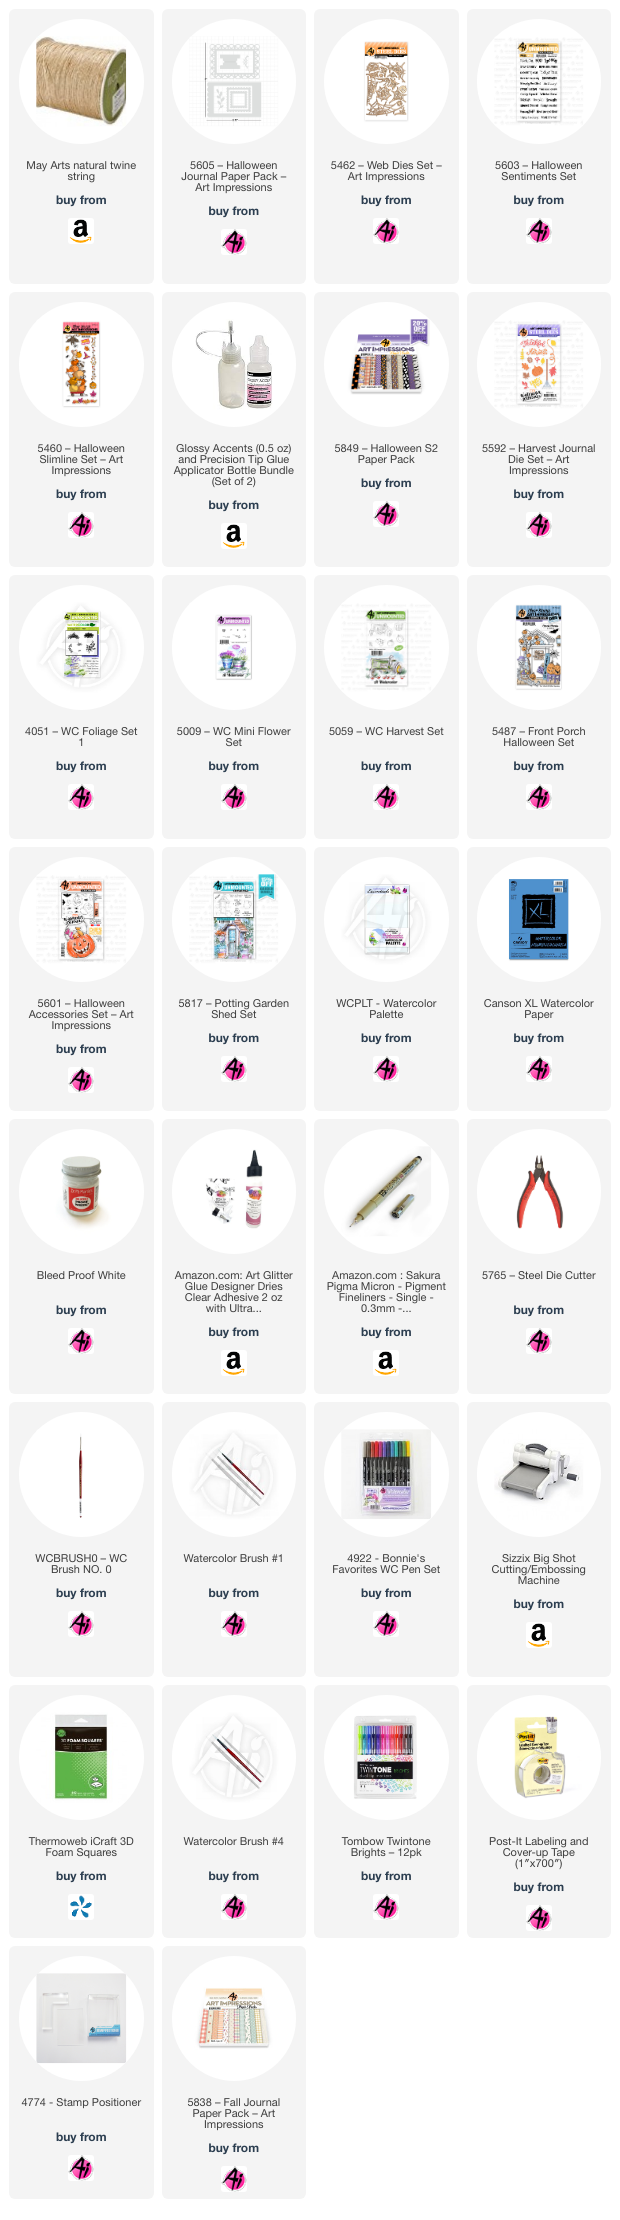
Well, I painted three! I couldn't decide what color scheme I wanted to go with so I kept experimenting with colors and by the time I had all three completed I liked them all! I had my family vote on the one they liked the best and the first card was voted number one. I used the following stamp sets and dies to create all of the "Hello Fall" cards except the original fall card which is posted at the bottom of the Halloween cards. 5817 - Potting Garden Shed, 5487 - Front Porch Halloween (tree), 5601 - Halloween Accessories (ghosts and spiders), 5059 - WC Harvest (pumpkin and wheat grass), 5009 - WC Mini Foliage, 4051 - Foliage, 5592 - Harvest Journal Dies (Hello Fall)
The following are the markers used on all of the cards: 565, 969, 947, 177, 933, 856, 126, 679, 985, 837, 526, 026, 312, N52, N65, N55, and N45
I stamped all of these cards using the technique of coloring the stamped image with 565 and 969, then stamped off twice. I drew in the spider webs in the tree and on the door. I added some white accents with Dr. PH Martin's Bleed proof white. For the final touches I stamped and die cut the ghosts and spiders and popped them up with foam squares for dimension. The twine is from May Arts and I started on the front of the card by holding a long end and wrapping the twine around 4 times ending in the front and tying a bow. You need to do this before you mount your finished front to the card base.
Card 1: Background paper, 5849 - Halloween S2 PP
Card 2: Background paper 5838 - Fall PP
Card 3: Background paper, 5605 - Halloween Journal PP. For the red color on the shed I mixed markers 856 and 177 to get a more rustic red.
When Kim painted the Garden Shed image during Watercolor Wednesday I knew I wanted to paint one like she had demonstrated. Kim's card was so pretty and I think my card goes perfectly with the plaid paper from the 5838 - Fall PP.
Slimline Halloween card
For this card I stamped and painted all of my images onto watercolor paper and then die cut them using the coordinating dies.
Then I cut a card base 4 1/4 x 8 1/2 inches. Scored at 3 1/2". This leaves an edge of 3/4" to attach the full card base to after you die cut the front of the card. I then cut a piece of decorator paper 3 1/2 x 8 1/2 for the front of the card and glued the paper to the front of the card base. Next I decided where I would place my biggest die cut of stacked animals and pumpkins. Using some washi tape to hold the die in place I then ran it through my Big Shot laying flat. At this point I cut another piece of cardstock 3 1/2 x 8 1/2 and glued it to the short side of the card base on the inside which be on the right side of the base. Now that I have an opening in the front of the card I could place my painted stack exactly through the opening into the card base and glue it in place. Now it was time to glue down all of my other painted decorations. I cut a final piece of decorator paper 1 1/4 x 8 1/2 for the very back of the card. I used a paper punch to punch a decorative edge and then glued it down on the back of the card to cover the small edge.
I took pictures to show you the front, inside and back of the card but if you have any questions, please ask! Thank you so much!