Showing posts with label 5817 Potting Garden Shed Set. Show all posts

Saturday, March 21, 2026

Over the Garden Wall by Gennette Houghton


Hello, and Welcome to Watercolor Weekend! Spring fever hit me early this year, we have had one of the coldest winters ever. Unfortunately for us, winter tends to hang its claws in. So I am dreaming of warm days and no more snow!  

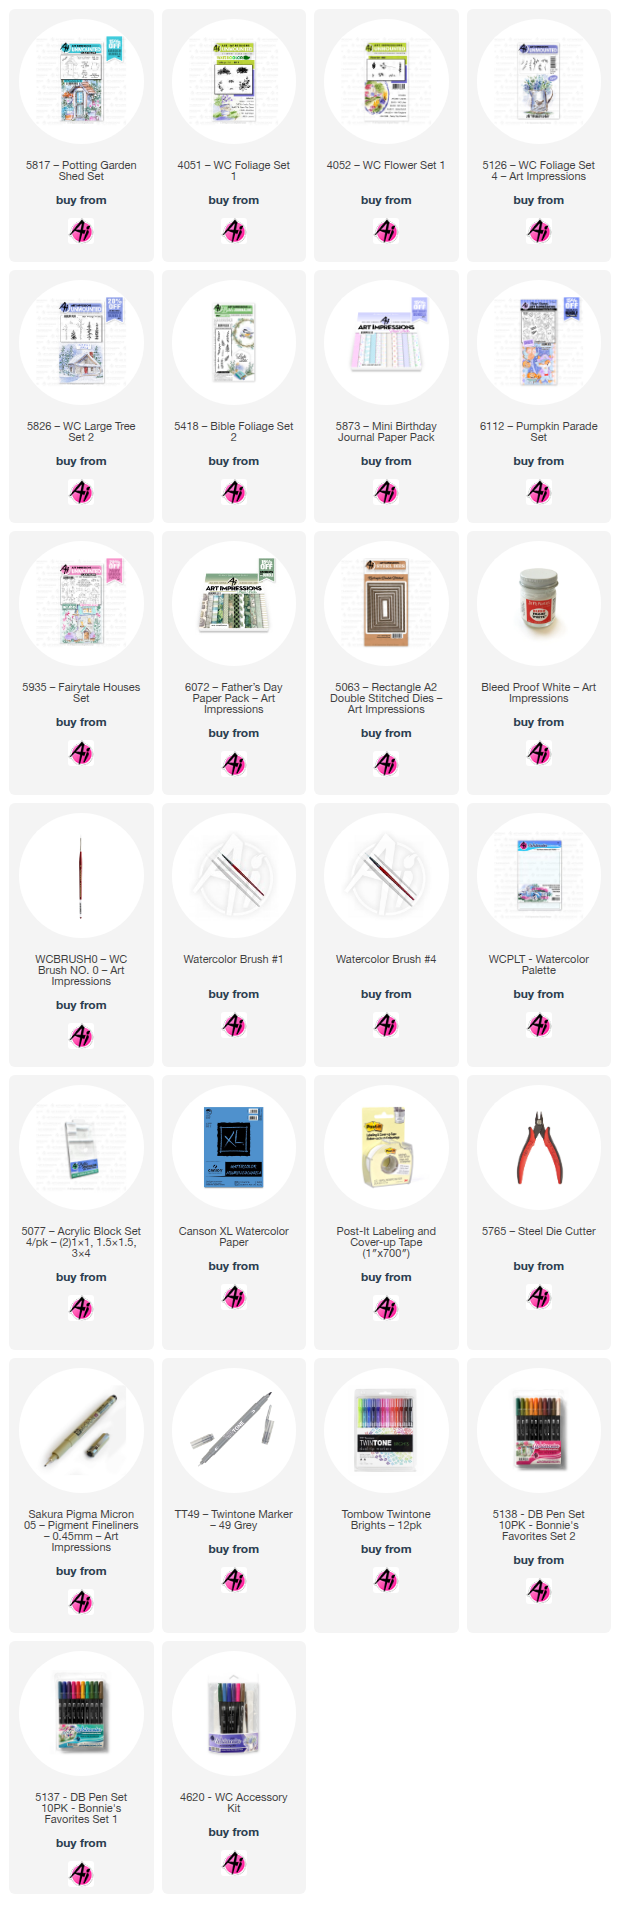
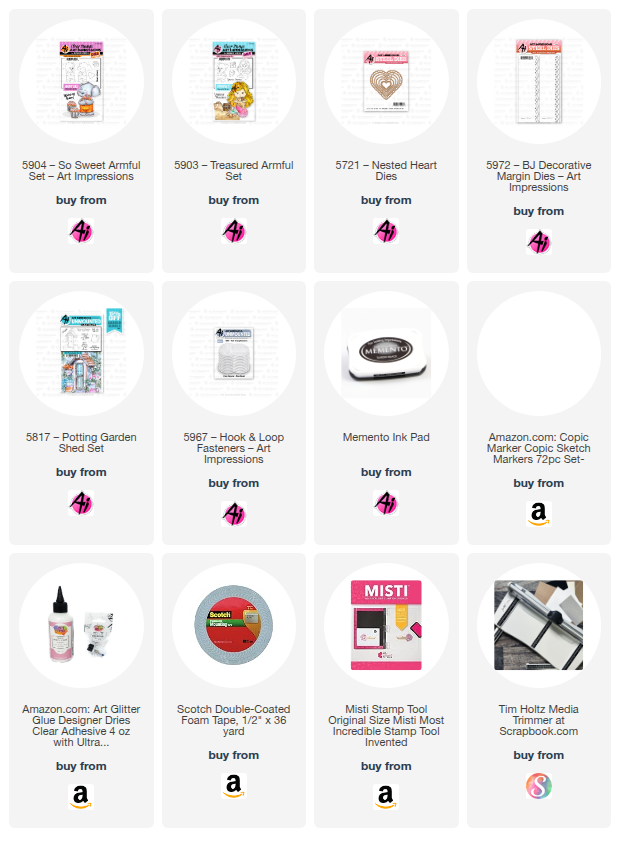
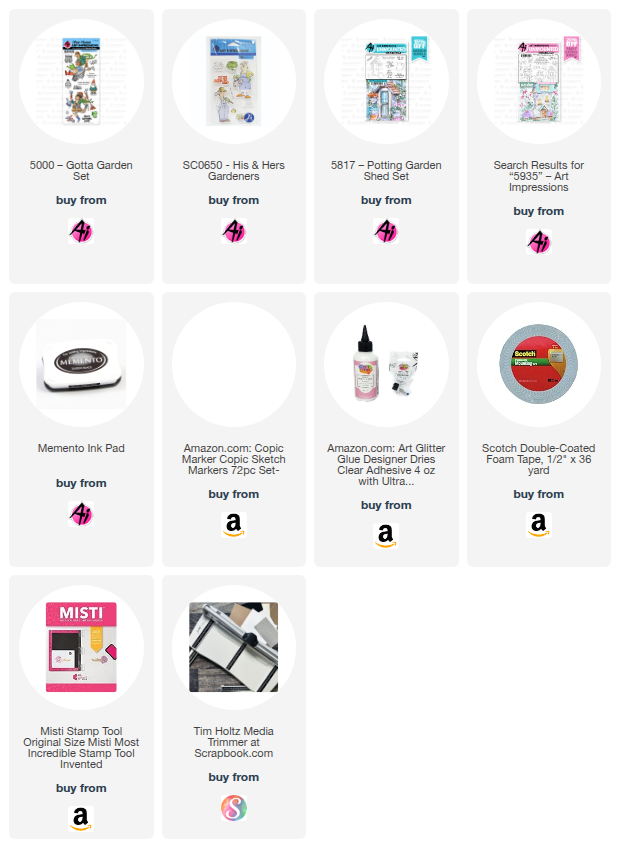
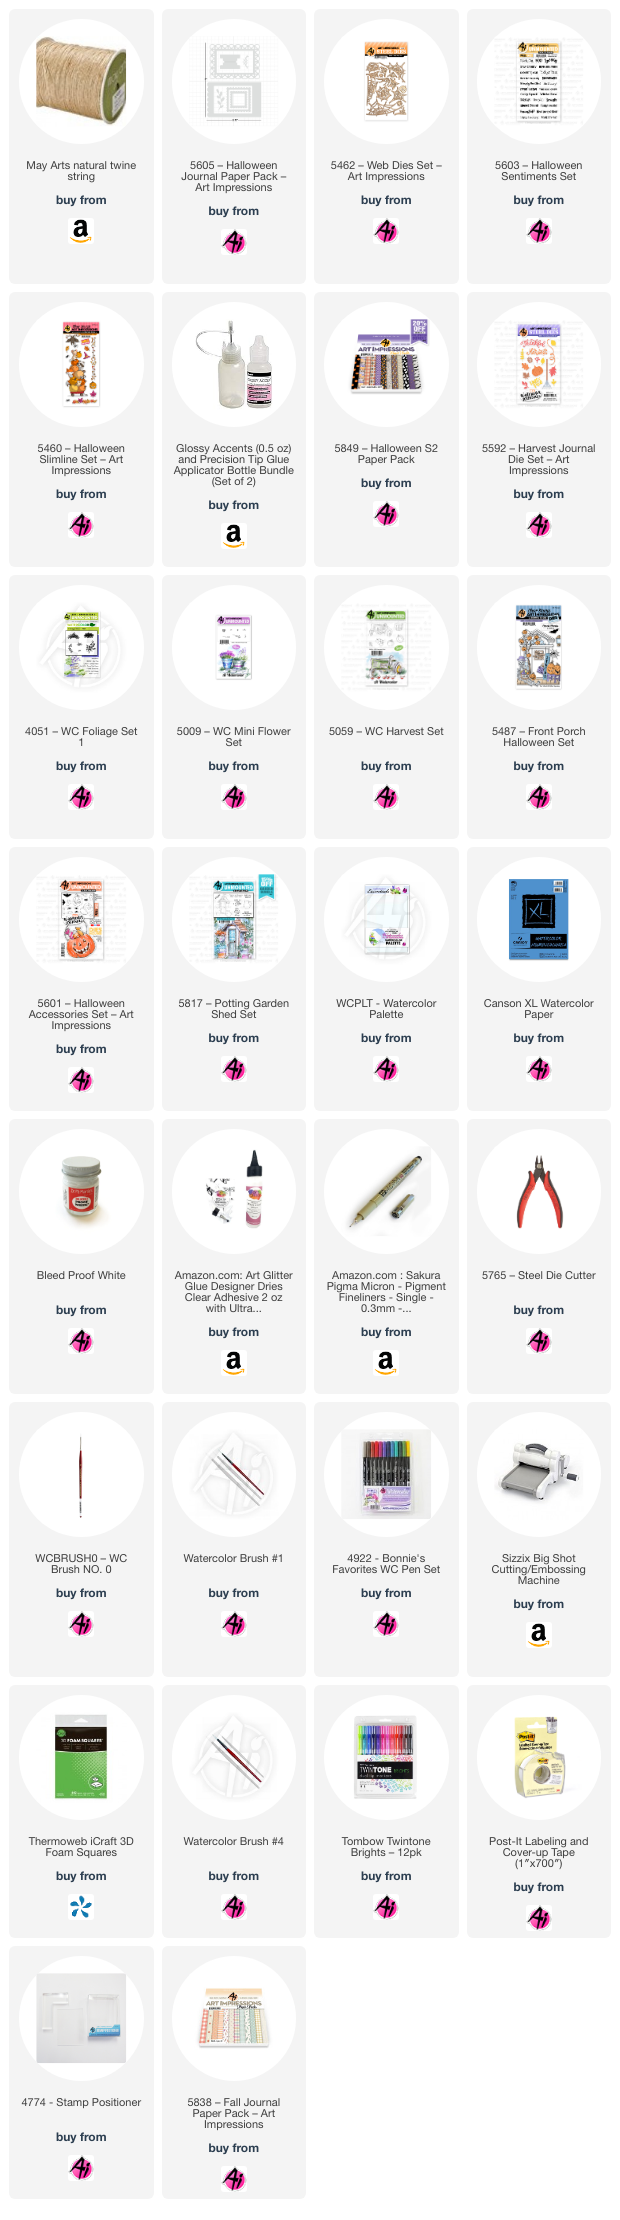
For my first card I used the 5817 Potting Garden Shed, I stamped it on my watercolor paper in Distress Ink, Pumice Stone, after stamping off once. 5063 Rectangle A2 Double Stitch Dies, using the 3rd largest to trace out a frame around the Potting Shed for a guide. After dealing with the back and forth of snow and what becomes a mud fest, I wanted strong colors.  So starting with the roof I mixed N15 in with 856, which makes the red more of a burgundy color. I also used this on the door.  For the main part I added some washes of 947 and 565 for the shadows.  For the glass on the door I used 526 and shaded the top and one side with 565.  I then put in the sky with 526 and a wash on the ground of 177, darkening this color around the pot, shed, and watering can.  528 for the birds, along with adding 025 and 026 for the beaks, and a black micron for the eyes and legs.  I started with the bottom left pot and used post-it tape to mask the side guideline and the pot. 4051 Foliage Set 1 with the large foliage, turned so I was using one of the short ends in 126 and filled in the area I wanted covered.  I then colored just a small portion of this stamp and added 177 in different areas. Using a damp brush, I softened these 2 colors together.  856 mixed with 969 for the pot creating a darker terracotta pot, leaving a highlight in the center and darkening the sides.  For the hanging basket, I shaded the sides with 565, I also left the mask on the side just in case.  I then used 4052 Flower Set 1, the daisy bunch, in 905, coloring only a couple of the flowers in 885 and adding that in areas to create more of a definition, also softening this with a damp brush.  For the watering can, I used a mix of 565 and 969, and then added a touch of 249. 947 is great for creating rust, I just continue adding layers until I am happy with it.  For the pot on the right, I shaded this as well with 565, and added stripes in 528.  The daisy bunch was also used for this one, but with 025, a couple in 026, and some in 993. Before adding the foliage I softened this with a damp brush and then used 5126 Foliage Set 4, small vines, in 177 to add in some greenery, lightly touching these with a damp brush.  The leafy branch from the same set, up in both corners after taping them off, with 126 and a line drawn through with 177, which gives a two-toned look on the leaves. I touched each of the leaves with a damp brush.  I then added some grass at the base of the image after taping off by the guide lines, with the grass from 5826 Large Tree Set 2.  This is, by far, my favorite grass stamp, and I like to use 177 with just a touch of 969 in 2 spots at the base of the stamp.  Once softened with a damp brush, to me anyway, gives a more natural look to the grass.  Using the dots from 5418 Bible Foliage Set 2, I added some dots in 177 throughout the scene. Bleed Proof White was added in with each of the florals. I matted my card base with paper from 5873 Mini Birthday Paper Pack and cut out my image with the same die I used for my guidelines. I matted the image with a solid green cardstock and mounted it onto the card base. 

For my 2nd card I used 6112 Pumpkin Parade. I always look at sets to see if something can be used in a different way, and the bunny in this set with her witches costume gave me the Lord of the Rings vibe. I was talking with my son about it and he said it reminded him of Over the Garden Wall, a 2014 animated Mini TV Series, so I ran with it. So, I turned the little rabbit and owl into little adventurers traveling down a forest path. I found the perfect paper in the 6072 Father’s Day Paper Pack, and the dies I used are from my stash. When I inked the stamps, I just left off the lantern faces on both of them.  For the Rabbit I used N57, N49, N79, 772, 856. The hat, cape, and shirt I used 027, 249, 947 and the basket 969, 947. The Owl I used 947, 879. 879 was a little duller than I wanted so I glazed over this with Marvy 108 Black Cherry.  For the beak and talons I used, 025, 026.  I then used the flowers, mushrooms, bee, and butterfly from 5935 Fairytale Houses Set.  For the flower heads I used, 526, 676, 725, and 565. The centers, 055, 025, 026. The leaves and stems, 126, 177.  The mushrooms, 992, 969, 856, 837, and Bleed Proof White was used.  The bee 055, 026, N15, 526, 565. The butterfly, 025, 985, 856, 679, N15.  I cut a slit in both of the baskets for the flowers, and the Rabbit, bee, and butterfly are popped up with foam tape.

Thank you for joining me today, until next time! Create….Share….Inspire!


Thursday, February 5, 2026

Lots of Love Card pack by Dori Mendiola

 Happy Thursday AI Friends!

I have a fun card gift pack for you today that fits in perfectly for Valentine's day and for the bi-weekly challenge "Love, Love Me Do".  Do you have a friend that loves to give their family members a card for Valentine's day?  What a perfect little gift for you to give them.  My mind instantly goes to our elderly in the senior homes or your cute little elderly neighbor.   I created a fun, quick gift set of six cards all bundled in a sweet pouch.   The cards do not have a sentiment, so they can fit any occasion, if Valentine's day is not your thing.

For the images, I used the Armful stamp sets - #5903 Treasured Armful and #5904 - So Sweet Armful.  The arms of each animal have a slit cut to allow you to slip a cute little heart, flower, star, etc.  These sets also include the corresponding dies.


I stamped each of the images twice on copic friendly cardstock with Memento black ink and colored with copic markers listed below.  I also stamped, colored and die cut the heart, that is included in the "So Sweet Armful" set, 6 times - one for each card.  I learned a little copic technique from my fabulous copic teacher and friend, Sharon Caudle, many years ago in a class and I use it whenever I can.  For the little bear image, I color him in the browns leaving the overalls until later.  I then take a little piece of wash cloth and dab some blender solution onto it.  Lightly tap that part of the cloth onto the colored part of the bear and it will make him look fuzzy (see the individual card below for a better visual).  Let it sit for a little bit and then finish coloring the overalls.
It's a great effect!  Many thanks, Sharon!  


Above is the A2 Card Gift pouch that will hold up to 6 cards (with minimal dimension) and 6 envelopes.  I found the template for this on The Paper Pixie or you can youtube A2 card gift pouch.  It uses one 12x12 piece of heavy weight pattern paper.   I then decorated using the #5972 - Bible Journal Decorative Margin dies and #5721 - Nested Heart dies.   The sentiment is from the #5817 - Potting Garden Shed set.  Lastly, I used one of the #5967 - Hook and Loop Fasteners to keep the pouch shut.


Here are the six cards in the pack:


That's it for me today!  Thanks for stopping by and I hope you have a great day!

Make sure to check out the bi-weekly challenge and play along for a chance to win a free stamp set.  
We love to see your creations!

Copics used:  C0, C1, C3
R20, R11, R12, R14
E21, E23, E25, E31, E33, E35

Thursday, October 9, 2025

Playing in the Dirt by Dori Mendiola

 Happy Thursday AI Friends!

Summer came and went soooo fast but I still want to play in the dirt.  We are definitely headed into fall here but some of you may still have some great summer weather left so hopefully you feel inspired to go play for those of us that can't.  😀

I combined #5000 - Gotta Garden set and #5817 - Potting Garden Shed to create this interactive card.  This is a larger than normal card but it's a fun size - 8 1/5 x 5.

I started out by stamping the images onto copic friendly paper with Memento black ink and colored with copic markers listed below.  I fussy cut the images.  The garden shed is a watercolor stamp set and has a few garden pots at the base, so I just fussy cut them off and popped up the boots and garden hose over the cut area.  I also cut an opening in the door and placed some tools and garden gloves inside.  These accessories are from the #SC0650 - His & Hers Gardeners set.  I also colored and cut some flowers from the #5935 - Fairytale Houses set.  

I die cut a slider track into the dirt panel and placed the playful couple onto a disk that pops through both sides of the track to allow for the movement.  I then popped up the dirt panel, making sure not to place pop dots or foam tape to close to the slider track.  You could use a pull tab, but I chose to move the couple back and forth with my fingers.

Check out the video below to see the interactive movement.


That's it for me today.  Hope you have a wonderful day!
Keep on creating!
Copics used:  E000, E00, E11
N0, N1, N2, N3, N4
B91, B93, B95
Y11, Y13, Y15, Y17
YR12, YR14, YR16, YR18
G40, G43, G46

Sunday, August 25, 2024

Halloween Potting Garden Shed and Slimline Cards by Jami Steiger

Halloween Potting Garden Shed and Slimline Cards by Jami Steiger


Happy Watercolor Weekend!  

My goodness, how time flies these days!  I know we are MONTHS away from Halloween but I was so inspired by Kim painting the Potting Garden Shed in a fall design that I wanted to paint one in soft fall colors and then I wanted to paint a Halloween Potting Garden Shed. 

Well, I painted three!  I couldn't decide what color scheme I wanted to go with so I kept experimenting with colors and by the time I had all three completed I liked them all!  I had my family vote on the one they liked the best and the first card was voted number one.  I used the following stamp sets and dies to create all of the "Hello Fall" cards except the original fall card which is posted at the bottom of the Halloween cards.  5817 - Potting Garden Shed, 5487 - Front Porch Halloween (tree), 5601 - Halloween Accessories (ghosts and spiders), 5059 - WC Harvest (pumpkin and wheat grass), 5009 - WC Mini Foliage, 4051 - Foliage, 5592 - Harvest Journal Dies (Hello Fall)

The following are the markers used on all of the cards:  565, 969, 947, 177, 933, 856, 126, 679, 985, 837, 526, 026, 312, N52, N65, N55, and N45

I stamped all of these cards using the technique of coloring the stamped image with 565 and 969, then stamped off twice.  I drew in the spider webs in the tree and on the door.  I added some white accents with Dr. PH Martin's Bleed proof white.  For the final touches I stamped and die cut the ghosts and spiders and popped them up with foam squares for dimension.  The twine is from May Arts and I started on the front of the card by holding a long end and wrapping the twine around 4 times ending in the front and tying a bow.  You need to do this before you mount your finished front to the card base.


Card 1:  Background paper, 5849 - Halloween S2 PP


Card 2: Background paper 5838 - Fall PP


Card 3: Background paper, 5605 - Halloween Journal PP.  For the red color on the shed I mixed markers 856 and 177 to get a more rustic red.


When Kim painted the Garden Shed image during Watercolor Wednesday I knew I wanted to paint one like she had demonstrated.  Kim's card was so pretty and I think my card goes perfectly with the plaid paper from the 5838 - Fall PP.  


Slimline Halloween card

For this card I stamped and painted all of my images onto watercolor paper and then die cut them using the coordinating dies.  
Then I cut a card base 4 1/4 x 8 1/2 inches.  Scored at 3 1/2".  This leaves an edge of 3/4" to attach the full card base to after you die cut the front of the card.  I then cut a piece of decorator paper 3 1/2 x 8 1/2 for the front of the card and glued the paper to the front of the card base.  Next I decided where I would place my biggest die cut of stacked animals and pumpkins.  Using some washi tape to hold the die in place I then ran it through my Big Shot laying flat.  At this point I cut another piece of cardstock 3 1/2 x 8 1/2 and glued it to the short side of the card base on the inside which be on the right side of the base.   Now that I have an opening in the front of the card I could place my painted stack exactly through the opening into the card base and glue it in place.  Now it was time to glue down all of my other painted decorations. I cut a final piece of decorator paper 1 1/4 x 8 1/2 for the very back of the card.  I used a paper punch to punch a decorative edge and then glued it down on the back of the card to cover the small edge.  

I took pictures to show you the front, inside and back of the card but if you have any questions, please ask!  Thank you so much!  


Thursday, May 2, 2024

Love Birds and Friendly Blue Birds by Dori Mendiola

 Happy Thursday AI Friends!

I have two cards for you today that were inspired by the "Birds of a Feather" challenge (see the Bi-Weekly Challenge tab above for more details).  Both cards feature the #5367 - Birdcage Dies, the #5892 Easter S2 paper pack, the #5817 Potting Garden Shed plus several others.
  Let's take a look at the first card.

        Friendly Blue Birds:

I first stamped several of the birds using Memento Black ink on cryogen white cardstock and colored with copic markers.  I die cut each of the birds out with the coordinating dies that come with the stamp set.  Using a few of the sheets from the #5892 Easter S2 paper pack, I die cut the birdcage and also hand cut a backing for the birdcage.  I made the frame by cutting individual leaves (including the leaf from the #5591 Journal Rectangle Frame) from white cardstock and layering behind the arch frame.   The pattern paper behind the arch frame and the gingham paper are from the Easter S2 paper pack.  The sentiment is from the new stamp set #5817 Potting Garden Shed.  The arch frame and other leaf dies were from my stash. 

       Love Birds:

The patterned paper background and the birdcage die cut is from the #5892 Easter S2 paper pack.  I just love the Art Impressions paper packs.  Double sided, strong and soooo pretty.   What's not to love? 
I began by stamping the tree branch from #5034 Tree Twist Ties, leaves and birds from #5100 Woodland Tree Cubbies with Memento Black ink onto cryogen white cardstock and colored with copic markers (see list below).   The tree branch was stamped at the top of a 4" x 5" piece of cryogen.  I very lightly inked clouds into the sky around the tree branch to minimize the white space.  I stamped several of the leaves onto the branch and several I stamped, colored and die cut to place around the other leaves to add dimension.  I stamped and colored a poppy from the #5273 Poppy Border stamp and fussy cut it to place at the bottom of the frame along with two of the leaf springs from the #5591 Journal Rectangle Frame.  Lastly I stamped the words "Love" and "Friend" from the #5817 Potting Garden Shed stamp set and die cut with the #5132 Tag Stitched Die.  I attached the word tags to the birdcage with a safety pin.

I hope you enjoy my cards today and decide to play along in the current blog challenge "Birds of a Feather" for a chance to win a free stamp set. 

Have a wonderful day!
Copic Markers Used:
YG03, YG17, YG67
Y13, Y15, Y17, B00, B02, B14
E30, E33, E35, E59 & E97
 

Monday, April 22, 2024

Friends are Flowers by Sharon Caudle

 Hello AI Fans!

Hope you had a wonderful weekend and a great start to the new week! I have a card to show you today that features two new stamps from Art Impressions, #5798 Gardening Girlfriends and #5817 Potting Garden Shed Set. That adorable little sleeping pup is from #4959 WC Dogs Set. I stamped the images with Memento ink and colored them with Copic markers that are listed below.  These beauties aren't just for water colors! I had so much fun creating this scene! It also fits into the Raining Cats and Dogs challenge as well as the Say it With Sentiments challenge, both of which are going on right now! Have you entered yet for your chance to win a free stamp set of your choice? Just click the appropriate tab up on the banner at the top of the page! 


Thanks so much for stopping by for a visit and until next time - stay crafty!

Copic markers used:
E000, 00, 04, 11, 21, 23, 25, 31, 33, 35, 37, 51, 53, 55, 57, 81, 84, 97
B000. 00, 01, 12, 14, 16
Y04, 32, 35, 38
YR12, 14, 21
BG10, 11, 13, 18, 32, 34
R20, 81, 83, 85, 89
YG01, 03, 05
C1, 2, 3, 5
T1