Thursday, February 29, 2024

Shake. It. UP!! Challenge #371 Week 1

Hello everyone!
It's time for a new challenge.

We have Janet as our Featured Designer this week and her card is MAGNIFICENT!!

Our new challenge is Shake It Up.
Make a shaker card or include something that shakes on your card like a wobble.


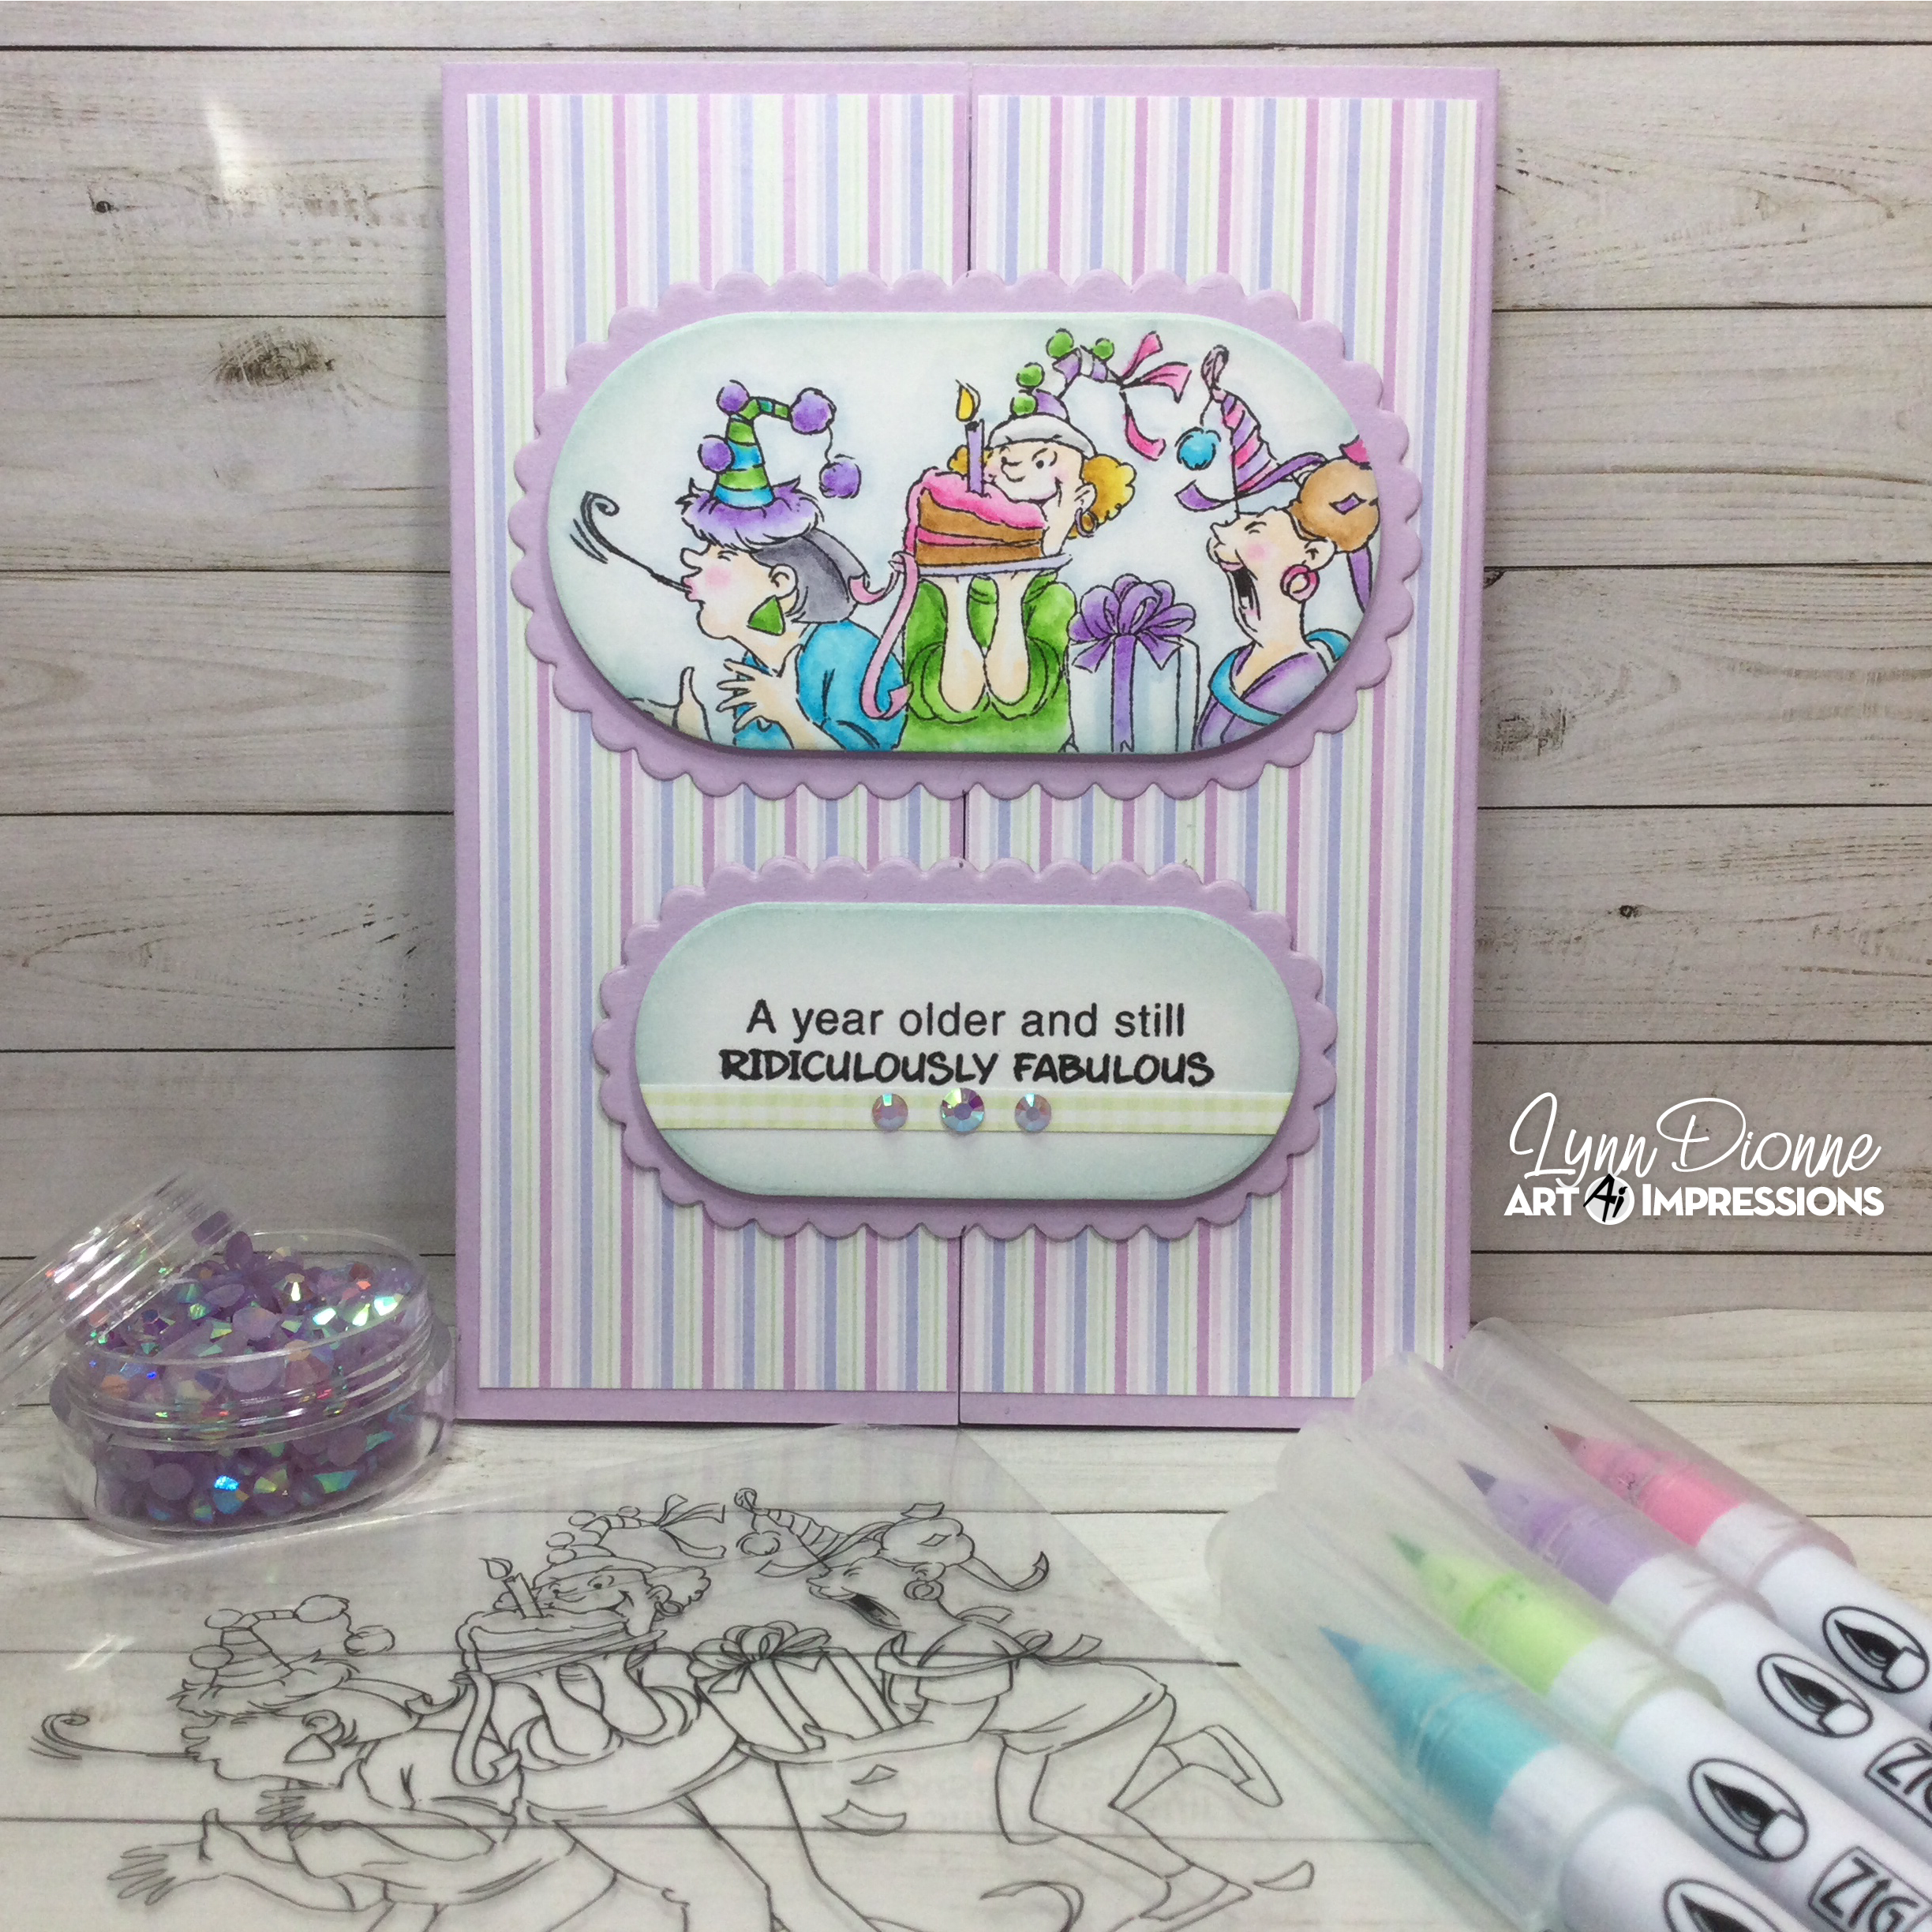
Before we share Janet's card, let's see who won our last challenge.

For our Top Spot we selected Beverly Sizemore for her hilarious birthday card that used the retired birthday couple.


Please contact Leah at Feedback@artimpressions.com
to claim a free stamp set of your choice!
Also, be sure to grab our badge to display on your blog, Facebook or Instagram!

Our Lucky Random Winner was #3 Tasie


Please contact Leah at Feedback@artimpressions.com
to claim a free stamp set of your choice!
Also, be sure to grab our badge to display on your blog, Facebook or Instagram!

Now for the star of our show...we have an AMAZING card from Janet. 
She worked so hard on this card and it's simply gorgeous!

Tell us about your card Janet.

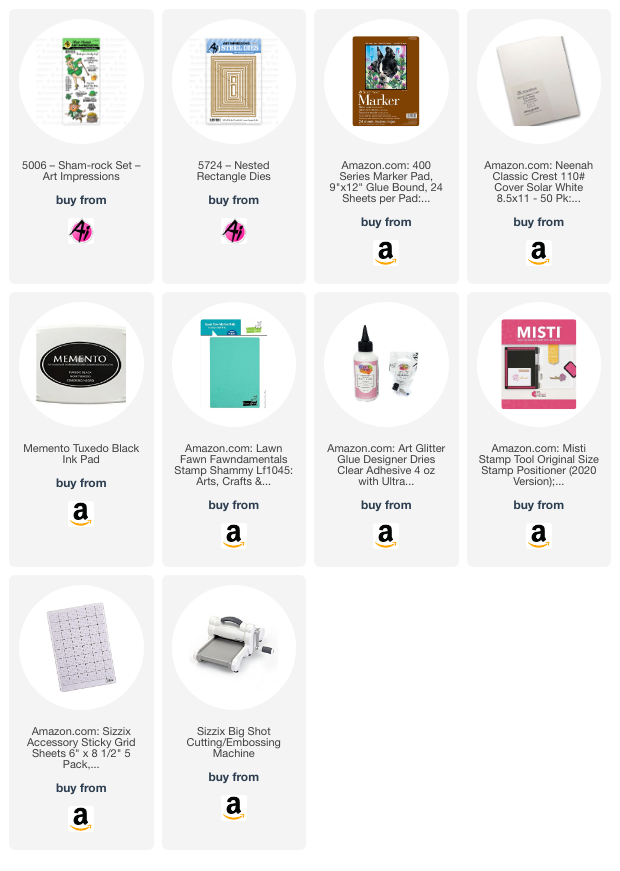
Hello Ai Fans and welcome to a brand new challenge. This one is called Shake It Up. You can play along by linking up your own shaker card or any card that shakes in some way. It's my pleasure to be the feature artist for this challenge and I am thrilled to show you how I made my shaker card to celebrate St. Patrick's Day! This year, it falls on March 17th so it's just the right time to make a St. Patty's card. My images are from the humorous 5006 - Sham-rock Set. Below are all the images I colored. I didn't use all of them but anything I don't use, I just put back in the stamp package for the next time I pull out a set. This lady is doing a jig and is so cheerful. I love her green suit! I also gave a try at coloring a green beer.

My card is just a series of rectangles with the top rectangle being a frame. Except for the largest green mat, I cut all the rectangles using the 5724 - Nested Rectangle Dies. I love all the new nested sets because it provides so many matting options! Below is a photo of the set. I marked the dies I used to cut my rectangles with blue washi tape. These dies worked great on an A2 sized card base, I used the following dies as marked in blue. Working from the outside in, I use the 1st, 3rd, 4th, and 7th dies. 

Below you can see two matted rectangles and the shaker frame. This is how I cut and stacked them. The largest rectangle set on the left is a white A2 card base with a piece of green cardstock cut at 3 7/8" x 5 3/16" on top. This is the only rectangle that I cut without a die. The second rectangle set was cut with the 1st and 3rd die. The frame was cut using the 4th and 7th die.

This is the 2nd rectangle set from above just after I cut them out.

The 4th and 7th dies are used to create a frame. This will be the shaker frame with an acetate window. Under the window, I'll add all kinds of fun St. Patrick's themed shaker pieces.

Once the white frame was cut, I cut another piece of acetate using the 4th die and glued it to the back of the frame. Then I added three layers of foam tape around the frame. Normally I use only two layers but my shaker pieces are large and I wanted to make sure everything would be able to move freely in the shaker. Here you can see the frame turned upside down so you can see the foam tape. You can also see the shaker bits I used. This came in a shaker set I had in my stash. If I didn't have this, I would have used green and gold sequins.

Here's closer look at the thickness of the three layers of foam on the back of the frame. I purchase my foam tape in rolls from Amazon in different widths. I used quarter inch width for this frame. It fits perfectly!

At this stage, I had glued the rectangles on top of the A2 card base as well as the shaker with all kinds of gold and green St. Patrick's Day goodies inside. To attach the shaker, simply place all the shaker bits you want in the center area of the shaker. Then peel the backer off of the foam tape and carefully place it on the card being sure to apply pressure so that the seal is solid so all the bits will stay inside the shaker. You should also be careful to make sure that all the bits are in the center so they don't get caught under the foam tape.


And that's all it takes to create this shaker card! I really like the multiple frames that stack and highlight the shaker in the middle. After this was prepared, it was ready to decorate. I framed the shaker with the pieces I had colored and cut out. I thought it would be fun to have her holding the hat and have a 4-leaf clover sticking out of the pot of gold. I made a looped green bow and glued the beer stein to the center. Although there are many fun sentiments in this stamp set, I really didn't think one was needed. I will likely add one of them to the inside of the card instead.


Thanks for stopping by today. I hope you'll stop by the store to see all the things you need for your card, journal, and tag making projects. 

Janet YouTube - Blog - Facebook - Instagram - Pinterest


✻ Please make a new card or handmade crafty creation. You can make any item you wish; this is not limited to cards!

✻ Limit two submissions per person. You will receive extra votes if you use Art Impressions stamps!
 ✻Please include your first name and last initial on your submission.
✻We love to comment on your entries, but keep in mind if you use a private group or a platform that you need to sign up for, we probably won't be able to.
✻ The Ai Challenge is open to everyone, international submissions are welcome!
✻ Include a link back to the Ai Blog or grab our button on the top right of our sidebar!
✻ Share the Ai love if you can, by clicking and commenting on your fellow crafters.
✻ Make sure to get your link up by the deadline to enter your creations.
✻ Good luck and happy stamping!


You are invited to the Inlinkz link party!

Click here to enter

Wednesday, February 28, 2024

Butterfly Clasp w/ Center Gatefold Design by Lynn Dionne

Happy Wednesday Ai Fans!!!


Watch video tutorial here!!!

Let's create an elegant Easter card using the beautiful Ai Butterfly Clasp Die Set (5590). This clasp was designed to work with the Ai Journal Series. It is perfectly sized to provide the ideal closure for your Ai journals. However, we are going to use it in a fun and different way today!

We will start with the card base using some white 100lb cardstock and for patterned paper we will be using some pretty lavender stripes for the card base, and we will be using the lavender florals for the gatefold portion of this card.

I will give you all of the measurements for the layers and gatefold in today's video. Also, for the front flaps of the gatefold we will be using the Ai Journal Cover & Bookmark Dies (5723) to create the pretty scalloped edge.

Now for the inside of the gatefold we will use the Ai Nested Heart Dies (5721) and then we will add the "Easter Blessings" sentiment to a fun little banner using the Ai Journal Template Dies (5543). This set has several fun dies for all of your card making needs!

Finally, to complete the elegant look of this card let's add a few sparkly lavender gems!

This card would be wonderful for a wedding, thank you and sympathy card as well!

Thank you so much for joining me today!  Have a fun and crafty day!!!

Ai Butterfly Clasp Dies (5590)

Ai Journal Cover & Bookmark Dies (5723)

Ai Nested Heart Dies (5721)

Ai Journal Template Dies (5543)

Post-it Labeling and Cover-up Tape


Tuesday, February 27, 2024

Irish you a lucky day! by Reneé Matarese

 Hello everyone!

We're just 19 days away from St. Patrick's Day.
I was flipping through my book of stamps and came across this
little cutie and really wanted to use him.


All images and the sentiment are from 5006 – Sham-rock Set.  My husband and I aren't Irish (at least not that I know of) but I like to share a little Leprechaun love each St. Patrick's Day.


Copics used:
YG09, YG17, C1, T3,
E000,E02, E07, E21, E29, E43, E97
Signo Pigment Ink Gel Pen – Gold


Monday, February 26, 2024

Having a bad day? by Sharon Caudle

 Hello AI Fans!


My card today features another Laugh Lines Set! This one is #5518 Hot Mess. LOL! How many times have you felt exactly like this? I know I've sure been there a few times. HAHA  If you haven't entered our "That's Ridiculous" challenge, you still have a few more days to do so! Just make a funny card or project and you might win a free stamp set of your choice! I also used #5741 Valentines paper pack. She's stamped with Memento ink and colored with Copic markers which are listed below. 


That's it for me today! Thanks so much for stopping by for a visit and until next time - stay crafty!


Copic markers used:

E000, 00, 11, 21, 23, 33, 35, and 37

B00, 21, and 23

G82 and 85

R20

Y26


Sunday, February 25, 2024

Watercolor Weekend by Jami Steiger 2/25/24


Hello Ai friends!  Today I have 2 cards to share.  It has been cold, dark and dreary for a long time here in Ohio so when I made these cards my mind was moving towards the up coming spring season.  I love spring colors as you will see in the cards I created for this weekend.

For the first card I heat embossed the roses on the pink card base using a Versamark ink pad and clear embossing powder.  For the background paper I created my own using the same rose and leaves stamp from 5831 WC Rose Set and a branch from 4964 WC Branches.  The circle cutout was done with the chickadee from 5419 Bible Icons.  All of these stamped pictures were painted using the following Tombow Markers #569, 969, N55, N25, 177, 977, 772 and 723.  I added some berries to the branch that the chickadee is standing on from 5130 On the Sparrow.  The dies used in the making of this card were the following: 5726 Nested Circle Dies, the lattice detail from 5805 Mini Journal Box and the scalloped edge from 5543 Journal Template Die set.  I used pink ribbon and mini pink pearls from my embellishment stash.


My goodness this card makes me smile!  I love these gnomes from Bonnie.  For the juggling gnome I used the gnome with his hands in the air from 5785 Gnomes.  The bunny ears and eggs were hand drawn.  For his darling house I used 5738 Easter Egg House.  The house and gnome were painted using these Tombow markers, #569, 969, 879, 977, 452, 676, 025, N55 and 177.  I used the small grass from 4051 Foliage and 5009 WC Mini Flowers for the details on the house and under the gnome.  The patterned paper came from 5742 Easter patterned paper.  The dies used were the following: 5724 Nested Rectangle Dies, the word "Spring" from 5719 Fence and Window Dies and the banner from 5809 Decorative Journal Page 2.  Lastly I added some white details using Dr. PH Martin's bleed proof white.


I hope these cards make you smile and give you a little inspiration.


Friday, February 23, 2024

Hello Friend Card by Tasha!

 Happy Friday Ai Friends!

Tasha here, sharing a cheerful card featuring the playful 5000 - Gotta Garden Set. With spring on the horizon, I'm excited to dive into planting new flowers. This lovely lady from the set looks ready to enjoy gardening on a beautiful spring day.

For this card, I stamped the lady and used masking paper to protect her while I painted the sky and ground. Instead of using a cloud stencil, I made a unique blue background and added fluffy white clouds. The bright white clouds pop against the pretty blue colors.


To finish the card, I layered black cardstock, gold glitter paper, and a bright yellow plaid paper to match the blue colors. I adore blue and yellow combinations!

I hope you enjoyed today's project and are having a wonderful day!


Thursday, February 22, 2024

That's Ridiculous Challenge #370 Week #2

Hello Ai fans! 

Welcome to week #2 of our That's Ridiculous Challenge.

We want to see your humorous craft projects.

Last week Tasha was our Featured Designer and she made this adorable treat box card.
You can hear all about her card/box and find her picture tutorial on the Week #1 post.


This week we're sharing what the rest of the Design Team made.

First up is Lynn.
She has a video tutorial for her card.

Ai Practically Perfect Set (5280)
Ai Journal Oval Frames (5588)
Ai Journal Template Set (5543)
Ai Mini Birthday Paper Pack (5873)


✻ Please make a new card or handmade crafty creation. You can make any item you wish; this is not limited to cards!

✻ Limit two submissions per person. You will receive extra votes if you use Art Impressions stamps!
 ✻Please include your first name and last initial on your submission.
✻We love to comment on your entries, but keep in mind if you use a private group or a platform that you need to sign up for, we probably won't be able to.
✻ The Ai Challenge is open to everyone, international submissions are welcome!
✻ Include a link back to the Ai Blog or grab our button on the top right of our sidebar!
✻ Share the Ai love if you can, by clicking and commenting on your fellow crafters.
✻ Make sure to get your link up by the deadline to enter your creations.
✻ Good luck and happy stamping!

You are invited to the Inlinkz link party!

Click here to enter

Wednesday, February 21, 2024

Double Flap Gatefold Birthday Card by Lynn Dionne

Happy Wednesday Ai Fans!!!

Watch video tutorial here!!!


Today we will be creating a "Double Flap Gatefold" card! When you open the card, one of the flaps will go to the left and the other goes to the right! It's a unique variation on a gatefold card that is lots of fun!

For our focal image we will be using the Ai Practically Perfect Set (5280). These adorable ladies are really going all out for this birthday celebration with cake, gifts, party hats and lots of confetti! There are also three perfectly coordinated sentiments included in this set.

We will first die cut the scallop ovals out of some lavender cardstock and the plain ovals from some white 100lb cardstock. These dies are from the Ai Journal Oval Frames (5588) Set.

Let's start by stamping these ladies onto the largest white oval and the sentiment onto the smaller white oval. Now we can do some coloring using the Zig Clean Color Real Brush Pens in the following colors: Blender, Sugared Almond Pink, Peach Pink, Flesh Colour, Yellow, Pale Violet, Lilac, Pale Green, Lt Green, Lt Blue, Cobalt Blue, Haze Blue, Lt Gray, Beige, Gray.

Let's assemble the ovals and add a strip of green plaid paper underneath the sentiment for a bit more interest. We will also add some pretty lavender gems to this strip of paper for some sparkle!

Now we can create the gatefold card base using the lavender cardstock and we will add some patterned paper panels from the Mini Birthday Paper Pack (5873) to the inside of the card and onto the flaps on the front of the card. I will show you exactly how to create this gatefold and give you all of the measurements in today's video!

We will also add a scallop border to the left and right side of the inside of the card using the Ai Journal Template Set (5543). This will coordinate nicely with the scallop ovals on the front of the card.

Finally, we can glue the ovals to the two front flaps of the card. We will glue half of the oval with the ladies to the left panel and half of the oval with the sentiment to the right panel. This cute sentiment will say "A year older and still RIDICULOUSLY FABULOUS"!

This birthday card will bring a smile to anyone's face, and it is so easy to create!

Thank you so much for joining me today!  Have a fun and crafty day!!!

Ai Practically Perfect Set (5280)

Ai Journal Oval Frames (5588)

Ai Journal Template Set (5543)

Ai Mini Birthday Paper Pack (5873)

Post-it Labeling and Cover-up Tape