Showing posts with label 5783 Fall Leaf Frame Die Set. Show all posts

Tuesday, October 28, 2025

Froggy Tag Card with Gift Card Holder by Reneé Matarese

 Hello Ai fans!!

Uh oh...

Along Came a Spider!


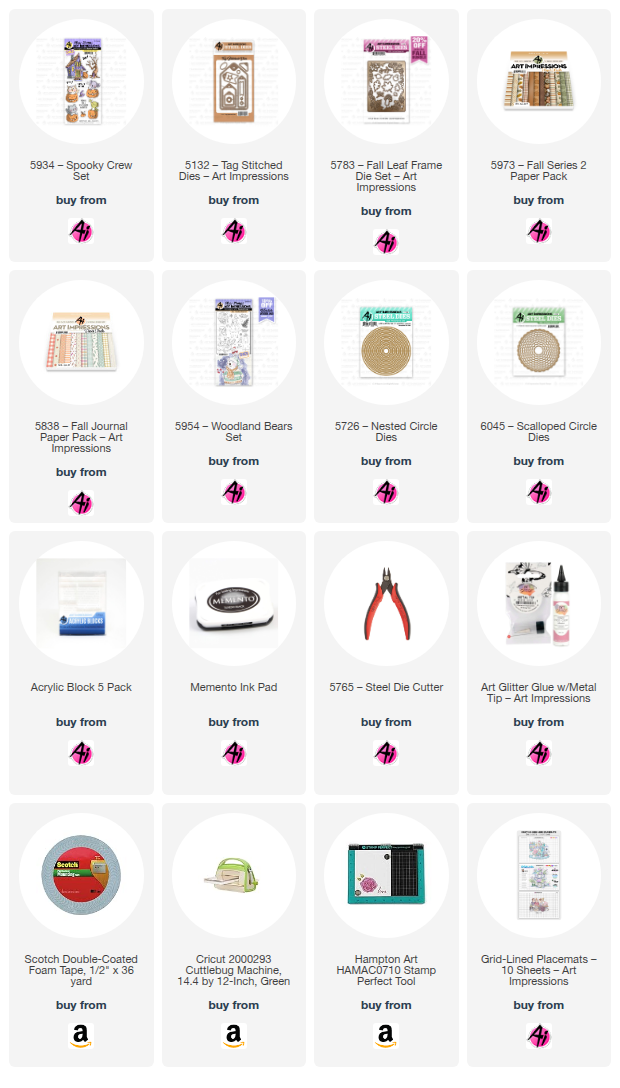
My little froggy from 5934 – Spooky Crew Set doesn't seem to mind the spiders
nearly as much as I would. I used two little spiders from 5601 – Halloween Accessories Set.
My card was created for the Along Came a Spider challenge. (No, it doesn't need to be
Halloween themed.)

I used some green gingham from 5973 – Fall Series 2 Paper Pack,
orange striped paper from 5838 – Fall Journal Paper Pack, 
and added a verse from the
Spooky Crew set, stamped inside of 5726 – Nested Circle Dies and
6045 – Scalloped Circle Dies.
My tags on the inside and out were all cut with 5132 – Tag Stitched Dies.


The verse on the front is from 5954 – Woodland Bears Set.


The leaves, twigs and mushrooms, inside and out are from 5783 – Fall Leaf Frame Die Set.
I cut the inside tag twice to create a little pocket to make this a gift card holder.


I think my card has Fall sophistication with a cute touch.
I hope you like it and will join our challenge.


Copics used:
G20, G21, G94, YR01, YR12, YR15, YR21, YR27, YR31

Sunday, September 21, 2025

"Sow Kindness, Harvest Friendship" and "Game Day!" Cards by Diane Mason

  Hello, and welcome back for Watercolor Weekend!

Tomorrow marks the first day of fall here in the U.S. After a long, hot summer, many of us are eager for the cool, crisp air, vibrant autumn leaves, football games, and harvest celebrations that this season brings. To celebrate, I have two cards for you today that capture the essence of this colorful season.

"Sow Kindness, Harvest Friendship" Card:


I love decorating my home for fall with all the rich autumn colors and cozy seasonal décor. When I think of this time of year, I picture vibrant leaves, pumpkins, and harvest-inspired touches—and that’s exactly what inspired my first card today! The 5507 – Harvest Together Set is perfect for capturing that feeling, with two adorable scarecrows (boy and girl), cheerful crows, a sunflower birdhouse, and plenty of fall sentiments to choose from.


I just adore the happy little girl scarecrow from the 5507 set! For this card, I wanted to build a scene with the scarecrow girl, the birdhouse, and the perching crow. I like to imagine the crow isn’t afraid of her at all—instead, he’s more like a little friend. She looks absolutely delighted to see him!

Whenever I create a scene, I always start with a quick “blueprint” to plan out how I’d like everything arranged.


Once I finalized the layout of the scene, I stamped the images onto Canson XL watercolor paper. I began by inking the scarecrow girl with 947. Using my placement blueprint, I inked the crow’s body with 565/969 and its beak and legs with 026. Following the same blueprint, I inked the birdhouse with 947. Before stamping it, I applied Post-it tape masks over the scarecrow and crow where the birdhouse would overlap. After removing the masks, the birdhouse appeared behind the scarecrow, with the crow perched on the roof. Finally, I used a damp brush to pull color from the stamped images, adding contours and shadows.


Here is a list of colors I used for this card:

  • Crow: N25 (body), 025, 026 (feet and beak)
  • Scarecrow Girl: 850, 910, 912 (face and hands)
  • Cheeks, Nose, Eyebrows, Neck String: 905, 925
  • Hair: 025, 026
  • Shirt: 947 (plaid)
  • Pants: 177
  • Apron: 990, 992 (apron), 925 (patch pocket)
  • Sunflowers: 022, 026 (petals),177, 133 (leaves and stems), and 969 (flower centers)
  • Hat: 905, (hat), 925 (patch)
  • Basket: 977, 969
  • Apples: 856 (red), 025, 026 (yellow),133, 177 (green), 969 (stems)
  • Boots: 947
  • Birdhouse: 856, 565, 969, (house), 977 (roof), 990, 992 (trim, stand and post), 969 (woodgrain)
  • Foliage and grass: 177
  • Sky: 526

To ground the images, I added grass from the 4051 – WC Foliage Set 1 and foliage from the 5476 – Foliage Set 5, both inked in 177, to complete the scene.

Next, I used the largest stitched oval from the 5065 – Oval Double Stitched Dies to cut a window from an A2-sized piece of patterned paper. I centered the painting behind the opening and adhered both onto a brown cardstock base.

For the sentiment, I stamped “Sow Kindness, Harvest Friendship” from the 5507 set with VersaFine Vintage Sepia ink onto yellow cardstock, then die-cut it with a banner die from the 5952 – Portfolio Template Die Set. I trimmed the right side of the banner and popped it up with foam tape for dimension.


For the inside of the card, I stamped the sentiment in Vintage Sepia ink onto a stitched white cardstock rectangle and added a strip of patterned paper along the bottom edge. The fall leaves were die-cut from colorful paper scraps using the 5783 – Fall Leaf Frame Die Set.

I love how this sweet fall card came together! With its cheerful friendship theme, it’s the perfect card to pop in the mail to a friend and send a little Happy Autumn cheer! 🍂✨

“Game Day!” Card:


Obviously, fall means football! For years after graduating college, my husband and I would load up the car and head back to our Midwestern alma mater to cheer on the Missouri Tigers. Those trips hold so many great memories. So, when I spotted the striped overlay stamp for the giant drink tumbler in the 5928 – Stay Hydrated set, I immediately thought it would be perfect for dressing up this sassy gal in black and gold—ready to head off to the game and cheer on the Tigers!


Here is a list of colors I used for this card:

  • Hair: 025, 977
  • Cheeks: watery mix of 856
  • Lips: 837
  • Face, Hands, and Ankles: 910, 920
  • Shirt: 025, 026
  • Top: 025, N25 (stripes)
  • Sunglasses, Purse, Pants, Shoes: N25
  • Drink Tumbler: 025, 026 (cup), N52, 565 (lid & straw)
  • Football: 947
  • Megaphone: 025, 026 (megaphone), Winsor & Newton Ink – Silver (handle and mouthpiece.
  • Shine marks on sunglasses: Dr. Ph. Martin’s Bleed Proof White

To create the football field background, I die-cut a piece of green cardstock using the largest die from 5062 – Rounded Rectangle A2 Double Stitched Dies. I added three 1/8-inch strips of white cardstock for the field lines and die-cut the line numbers from white cardstock with the 5562 – Journal Letter Die Set.

Since I planned to adhere the field to a black card base, I wanted to add a pop of visual interest and tie in the team colors of black and gold. To do this, I traced around the outside edge of the largest rounded rectangle die onto yellow cardstock to create a mat, then hand-cut it with scissors.

The megaphone and football, both from 5510 – Sport Accessories, made perfect embellishments for this sporty card. For the sentiment, I typed “Game Day!” on my computer, printed it onto white cardstock, and die-cut it with a banner die from 5952 – Portfolio Template Die Set. I also matted the banner with yellow cardstock for an extra touch of team spirit.

To finish, I popped up the sassy girl with her tumbler, the megaphone, football, and sentiment with foam tape for dimension.


I always like to finish the inside of the card. For this one, I stamped a sentiment from the same set (5928) in VersaFine Onyx Black ink. To carry the football field theme inside, I added a strip of green cardstock for a pop of color. Go Tigers! 🐯 🏈🖤💛

That’s all for now—thanks so much for stopping by for Watercolor Weekend! I hope you enjoyed today’s fall card projects. If you feel inspired to create your own version of this card and show off your team spirit in your team colors, be sure to tag us on social media—we’d love to see it! Until next time, Happy Painting!


Saturday, September 13, 2025

🍂 Hello Ber Months: A First Fall Card of the Season! by Janet

The Ber months (September, October, November & December) are finally here! Today I'm using a charming stamp from the Watercolor Journals line. It's called 5593 - Harvest Scenes Set. I picked it up sometime in the spring or early summer and I've been eyeing it ever since, waiting for it to be the right time. Finally, the moment has come!

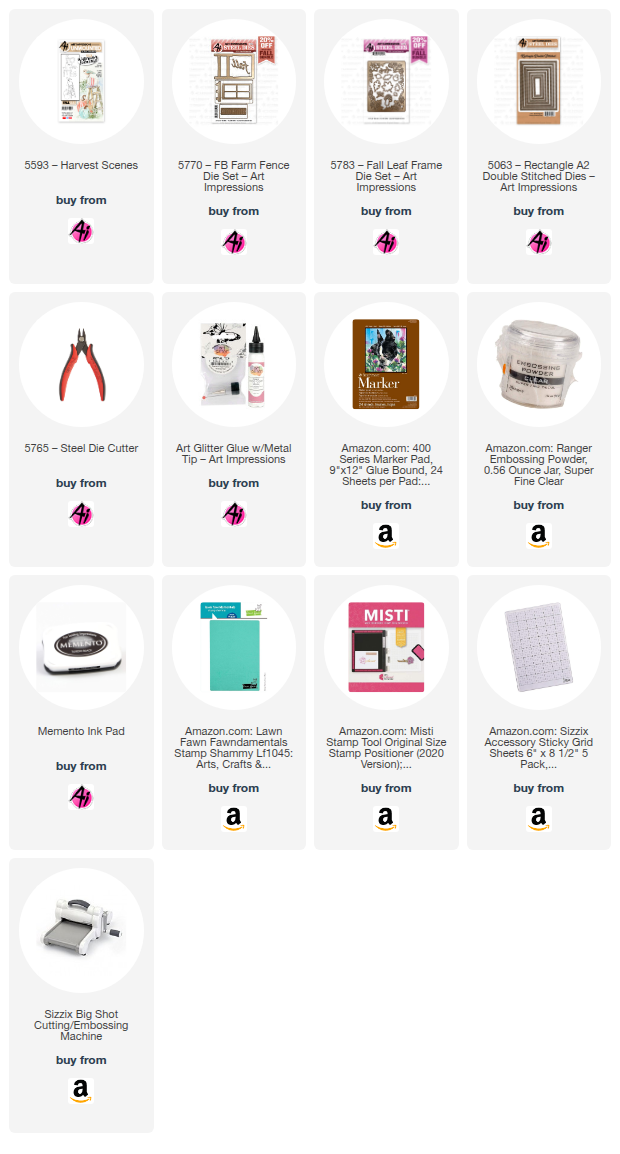
I started this scene by cutting a rectangle with 5063 - Rectangle A2 Double Stitched Dies from marker friendly cardstock. Then I  stamped one of the two fall images in the set with the ladder. I colored it with Copic markers in pretty fall colors. I chose a card base with a pre-printed foil frame from my stash. I attached my colored panel with foam tape and centered it in the middle of the frame. 

The ladder image is designed so that you can stamp in flowers or greens coming out of the pot. I had another idea and instead I cut a slit along the rim of the pot with my craft knife. Then I cut some sprigs in fall colors from the 5783 - Fall Leaf Frame Die Set and slipped each under the slit. I secured them on the other side with a piece of washi tape. I also cut two leaves that I placed in the bottom corner. The last touch comes from the word die, "fall," which is found in the 5770 - Farm FB Fence Set. I cut it twice in different colors and stacked them together to get a little dimension and a two-tone color effect.

I love how this turned out and it just proves again that the watercolor sets can be used with Copic markers or pencils and you aren't limited to just watercolor. Some of the cutest stamps in the store are labelled for watercolor but don't let that stop you if you prefer another medium. They can all be adapted to your favorite coloring tools.

Thanks for joining me here today. As always, don't forget to find your favorite stamps, dies, papers, and accessories at the Ai Store! You'll always find something that calls to you. 

Happy Crafting!

Janet - YouTube - Blog - Facebook - Instagram - Pinterest  

Saturday, November 2, 2024

Fall Thanks by Janet


Hello everyone! I'm here today with a project inspired by the current Ai Blog challenge, All the Fall. This is so perfect for the season. I know we're all making Thanksgiving cards so post your creations on the challenge post, show off your talents, and get a chance to win a free stamp set! Post your creations HERE.


To start my project, I stamped and colored the fox image from the 5191-Feast Mode Set with Copic markers. I've been trying to improve my fur work and this was a perfect image to practice with. However, I always highly recommend to people that they can copy the package illustrations with Ai sets to get great results. Following it makes it easy if you want a good result without guessing what to do. Once colored, I fussy cut the image including the falling leaves on each side of the fox.

Next, I cut a piece of white shimmer cardstock that is approximately 1" wider than the measurements of the 5783-Fall Leaf Frame Set. I used 1/2" wide washi tape to mask off the 4 sides of the panel and then I blended Oxide inks into the center of the panel to create the background. Once I blended the ink, I splattered some watered down ink and some water droplets on the background to add some texture. Once dry, I peeled off the washi tape border. Then I added the magic of the Fall Leaf Frame on top. The frame fits the background perfectly, leaving a 1/2" border of white all around it. I cut out a few more leaves from the frame set and arranged them on top in orange, red, and kraft cardstock.

At this point, I tucked the fox into the frame and adhered the leaves that I had also fussy cut with the image and placed them approximately where they were in the original design. A sentiment was needed so I used a banner die from the 5543 - Journal Template Die Set and stamped it with a sentiment in the stamp set. I glued it in place and then glued the panel to a pre-patterned A2 card base. Finally, I added three gold glitter enamel dots in the corners to finish it off. One thing I like about my card is that there's lots of dimension and depth but it will fold completely flat for mailing.

Thanks so much for joining me to see what I created for you today. Please visit the Ai store for the sets I used and all the things you need for your card, journal, and tag making projects. Happy creating!

Janet - YouTube - Blog - Facebook - Instagram - Pinterest  


Thursday, October 31, 2024

Hello Fall by Dori Mendiola

 Happy Thursday AI Friends!

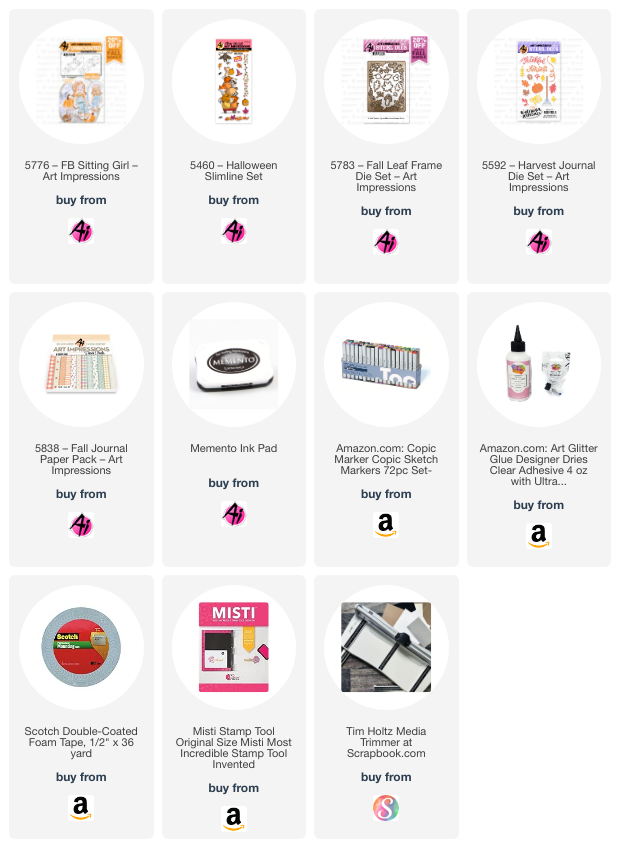
My card today is inspired by the Challenge "All the Fall".  I should probably have made a Halloween card since today is Halloween, but oh well.  😏  Instead, I chose to welcome in the Fall season using the 5776 Front and Back Sitting Girl, the 5460 Halloween Slimline and the 5783 Fall Leaf Frame die.

I began by stamping the images using Memento black ink on copic friendly paper and colored with copic markers listed below.  For the wagon and the pumpkins, I did a partial stamp of the bottom portion of the 5460 Halloween Slimline set.  I used the die to cut it out and then cut off the owl and above leaving the pumpkins and the wagon.  The sitting girl fits perfectly on the pumpkins and I added a leaf to cover the missing portion of the pumpkin.  I cut her arm to place the leaves under so it looks like she is holding them.  

I cut two leaf frames from two different colors of cardstock and inlaid the opposite color die cut pieces into the corresponding spot on the other frame.  This will give you a two for one frame to use on another card.  I placed a piece of the falling leaf pattern paper from the 5838 Fall paper pack behind the frame for the background.  I then popped up the girl sitting on the pumpkins and adhered to the frame.  Since I didn't have the same color pop dots or nuvo drops, I made my own.  I placed a piece of packing tape over the rust colored cardstock and punched out several pieces using a hole punch.  The packing tape gives a glossy look, but you can also add glossy accents.  I recommend adding the glossy accents after adhering the dots to your card as they are tiny and hard to work with when loose.

Hope you enjoyed my card today!

Happy Halloween, Happy Fall and Happy Nevada day for those of us in Nevada.

Copics used:  E00, E01, E8, E11, E13, E15
E21, E23, E25, E42, E44, E47, E53
N0, N2, N4, N6
R20, RV52, RV55, RV66
YR14, YR16, YR18, YR21, YR68

Sunday, October 20, 2024

Tis the Season for Pumpkin Spice and Warmest Wishes cards by Diane Mason

Hello, and welcome back for Watercolor Weekend!


Hello, Ai Watercolor Friends! I hope you are enjoying a fabulous fall weekend! For the last several weeks, it has been unseasonably hot in the San Francisco Bay area. It has finally cooled down, and it’s beginning to feel like fall has arrived—so bring on the Pumpkin Spice!

Today, I’m excited to share two Woodland Critter cards with you, one for fall and the other for Christmas. These cards feature stamped images from the recently released 5953 – Woodland Critters Set, KH5951 – Foxes Set, and 5954 – Woodland Bears Set. These new sets are so adorable, and both the Woodland sets come with dies that can be used to cut the images out!

Tis the season for Pumpkin Spice card:

Both of my cards today feature the adorable little squirrel from 5953 – Woodland Critters Set. I just love this sweet little image of a squirrel enjoying a hot beverage! I wanted it to appear that he was enjoying a Pumpkin Spice latte, so when I inked the stamp in 565/969 I purposely left off the candy cane. First, I selectively stamped the two pumpkins (from the pumpkin pile) from 5595 – Harvest Pumpkin Set in 969 and the stems and leaves in 249. I masked the pumpkins, and then stamped the squirrel image, remembering to leave off the candy cane. The leaves in the foreground are from KH5951 – Foxes Set and were stamped in 969. I watercolored the squirrel in 947 and 969. I added rosy cheeks with a touch of 856 and also inside the ears. I used 312 to paint the scarf and the plaid stripes. For the coffee mug, I used 993, 933 and 947. I shaded the whipped cream with 565. I painted the cinnamon stick with 947. For the left pumpkin, I painted it with 933 and 925. For the right pumpkin, I used a combination of 993 and 933. The stems and leaves were painted with 312. The tree stump was painted with 947 and 969. I washed in the grassy area with 312 before adding leafy foliage around the squirrel from KH5951 in 312, 249, and 993. I painted the leaves in the foreground with 993, 933, 312, and 947. I added grass with 249 using the tiny grass stamp from 4051 – WC Foliage Set 1. The sky was washed in with 565. I darkened the squirrel’s eyes and nose with a brown TwinTone. I also used the brown TwinTone to add back some details.

The “Tis the season for Pumpkin Spice!” sentiment from 5191 – Feast Mode Set was stamped in orange on watercolor paper and die-cut using a tag die from 5132 – Tag Stitched Dies. Using the leaf dies from 5783 – Fall Leaf Frame Die Set, leaves were die-cut from cardstock, embellished, and attached to the tag. The plaid patterned paper is from the 5838 – Fall Journal Paper Pack. The painting and tag were both mounted with foam tape for added dimension.

For the inside of the card, I stamped the sentiments from 5600 – Harvest Sentiments Set in green and orange. The pumpkin and vine in the corner are from 5595 – Harvest Pumpkin Set.

Warmest Wishes card:

For my second card, I inked the squirrel image from 5953 with 565/969. The squirrel’s body and tree stump were painted in the same way as the first card. For the scarf, I left it white and added shadows with 565. I then added a green plaid stripe using 177. The hot cocoa mug and candy cane were painted in 856. I added a green stripe to the mug in 177. Again, the whipped cream was shaded with 565.

I brushed in a watery sky and added snowy shadows with 565. Once the painting was thoroughly dry, I heat-embossed the snowflake images from the 5954 – Woodland Bears Set using VersaMark clear embossing ink and Ranger’s White Super Fine Detail embossing powder. Additional snow flurries were dotted in with Dr. Ph. Martin’s Bleed Proof White.

The peppermint striped patterned paper from 5853 – Christmas Magic Paper Pack was die-cut with the second largest banner die from 5134 – Banner Double Stitched Dies. To create a flap for the card front, I needed the banner to be longer to make a fold at the top. To extend the banner, I did a partial cut, then shifted the die and did another partial cut, and voilà – a longer banner die-cut! The card front was matted with red embossed cardstock. I used double-sided tape to attach the banner flap to the inside and folded it over to the front. The painting and embellishments were arranged and popped up with foam tape (leafy vine from 5805 – Mini Journal Box Dies, snowflakes from 5782 Snowflake Frame Die, and decorative frame cut in half from 5768 – Decorative Journal Page Set 1). I stamped the Merry Christmas sentiment from 5953 – Woodland Critters Set in green, die-cut with a banner die, and mounted with foam squares

To open the card, you lift the banner and open the card from left to right. For the inside of the card, I added a strip of patterned paper to the bottom edge, snowflake die-cuts from 5782, and stamped the sentiment from 5566 – Christmas Sentiments Set in red.

Thank you for joining me for Watercolor Weekend! I hope these cards brought you as much joy as they did for me while making them. It was a fun challenge to use the same image and adapt it for both fall and winter. Until next time, Happy Painting!