Showing posts with label 5954 Woodland Bears Set. Show all posts

Tuesday, October 28, 2025

Froggy Tag Card with Gift Card Holder by Reneé Matarese

 Hello Ai fans!!

Uh oh...

Along Came a Spider!


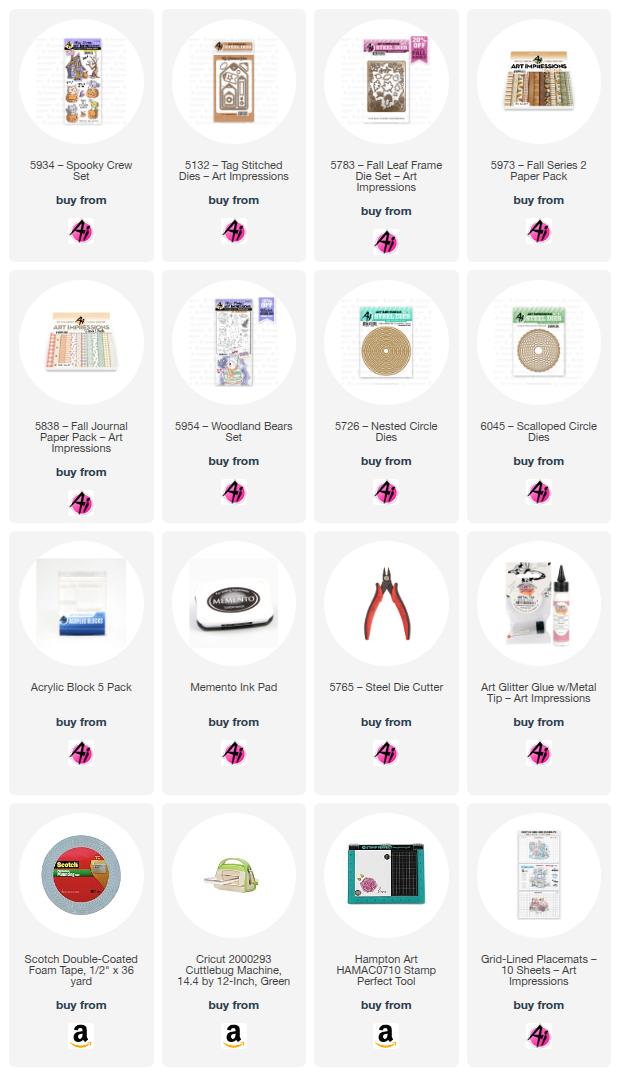
My little froggy from 5934 – Spooky Crew Set doesn't seem to mind the spiders
nearly as much as I would. I used two little spiders from 5601 – Halloween Accessories Set.
My card was created for the Along Came a Spider challenge. (No, it doesn't need to be
Halloween themed.)

I used some green gingham from 5973 – Fall Series 2 Paper Pack,
orange striped paper from 5838 – Fall Journal Paper Pack
and added a verse from the
Spooky Crew set, stamped inside of 5726 – Nested Circle Dies and
6045 – Scalloped Circle Dies.
My tags on the inside and out were all cut with 5132 – Tag Stitched Dies.


The verse on the front is from 5954 – Woodland Bears Set.


The leaves, twigs and mushrooms, inside and out are from 5783 – Fall Leaf Frame Die Set.
I cut the inside tag twice to create a little pocket to make this a gift card holder.


I think my card has Fall sophistication with a cute touch.
I hope you like it and will join our challenge.


Copics used:
G20, G21, G94, YR01, YR12, YR15, YR21, YR27, YR31

Thursday, October 2, 2025

Winter Wonderland by Dori Mendiola

 Happy Thursday AI Friends!

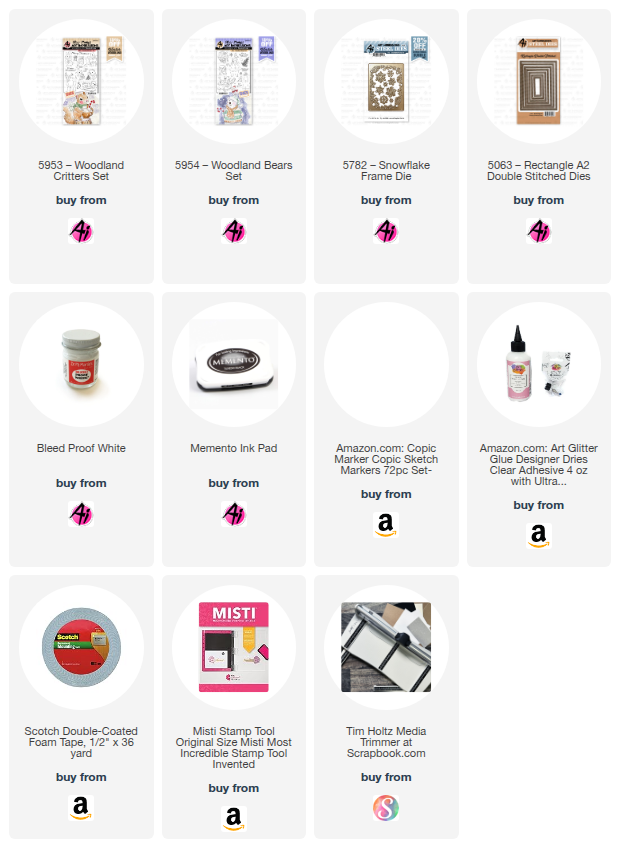
I was having too much fun making cards for the current Blog challenge "In The Navy" so I'm sharing two of the them with you today.   I used the #5953 Woodland Critters and #5954 Woodland Bears.  These would make such a cute gift set for that special someone that has everything.  What's better than giving/receiving handmade gifts?


I started out by stamping the images onto copic friendly paper with Memento black ink and colored with my copic markers listed below.  Each of the images in both sets come with corresponding dies.  As usual, I die cut an extra set from heavy cardstock.   I love the dimension and stability.

Card #1:  I created a fun pull tab interactive card where the critters slide down the hill when pulling the tab.  This is a square 4 3/4 inch card.  To make the stitch border, I partial cut two sides using the largest #5063 Rectangle A2 Double Stitch die and then cut the other sides to make this large square.   I spattered Dr. PH Martin's Bleed Proof White paint onto the navy blue cardstock base to create a snowy background and also glued some of the snow die cuts that were left over from card #2.  The stitch snowy hills were using dies from my stash. 
Card #2:  I created a popped up frame card.  Using the #5782 Snowflake Frame die, I die cut two frames with heavy cardstock and glued them together.  Saved some of the snowflake pieces from the frame die cuts and used on card #1.  This card measures 3 1/4 x 4 1/4 inches.  I spattered Dr. PH Martin's Bleed Proof White paint onto the navy blue cardstock base to create a snowy background.  Again, I used a curvy stitched die from my stash to create the snowy hillside.  I popped the frame and the images up using foam tape onto the hillside.  Added a bow and the card is finished. 
Hope you enjoyed my cards today and you decide to join us in the Blog challenge.  See above tab for details and a chance to win a free stamp set.  We love to see your creations!

Have a great day and keep creating!

Copics used:  E30, E33, D35, E37, E40, E41, E43, E44
E51, E53, E55, E57, E59
N1, N2, N3, N4
Y13, Y17, Y19, 23, Y26, 
R20, R22, R24, R27
BG90, BG93, BG96, BG99
BV20, BV23

Friday, June 27, 2025

Season's Greetings! Card by Tasha

 Happy Friday Art Impressions Friends!

Tasha here sharing a new card inspired by the current Art Impressions LEON Day! Challenge. Can you believe we’re already halfway to Christmas? LEON (which is “NOEL” spelled backward) is the perfect time to start thinking about winter cards, and I had so much fun creating this snowy design!


For my project, I used the adorable 5954-Woodland Bears Set. I just love this little bear and the sweet bird; it’s such a cozy winter scene! I stamped the main image with black ink and used the coordinating die to cut it out before coloring the image with Copic Markers.


To build the background, I layered white cardstock to look like a snowy hillside and added several pine trees behind the bear to create a forest effect. For the sky, I used a snow print pattern paper with falling snowflakes; it really adds a winter feel.

To complete the card, I added layers of silver glitter paper for some sparkle, along with green, white, and blue cardstock. I also included a piece of Art Impressions’ winter-themed patterned paper to tie everything together.

I hope you enjoyed today’s card and feel inspired to join the LEON Day! Challenge; it's a great excuse to start your holiday crafting early!

Have a wonderful weekend!


Thursday, March 13, 2025

I Like to Move it, Move it!" Challenge #399 Week #1

Hello Ai fans!

Welcome to our new, "I Like to Move it, Move it!" challenge!

We want to see your projects that have movement on them.

These can be sliders, shakers, wobbles, pop up cards etc. You name it! If something on your project moves, then it qualifies.

Our featured artist is Dori Mendiola but before we see her amazing birthday card, we need to see who won our last challenge.

Out Top Spot went to Rachel B. for her wonderful interpretation of Carol Hintermeier's card.


Here is Carol's card that Rachel CASEd.

Please contact Leah at Feedback@artimpressions.com
to claim a free stamp set of your choice!!

Our Lucky Random Winner was 

Kimberly W.


Kimberly was inspired by this card from Amy Tsuruta.


Please contact Leah at Feedback@artimpressions.com
to claim a free stamp set of your choice!!

Now let's see Dori's fabulous creation. You're going to LOVE it!

---------------------------------------------------------------------------------------------------------------------------
 
I am soooo thrilled to be the feature for this challenge - "I Like to Move it, Move it".  I am such a fan of interactive cards, so this is a delight for me.  I had soooo much fun creating this card and I am soooo excited for how it turned out.  

First of all, I stamped all of the images on copic friendly paper with Memento black ink and colored with my copic markers listed below.  Some images were dies so I cut them with copic friendly paper and then colored with copic markers. 
I cut two 4 1/4 x 4 1/4" pieces of heavy white cardstock and scored each piece at 1".  Do NOT adhere together yet as you need to place the acetate pieces in between.
  
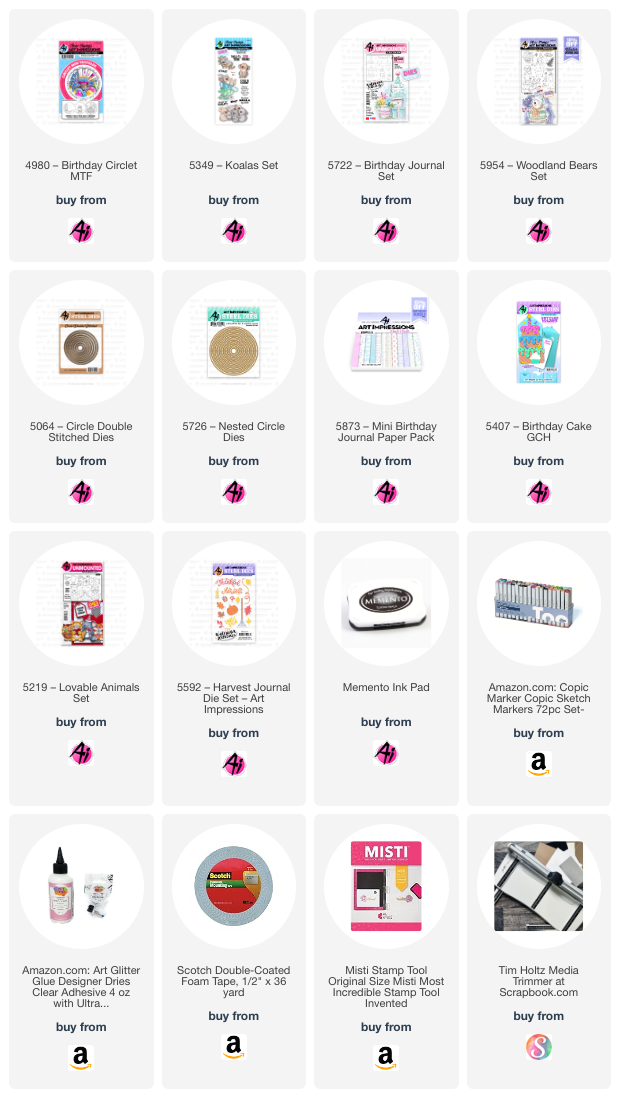
Let's decorate the front of the card first.  I matted a piece of pattern paper onto a piece of purple cardstock allowing for an 1/8" border around all sides.  This is then adhered to one of the white cardstock pieces. The 1" fold should be towards the back at the bottom.  I started by using the front layer (balloons) of the #4980 Birthday Circlet MTF.  I die cut this layer with the coordinating die and then cut the whole circle with one of the #5726 Nested Circle dies.  I used the koala sitting in the teacup from the #5349 Koala set and cut him off of the teacup so that I could place him on the stack of presents from #5954 Woodland Bears set.  I only used the bottom three presents of that stamp so that it fit nicely in the circlet.  I popped the circlet onto foam dots and placed onto a stitched circle die cut from purple cardstock.  I then glued the bottom two presents behind the balloons and popped up the top present as well as the koala so that they sat on top of the circlet.  I colored several confetti pieces from the #5407 Birthday Cake GCH and adhered them to the front of the card.  I saved several colored pieces for the inside of the card.  

Now, for the inside of the card.  I cut several strips of acetate, about 1/2" x 3" for each item.  I arranged the images how I wanted them to pop up over the front flap of the card.  I glued each to the top of a piece of acetate making sure there is enough acetate at the bottom to glue between the 1" folds.  Once the images are glued to a piece of acetate, I then glued the bottom of the acetate to the back of the front flap fold.  When all of the acetate pieces are glued down, I took the back flap and glued the two fold pieces together, making sure the acetate pieces are glued in firmly.  I then finished decorating the inside of the card with pattern paper and purple cardstock over the exposed white cardstock.  Lastly, I added the final pieces of confetti to decorate.  

Below is a video of how the card wobbles.


I hope you enjoyed my feature card and that it has inspired you to enter our bi-weekly challenge for a chance to win a free stamp set. We love to see what you create!
Have a great day and happy creating!
Copics used:  E21, E50, E51, E53
W5, R20
Y11, Y21, Y23, Y35
RV55, RV63, V12, V15
G40, G43, B41, B45

You are invited to the Inlinkz link party!

Click here to enter

Sunday, January 19, 2025

Tweet Valentines by Diane Mason

 Hello, and welcome back for Watercolor Weekend!

Hello, Ai Watercolor Friends! I’m happy to share my first Watercolor Weekend of 2025 with you. January 1st marked my 2nd anniversary as a member of the Ai Watercolor Design Team, and it’s been a wonderful two years. Today, I have two “Tweet” Valentine’s Day cards to share with you. Let’s get started!

My first card draws inspiration from a recent watercolor tutorial by Bonnie Krebs that featured birdhouses. Although I’ve had this set for quite some time, I realized I had never used the birdhouse image—so I decided it was the perfect opportunity! While I’ve designed this card as a Valentine’s Day card, the image is versatile and could easily work for other occasions like birthdays, thinking of you, or just saying hello to a friend.

I started by inking the birdhouse image from 5739 – Birdhouse Village Set with 565 and 969, stamping it off once before applying it to my watercolor paper. Next, I stamped the flower images from the same set, using 743 and 856 for the ink. To create depth, I masked areas as needed to allow the flowers to overlap.

Using a damp brush, I pulled color from the lines of the birdhouses to create shadows and contours, adding dimension to the image. For the flowers, I pulled color from the stamped lines as well and enhanced their shapes and details with additional color from my palette. For the fine details on the petals I used a Strawberry Red and Fuchsia Pink TwinTone marker.

I painted and decorated the birdhouses with 743, 856, 565, 407, and 947. Additional details were added to the birdhouses using a Brown TwinTone marker, a Navy TwinTone, Dr. Ph Martin’s Bleed Proof White, and a good old #2 pencil.

The bluebird’s body was painted with 535 and his tummy was painted with a mix of 856 and 947. A brown TwinTone was used for the beak, eye, and feet.

Before adding the greenery, I brushed in a watery sky with 407. I placed masks back over the flowers before stamping in the leaves from 5920 – Long Stem foliage Set. I inked just the top portion of the stamp in 177 and stamped the leaves in randomly surrounding the flowers. I used a stamp positioner to help with this process. I pulled the ink from the leaves with a damp brush and added a touch of 133 for highlights and more 177 for shadows. Once dry, I pulled more color from the outside edges of the leaves to blend and fill in the background. Additional leafy vines from 4051 – WC Foliage Set 1 inked in 249 and repeating the process as above. I then added a little watery 177, 249, and a bit of 565 where needed.

I painted the flower centers with white and shaded then with 565. Additional tiny filler flowers were dotted in with a #1 round brush.

I didn’t have any suitable sentiment stamps in my stamp stash, so I created the interior sentiment using a font from my computer. I inked just the bird with N25 and stamped just above the blue cardstock strip. The three tiny hearts were drawn in using the fine point of a Strawberry Red TwinTone marker.

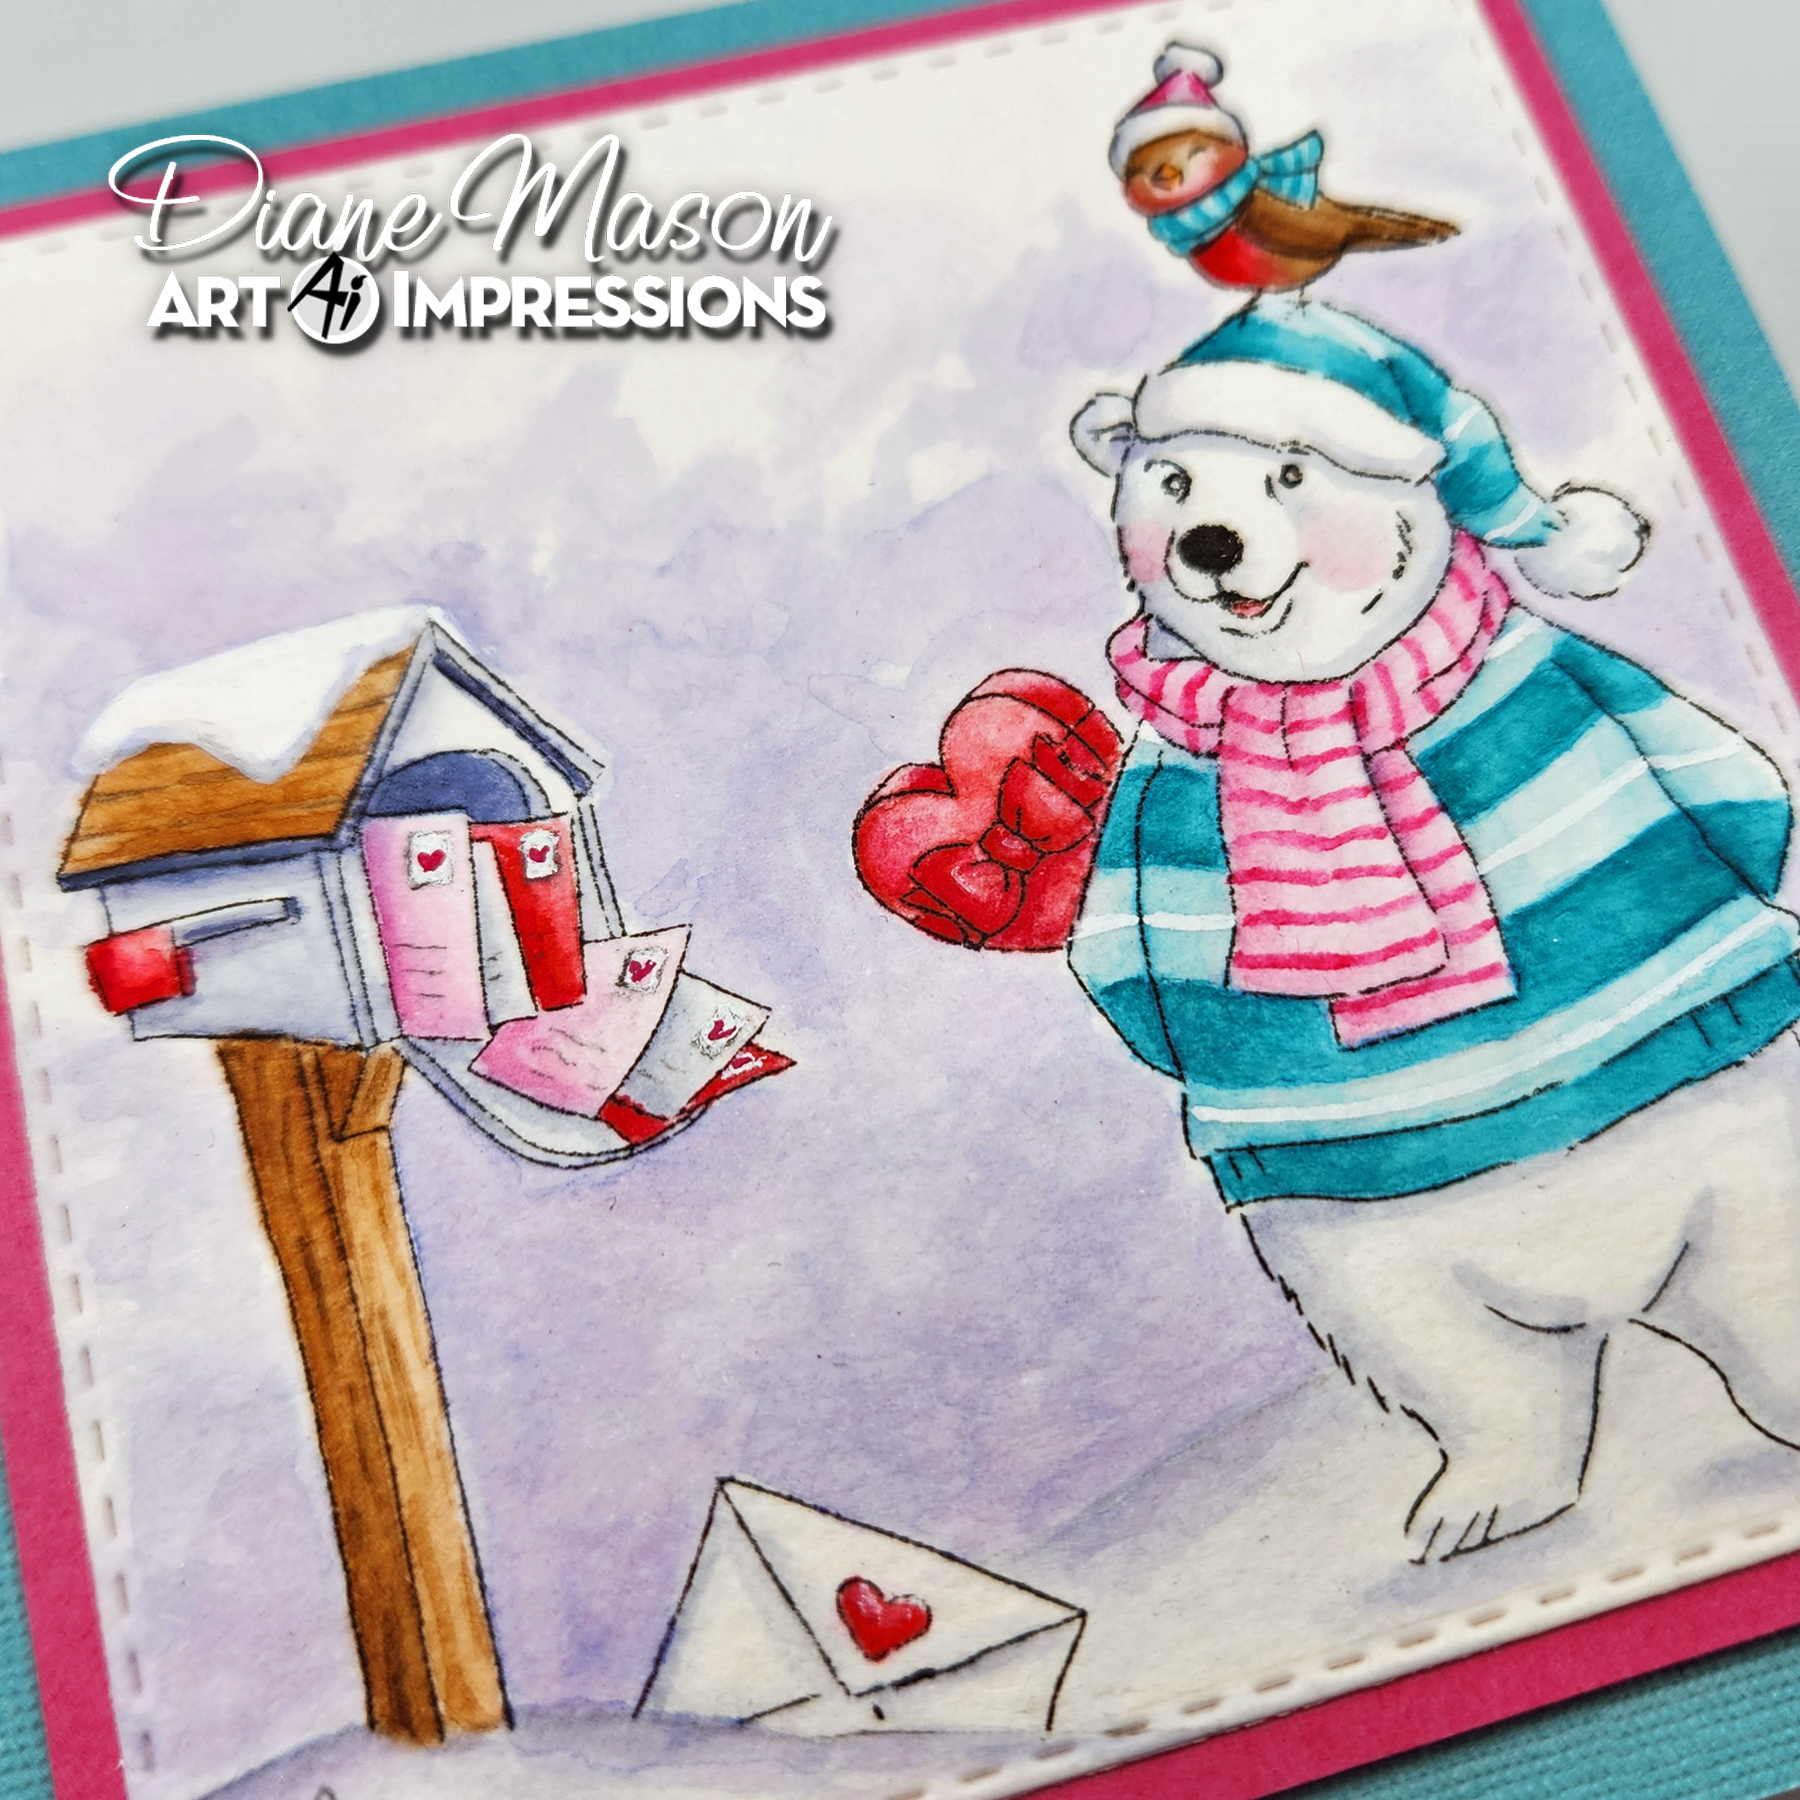
For my second Valentine’s card, I made a slight modification to the bear stamp from 5954 – Woodland Bears Set. This adorable bear is just too cute to pack away until next Christmas! Since February is often chilly and snowy in much of the U.S., I thought, why not create a snowy Valentine scene?

Using a stamp platform, I inked the mailbox and bear stamps with Versafine Onyx Black ink, leaving off the candy cane. I then masked the bear’s sleeve and stamped in a heart shaped box of candy from 5221 – Sending Love Cubbies. Next, I used a pencil to sketch in some snowy mounds. I masked off just below the pencil line near the mailbox and stamped in an envelope from 5221 to make it appear to have fallen in the snow. This bear is very popular—just look at all those Valentine’s he has received!

I brushed in a watery winter sky with 565 and added shadows to the edges of the snow mounds.

Now I’m going to let you in on a little secret, I have a love/hate relationship with the 565 marker. It’s a beautiful color, but I don’t always like how it looks because it tends to look a little too purple-y. As mentioned above, I did use 565 for the sky and a little more on the snow mounds. However, I used a different marker to shade the bear and the mailbox. To get those nice blue tones, I used a Marvy LePlume II marker in No. 86 African Violet! Feel free to continue to use 565 in its place, but for me, I’m loving this marker for shadows.

I used the following colors to paint the mailbox, bear and bird:  856, 743, 403, and 947. For darker shadows on the post, I added a little 969. And to darken some of the red areas, I used 847. For the stripes on the pink scarf, I used the bullet tip of 743 to draw in the lines and then went over the lines with a damp #1 round brush. Details were added to the envelopes with a pencil, Dr. Ph. Martin’s Bleed Proof White and a Strawberry Red TwinTone. Dr. Ph. Martin’s was used for white stripes on the bear’s sweater and the snow on top of the mailbox. A brown TwinTone was used to add details to the post and roof of the mailbox. To finish off the bear, I added a little watery 856 to create his rosy cheeks. The painting was die cut using the largest square from 5061 – Square Double Stitched Dies.

For the interior of the card, I changed the sentiment and repeated the same process as the first card.

I hope you have enjoyed and been inspired by today’s cards. Thank you again for stopping by for Watercolor Weekend. Until next time, Happy Painting!


Saturday, November 23, 2024

Woodland Beary Christmas! by Janet

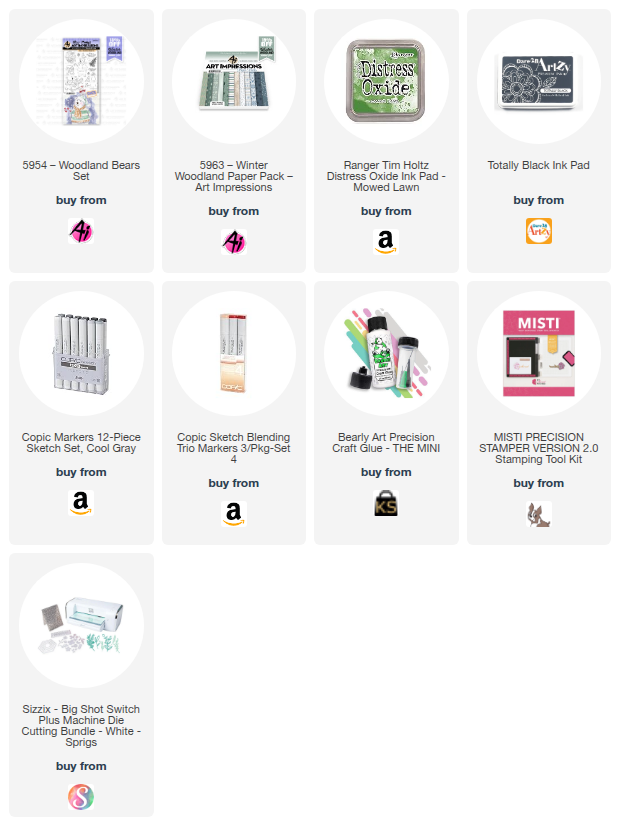
Hey everyone. I'm loving the new sets that are out right now. I've used one here on my card today. It's called 5954-Woodland Bears Set. It's another of the Woodland series and it doesn't disappoint! There are so many adorable images in it. Of course it features bears and I've used just one of the those images on this card. The presents, cart, evergreen, and the sentiment and the snowflakes are all include. So very cute!!

To make this card, I started by stamping and coloring the images I had chosen, knowing I was going to put them in a frame like this one. I decided to add a bit of texture and something a little different for me by using printed paper from the new 5963 - Winter Woodand PP to piece the bear's sweater. I used additional patterns from the papers behind the frames. To give a little more shading to the sweater, I added some light gray marker shadows which is very subtle but I think makes a difference. I also used some white and glitter embossing powder on the hats of the bear and bird. It doesn't photograph that great but in person it's a neat look. There's a fabulous little evergreen in this set so I decided to stamp that using a glue pad and then I sprinkled fine green glitter on it. Once it dried, I tucked it behind the packages in the cart. It looks super that way. I could see creating a small forest of these trees. It makes me happy and I know that tree is going to come in handy for many cards in my future!

Once I cut everything out with the included dies, I arranged the images and added some additional bling. In one of the windows I stamped the sentiment and snowflakes and heat embossed them in white. 

I sure had fun working on this card. I hope I gave you some inspiration to try it too. Thanks so much for joining me here at the blog today. As always, please visit the Ai store for the products I used and all the things you need for your card, journal, and tag making projects. Happy creating!

Janet YouTube - Blog - Facebook - Instagram - Pinterest  


Sunday, October 20, 2024

Tis the Season for Pumpkin Spice and Warmest Wishes cards by Diane Mason

Hello, and welcome back for Watercolor Weekend!


Hello, Ai Watercolor Friends! I hope you are enjoying a fabulous fall weekend! For the last several weeks, it has been unseasonably hot in the San Francisco Bay area. It has finally cooled down, and it’s beginning to feel like fall has arrived—so bring on the Pumpkin Spice!

Today, I’m excited to share two Woodland Critter cards with you, one for fall and the other for Christmas. These cards feature stamped images from the recently released 5953 – Woodland Critters Set, KH5951 – Foxes Set, and 5954 – Woodland Bears Set. These new sets are so adorable, and both the Woodland sets come with dies that can be used to cut the images out!

Tis the season for Pumpkin Spice card:

Both of my cards today feature the adorable little squirrel from 5953 – Woodland Critters Set. I just love this sweet little image of a squirrel enjoying a hot beverage! I wanted it to appear that he was enjoying a Pumpkin Spice latte, so when I inked the stamp in 565/969 I purposely left off the candy cane. First, I selectively stamped the two pumpkins (from the pumpkin pile) from 5595 – Harvest Pumpkin Set in 969 and the stems and leaves in 249. I masked the pumpkins, and then stamped the squirrel image, remembering to leave off the candy cane. The leaves in the foreground are from KH5951 – Foxes Set and were stamped in 969. I watercolored the squirrel in 947 and 969. I added rosy cheeks with a touch of 856 and also inside the ears. I used 312 to paint the scarf and the plaid stripes. For the coffee mug, I used 993, 933 and 947. I shaded the whipped cream with 565. I painted the cinnamon stick with 947. For the left pumpkin, I painted it with 933 and 925. For the right pumpkin, I used a combination of 993 and 933. The stems and leaves were painted with 312. The tree stump was painted with 947 and 969. I washed in the grassy area with 312 before adding leafy foliage around the squirrel from KH5951 in 312, 249, and 993. I painted the leaves in the foreground with 993, 933, 312, and 947. I added grass with 249 using the tiny grass stamp from 4051 – WC Foliage Set 1. The sky was washed in with 565. I darkened the squirrel’s eyes and nose with a brown TwinTone. I also used the brown TwinTone to add back some details.

The “Tis the season for Pumpkin Spice!” sentiment from 5191 – Feast Mode Set was stamped in orange on watercolor paper and die-cut using a tag die from 5132 – Tag Stitched Dies. Using the leaf dies from 5783 – Fall Leaf Frame Die Set, leaves were die-cut from cardstock, embellished, and attached to the tag. The plaid patterned paper is from the 5838 – Fall Journal Paper Pack. The painting and tag were both mounted with foam tape for added dimension.

For the inside of the card, I stamped the sentiments from 5600 – Harvest Sentiments Set in green and orange. The pumpkin and vine in the corner are from 5595 – Harvest Pumpkin Set.

Warmest Wishes card:

For my second card, I inked the squirrel image from 5953 with 565/969. The squirrel’s body and tree stump were painted in the same way as the first card. For the scarf, I left it white and added shadows with 565. I then added a green plaid stripe using 177. The hot cocoa mug and candy cane were painted in 856. I added a green stripe to the mug in 177. Again, the whipped cream was shaded with 565.

I brushed in a watery sky and added snowy shadows with 565. Once the painting was thoroughly dry, I heat-embossed the snowflake images from the 5954 – Woodland Bears Set using VersaMark clear embossing ink and Ranger’s White Super Fine Detail embossing powder. Additional snow flurries were dotted in with Dr. Ph. Martin’s Bleed Proof White.

The peppermint striped patterned paper from 5853 – Christmas Magic Paper Pack was die-cut with the second largest banner die from 5134 – Banner Double Stitched Dies. To create a flap for the card front, I needed the banner to be longer to make a fold at the top. To extend the banner, I did a partial cut, then shifted the die and did another partial cut, and voilà – a longer banner die-cut! The card front was matted with red embossed cardstock. I used double-sided tape to attach the banner flap to the inside and folded it over to the front. The painting and embellishments were arranged and popped up with foam tape (leafy vine from 5805 – Mini Journal Box Dies, snowflakes from 5782 Snowflake Frame Die, and decorative frame cut in half from 5768 – Decorative Journal Page Set 1). I stamped the Merry Christmas sentiment from 5953 – Woodland Critters Set in green, die-cut with a banner die, and mounted with foam squares

To open the card, you lift the banner and open the card from left to right. For the inside of the card, I added a strip of patterned paper to the bottom edge, snowflake die-cuts from 5782, and stamped the sentiment from 5566 – Christmas Sentiments Set in red.

Thank you for joining me for Watercolor Weekend! I hope these cards brought you as much joy as they did for me while making them. It was a fun challenge to use the same image and adapt it for both fall and winter. Until next time, Happy Painting!