Showing posts with label 6111 Spooktacular Set. Show all posts

Wednesday, July 29, 2026

Three Sheets To The Wind by Dori Mendiola

 Happy Wednesday AI Friends!

I have another "Summerween" card for you.  Today is your last day to enter the blog challenge so make sure you enter for a chance to win a free stamp set of your choice.

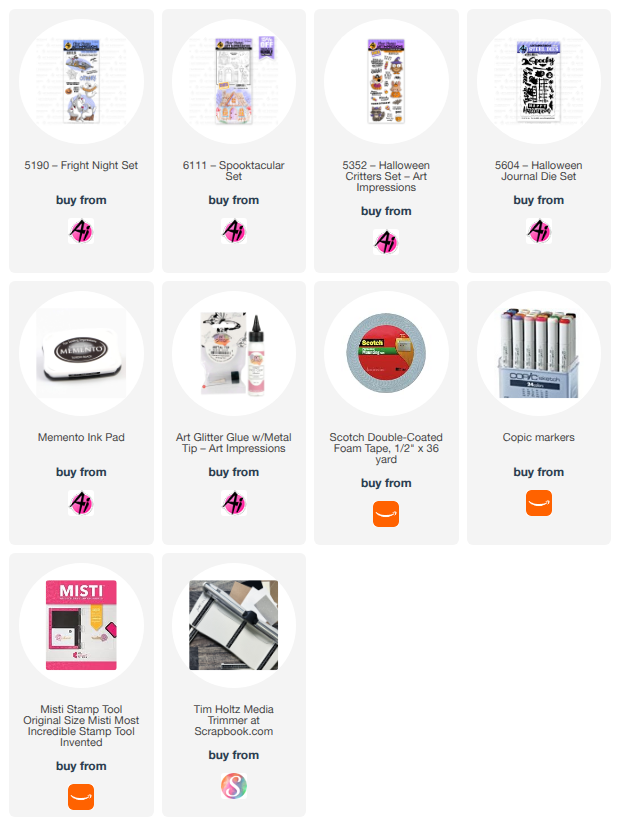
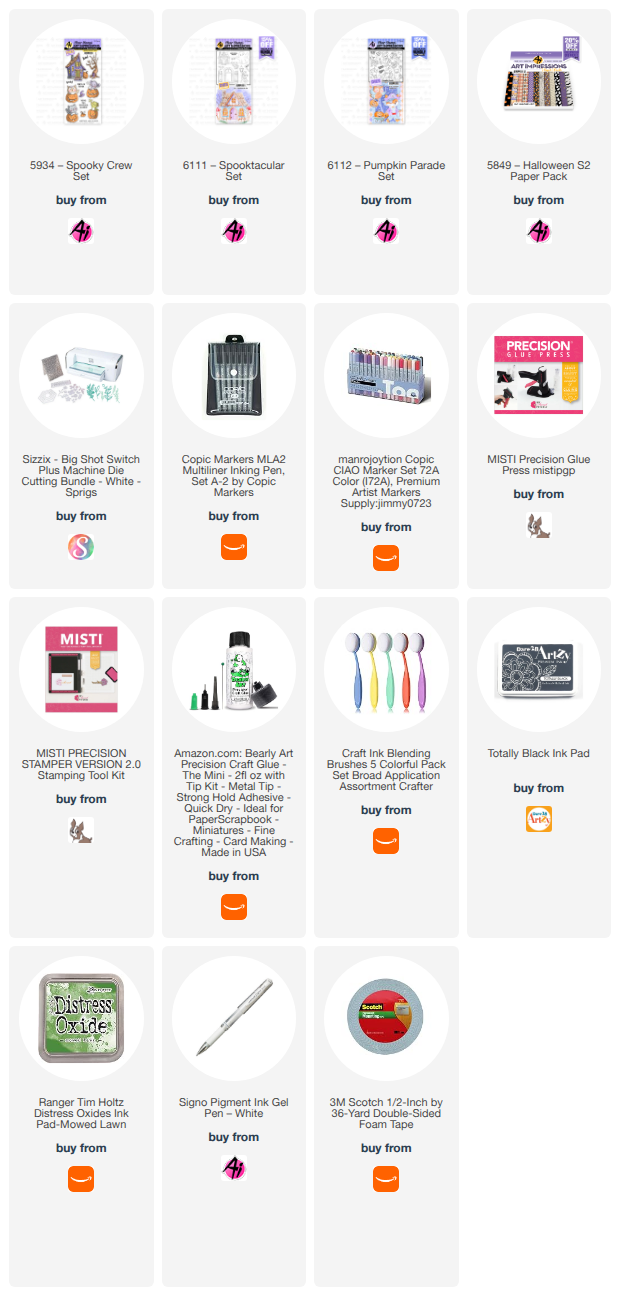
The image for my card is from the #5190 - Fright Night set, one of my favorite sets.  These ghosts look like they are just having a fabulous time!  😀


I stamped the images onto copic friendly paper with Memento black ink and colored with my copic markers listed below.  The pumpkin is from the #6111 - Spooktacular set and comes with the coordinating die so makes for a great accessory to the card.  The spider and bat are from the #5604 - Halloween Journal die set.

Thanks for joining me today!  Have a wonderful day!
Keep Creating!
Copics used:  T0, T2, T6     B000
E42, E44, E47
YR20, YR21, YR23
R22, R24, R37, R56
RV32, RV34
G40, G43, G46

Wednesday, July 22, 2026

Little Miss Boo Card/Box by Dori Mendiola

 Happy Wednesday AI Friends!

Our current challenge is "Summerween" so I decided to start on my Halloween mini journal book for the littles in my life.  Last year, I made Bonnie's Halloween journal into a scavenger hunt book for my oldest grandson and he had the most fun with it.  Actually, we all did!  My son and daughter-in-law made up riddles and clues for the scavenger hunt and I incorporated them into the pages.  Turned out soooo cute, so thank you Bonnie!

Not sure what I'm going to do in this book yet, so I only made the mini card and attached it to the Mini Journal Box #5805.  I'll finish the book at a later date and share at that time, but for now, I'll share the card/box and front of the inside book.

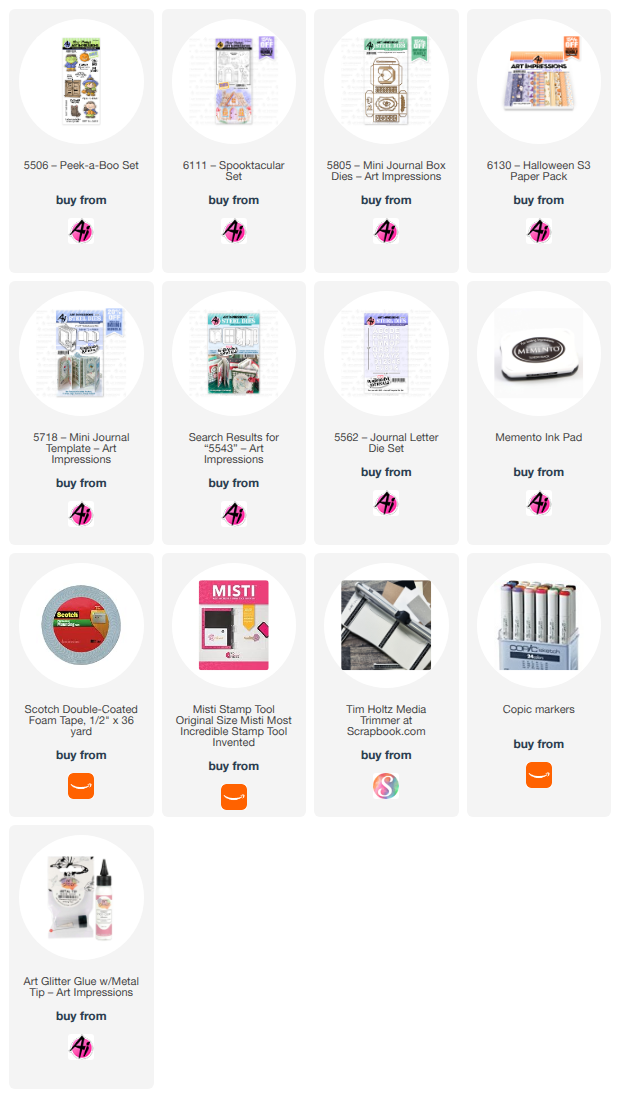
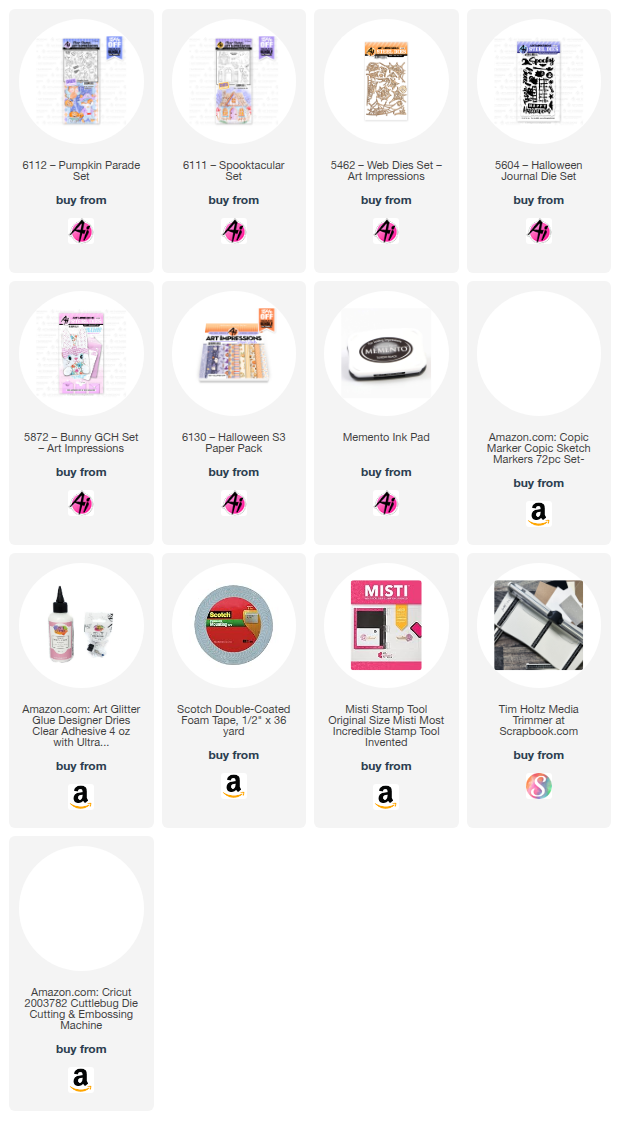
I started off by making the box with the die from the #5805 - Mini Journal Box out of orange cardstock.  I used the #6130 - Halloween S3 PP to line the box and decorate the sides as well as create the backgrounds for the card front and inside.  

I stamped a few of the images from two sets #6111 - Spooktacular and #5506 - Peek A Boo.  I then colored with my copic markers listed below.  Both of these sets come with coordinating dies which I just LOVE!  

I created a cute little decorative card (2 3/4 by 2 1/4) to fit on top of the box.  The pop up ghost has the coordinating die and scores for the folds, which makes the image pop up so easily on the inside.  

I adhered this mini card to the top of the box so you first open the card and then the box.  The card has a magnetic closure hidden under the front image and the inside sentiment.


The Mini Journal box die creates this cute little box with score lines.  All you have to do is fold and glue the sides.  Boom!  Easy peasy!  I suggest using heavy cardstock or add a pattern paper layer for stability.


This box was created by Art Impressions to hold the #5718 - Mini Journal book perfectly.  The finished dimensions are 2 3/4 x 2 1/4 x 7/8.  Also makes for a nice little treat box.


Thanks for joining me today and I hope you enter our "Summerween" blog challenge for a chance to win a free stamp set of your choice.  We love to see your creations!

Have a wonderful day!

Copics used:  E00, E01, E11, E21, E23, E25
N0, N1, N2, N3, N4, N6           R20
YR12, YR14, YR16, YR18         Y17
V12, V15, V17      G20, G21, G24

Monday, July 20, 2026

Boo! A slider card by Sharon Caudle

 Hello AI Fans!

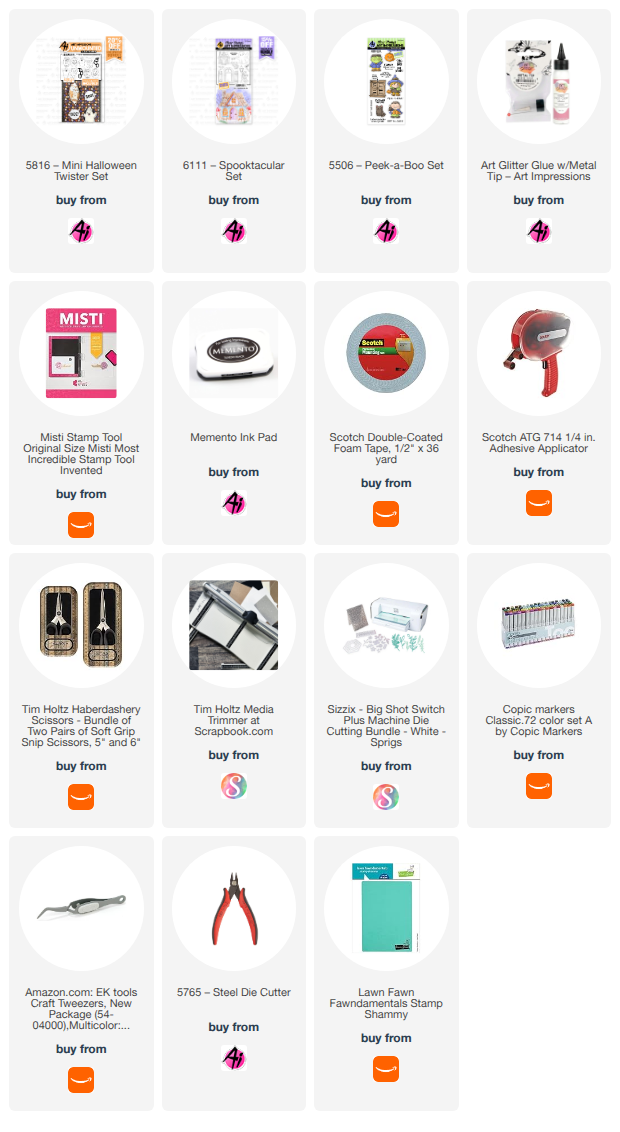
Our new challenge has started and it's all about Halloween during the summer - Summerween!! How fun is that??!!  I used a few different sets to create a fun slider card where that little ghost swoops down to scare you and Dracula! LOL! Slider cards are so easy to make! I save the slot I cut out from the card front, and then line it up and glue it to the back piece. I feel that helps the slot blend into the background. I chose various images from the sets #5816 Mini Halloween Twister Set (the ghost was the perfect size to fly through the air, #6111 Spooktacular Set, and #5506 Peek-a-boo Set. I stamped them with Memento ink and colored them with Copic markers listed below. 


So that's it for me today! Thanks so much for stopping by for a visit and I hope you join in on the Summerween Challenge for a chance to win a free set!! Just click HERE to be directed to the current challenge. Until next time - stay crafty!!!


Thursday, July 16, 2026

Summerween Challenge #432 week#1

 Hello Ai fans and welcome to our new challenge,

SUMMERWEEN!!

This was a new expression for me that Tasha brought to light.
Just like there's Christmas in July, a lot of people like to have a mini
celebration of Halloween in the summer. (It's usually in June but I couldn't
fit it in.)

So, that being said, let's celebrate a little bit of fall fun now!
I know not all of you participate in Halloween so any fall themed
project using products from Art Impressions will be accepted.

Fittingly, Tasha is our Featured Artist this time and she created
the absolute cutest Story Tile card to inspire you.

After checking out her card, be sure to scroll down to view the winners
of our Christmas in July challenge.

It's that time of year when the second set of Freebies become available.
Check out the cuteness overload on these bears!
My personal favorite is the Study Bear.
You can select one of these free stamps when you spend $30 or more on the


Hi everyone! Tasha here sharing a card inspired by the Art Impressions Summerween Challenge.

I love both Christmas and Halloween crafting, so this challenge is right up my alley! It’s also the perfect excuse to get an early start on my fall and Halloween cards and projects.

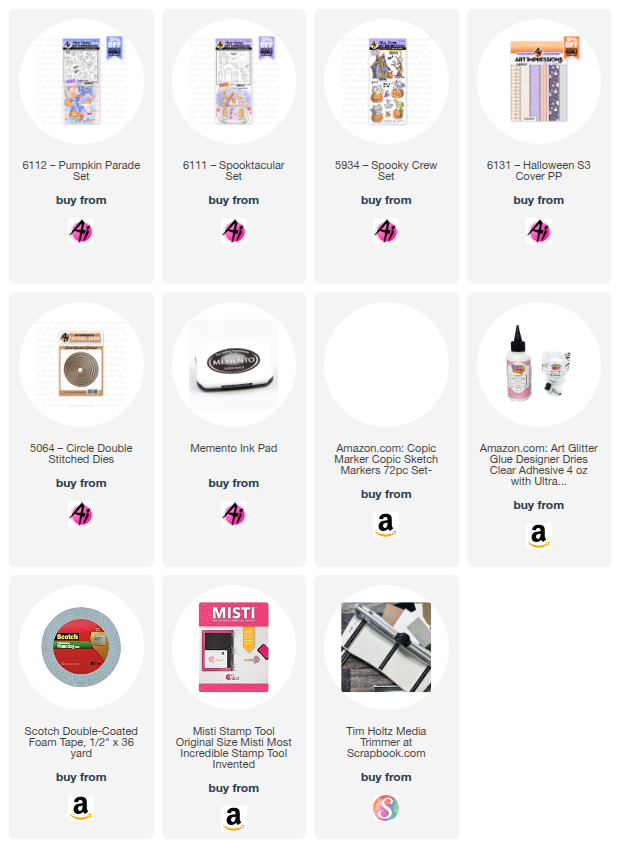
For this card, I used the 6158-Story Tile Template Die along with stamps from several Halloween sets. One of my favorite things about the Art Impressions Halloween collections is how easy it is to mix and match the cute characters to create fun little scenes.

I started by cutting two Tile frames from orange and white cardstock. I used the orange frame for the front and colored each tile to create its own little nighttime scene.

Next, I added the characters. Some were stamped directly onto the tiles, while the ghost cat and pumpkin mouse were stamped separately and cut out with the coordinating dies before being popped onto the card.


To add more color and bring the scenes together, I cut grass from green cardstock and used Distress Oxide Ink to blend the top of the grass; love this look. I finished the sky with a white gel pen to add tiny stars. I really like how the purple sky makes the white stars stand out.

For a few extra details, I drew a moon behind the bat and added little spider webs to several of the tiles. Those simple touches help give the card even more Halloween charm.

To finish everything off, I layered the design onto green and black cardstock and added ghost-patterned paper to tie in the cute, not-too-spooky Halloween theme.


Thanks so much for stopping by today! I hope this card inspires you to join the Summerween Challenge and start creating your own Halloween projects.


Tasha LOVES Halloween, and it shows how much, in her fun card!

Now, let's see who won our Christmas in July challenge.

For our Top Spot we selected #16 Ellen M.
for her adorable Gingerbread Cubbie house.
Just look at all of those smiling faces!


Please contact Leah at Feedback@artimpressions.com
to claim your free stamp set.


Our Lucky Random Winner was #11 April J.


Please contact Leah at Feedback@artimpressions.com
to claim your free stamp set.

Congratulations to our winners!
Enjoy your new stamps.

Now, onto the details of our new challenge.
Please make a new project featuring any Halloween or Fall themed
stamps, dies or paper from Art Impressions.
This is going to be a fun one! I can't wait to see what you create.

Here's the rules...

✻ Please make a new card or handmade crafty creation using either stamps, dies and or designer paper from Art Impressions. You can make any item you wish; this is not limited to cards! (unless specified)

✻ Limit two submissions per person.
✻Top Spot Winner and Lucky Random Winner each receive a free 
stamp set from Art Impressions
 ✻Please include your first name and last initial on your submission. You may include your entire last name, but it's not necessary.
✻We love to comment on your entries, but keep in mind if you use a private group or a platform that you need to sign up for, we probably won't be able to.
✻ The Ai Challenge is open to everyone, international submissions are welcome!
✻ Include a link back to the Ai Blog or grab our button on the top right of our sidebar!
✻ Share the Ai love if you can, by clicking and commenting on your fellow crafters.
✻ Make sure to get your link up by the deadline to enter your creations.
✻ Good luck and happy stamping! 

You are invited to the Inlinkz link party!

Click here to enter

Tuesday, June 23, 2026

Cozy Cottage Floral Card by Reneé Matarese

The current challenge here on the Art Impressions blog is Artful Architecture.
I was inspired to make this floral card and, you'll never guess where this house is from.

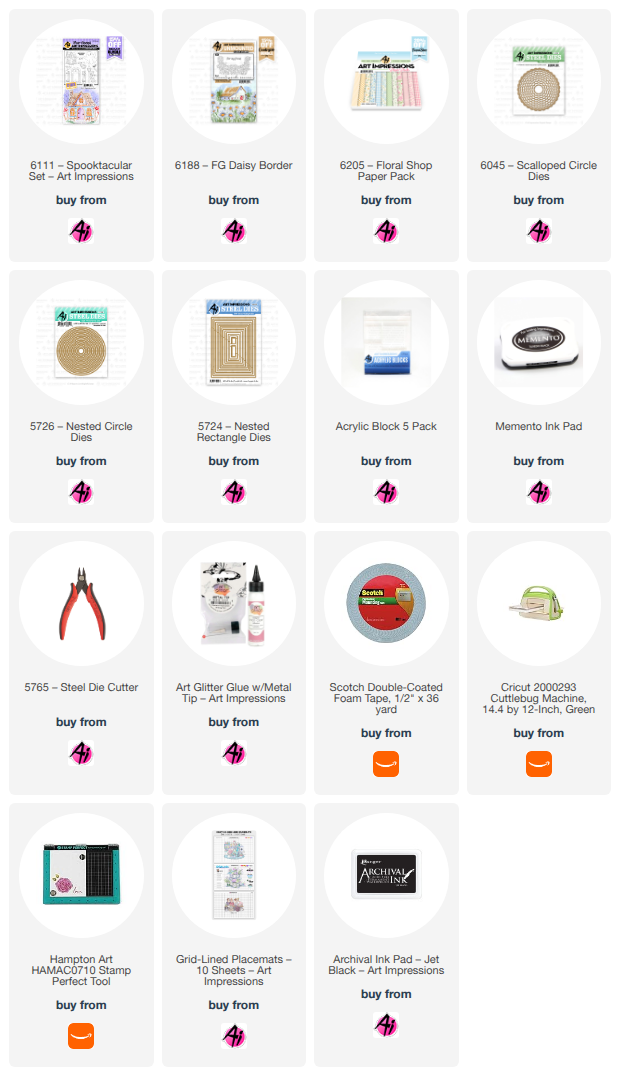
I used the 6111 – Spooktacular Set. You can find links for all of the other products below in my InLinkz. 


This was so fun to make. I love thinking outside the box and using stamps and dies in new ways.
I think this spooky little cottage looks a little less spooky when it's nestled among beautiful daisies.


This card is perfect for so many occasions!
The front simply says "For my friend," so depending on what you stamp or write inside, it could be used in a lot of different ways.


Monday, November 3, 2025

One more Halloween card by Sharon Caudle

 Hello AI Fans!


I know Halloween is over, but I have just one more card I want to show you that goes along with our current challenge "Along Came a Spider". You still have a couple of days to enter! I used a fun fold for this one and had it where the right side overlaps the middle panel. I started out with #6112 Pumpkin Parade and colored up the adorable mouse pushing his cart full of candy down the street. To create this very easy scene, I grabbed a piece of paper from #6130 Halloween S3 PP and then used a piece of gray cardstock and drew in sidewalk lines. Couldn't get any easier. Of course I added a little spider hanging from his web up in the corner. Just a little note that I used a set of magnets from Amazon to hold the top down. It's just enough pull to keep it closed until you want to open it up. I simply glued one under the paper of the top flap, and the other one under the paper of the middle flap. It works like a charm!! 


When you open the front flap, it unveils a couple more spiderwebs and a spider with googly eyes. LOL! I just love those little ghosts from #5604 Halloween Journal Die Set. There are so many fun dies in that!! 


Once you open up the final flap, you get to see the cute girl ghost in all her glory telling you how Spook-tacular you are!! She is from #6111 Spooktacular Set, and I got the idea for the bow on her hear from my Bestie Dori! She has so many fangtastic ideas!! Since I wasn't going to use the ghost as a pop up, I just fussy cut it out so it wouldn't have the score lines for the pop up. It was super simple to cut it out. 


So that's it for me today! I hope you grab your paper and glue and play along with our challenge. You just might win a free set of your choice from Art Impressions!! Thanks so much for stopping by for a visit and until next time - stay crafty!!


Thursday, October 30, 2025

Spider Mania by Dori Mendiola

 Happy Thursday AI Friends!

Halloween was never one of my favorite holidays, but now, with all of these cute sets from Art Impressions, it has climbed the ladder to second.  I can't seem to stop creating with all of these images and since Halloween is tomorrow, I thought I'd share two projects.  Both of these were inspired by the "Along Came A Spider" challenge currently on the blog.  

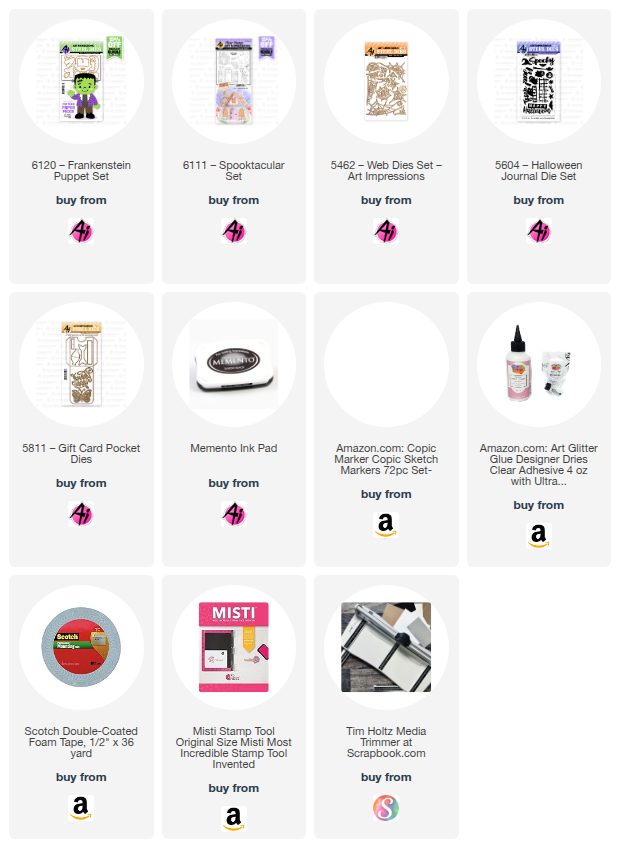
The card below is a pop up frame card.  Push the sides in and the frame pop ups and away from Frankie.  When the sides are pulled out, the card flattens to a 5 x 7 for mailing.  Frankie's legs also wiggle side to side as well as his eyes.  I used #6120 - Frankenstein Puppet, #5604 - Halloween Journal dies and the #5462 - Web dies set to create this card plus added a few sets of wiggle eyes (check out the little spidey on the left).  LOL!

To make the card, cut two pieces of 5 x 7" black cardstock.  Score both pieces at 1/2", 1", 6" and 6 1/2" along the 7" side.  For the front, fold one piece as valley, mountain, mountain and valley (V,M,M,V) and the back piece, fold just the opposite (M,V,V,M).  I recommend you decorate both pieces at this point so you can lay flat to glue decorations securely.  You can place Frankie inside the frame at the end to position him just where you want him.  Glue the front and back ends together with the 1/2" tabs on each side.

To make the dancing Frankie, cut all the pieces with the puppet die set, but hold up on the pants.  You will need to cut an extra shirt piece from scrap cardstock.  For the pants, you will need to stretch his legs.  To do this, you will need to partial cut the legs up to the top of his pants by placing your cutting plate just under the cut line (of the top of the pants) so that it won't cut.  Then free hand cut an additional 1/2" for the top of the pants (see below).  I also rounded off the top corners of his pants.  At the top of the pants (about 1/4" from top), punch a hole big enough for a pop dot to fit through freely.  You may have to snip a little bit of the hole to make it larger.  Place one side of the pop dot to the back of his shirt.  Place the pants with the hole over the pop dot.  Place foam tape onto the back side of the shirt and adhere the extra shirt piece onto the pop dot and foam tape.  The legs should move freely at this point.  Decorate the rest of your Frankie as you desire.  Glue him into place inside your frame card.


To make the ghost tag, I used the scraps from my card above.  This is always a great way to use up your scraps and create an extra tag, card, etc. for future.   I die cut the ghost, spider and banner from the #6111 - Spooktacular set.  The bow from the #5811 - Gift card pocket die set and the spider webs from the #5604 - Halloween Journal die set.  I inked the ghost with black distress oxide ink and glued to a black die cut ghost to use as a shadow.  Decorated her with cute little wiggle eyes and a bow on top of her head.  I die cut two banners (one in black for the shadow) and wrote the word "spider!" across the white one.  I cut the bow from scraps and attached a spider web behind it and placed a spider on top.  Added a few more webs, spiders, ribbon on top and a little red heart and the tag is finished.


I hope you enjoyed my projects today.  Thanks for stopping by!  
Make sure to enter the challenge and show us your creation of "Along Came A Spider".  We love to see what you create!!

Happy Halloween!  Keep on Creating!
Copics used:  R20, T0, T2, T4

Thursday, October 23, 2025

Full of Surprises Halloween Card by Dori Mendiola

 Happy Thursday AI Friends!

I had soooo much fun creating this card today!  Cute little interactive surprises using the stamp sets #6111 - Spooktacular and #6112 - Pumpkin Parade sets. 

Before I get started, I want to thank design team member, Sharon Caudle, for her great sidewalk idea.    She used this on one of her cards, of late, and I loved it.  What a cute and easy ground panel!  Simple, but effective!  Thanks, Sharon! 

Okay, back to my card.  I created a corner fun fold card.  You can find this fold design on Pinterest but it's pretty simple.  Start with a 5 3/4" x 7" piece of pattern paper.  Front of card design face up, score at 2" along the left edge of the 7" side.  Turn paper to the left and score along the 5 3/4" side at 2".  This will create a square in the bottom left corner.  Turn the paper over, fold and burnish the score lines towards you so that the front side is coming forward.  Make a small mark at 2" from each of the folds of the square.  Score diagonally from mark to mark.  Fold and burnish this score line in opposite direction of the others.  Unfold all and with inside paper face up, bring in the diagonal folds and let the square come up over the top creating a square in the top left corner.  See Pic 3 showing the fold opening.

Pic 1:

Top Panel - create how you choose (mine is 3" x 3 3/4").  Adhere to top square only.  Do not place glue on the full panel as this is how it opens.  See video below.

Pic 2

The peek a boo ghost is from the #6111 - Spooktacular set.  The die cut will score and cut the ghost so it folds as intended.  The arms fold in similar to the card.  Stamp your sentiment onto the moon.  Adhere the bottom of the ghost to the fold of the moon.  Place glue on the top half of the ghost and shut the moon down to adhere.  Do NOT glue the arms of the ghost.  When you lift the moon, the arms will fold outward.  I placed a magnet under the "lift" cloud and the other one under the inside cloud.  

Pic 3

The inside panel has a sentiment and another cute surprise image with treats.


Thanks for joining me today!  I hope you enjoyed my card!

Have a wonderful day and keep creating!

Copics used:  T0, T2, T4, R20
Y13, Y15, Y17
YR12, YR14, YR16, YR18
V12, V15, V17
BG32, BG45