Showing posts with label 6222 Frameworks Set 4. Show all posts

Saturday, August 15, 2026

Pretty in Pink by Gennette Houghton


Hello, and Welcome to Watercolor Weekend!  Nothing like pretty pink florals to brighten someone’s day.  I went with full on pink for both of my cards today!

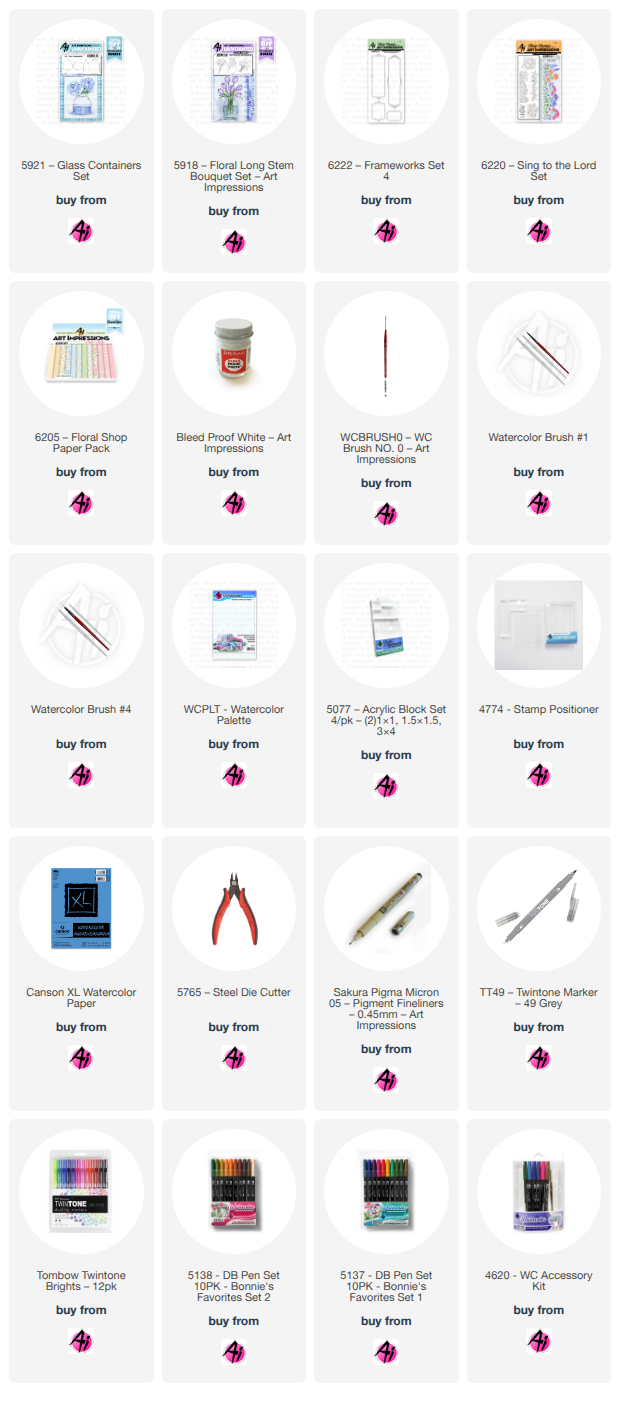
For my 1st card I was in the mood for some florals.  I know that our growing season will soon be coming to an end, so I am going to enjoy the bright colors while I still can!  I stamped both 5921 Glass Containers Set and 5918 Floral Long Stem Bouquet Set in Distress Ink Pumice Stone after stamping off, onto my watercolor paper.  For the flowers I used 837, and on the centers 947, and 969.  The stems and leaves I used 177.  For the glass on the container I started with 526 and then added some 565.  I used 969 on the counter and made sure I also used that color in the bottom of the container.  Adding a bit of 565 for a shadow at the base.  I used a pencil and ruler to add the boards, I wasn’t careful about this, I went right over everything.  I then took a kneaded eraser to lighten the lines inside the jar, and an eraser to remove any lines going over my image.  I then shadowed the boards with a touch of 565.  I then went in with a bit of Bleed Proof White to give some highlights on the glass. With dies from my stash I cut out my image and matted it onto pink cardstock.  I added some Wink of Stella to the bow, and matted my card base with paper from 6205 Floral Shop Paper Pack and assembled my card. 

Keeping up with the floral theme my 2nd card was created with 6222 Frameworks Set 4 and 6220 Sing to the Lord.  I used my stamp platform for both of these, inking in Distress Ink Vintage Photo, and after stamping off once stamped them on my watercolor paper that I cut down to 4 ¼ by 5 ½ .  For the frame I used 026, putting in a base layer and then adding more on the edges to give it some dimension.  I then added 817 to the flowers, starting off light and then building up layers in the shaded areas.  For the centers I used 947 first and then added dots of 969.  For the leaves and stems, I started with a base layer of 126 and then shaded with 177.  For the background I used 526.  I then used 565 to shade both sides of the frame to make it pop, and also underneath the flowers and foliage for a bit of dimension.  I had stamped my images off to the right side and I matted this onto my card base.  I then used paper from 6205 Floral Shop Paper Pack, cutting a strip that was 2 by 5 ½, and used a border die from my stash for a decorative edge.  I glued this on top of my watercolor paper to the right finishing off my card.  Thank you for joining me today, and I hope you enjoyed my cards.  Until next time, Create….Share….Inspire!


Saturday, August 8, 2026

All Things Beautiful by Janet

Hello Ai fans and welcome to the weekend and the Ai blog! Today's project features several new sets now available at the store. It shows off images from several sets and how they can be combined to create pretty collages and scenes.

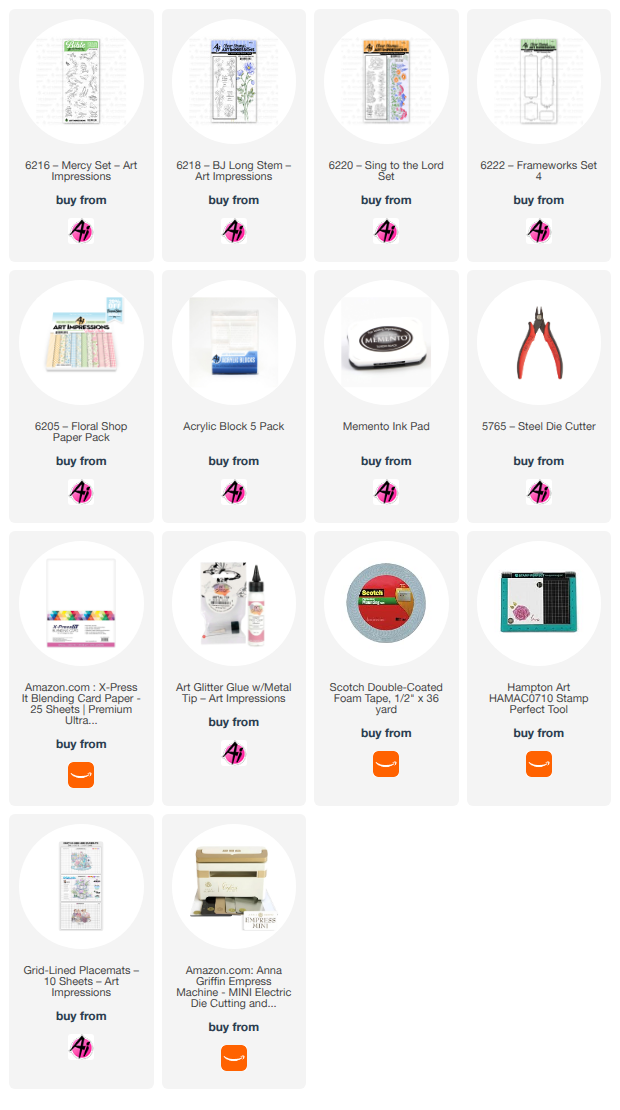
My card starts with an aqua A2 card base. I cut a slightly smaller rectangle out of the 6205 Floral Shop PP. Then I used a die from the 5727- Nested Oval Set to cut out a frame which nests all my card elements nicely. I used a punch to the shaped corners on the soft striped paper which I mounted with foam tape on the blue card base.

Next I stamped and colored the flower image from the 6220-Sing to the Lord set. I colored the flowers to resemble one of my garden favorites, blue hydrangeas. I stamped the bible verse from the 6218-BJ Long Stems set in a frame found in the 6222-Frameworks Set 4. Then I colored a bird from the 6216-Mercy Set. I fussy cut all the images and arranged them in the oval window. As filler, I added a few silk leaves and a matching bright blue and white polka dot bow. Finally a few blue glitter enamel dots were added as accents.   

This card is full of dimension, pretty colors, nature images and a reminder of God's role in making all things in the world including the earth's bountiful and beautiful natural birds and fauna.

Thanks for stopping by and spending time with me and Art Impressions today. Please visit the Ai store to pick up your favorite stamps, dies, papers, accessories, and supplies, including all the supplies I used in this card. 

Happy Crafting!


Sunday, August 2, 2026

Single Flower to Story Tile by Simone Carr


Hello Fellow Crafters!

For today’s card, I wanted to create something soft and elegant with a touch of vintage charm. I love how a simple floral image can be transformed with a little watercolor, texture, and a few special details.

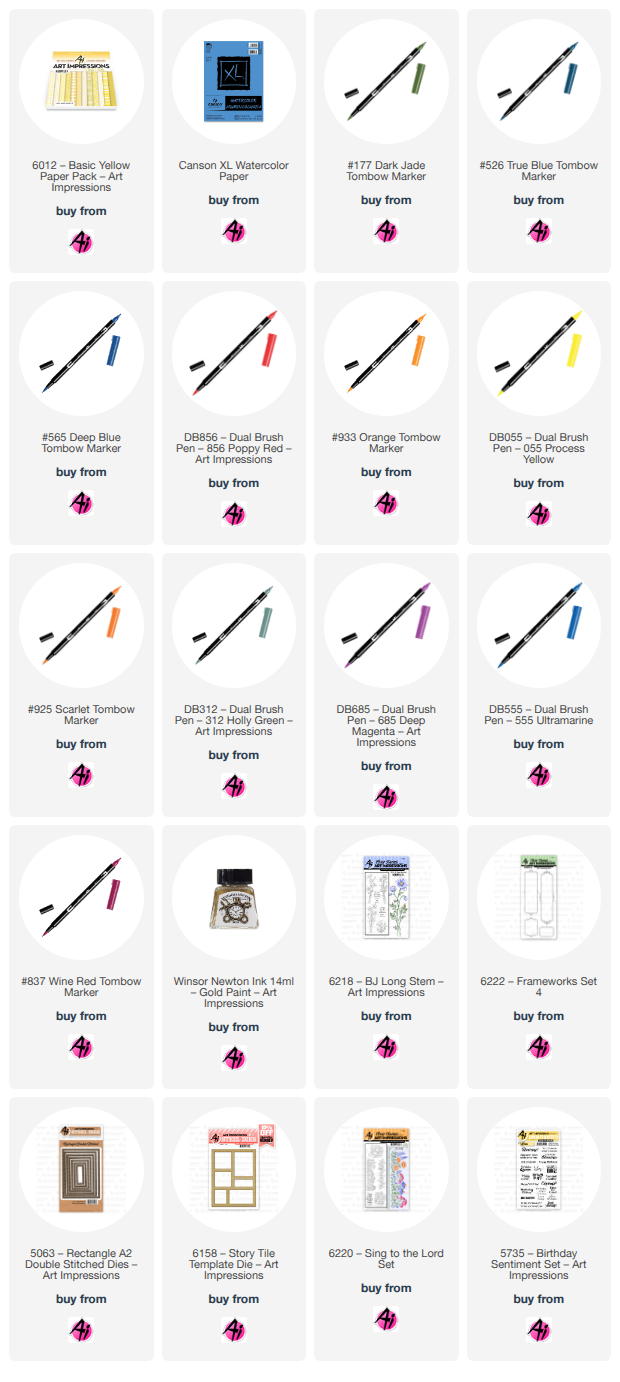
Using Canson Watercolor Paper, I stamped the image using N95. I colored the stems and leaves first with 177. Then I colored the flower, starting with 985. I used 055 to add highlights to the bloom and 933 in the center of the flower. I used 526 around the flower to add a soft touch of color to the background.

Once the coloring was dry, I splattered some Winsor & Newton Gold paint over the flower for a little extra shimmer. I then used the Antique Frame Die (from a different company) to cut out my panel.

Using Memento Toffee Crunch, I distressed the edges of the panel to enhance the vintage look. Next, I stamped my sentiment using Versafine Clair Nocturne.

I then selected a frame that would fit around the sentiment from the Frameworks Set 4 and stamped it using Memento Toffee Crunch. Using a small brush, I painted over the stamped frame with Winsor & Newton Gold paint to add a subtle metallic accent.

I felt the card still needed a little something extra, so I used a textured stamp with Distress Ink Antique Linen and stamped it randomly over the card panel. This added just the right amount of texture and finished off the vintage feel of the card.

Materials Used

Stamps & Dies
• 6218 – BJ Long Stem Set
• 6222 – Frameworks Set 4
• 5063 – Double Stitched Rectangle Die (Largest)

Paper
• Canson Watercolor Paper

Inks & Mediums
• Distress Ink – Antique Linen
• Memento Toffee Crunch
• Versafine Clair Nocturne
• Winsor & Newton Gold Paint

Tombow Markers
• N95 – Stamped Image
• 985 – Flower
• 055 – Flower Highlights
• 933 – Flower Center
• 177 – Stems & Leaves
• 526 – Background


For my second card, I used the Story Tile Die to cut a piece of Canson Watercolor Paper. I then arranged my flowers onto each section and stamped the images using Distress Ink Antique Linen.

Once the images were stamped, I colored each section using the Tombow markers listed below. I then cut another frame from patterned paper and adhered it to the watercolor frame. After attaching the layered frame to my card base, I glued each watercolor tile back into place to complete the card.


Materials Used

Stamps & Dies
• 6158 – Story Tile Die
• 6220 – Sing to the Lord
• 6218 – BJ Long Stem
• 5735 – Birthday Sentiments Set

Paper
• 6012 – Basic Yellow Patterned Paper
• Canson Watercolor Paper

Inks & Mediums
• TwinTone Marker – Purple
• Pitt Artist Pen – Black
• Versafine Clair Nocturne
• Distress Ink – Antique Linen

Tombow Markers
• 177, 985, 025, 925, 526 – Tulips
• 606, 177, 526 – Petunia
• 856, 177, N15, 526 – Poppy Flower
• 312, 685, 837, 985, 856, 555, 565, 177, 526 – Wildflowers

Thanks for stopping by, and happy crafting!


Saturday, July 11, 2026

Blue Hydrangea Margin Card and Pink Hydrangea Frameworks Gift Enclosure Card by Diane Mason

 Hello, and welcome back for Watercolor Weekend!


Hello, my Ai Watercolor friends and fans! I’m excited to share some beautiful hydrangea cards with you today. These projects feature images from two of the newest releases: 6219 – Hydrangea Margin Set and 6222 – Frameworks Set 4. I had so much fun exploring different color palettes and layouts, and I can’t wait to show you how these came together.

Blue Hydrangea Margin Card:

Hydrangeas are some of my favorite flowers — we actually have four hydrangea bushes in our backyard, and the whole yard looks so pretty when they’re in bloom.

Colors and Supplies Used

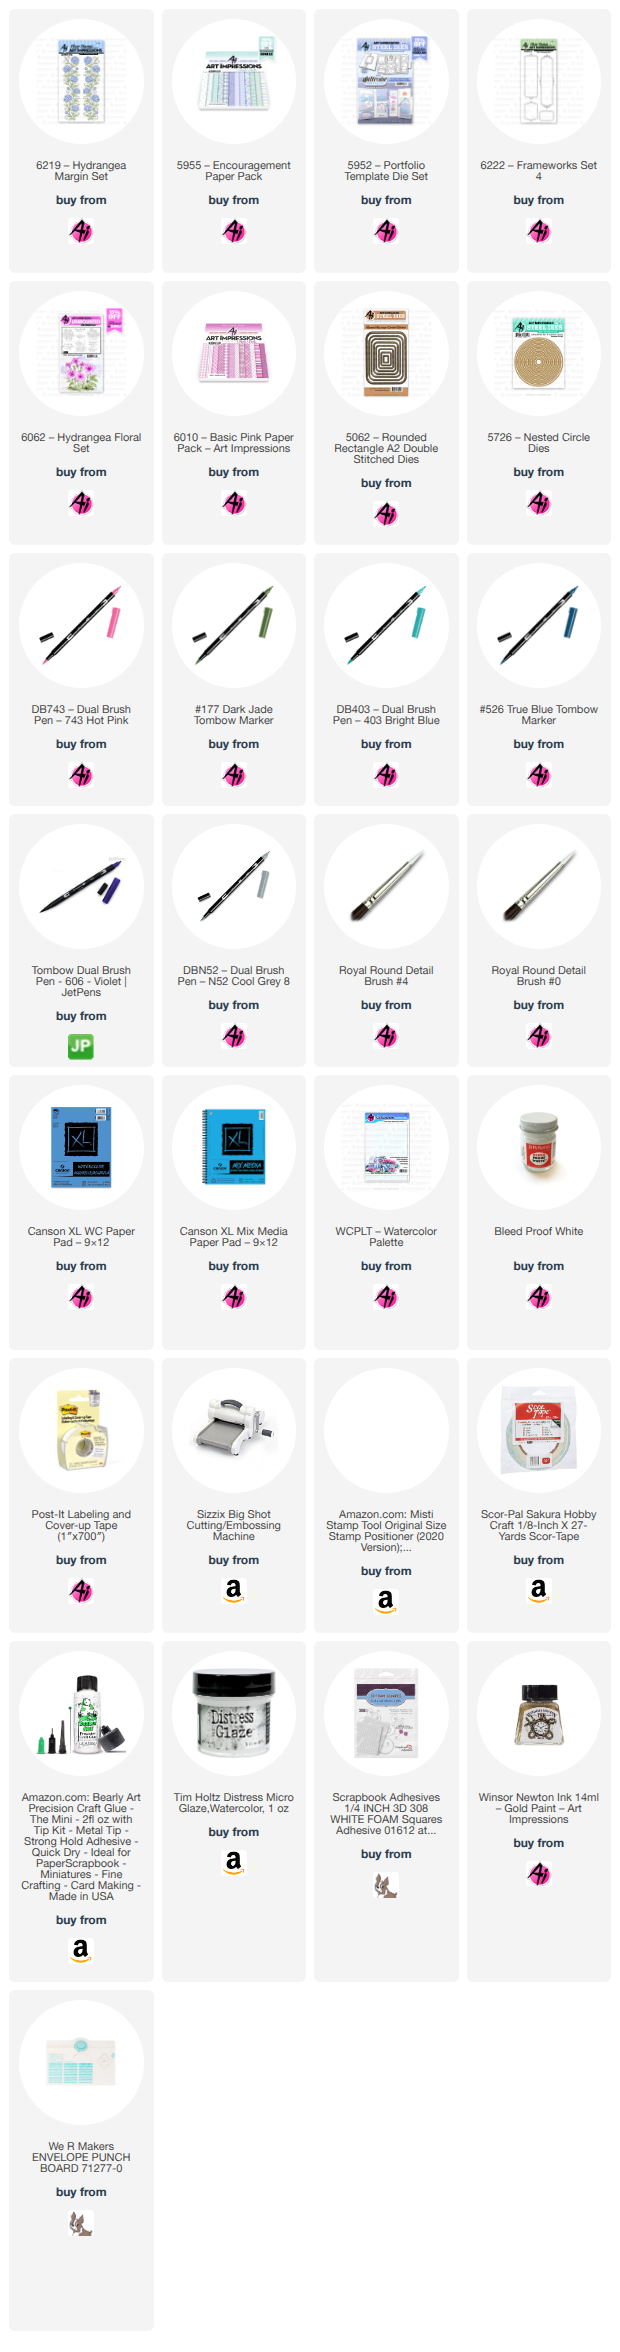
Paper: Canson XL Watercolor Paper

Patterned Paper: 5955 – Encouragement Paper Pack

Cardstock: gold metallic, white

Brushes: No. 4 round brush, No. 0 round brush

Stamps and Dies: 6219 – Hydrangea Margin Set, 5952 – Portfolio Template Set

Ink for stamped images: 526, 606, 177

Tombow Dual Brush Pens: 177, 526, 606

Other: Foam squares, Post-It Tape, Dr. Ph. Martin’s Bleed Proof White, Winsor Newton Gold Paint

I inked the flower petals in 526 and the leaves and stems in 177. After stamping the blue hydrangeas, I added 606 to the lower portions of the blooms and stamped again to create a soft blue‑purple blend.

Once all the elements were stamped onto Canson XL watercolor paper, I pulled the color from the lines with a damp brush and added additional color from my palette. The blue and purple tones blend beautifully to create depth and dimension. Using the bullet tip of 526, I dotted in the floral centers.

For the background, I pulled color from the edges of the image with a damp brush. When the panel was dry, I added tiny gold paint dots to the background and selectively to the stems and leaves.

Next, I masked off the edges of the painting with Post‑It tape, pressing firmly to prevent any bleeding. I painted the border with 526, and once dry, blended in 606 for added richness. Finally, I trimmed the finished panel to 1 7/8 x 5 1/2 inches.

To create the gold borders, I used one edge of the scalloped rectangle die from the 5952 – Portfolio Template Die Set to die cut gold metallic cardstock. Since the die wasn’t long enough, I extended the length by selectively die‑cutting and repositioning — there are lots of helpful YouTube tutorials on this technique. I adhered the gold strips behind each side of the painted panel.

For the card front, I trimmed patterned paper from the Encouragement Paper Pack to 4 1/4 x 5 1/2 inches and adhered it to a white A2 card base. The watercolored panel was then attached directly to the card front.

To add a little interest inside the card, I adhered a strip of coordinating patterned paper along the right edge. This design makes a lovely all‑purpose card, perfect for many occasions.

Pink Hydrangea Frameworks Gift Enclosure Card:

Sometimes it’s nice to have a small card for leaving a sweet note or attaching to a present or gift bag. This little enclosure card measures 3 1/2 x 2 6/8 inches (full card base: 5 1/4 x 2 6/8 inches).

Colors and Supplies Used

Paper: Canson XL Mix Media Paper

Patterned Paper: 6010 – Basic Pink Paper Pack

Cardstock: White

Brush: No. 4 round brush, No. 0 round brush

Ink for stamped images: 743, 606, 177

Stamps and Dies: 6219 – Hydrangea Margin Set, 6222 – Frameworks Set 4, 6062 – Hydrangea Floral Set, 5062 – Rounded Rectangle A2 Double, Stitched Dies, and 5726 – Nested Circle Dies

Tombow Dual Brush Pens: 743, 606, 177, N52, 403f

Other: Foam squares, Dr. Ph. Martin’s Bleed Proof White, sheer white ribbon, detail scissors, and envelope punch board.

I inked the frame and flower petals in 743, and the leaves and stems in 177. After stamping the pink hydrangeas, I added 606 to the lower portions of the flowers and stamped again to create a pink‑purple blend.

Once I pulled the color from the frame, I added touches of 606 for shading and used N52 to create shadows under the frame edge. For the background, I washed in a watery mix of 403 and added white dots with Bleed Proof White. Using the bullet tip of 743, I dotted in some floral centers.

I lightly sketched a cutting border with pencil and trimmed the image using detail scissors. Mix Media paper is thinner than watercolor paper, making it easy to cut cleanly. After attaching the sheer ribbon to the card front, I popped up the image with foam squares.

Inside the card, I die‑cut two panels from Mix Media paper using the Rounded Rectangle A2 Double Stitched Dies, plus a small circle from the Nested Circle Dies for the envelope seal. The sentiment is from the Hydrangea Floral Set, and the hydrangea images come from the top portion of the margin stamp. I created a coordinating envelope from white cardstock and patterned paper using an envelope punch board.

Thank you so much for spending a little creative time with me today. These hydrangea sets were such a joy to paint, and I hope they inspire you to pull out your favorite pinks, blues, purples, and greens this weekend. Whether you’re trying a new layout or revisiting a favorite technique, I can’t wait to see what you create. Be sure to tag us on social media. Until next time, Happy Painting!