Showing posts with label Art Impression. Show all posts

Thursday, July 4, 2024

Critters Mini Trifold by Dori Mendiola

Happy Thursday AI Friends!

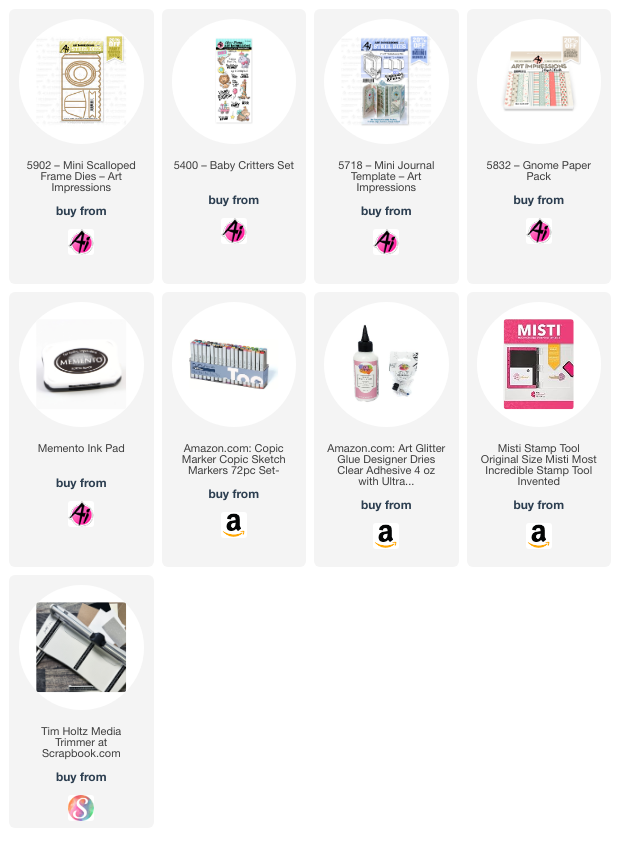
Today I wanted to share my Mini Scallop Frame Trifold.  I had soooo much fun making this and I love the way it turned out.  I used the 5902 Mini Scallop Frame die set along with the 5400 Baby Critters stamp set.  


I die cut the mini scallop frame from cardstock and then partial cut another non-tab side of the die. I matched up this partial cut with the front of the frame and cut off an edge to create the third side.  Instead of gluing the frame together, I glued the buckle from the 5718 Mini Journal Template to the tab and also the partial piece to the tab to make the trifold.  I glued the other half of the buckle to the front over the oval frames.
 
I cut an oval frame using the two larger ovals and placed over an oval die cut of striped paper from the 5832 Gnome paper pack.  I used the blue oval cut from the frame for the inside message trim.  Lastly, I cut rectangle pieces of the heart paper from the same paper pack to fit each of the trifold sides. 

I stamped all of the images from the 5400 Baby Critter stamp set with Memento black ink onto copic friendly paper.  I colored each of the images with copic markers listed below.  To add dimension, I die cut extra images to glue to the back side of the colored images.  I then adhered the images within the trifold as desired.  Lastly, I stamped the sentiment and die cut with the banner die from the Mini Scallop Frame set and adhered onto the front of the card.


 I hope you enjoyed my trifold card today.  Until next time, keep creating!


Copics used:  C00, C01, C03, C05
 B0000, B000, B00, B01, B14
E51, E53, E55, E57
Y13, Y17, YG23, YG25
R20, R22, R24


Thursday, June 27, 2024

Get Well mini frame card by Dori Mendiola

 Happy Thursday AI Friends!

Have you seen the latest release at Art Impressions?  Fairies, Castles, papers and dies, oh my!  So much was released last week!  Make sure to check it out on the website.

I am a huge fan of dies so I decided to highlight the #5902 Mini Scalloped Frame die set that was released.  This set, plus the #5901 Mini Rectangle Frame die set, are must haves.  These make creating mini cards/frames so fun and are SO cute!


I created a mini get well tunnel card using the #5499 Get Well Matchbook stamp set.  This card measures approx. 3 1/2" by 2 1/2" and props up to sit on your desk, countertop, windowsill, etc. by the use of the easel that comes with the #5902 Mini Scalloped Frame die set. 


To make the tunnel card, I cut the scallop frame out of heavy cardstock using the Mini Scallop Frame die and the largest oval from the same set.  Fold the frame at the score lines and glue the tab to the off-setting side to create the frame.   To create the middle layer of the tunnel frame, I cut a single piece (approx. 3 1/4" x 2 1/4") of heavy cardstock with the middle size oval.  The outside pattern paper, as well as the background pattern paper, are from the #5892 Easter S2 paper pack.  I used the largest oval die to cut the outside pattern paper and adhered it to the outside frame.   Adhere the background pattern piece (approx. 3 1/4" by 2 1/4") to the back of the frame.  Place a strip of glue down one side of the middle layer and adhere to the frame.  Now you are ready to decorate the frame/card.

I stamped the images on copic friendly paper and colored with my copic markers (listed below).  I then die cut each of the images out with the coordinating dies from the matchbook stamp set.  I cut off the tabs from each of the images so that I could layer them within the tunnel card.   Create your scene on each layer as you wish. 

What a fun card to receive, if you know someone who is feeling under the weather!

Make sure to visit the website and check out the new releases.
Have a great day and enjoy creating!

Copic pens used:  C00, C01, C02, C03
B000, BG000, BG53, BG57
E51, E53
R20 and R22


Thursday, June 20, 2024

Golfer Dad by Dori Mendiola

 Happy Thursday Ai Friends!

I realize that Father's Day was last weekend but I wanted to share the card I made for my husband.  He likes to golf.   However, lately he isn't such a fan.  😏  I think every golfer has those days, right?

The #4902 Par-Tee Golfers has always been one of my favorite stamp sets.  I just love this golfer guy!  So, to show him off, as well as the #5927 Father's Day die set, I decided to make my card an easel card.  This Father's Day die set is on sale while supplies last, so make sure you visit the website and grab your die set today.  It's a great one and so is the Par-Tee Golfers stamp set!

Opened it looks like this:

And closed, it looks like this:

I stamped the image on copic friendly paper and colored with copic markers.  (Colors listed below) After coloring the golfer, I cut him out using the #5065 Oval Double Stitched Die.  I also cut a piece of kraft cardstock out of the same oval die to adhere to the back of the colored image to hide the copic coloring on the back side and also add strength to the colored image.  I used the #5832 Gnome paper pack for the striped background paper and also used a small piece for his hat.  The easel card is a 5 1/2 x 5 1/2 card with the front side scored at 2 3/4 and folded in half.  I then cut two 2 1/2 x 5 1/4 panels of kraft cardstock and two 2 1/4 x 5 panels of the striped pattern paper for each of the front folds.  I die cut the #1, Super Dad and the Happy Fathers Day out of the kraft cardstock.  I cut the "Dad" out of the Super Dad die cut and made the card say #1 Dad.  Easy Peasy card!

I hope you enjoyed my card today!

Have a great day!

Copics used:  

E000, E01, E11, E21, E23, E42, E43, E44

T0, T2, T4

R20, B000, B32, B34

BG90, BG93, BG96


Thursday, May 23, 2024

Bundle of Joy by Dori Mendiola

 Happy Thursday AI Friends!

I don't know about all of you, but it seems this is the year for babies.  I figured I better get ready so I decided to make a few baby cards using the #5495 Matchbook Nursery set.  I like to stretch my supplies and create new ways to use stamp sets so I used this stamp set and created two A2 cards.

                        
I stamped the images from the #5495 MB Nursery set onto copic friendly paper and colored with my copic markers (see color list below).  I die cut each with the coordinating dies from the same set.  Since the stamps are made to be used in a matchbook, they die cut with the tabs, so I just trimmed the tabs off.  I die cut with plain cardstock as well and glued to the back of the colored image for dimension.  In the stamp set, the elephant sits on top of a dresser, so I colored him and fussy cut him out.  I then made a slit in the rocking chair and tucked him into the slit so that he looks like he is partially under the pillow.  I used #5591 Journal Rectangle Frames to frame the scene and put a piece of tulle behind the window to add dimension.  I also used #5063 Rectangle A2 Double Stitch die for the full panel and #5132 Tag Stitched dies for the sentiment. 

Thanks for stopping by today!  Hope you have a great day!

Copics used:  C00, C01, C03
E21, E23, E25
Y02, Y04, Y08, Y32, Y35
YR12, YR16, B41, B45
RV32, RV34
R81, R83, R85


Friday, May 17, 2024

Gnome Magnet Treat Box by Dori Mendiola

Happy Friday AI Friends!

Today I have a fun little treat (pun totally intended - LOL) that goes with the "Just For You" challenge.  Who doesn't LOVE Gnomes?  I decided to make a little gnome magnet to go with this treat box.  He's tucked away in a little pocket but can be removed to reside on the fridge, a teacher's whiteboard or in your scrapbook room on a magnetic surface.  

He's so darn cute!  


I used the Art Impressions #5832 Gnome paper pack for the treat box as well as the pocket that the gnome sits in.  The Gnome is from the #5785 Gnome set which has the matching dies.  I stamped the front only of this little gnome onto copic friendly paper and colored him with copic markers (see color list below).  After coloring the gnome, I covered him with a piece of clear packing tape to protect the coloring and make him sturdy.  I then die cut him with the coordinating dies and also cut a corresponding piece of adhesive magnet to attach to his back side.  I colored and die cut a few other images from #5728 Mushroom Cubbies and #5221 Sending Love Cubbies to decorate the pocket, which is from the #5718 Mini Journal Template set.  

Treat box:  Dimensions 5 x 1 1/4 x 1.  Use one piece of 6x6 paper.  Score (pattern facing up) at 1, 2 3/4, 3 3/4 and 5 1/2.  Turn clockwise (pattern facing to the right) and score at 1, 4 1/2 and 5 1/2.  Score each of the lines with your bone folder.  With pattern facing up, cut off the bottom right corner piece (s/b 1/2" x 1"). Then across that same row, snip each score point up to the nearest fold to create the bottom of the box when folded in.  Put glue on the pattern side right edge 1/2" piece (above the cut off corner).  Fold into a box shape and seal the glued edge inside.  Lastly fold in the slit pieces (small pieces first) then glue inside of one large piece and seal to create the bottom.

Fill the box with candies and give to a teacher, friend or just for you.   

Hope this brings you a smile!  Thanks for stopping by!
Copics used:  C00, C01, C02
E00, E02, E11, E53, E55, E57
 B91, B93, B95
R22, R24, R27 
YR21, YR23, YR24
YG03, YG17, YG63


Thursday, May 9, 2024

Fun Gulls by Dori Mendiola

 Happy Thursday AI Friends

I have a fun card today that fits with the May Guest Designer challenge - "Anchors Away".  See the tab above for details.  I hope you will join in and play.  It's very easy, fun and you could win a free stamp set plus be a guest designer for a month.  


First I started with the background by ink blending distress oxide twisted citron and broken china onto a 4 x 5 1/4 piece of Strathmore Bristol Smooth cardstock.  I misted with water to create the water spots and then partial die cut with a wave background die.  I used a piece of kraft cardstock for the beach and die cut with a hillside die.  I spotted with copic markers to mimic sand and the background is complete. 

Next, I stamped several images from the #5399 Gull-Friends set onto cryogen white cardstock  and colored with copic markers (see below for colors).  I die cut the images out with the corresponding dies that come in the set.  The tree stump is the log, turned sideways, from the #5055 WC Sitting Places set.  I stamped, colored and fussy cut two of the logs.  Trimmed a bit off the top of one of them and placed it at a slight diagonal just behind the other one.  I used foam tape to give it dimension and tied them together with twine.   The anchor and the flying seagulls are from the #5325 Sail Mini dies.  The sentiment is from the #5399 Gull-Friends set stamped onto a 1" circle die cut from the #5064 Double Stitched Circle dies.

Thanks for stopping by and I hope you will join in on the challenges going on this week.

Have a great day!

Copics markers used: 
C00, C1, C3, 
E53, E55, E57, E59
R20, R22, 
Y13, Y15, Y17, 
B12, B14, B16
YR12, YR04, YR07, YR21, YR24
YG21, YG23, YG25