Showing posts with label 5353 Large Snowflake Die Set. Show all posts

Saturday, January 17, 2026

❄️ Flap‑Fold Winter Card Featuring the Sweetest Snowman by Janet

There’s something magical about winter crafting - especially when it involves a fun fold and a charming snowman. Today’s project is a flap‑style fun fold card that brings together soft winter colors, playful textures, and a sprinkle of sparkle. While we humans may not be loving the cold weather right now, our snowman couldn't be happier!

The star of this card is the adorable snowman from the 6107 – Snowman Hugs Set. I colored him with Copic markers, giving him a green winter coat and a pink hat and scarf for a cheerful, non‑traditional palette that still feels perfectly frosty. He was cut out using the dies in the set and mounted on the diamond with foam tape. As a special little touch, I added a small red cardstock heart to his jacket. 

For the foundation, I used a blue cardstock base—a cool, wintry backdrop that pairs beautifully with the patterned papers from the 5963 – Winter Woodland Paper Pack. The flap fold adds an interactive twist, making the card feel extra special before it’s even opened.

To bring in that snowy magic, I added white glitter cardstock snowflakes using the 5353 – Lg Snowflake Dies. These large, shimmering flakes create a gorgeous layered background behind the snowman.

For the finishing touch, I scattered sequin snowflakes in silver, blue, and pink across the design. They catch the light beautifully.

And of course, sentiments were added to provide the perfect message. On the front flap, I added “Bundled Up and Full of Joy”—a perfect match for this cozy winter scene. Inside, I included the playful sentiment “There’s snow one like you”. Both are sentiments included in the Snowman Hugs Set. To keep the sparkle going, I sprinkled more sequin snowflakes around the inside sentiment for a soft, shimmering finish.

Thanks for joining me on the blog today. As always, find your favorite stamps, dies, papers, and accessories at the Ai Store!

Happy Crafting!

Janet YouTube - Blog - Facebook - Instagram - Pinterest 

Tuesday, December 23, 2025

Renee's Top 10 of 2025

 Hello Ai fans!

2025 is rapidly coming to a close so it's time for me to share my Top 10
Design Team projects of the year.


These are in no particular order.

Keep your head up


Birdie Betty-Ready for a Round!


Snowflake JOY card for LEON


I Find You Ribbiting


Warmest Wishes


It's been another wonderful year at Art Impressions!

I've enjoyed every new stamp, die, paper, paint and more!

Check back in the new year for new challenges and a new feature!

Monday, December 8, 2025

A Christmas Story by Sharon Caudle

 Hello AI Fans! 

I have so loved all of the new releases by Art Impressions this year! One of my favorites is the new #6121 Storybook Template Die Set and the stamp sets that go along with it. I chose to show you #6118 A Christmas Story in my post today. I know some may not agree with me, but I do believe that Jesus is the reason for the season, and this Nativity Set makes such a beautiful ornament for either displaying on your tree or just to tuck on a shelf somewhere. The details that Bonnie added to this set is just truly spectacular!! I started by stamping all the images onto a Copic friendly paper and then coloring them with Copic markers. Once done, I die cut them out with the included dies and layered them up inside the amazing box. I think this is really super easy to create an amazing ornament that is perfect for gifting to friends and family. The Storybook Template also has a die so you can create a hanger for the ornament. You can make it as simple or as elaborate as you want. I went the simple route with this one as I wanted all of the focus to be on the amazing scene. I added a simple twine bow and some snowflakes from #5353 Large Snowflake Dies


A view from the top to show the dimension of the box. 


 Another view to show the layers on the inside. The depth is truly amazing. 


Thank you so much for stopping by for a visit today, and until next time - stay crafty!!


Tuesday, December 2, 2025

Blue Woodland Barn Scene by Reneé Matarese

 Hello Ai fans!

If you haven't already seen them, you need to check out the new
Woodland Scenes from the Holiday Lane collection.


My card fits with our current
Flurries Forecasted
challenge. Use any form of snow on your project.
Embossing folders, stamps, dies, embellishments, snowbanks, spattered snow. Etc.

For my card, I chose to use 6086 – Woodland Barn Scene.
I absolutely love old barns so I fell in love with this image the second I saw it.

The beautiful matte around it comes from 5804 – Decorative Belly Bands.
That's framed with 5063 – Rectangle A2 Double Stitched Dies.
The beautiful papers are from 5853 – Christmas Magic Paper Pack and the snow
flakes are from 4804 – Snowflake Dies and 5353 – Large Snowflake Dies.
I cut them out of plain white cardstock that I had painted gold using
Winsor Newton Ink 14ml – Gold Paint.


I used a combination of Copic markers, Micron pens and a pencil to add details and
color to the images.
Copics:
C00, C0, N2, T4, E31, E34, Y11, R29, B01,
B91, BG02, BG10, BG11

Microns:
Sepia 0.01, 0.005


Monday, December 1, 2025

Frosty Kisses by Sharon Caudle

 Hello AI Fans!

Today's card features one of the amazing snowmen from #6107 Snowman Hugs Set. What is it about snowmen that just grabs my heart and won't let go??!! Each time Bonnie releases a new one, I absolutely have to have it, period. LOL!  This set was no different. For this card, I used the single snowman and put him in the forest with some snow falling around him. He just looks like he is in absolute heaven right now. He's all bundled up in his warm coat enjoying the holidays! If you haven't submitted anything for the Flurries Forecasted Challenge yet, you still have plenty time to grab your paper and glue and play along with us!! A free set of your choice would definitely brighten the holidays, don't you think?? 


Thursday, November 20, 2025

Flurries Forecasted Challenge #417 Week 1

 Hello Ai fans!

Welcome to our FINAL challenge of 2025.

Can you BELIEVE IT??
We're that close to the end of 2025.
Where did the time go?

For our final challenge we're sticking with the season.

Flurries Forecasted


We want to see your winter projects featuring snow, snowflakes, snow globes, snowmen, snow embossing folders, puffy snow, glittery snow, snowflake stamps and dies and more.

Our Featured Designer is Dori.

She created the most spectacular winter scene.
She has an adorable train sludging through the snow, penguins sliding down a snowy
hill and plenty of snowflakes to keep all of the penguins and snowmen happy!

Take a look at her wonderful tutorial and then scroll down to see who won our
Gobble Gobble challenge.

Take it away Dori!
---------------------------------------------------------------------------------------------------------------------------

       Happy Thursday AI Friends!

I'm so excited to be the one to introduce the new blog challenge called "Flurries Forecasted"!  I'm not quite ready for the snowy weather but I'm sure ready to add snow flurries to my cards, tags and projects.  Hope you are just as ready as I am and decide to play along with us!

You may have noticed that I love interactive cards, so yep, I have a fun one for you today using the 
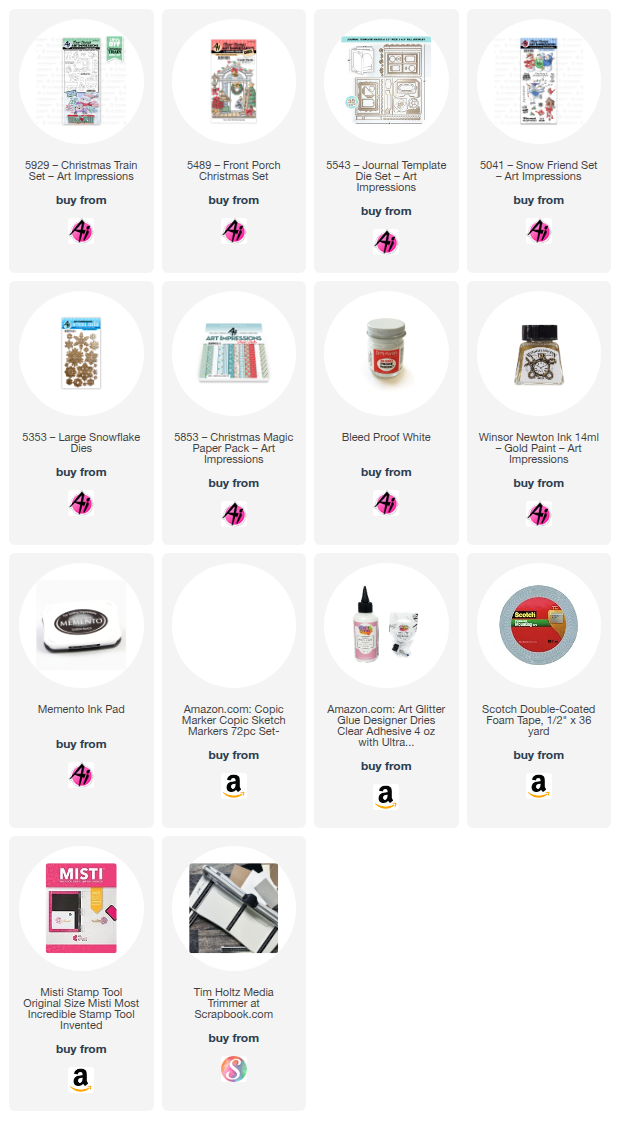
#5929 - Christmas Train set along with some accessories from the #5489 - Front Porch Christmas set.
I love the way these sets work together so that you can combine and stretch their use.


The video below will show how this card opens and stores.  When folded it's an A2 card, but pops open to be approx. 5 1/2 x 12" wide.  Because of the panels that extend out, the card is much thicker than a standard A2 card and will need a larger envelope plus additional postage, if mailing.  


So to get started - I stamped the images with Memento black ink onto copic friendly paper and colored with my copic markers listed below.  I then die cut each of the images with the coordinating dies that are included in both of the stamp sets.  For the two penguins rolling down the snowy hill (on the front of the card), I die cut an extra one, out of heavy cardstock, and adhered to each to give a little extra weight for them to roll better.  I die cut various size snowflakes using the #5353 - Large Snowflake dies from glitter cardstock.  I also cut several trees out of the #5853 - Christmas Magic PP using a die set from my stash but any pine tree dies will work nicely. 

Now, we're ready to build the card.  I started with a standard top fold A2 card from heavy cardstock.  I scored at 5 3/8" as well as the 5 1/2".  This will allow the folds to come up and over the thickness of the final card.  Fold and burnish these score lines really well.  Hint:  I found that my card stood up better if I trimmed off about 1/2" from the bottom of the back panel.  The inside pop out card is cut from heavy cardstock and measures 4 3/4" x 9 1/4".  Score at 1", 3 3/4" and 6 1/2".  This will provide you with three panels that are 2 3/4" wide.  This is a nice size for each of the train cars.  Score and burnish these folds quite a few times back and forth to help breakdown the fibers.

For the front of the card, cut two slider tracks in blue cardstock, far enough apart so that the penguins won't bump into each other when then roll.  I also cut three blue panels to fit each panel of the fold out base.  I spattered Dr. PH Martin Bleed Proof white paint over each of the blue panels to create the snow-like look.  While those were drying, I cut two panels of glitter cardstock (larger than the front A2 blue panel) and cut the same tracks to match up to the ones on the blue base and I fussy cut each to extend the top of the hill.  I found it easier to cut the glitter panels down after lining the tracks up with the blue panel.  I inked the edges with Ranger Distress Oxide ink - Broken China before adhering and used foam tape for the bottom hillside.  Adhere the hillsides down onto the blue base panel matching up the corresponding tracks and leaving some areas to tuck the trees.  The bottom glitter panel will be stacked over the top panel to create a forward hill.  
To create the rolling penguins, I die cut six 5/8" discs from heavy cardstock (or you can use a penny, button or anything flat and round).  Glue one set of three discs together for each penguin.  Stack and glue two foam dots in the middle of each disc (making sure the dot will fit freely in the slider track).  Place the dots through the slider track from back to front and glue the penguin to the top of the dot poking through the track.  Do the same for the other penguin and track.  You should be able to test to make sure they roll freely at this point.  If all is good, place two layers of foam tape to the back of the blue panel.  Be careful not to place foam tape too close to either slider track as this will prevent the penguins from rolling.  Test again before adhering.  Place a piece of glitter cardstock face down over the tape, so that the glitter will show through the tracks, and then glue down to the front of the A2 card. 


Now, for the extended pop out card.  Glue the one inch tab to the inside back panel of the A2 card base.  See below.

Cut several snow drifts from glitter cardstock.  For the two main snow hills, I cut two long ones (different heights), ink the top edges and then cut into thirds so that the hillsides with match up from one panel to the next.  I put foam tape under the front hillside so that the train cars will fit behind with a little dimension.  This is the only dimension I did so that the panels would fold nicely.  If there are too many pop up items, the panels will not fold.  I added a few scrap pieces in back for added snowy hills. 
 
I added a blue panel to the inside as well as a sentiment panel.  Fold your panels in to make sure it is closing nicely.  They should fold in as follows:  right panel closes onto center, then under left and then into the card.  If you are having any trouble, you may have to trim down the blue panels slightly. 

Now the fun, you are ready to decorate the front and each of the panels.  Remember not to add any more dimension to the inside panels.  Foam tape, at this point, is not your friend.  ;)  
However, the front is fair game.  Have fun!

I hope you enjoyed my card today to kick off the new blog challenge "Flurries Forecasted".  
Hope you play along for a chance to win a free stamp set.  We love to see your creations!
Have a wonderful day!  Keep creating!!

Copics used:  C00, C1, C3, C5
B0000, B000, B00, B01
E21, E23
R20, R22, R24, R27
Y32, Y35    YR16, YR18
G40, G43, G46
Can you even believe how cute that card is??
So much talent and love went into it.

Now for our winners.

Our Gobble Gobble Top Spot went to Dot Freel for the gorgeous
card that she made for her sister.


Congratulations Dot!
Please contact Leah at feedback@artimpressions
to claim your free stamp set.
Be sure to grab your Top Spot badge to share on
your social media as well.

Our Lucky Random Winner was #13 Becca Yahrling.


Congratulations Becca!
Please contact Leah at feedback@artimpressions
to claim your free stamp set.
Be sure to grab your Lucky Random Winner badge to share on
your social media as well.


Also, be sure to check out Simon Says Stamp for the Art Impressions Exclusive
6123 Snow Globe Gift Card Holder Die Set.


Be sure to check out all of the inspiration from the Art Impressions Daily Design Team
and Simon Says Stamp Design Team.

This is a limited edition exclusive set and once it sells out, it's gone forever.
The bundle that included the envelope has already sold out.
The envelope die set can still be purchased separately at either Simon Says or Art Impressions.

Now for the details of our Flurries Forecasted challenge.


✻ Please make a new card or handmade crafty creation. You can make any item you wish; this is not limited to cards! (unless specified)

✻ Limit two submissions per person.
 ✻Please include your first name and last initial on your submission. You may include your entire last name, but it's not necessary.
✻We love to comment on your entries, but keep in mind if you use a private group or a platform that you need to sign up for, we probably won't be able to.
✻ The Ai Challenge is open to everyone, international submissions are welcome!
✻ Include a link back to the Ai Blog or grab our button on the top right of our sidebar!
✻ Share the Ai love if you can, by clicking and commenting on your fellow crafters.
✻ Make sure to get your link up by the deadline to enter your creations.
✻ Good luck and happy stamping! 

You are invited to the Inlinkz link party!

Click here to enter

Tuesday, August 12, 2025

Santa Puppets by Reneé Matarese

 Hello Ai fans!

I just absolutely LOVE the entire Art Impressions Puppet Series!


 I made my two puppet cards for the current Stitches & Scallops challenge.

My stitched rectangle and little zig zag stitches make my card qualify for the challenge.


My little sack is actually the Santa head.
It doubles nicely as a perfect little bag for all the toys.


I wanted to make my first Santa a more "fun" Santa and this one is a more traditional St. Nick.
I used two little Diamond Dots for his eyes.


You still have about a day and a half left to enter the challenge. If you can't make that deadline, be sure to check in on the blog after noon EST for the new challenge.

Tuesday, August 5, 2025

Snowman Puppets by Reneé Matarese

 Hello Ai fans!

Our latest challenge at Art Impressions is Stitches or Scallops.
We're challenging you to use your stitched or scalloped dies, stamps, hand-drawn stitches, embellishments or sewing machine to create something with stitching or scallops on it.

Today, I have two different snowman cards for you.

My first card is an arched, aqua card.

I used a stitched banner die, little stitches on the arch
and some hand-drawn stitches on his little scarf.


I used Liquid Applique on his hat to puff up the "fur." It looked pretty yellow, maybe because mine is so old, so I painted it with Dr. Ph Martin's Bleed Proof White Paint.


For my second card I used stitched slimline dies, a stitched banner, little stitches on the sides and a scalloped border. I love these little puppet dies.


Isn't this little guy the cutest? Look at that bright smile.
I used the hat band from the Santa Puppet to create a
hat band for this hat and a belt on the aqua card.