Showing posts with label 5598 - Harvest Set. Show all posts

Sunday, September 7, 2025

Fall Wreath & Scene by Karen Day

 Hello Ai Watercolour fans!


Painting fall scenes are among my favourite things to paint!  Another thing I love to do is to use multiple stamp sets to create my scene, which is what happened with my first card:


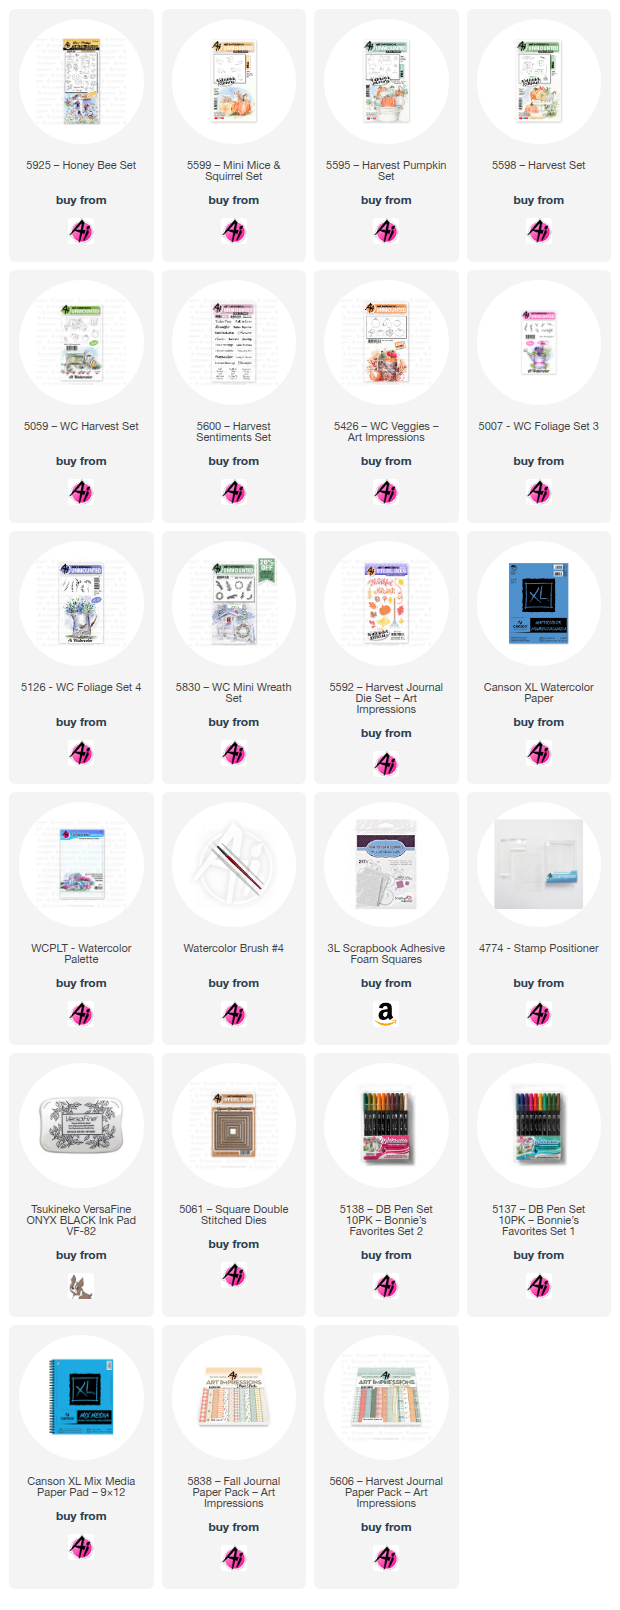
This was the first time I've used the Canson XL Mixed Media paper that is available in the shop, and it wasn't bad to paint on!  It's very lightweight, and fairly smooth, but took the colour well.  I started by stamping the large birdhouse from 5925 - Honey Bee Set in N45, leaving off the lower right corner as I knew that I was going to stamp the single pumpkin from 5595 - Harvest Pumpkin Set beside it.  After masking the birdhouse, I stamped the two pumpkins from 5059 - WC Harvest Set in N55, and put the mouse from 5599 - Mini Mice & Squirrel Set in front.  I really love the line of leaves from 5598 - Harvest Set, and stamped it in front of the pumpkin, as well as just small parts of it on either side of my scene.


With all the elements in place, I started painting in #993 and #312 on the house, and to get the colour of blue that I was looking for, I used Stormy Sky Distress ink for the roof and wooden base.  On the two lighter pumpkins, I used #312/N45/565, and for the orange one I used #993/933/947/899.  The mouse was painted with layers of #899, and my black Twintone marker filled in his eye and feet.  The leaves were done in a multi-coloured fashion, using #126/933/993/899.  The sky was added using a wash of #565, and a wash of #126 was painted in as the ground.  I used my #565 to add shadows under the house and objects, and darkened up different areas with my grey Twintone - or redrew lines that had disappeared.

The greeting from 5600 - Harvest Sentiments Set was stamped in Versafine Onyx Black, and the scene was matted with a blue decorative rectangle die, and mounted on paper from the 5606 - Harvest Journal PP.

My second project was started with the intention of it being a wreath, but as I got painting, I stopped at a half-wreath since I liked the way it looked.


I started with the veggies from 5426 - WC Veggies, stamping them in N55, masking where needed (can you tell that's some broccoli peeking out??).  Then I began building my design with the ferns from 5830 - WC Mini Wreath Set, done two-toned in 126/993 and 126/158.  The vines from 5007 - WC Foliage Set were coloured in #565/177, stamping one in each direction, on each side.  This is the point where I decided that I didn't want to do an entire wreath, so I added the leafy branch from 5126 - WC Foliage Set 4 in 933/993 on either side to finish it off.  I decided that my wreath needed a little something beside the veggies, so I used the small sprig from 5830 - WC Mini Wreath Set in a bit of a rainbow fashion using #565/685/933/993.  After painting in the veggies with (orange) 933/947/969 (brown) 899/947 (yellow) 993/899/933 and (green) 249/177/126, I touched everything with a damp brush, and pulled out a bit of the colour.


After looking for a sentiment to add, I found the Hello Fall die in the 5592 - Harvest Journal Die Set.  I first painted it in an ombre style on watercolour paper, but it looked a little bold.  Knowing that I intended to add a metallic gold mat under my square, I tried adding a gold diecut layered over the painted one, and loved the look!  A few dots with my gold pen added a little more sparkle.  The square was cut using the 5061 - Square Double Stitched Dies, and was mounted onto paper from the 5838 - Fall PP with 3D foam adhesive.


Monday, August 25, 2025

Too cute to scare away crows - by Sharon Caudle

 Hello AI Fans!

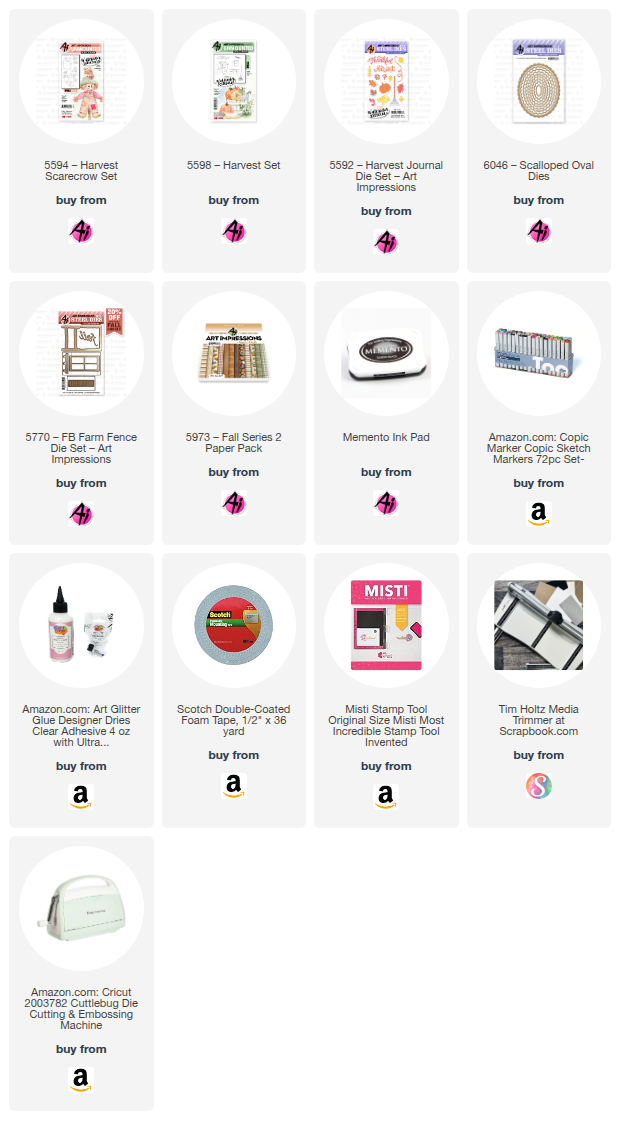
I know we are still into full blown summer, but the season is definitely starting to change. The leaves on the trees have already started to change and September is right around the corner! So I've created my first fall card of the season. I started out by stamping the adorable scarecrow from #5594 Harvest Scarecrow set onto a Copic friendly cardstock. After coloring him up, I cut him out using #6046 Scalloped Oval Dies and then matted that with one of the larger dies in brown. I wanted to see him from the front, but I wanted to place him on the inside of the card. So using #5770 Farm FB Set, I cut a hole through all three layers on the top of my card and then added the fence frame on both the front and then again on the inside. 


All of the pieces that are on the front of the card came from #5598 Harvest Set and #5592 Harvest Journal Die Set. The gorgeous paper is from #5973 Fall S2 PP. 


I also used one of those hay bales to prop up the scarecrow.


So that's it for me today! Thanks so much for stopping by for a visit and until next time - stay crafty!!


Copic markers used:
E13, 15, 17, 19, 21, 23, 31, 33, 35, 40, 42, 43, 47, 51, 53, 55, and 97
YR01, 02, 12, 14, 23, and 31
R12, 32, 35, and 37
YG61, 91, 93, and 97
C1, 2, and 3
Y32


Sunday, March 30, 2025

Bonus 5th Sunday Watercolor Weekend with Simone Carr

 Hello Ai fans and welcome to Watercolor Weekend!
This is one of those months where we get a bonus, 5th Sunday, so Simone Carr will be filling in as our Guest Designer for our last Sunday in March.


Please enjoy her amazing art!

Hello Fellow Crafters,

It’s my turn for Watercolor Weekend, and I’m excited to share two new watercolor cards with you! I hope they inspire you to create something beautiful this weekend!
Card 1: Easter Bloom Wreath


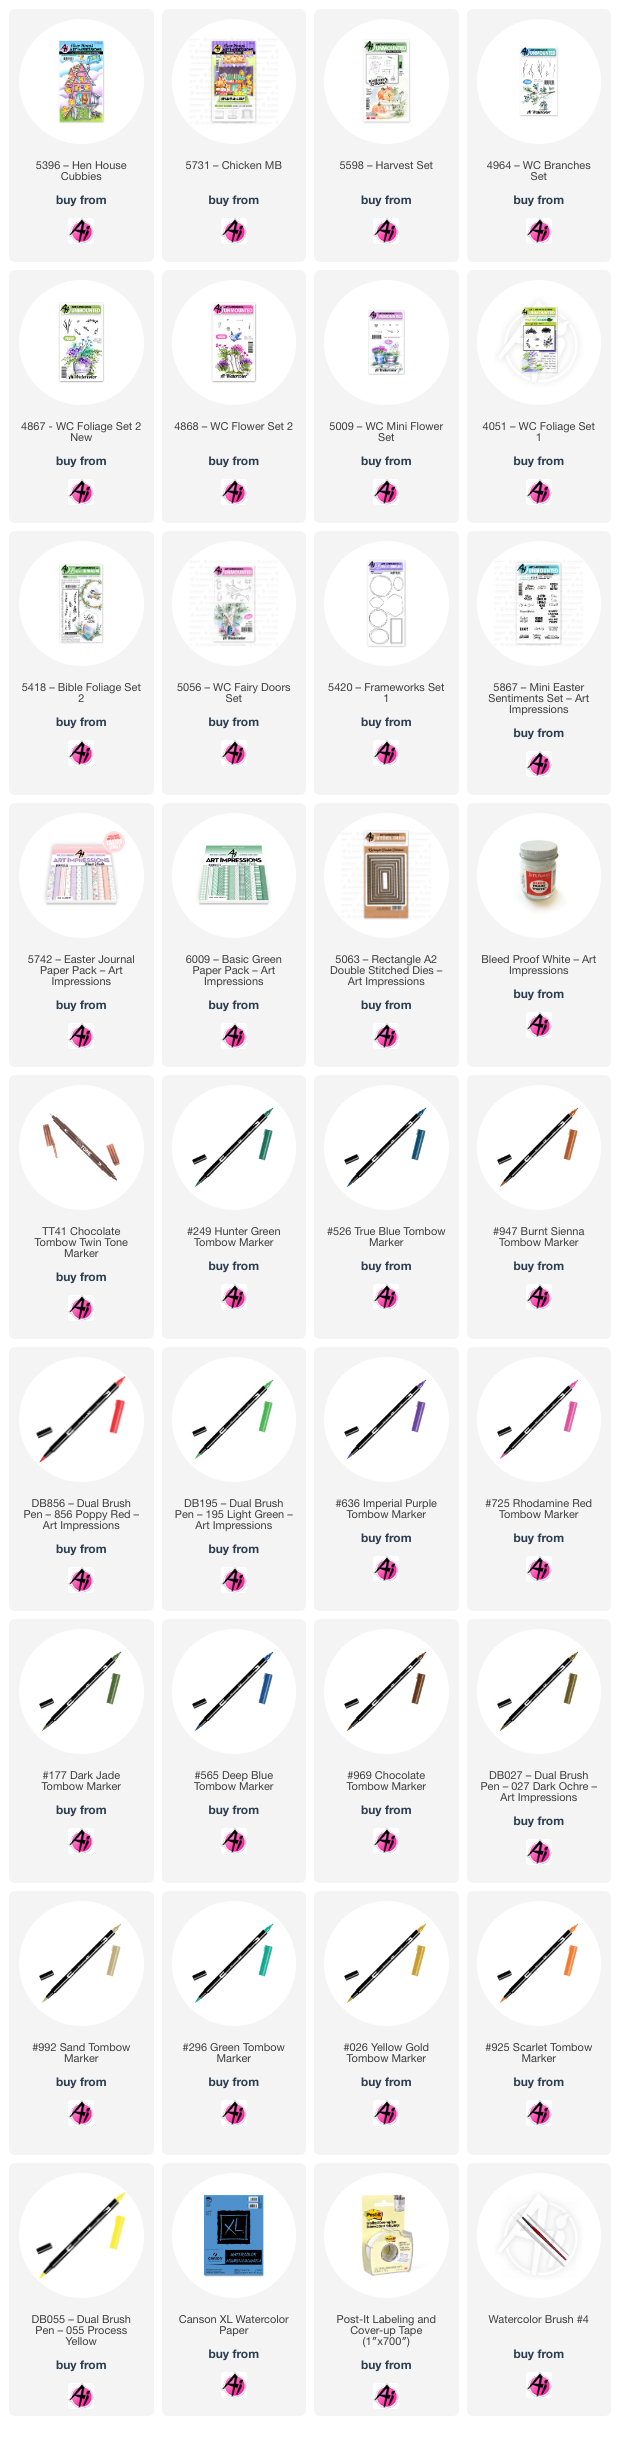
For my first card, I took an egg-shaped die to draw an outline so that I knew where to stamp my flowers and foliage. I placed my Canson watercolor paper into my stamp platform. I used the stamp from the Frameworks Set and colored parts of it with 969 before stamping it along the penciled egg shape. Once that was done, I stamped in the bunnies using 569 and 969, stamping off twice before applying them to the paper.
I colored the wreath first by pulling out the stamped color, then moved on to the bunnies, adding layers as needed. I stamped in some foliage but left space for flowers. I stamped grass in front of the bunnies using the larger grass stamp and then added flowers from Flower Set 2. For the white flowers, I used Dr. PH Martin’s Bleedproof White. Finally, I stamped the little bird on the branch using only 969. The sky was softly blended with 526 to complete the scene.
Materials Used:
Stamps:
  • Frameworks Set 1 (5420)
  • Fairy Doors Set (5056)
  • Furries TF (4208) Retired
  • Bible Foliage Set 2 (5418)
  • Foliage Set 1 (4051)
  • Mini Flower Set (5009)
  • Flower Set 2 (4868)
  • Flower Set 2 (4867)
  • Branches Set (4964)
Dies:
  • Rectangle A2 (5063) – Used the largest
  • Mini Easter Sentiment Set (5867)
Paper:
  • Canson Watercolor Paper
  • Easter PP (5742)
Inks & Markers:
  • Tombow Markers (969, 569, 526, 249, 177, 725, 565, 636, 195, 856, 947)
  • Dr. PH Martin’s Bleedproof White
  • Twintone Brown
Other:
  • Stamp Platform
  • Pencil for Sketching

Card 2: Cozy Coop


For my second card, I created a scene using the Matchbox Chickens Set and Hen House Cubbies.
I began by placing Canson watercolor paper into my stamp platform. Since the Matchbox stamps include flaps designed for creating 3D matchbox scenes, I used tape to block off the edges before inking the stamp with Memento Toffee Crunch. After removing the tape, I stamped the image, ensuring only the main elements transferred onto the paper.
With my scene set, I started coloring. For the chicks, I applied Tombow 055 around their heads, blending into 025 and 985 for the body. Their beaks were painted with 925. The hens were given warm, natural tones using 947 and 856. For the chicken coop, I used a combination of 947, 992, and 296, while the chicken feed bag was shaded with 027. To enhance the rustic feel, I stamped a hay bale from the Harvest Set (5598) using 026 and 985.
To tie the whole card together, I used patterned paper from the Basic Green PP (6009) as a background.
Materials Used:
Stamps:
  • Matchbox Chickens (5731)
  • Hen House Cubbies (5396)
  • Harvest Set (5598)
Paper:
  • Canson Watercolor Paper
  • Basic Green PP (6009)
Inks & Markers:
  • Tombow Markers (027, 992, 969, N55, 569, 296, 026, 856, 925, 055, 025)
  • Twintone Brown
  • Memento Toffee Crunch
  • Versafine Clair Nocturne
Other:
  • Stamp Platform
  • Masking Tape for Selective Stamping

I had so much fun creating these two watercolor cards, and I hope they inspire you to try something new in your crafting!
Happy Crafting,
Simone


Thursday, November 21, 2024

Harvest Blessings by Dori Mendiola

Happy Thursday AI Friends!

Today I have a fun fold A2 card for you that provides a great way to display your Fall Blessings, when expanded.  

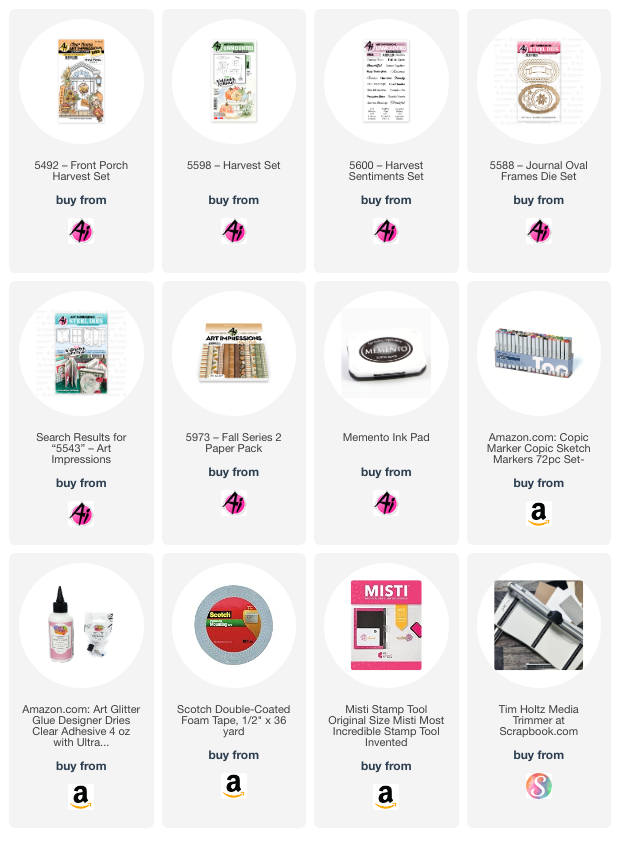
Have you checked out the latest fall paper pack (5973 - Fall S2 PP) from Art Impressions?  OMgosh, this is such a beautiful paper pack!  All of their papers are fantastic but this one has such great fall colors and patterns.  To show them off, I used the stamp sets #5492 Front Porch Harvest and #5598 Harvest Set along with the sentiments from the #5600 Harvest sentiments set.   


I stamped all of the images onto copic friendly paper and colored using my copic markers as listed below.   The hay bale is stamped directly onto the panel.  All other images are die cut using the coordinating dies that come in the stamp set.  

To create the fun fold card:  Cut your base cardstock at 4 1/4 x 11 and score on the long side at 2 3/4, 
5 1/2 and 8 1/4.  Fold and crease as mountain, valley, mountain.  This will create a W when standing upright.  Fold the side tabs backwards so that the card displays a solid A2 card front with the fold in the valley fold in the middle.  Next cut a 2 x 8 piece from the same cardstock and score the long side at 1 1/4, 2 1/2, 4, 5 1/2, 6 3/4.  Fold and crease as mountain, mountain, valley, mountain, mountain.  Should form a square when upright.  Place glue on the front of the left 1 1/4 tab.  Adhere to the left center of the A2 base along the fold.  Do the same to the right side.  Your fun fold card is now created.  Create your layers for each panel by cutting 1/4 inch smaller than the base.  
For the front panel:  You can cut any size or shape that you choose.  Adhere to the middle fold only of the 2 x 8 inch cardstock piece.  If you adhere to the side folds, the card will not pop up when fully opened.

When folded:

     Front side of the A2:                                                        Back side:

I hope you enjoyed my card for today and that you all have a wonderful Thanksgiving holiday. 
May each of you find some time to do what you love! 

Copics used:  E41, E43, E44, E47
YR12, YR16, YR20, YR23, YR27, YR68
R32, R35
YG91, YG93, YG95

Sunday, November 17, 2024

Gather Together and Merry Penguins cards by Diane Mason

Hello, and welcome back for Watercolor Weekend!


Hello, AI Watercolor Friends! It's that wonderful time of year - Thanksgiving is on its way, and Christmas is just around the corner. Today, I'm excited to share two festive cards with you. The first is a quick and easy Thanksgiving card, perfect for the season. The second is a playful, interactive Christmas shaker card featuring the adorable penguins from the newly released 5929 – Christmas Train Set.

Gather Together card:

For this quick and easy card, I selected the chair stamp from 5593 – Harvest Scenes Set. I love the beautiful colors of autumn and thought this scene would look so pretty paired with the patterned papers from the new fall paper pack (5973- FALL S2 PP).

I inked the image with the usual combination of 565/969 and stamped it off once before stamping it onto my Canson XL watercolor paper. With a damp brush, I pulled some color from the image to add shadows and dimension. I added a little 565 to the white chair for added shadows. For the birds, I painted 947 for the wings and 933 for the tummies. I wanted to give the watering can an old and weathered look. I used N52 to shade the watering can and a touch of 565 to deepen the shadows. For the rust, I dotted on some 947 here and there and blended some of the dots with a damp brush. I painted the red stripes with 856. I made sure the stripes curved upward for proper perspective since you could see the bottom of the watering can. I left the milk can white and added a little more 565 for contours. The handle was painted with 947.

The green pumpkin was painted with 228. I really like this green, it’s similar to 177 but has a grayer undertone. I added 993 for the yellow highlights. For the orange pumpkin, I used 933 for the base and 933/947 to shade the pumpkin. Both stems were painted with 969. I painted the wooden basket with 947 and 969.

Before adding the flowers and foliage, I brushed in a sky with a watery mix of 565. I added vines to the milk can using the vine stamp from 5126 – WC Foliage Set 4 inked in 177 and dabbed with a damp brush. Next, I added flowers to the wooden basket. I used the daisy bunch stamp from 4052 – Flower Set and stamped in 933 and 856. Using the same vine stamp, I added some foliage below the flowers and dabbed the vines and flowers with a damp brush. I got a little carried away with the flowers, so to tone them down a bit, I dotted in some tiny white flowers with Dr. Ph. Martin’s Bleed Proof White.

I added a shadow under the chair and near the basket and milk can with 565. I used a brown TwinTone marker to add fine details to the scene. The painting was die-cut with a stitched rectangle die and matted with patterned paper from 5973 – FALL S2 PP. The “Gather Together” sentiment is from 5600 – Harvest Sentiments Set and was heat embossed in gold.

You all know I like to decorate the interior of my cards. The sentiments are from 5600 and the fall leaves are from 5598 - Harvest Set. The leaves were painted with 947, 228, 177, 856, 933, and 993.

Merry Penguins Shaker Card:

I think the little penguins from the 5929 – Christmas Train Set are so adorable. They look so excited and happy, and ready to shake up some fun!

I stamped the four penguin images, and an extra sitting penguin for the interior of my card, with Versafine Onyx Black ink onto my watercolor paper. Versafine ink is permanent once dry, stamps clean sharp images, and works perfectly for watercolor. It is also easy to remove from your stamps. I shaded all the white areas with N52 and a little 565. For the hats and scarves, I used 526 and decorated the scarves with a white gel pen. The bodies were painted with N25 and the beaks in 933. Rosy cheeks were added with a watery mix of 856. I then die-cut all the penguins and set them aside.


For this slim-line card, I cut a 7 x 8 ½ inch piece of white cardstock and folded it in half for the card base. I cut a 3 ½ x 8 ½ inch piece of shimmery white cardstock and adhered it to the card front. Next, I added a 2 ¼ x 8 ½ inch piece of blue cardstock to the center of the card. For the MERRY shaker windows, I created a template using a piece of white cardstock and the letter dies from 5072 – Block Letters Die Set. Since there is only one “R” die, I used an “N” die as a placeholder for spacing. I used a strip of removable tape to hold my dies in position, removed the “N”, and die-cut a template from the white cardstock. I added the second “R” to the template and ran it through the die-cutting machine again. Next, I cut a 2 x 8 ½ inch piece of blue plaid patterned paper from 5964 - Winter Woodland Cover Paper Pack. I positioned the template over the plaid strip, aligned the letter dies in place, and die-cut the windows for the shaker. Using a pencil, I lightly traced the letter openings onto the blue cardstock to mark where the shaker wells would go. Then, I used foam tape to build the wells and filled them with a wintry mix of beads and sequins. I added clear acetate to the back of the letter strip and carefully adhered the strip over the shaker bits. I used a die-cut 'R' as a guide to position and adhere the inner pieces of the letter, securing them in place.


Next, I glued the penguins onto the card and added a touch of sparkle by scattering die-cut silver glitter snowflakes from the 5782 - Snowflake Frame Die.

For the inside of the card, I adhered a ½ inch strip of plaid paper along the bottom edge and placed a sitting penguin on top for a fun finishing touch. The “Merry Christmas” sentiment is from 5953 – Woodland Critters Set. Let the merry-making begin and shake, shake, shake!

Thank you for stopping by for Watercolor Weekend. I hope today’s cards have inspired you to create some cards to share with your friends and family this holiday season. Until next time, wishing you and your loved ones a very Happy Thanksgiving and, as always, Happy Painting!