Showing posts with label Memento Ink. Show all posts

Sunday, November 6, 2022

A Bunch of Bees (and bugs) by Reneé Matarese

 Hello Ai fans!

Today I'm sharing 3 cards.

One is my card for the Stencils and Masks challenge and the other 2
were made for friends.


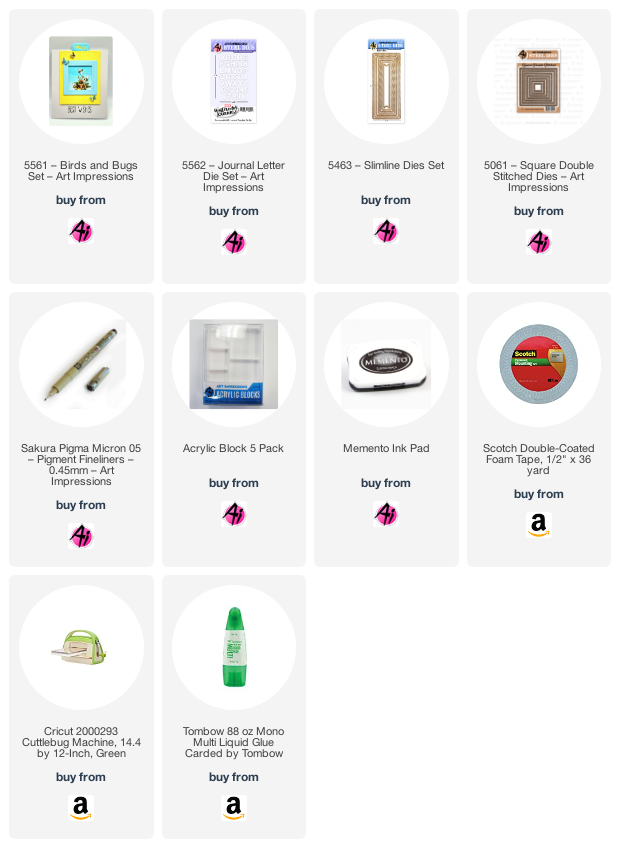
I used the 5561 – Birds and Bugs Set on all 3 of my cards.  I also used the 5562 – Journal Letter Die Set on all of them.  I have a tip for the little letters below.
For this card, I mounted the letters onto the banner from 5463 – Slimline Dies Set.


I don't really own any stencils so I decided to get creative and make my own.
I used a honeycomb die that I have and I cut it on some heavyweight cardstock.
I then used washi tape to hold my stencil down.  I inked over it with some yellow ink by using a sponge.


Viola! A homemade stencil that I really liked!


For my next card I stamped the bees on a piece a die cut using 5061 – Square Double Stitched Dies.
This card was made for a friend who let my 24 year old son dig through her record collection before she got rid of it. He was so excited and came home with about a dozen albums.  We wanted to thank her for thinking of him.


Here's my tip to make your life easier.
You know those sticker sheets (invoices) you get from Ai?  What do you do with them?  Probably just throw them away.  I glued some cardstock to mine and then die cut my letters out of it.  I didn't need it all for these cards so the leftover scrap has been filed away for another day.  Now you have letters that are like stickers.  No need for fussing with trying to neatly get glue on the back of these small letters.


I'm ALL about recycling what you can. A while back a friend gave me the prettiest bee blanket.
This heart on my card was the tag on it.  It was way too cute to just throw out so I saved it knowing I'd find a use for it one day.


The day arrived when I found out a former co-worker was ill.  I sent this to him hoping it would brighten his day.  I used a micron pen to draw the flight lines of the bees.  In order to make sure my letters are even I use a ruler to place them.


I hope you will BEE inspired by my cards and will join in on the challenge.
See you next Sunday!
Sunday, July 17, 2022

Spooky Halloween Window by Reneé Matarese

Hello Ai fans!

Today I'm sharing my card for the Perfect Plaid challenge on the Art Impressions blog.


I know it's July but I've been wanting to try one of the watercolor windows for a spooky Halloween card since I saw Bonnie's tutorial.  Mine is FAR different from hers and not nearly as pretty but I think it's fun.  This was her card that inspired mine.


I chose a different window than Bonnie used and I used some Wink of Stella on my windows.
Also, the window I used has one shutter.  I decided to stamp it a second time and place one on the other side.  I just cut it out, flipped it upside down and now my window has a matching pair of shutters!


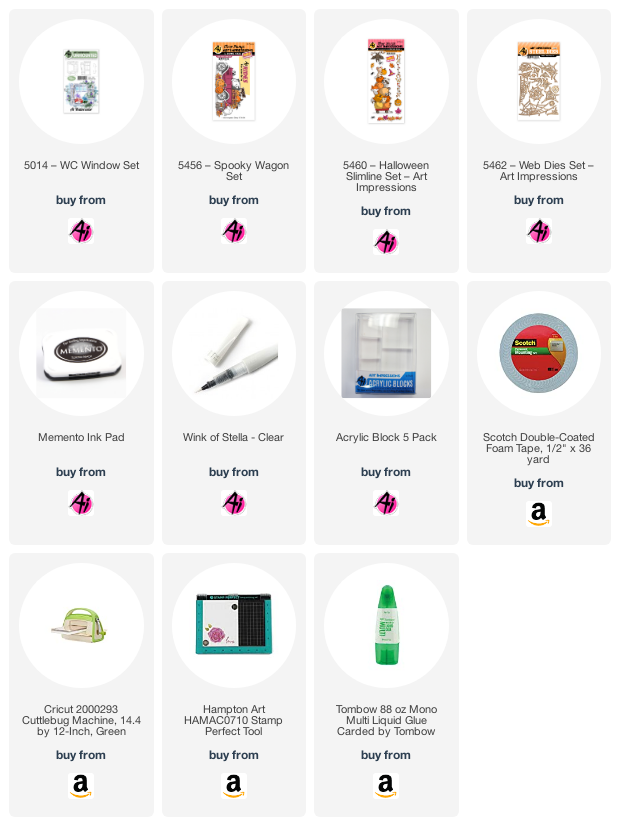
I used several sets to create my card.


Copics used:
Y0000, Y11, YR000, YR12, YR31, V0000, G21, E31, 
E99, W1, W2, W4, T1, T4, N1, N2, N4


Thursday, February 27, 2020

It's Your Birthday...


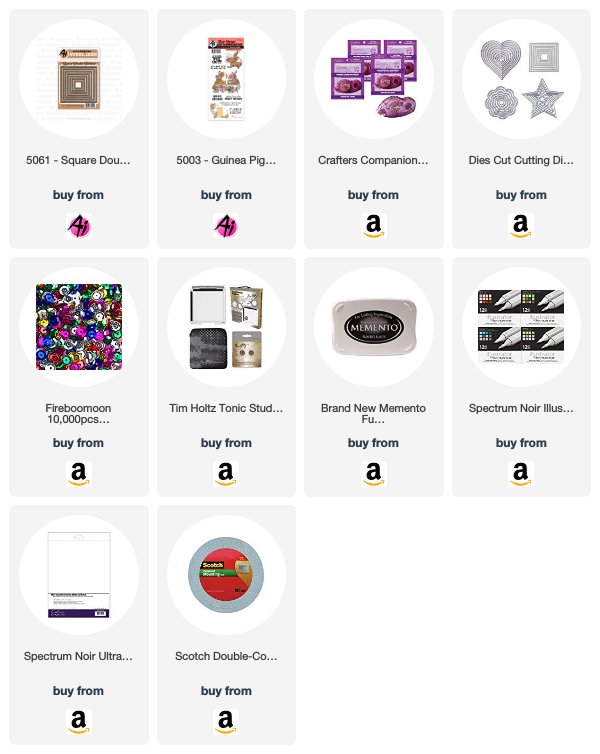
Hi Ai fans. I have not a made a card in sometime with this Guinea Pig set so I thought it was time this week to play with it. I stamped the image with Memento black ink which is the perfect black ink for coloring in an image with alcohol markers. After I colored the image in I fussy cut it out. I always keep scraps from other cards or change my mind when making cards and put those pieces in a bin on my desk so that is how this card came together. 


The card stock piece with the square die cut out was a scrap from another card I thought that would make a perfect opening for the guinea pigs. I placed that onto purple card stock trimmed to 4 1/2" X 5 1/4" which is the most common size card I make. I thought the guinea pigs needed a little something under them I found this embossed heart in my bin and placed it under them. 


I stamped the sentiment "IT'S YOUR BIRTHDAY PIG PUT!" under the window. As a last little touch to fill in some open space a glued three sequins which completes my card for today. 

Spectrum Noir Markers:
DR2, CC1, EB2, EB4, EB6, BO1, BO3, TN1, TN3, PP3,  LV1, LV2, LV3, IG3, CT1


Happy Stamping! 


Monday, March 13, 2017

NEW VIDEO - Elephant PopCard Tutorial

Hello Ai Fans!

We have a special new video today for those of you that have purchased PopCards from our independent stores or specialty online retailers. Our PopCards will release at artimpressions.com on May 11, 2017, but you can purchase them from any of our dealers!

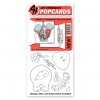
Create a fantastic and easy pop-up card with our new PopCards! The Elephant PopCard includes clear stamps for the head, trunk, body, flower, hat, ruffle, tail and sentiment “Life would be ir-elephant without you!” and matching dies for the head, trunk, body, flower, hat, ruffle, tail, as well as ear, wand, heart and small circle. Instructions included. The dies cut slots and tabs to insert the PopCard Template for assembly. 

The PopCard Template (sold separately) is required for each PopCard product. The PopCard Template will pull the image up when the card is opened and fold flat when closed.


View on YouTube: https://youtu.be/zkysz6D0pX4


Saturday, June 8, 2013

Weight in Gold

Hello Ai Fans!
It's Rhonda here,  and I am sharing a colorful card using Ai "The Weigh In Set", UM4049


 I used Sizzix Arithmetic embossing folder to emboss purple Colorbok paper for the background,
then stamped the "Girlfriends"
with Memento Tuxedo Black Ink on Gina K white paper (my new found favorite -thanks Crystal).


 Colored the image with Copic markers and used Stampin' Up Labels die to cut image out.


Cut base of label from Lil' Inkers Design - Gift Bow Topper Die, added button and gold twine.


Used Stampin' Up Crystal Effects for top of scales.


Inside used same materials,  smaller versions along with sentiment from the set.


I am excited to be a member of this talented Design Team.  I am looking forward in our
"Scrappy Journey" together.
Thanks for stopping by!
Blessings,