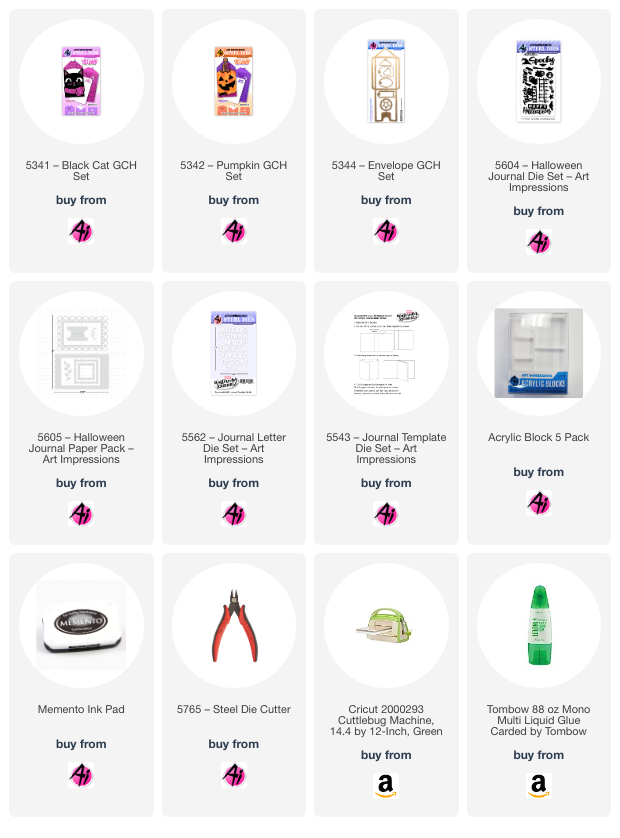
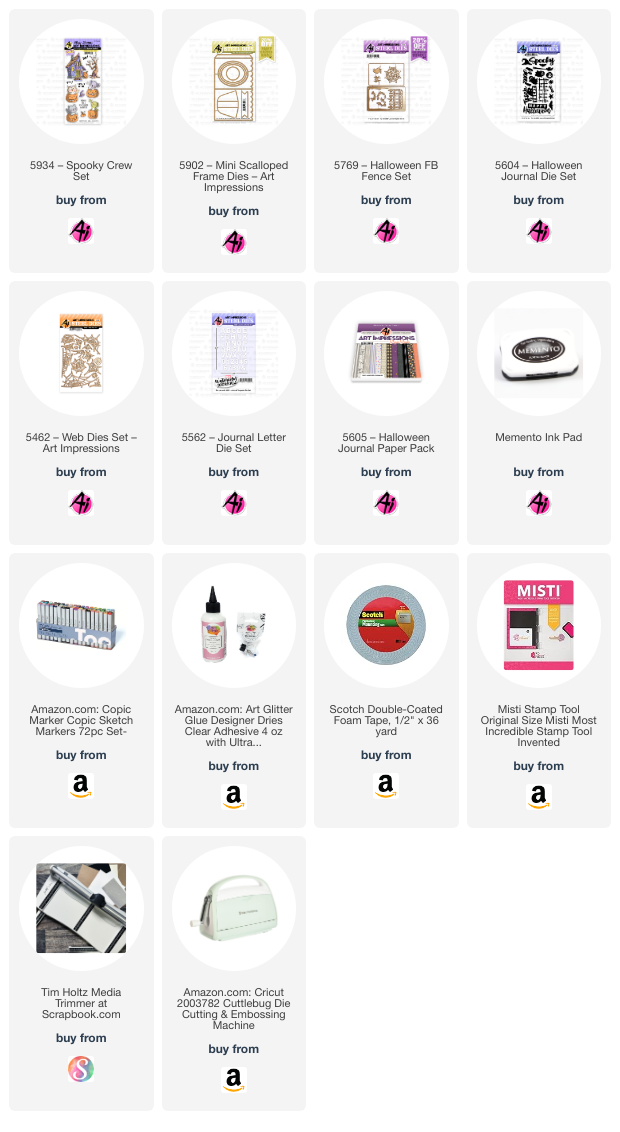
It's getting pretty close to Halloween! Are you ready? Do you decorate for the holiday and hand out candy? I love it when all the littles come to the door all dressed up and excited to get some candy!! I even love it when the teenagers come a knocking! I love that they enjoy it and I want them to be kids for as long as they can. Adulthood comes soon enough, so enjoy the heck out of while you're there! So I had a lot of fun decorating up this frame and I confess I used a ton of different sets, but they're all linked below, so don't be shy to go click on them and check them out!! This was really a blast to put together!!
Thanks so much for stopping by for a visit today! Until next time - stay crafty!!
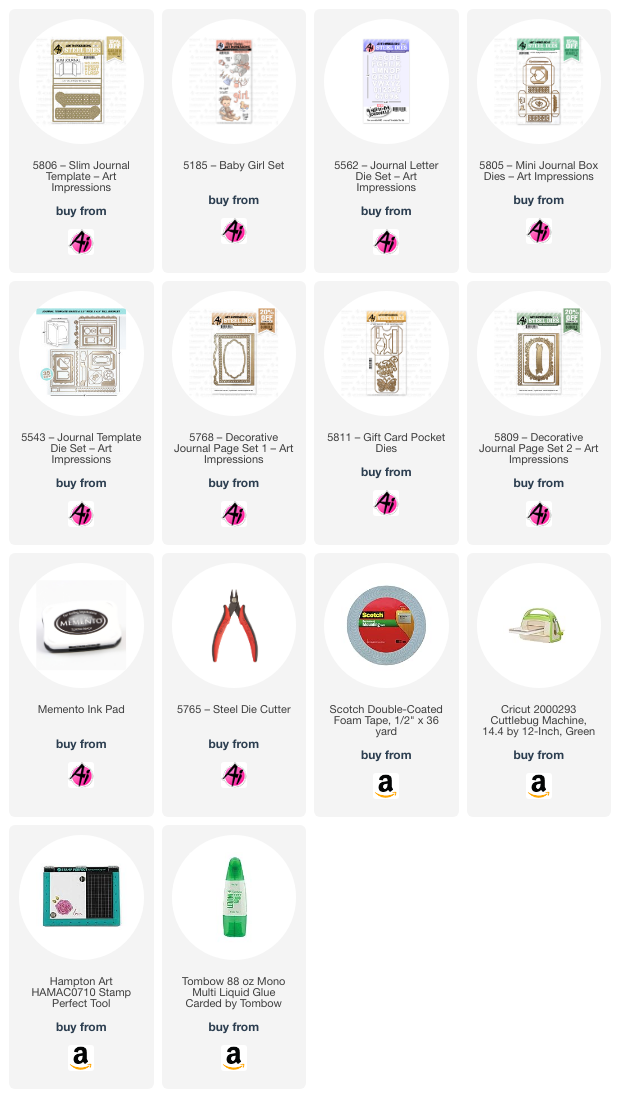
Hello everyone and welcome to my first SLIM journal creation.
This journal is exactly like the original journal except that you only need to put two pages in it. In fact, I only used one page making it even simpler because I added popped up bows and I didn't want them to get squished.
The pretty heart clasp comes with the Slim Journal.
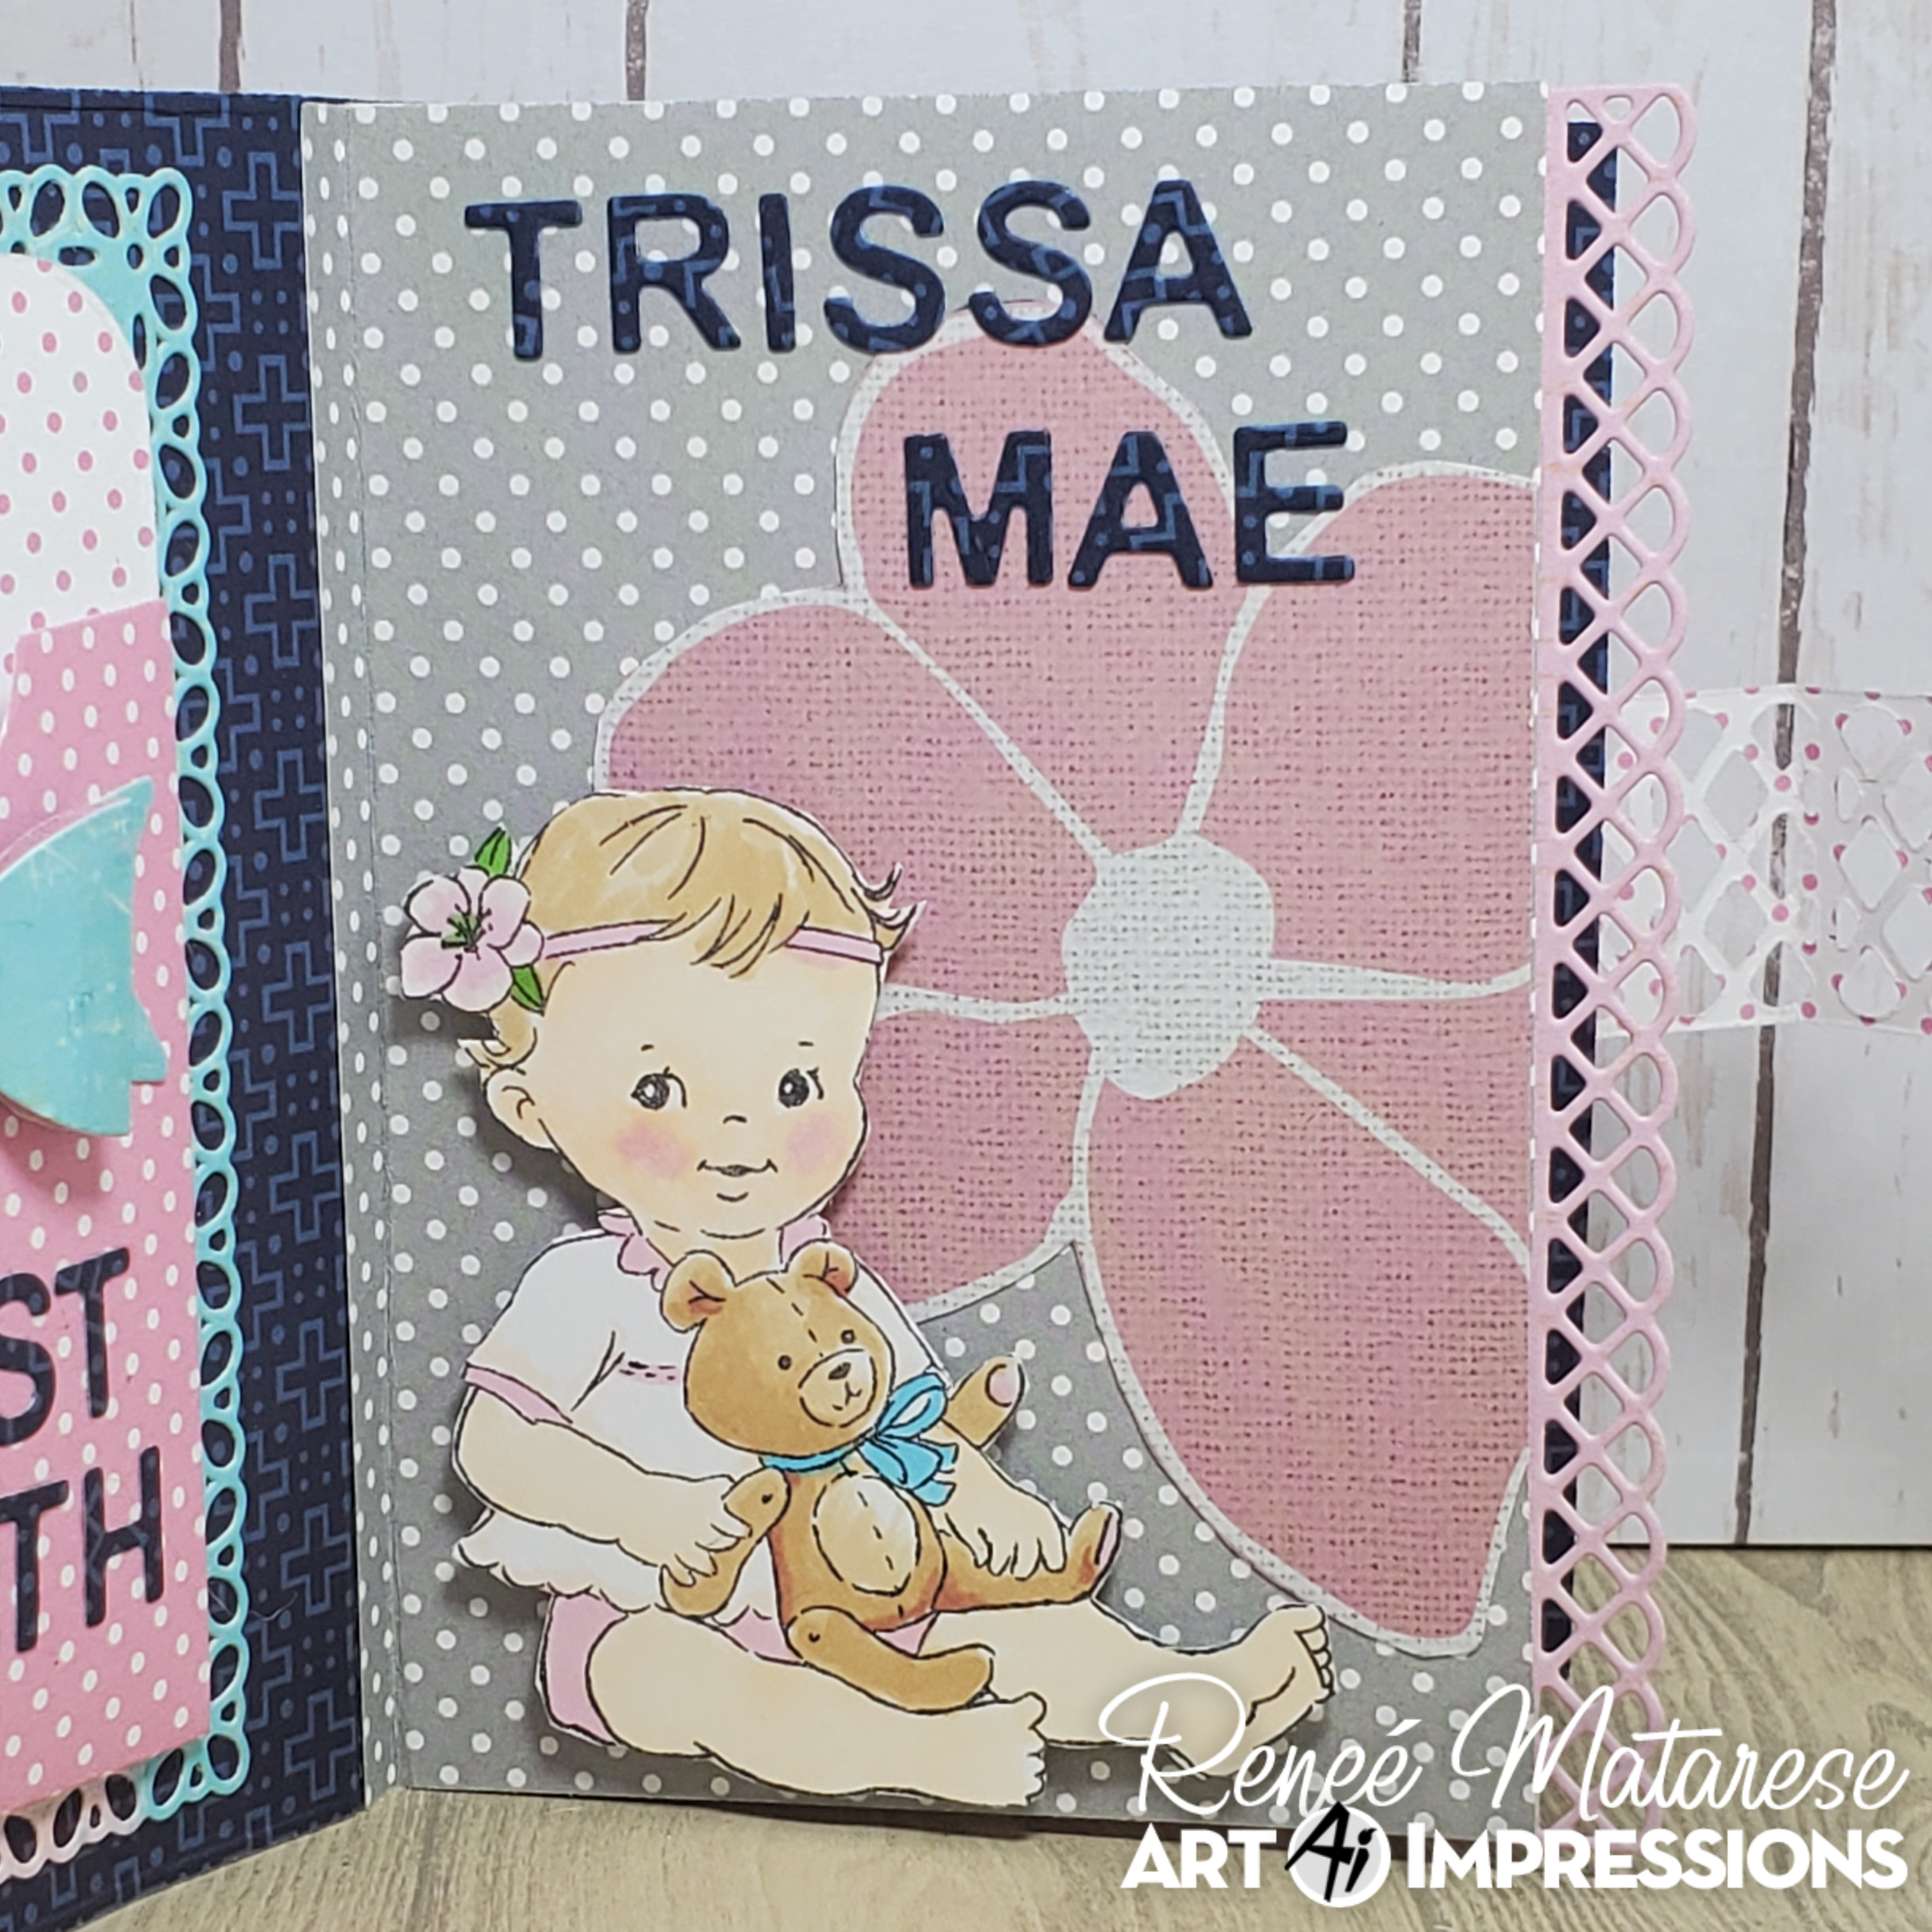
My journal is a little keepsake for a baby girls first tooth lost and first hair cut.
The pocket for the lock of hair is the same as the tooth pocket except that I didn't use the small envelope inside. I used a heart from 5543 – Journal Template Die Set.
My journal also can be used as inspiration for our current Pop It Up! challenge on the Art Impressions blog. My bows are popped up as well as my baby girl being popped up on foam dots. You might win a free stamp set if you enter!
My friend's granddaughter is turning four in September and guess what she likes? Pink, gems, unicorns and fairies. Shocking! lol!
Check out how the fairy really flies!
Here's the left side of the inside.
The right side of the inside.
I filled a little bag full of gems for my friend to give her with the card.
I put a little heart, star and butterfly inside the doors and windows that open up.
I made a second card to send to Ai which was created with the current All Wrapped Up challenge in mind. Use either real or stamped ribbon or bows.
The right side of this one was done using all Ai stamps and dies.
Now I have two mini picture tutorials for you.
I've had a few people talk about not getting a stamp and die to line up. (I'm not just talking about Annie, who has replacement dies coming) Here's a quick little tutorial on how to get perfect stamp and die alignment.
BEFORE stamping, cut out the die cut.
Place the negative space in your stamping platform.
Place the stamp in the cut out space.
Close your platform cover to stick the stamp to it and then open it back up.
Place the die cut back into the cut out space.
Ink up the stamp, close the cover and stamp your image onto the die cut.
Viola! You have a perfectly stamped and die cut image.
My next tutorial is on how to create the little flying fairy. Last fall I made two cards with flying images. One was a Halloween card with flying bats and one was a spring card with a bird and bee. You can click on each photo to be taken to the original posts.
To make these little cuties fly is really pretty simple. I cut a hole with a hole punch into my cardstock and into a little piece of acetate. (I save all my packaging from everything to cut up to make clear cards, shakers and things like this)
I use a brad to attach the acetate to the cardstock. Make SURE that you don't close it tightly or your acetate won't swing. Test it before adhering anything to the card base. I prefer not to see the brad so I always create something to go over it. Make sure not to use your foam tape in any area that will stop the little "pendulum" from swinging.
I've used a cloud and only put the tape at the top.
You'll need to pop up the back as well so that the brad can maneuver around.
More foam tape makes that happen. That's it! Just a hole punch, a brad and some foam tape.
Wouldn't this be super cute with an angel on a Christmas card?!
Enjoy the rest of your weekend and be sure to share if you decide to make something FLY!!!
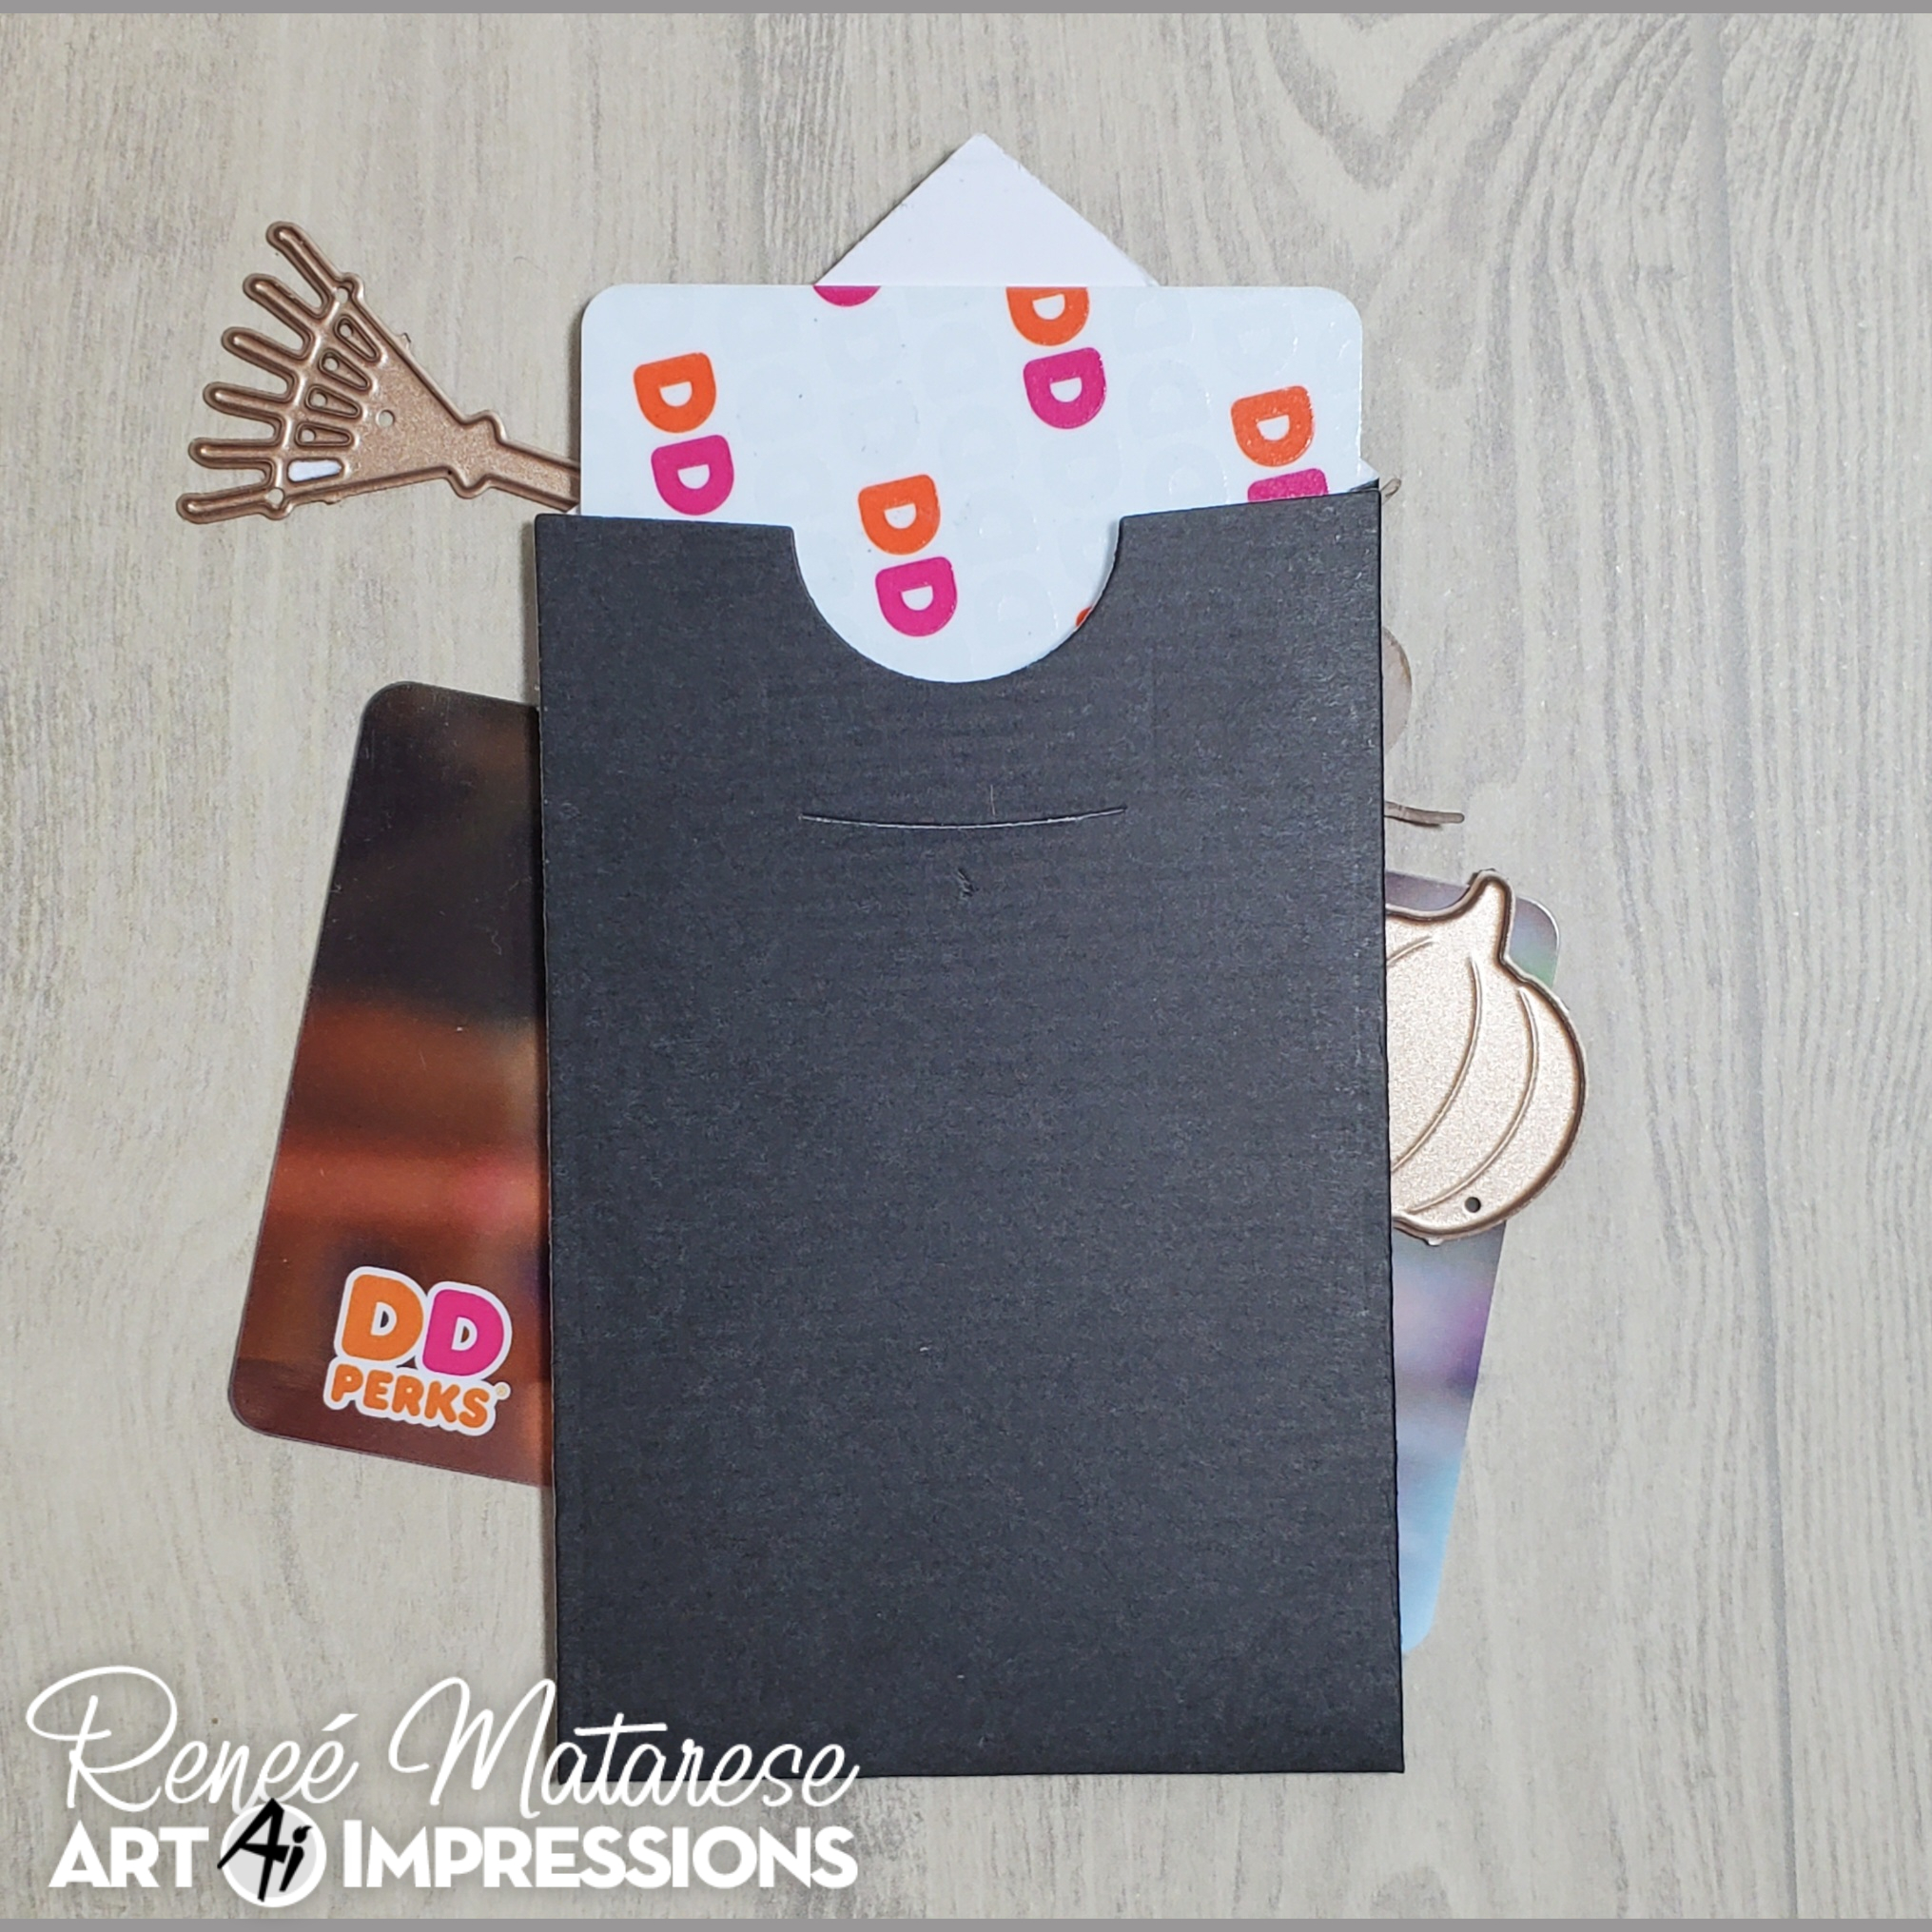
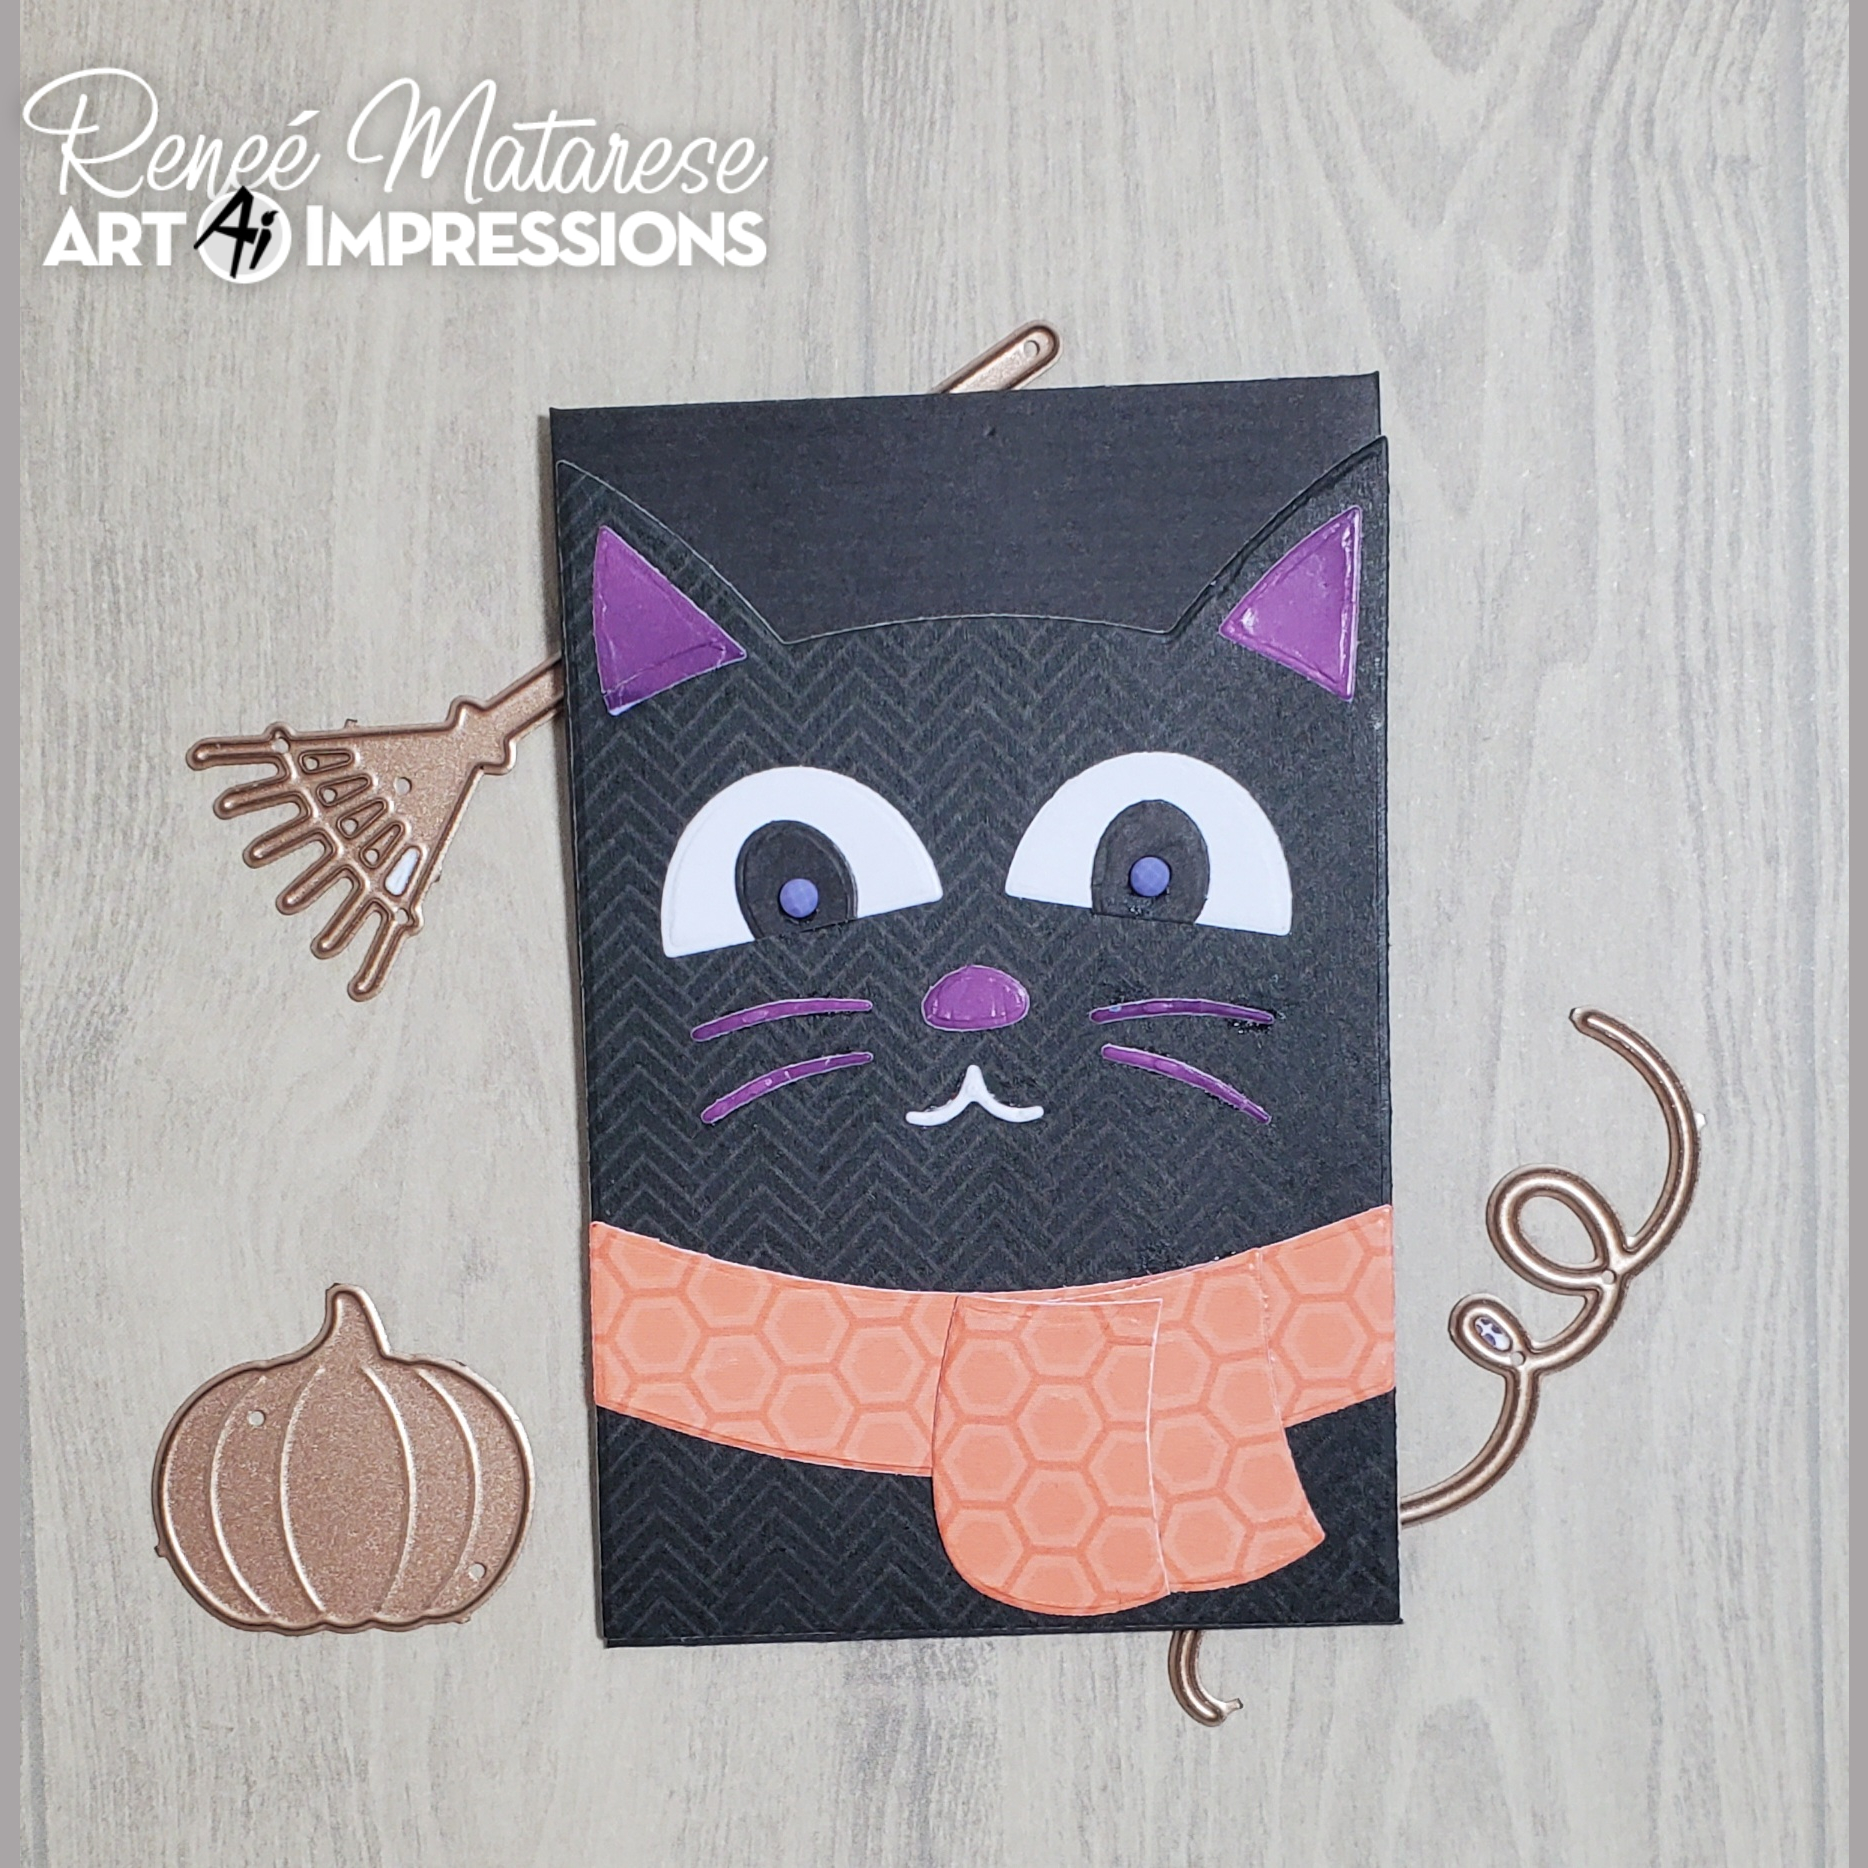
You do need the 5344 – Envelope GCH Set to hold the gift card and glue the GCH elements to or you could just use the dies on a card of scrapbook page but they wont hold a gift card.
I'm giving away a 5341 – Black Cat GCH Set. This is JUST the cat dies. The envelope template is not included. See the link up at the bottom of my post to enter to win. U.S. addresses only please. You just need to enter some sort of crafty item you've created and leave your first name and last initial. I will announce the RANDOM winner next Sunday on my blog post. If you win, please contact Leah at Feedback@artimpressions.com. I'll share this information again next week when I announce the winner.
Don't these adorable little dies add so much fun to your creations! They certainly don't even need to be in a journal. How cute would these be on a card or scrapbook page!













.png)