Showing posts with label alcohol markers. Show all posts

Thursday, September 16, 2021

Hello Succulent Window Cards by Crystal


Hi Ai fans! This week I needed to play with some bright happy cheery colors so I made two cards using the Succulents Window stamp/die set.


When I have been crafting I have been making two cards with the sets I play with. It is just easier to make a couple cards at a time once I'm stamping the image out. Most of the time I stamp multiple images out at a time and take them in to the living room and color them in the evening when my family is watching t.v.


I kept both cards really simple I die cut the images out with a double stitched square and matted them with yellow card stock. 


I added a bow onto some brightly colored card stock and matted them onto yellow card stock. I added the images onto the pattern paper. 


Happy Stamping! 


Thursday, June 24, 2021

Seas the Day by Crystal

This week I had so much fun playing with the new Gull Friends stamp set. It has been hot here so hot. I take my dogs out for 5-10 minutes and back inside to cool off. So the theme for this card was bright summer colors. 


The gulls have cake and balloons in their mouths but I still think it could be a fun just because card. I added the sentiment "Seas the Day" onto a double stitched banner die.  I die cut the characters out with the coordinating dies that come in the set.  


I adhered the gulls to a oval double stitched polka dot pattern card stock. I matted the polka card stock onto a simple paper lined pattern paper and matted everything onto some bright fun summer pattern paper. That's my card today hope it inspired you have a wonderful rest of your week! 


Happy Stamping!


Thursday, May 13, 2021

Hatty Birthday by Crystal

Hi Ai fans! This week I made a card using the Miss Set. This set is full of fun witty sentiments that pair perfectly with all of the different hats she can wear. I stamped the image onto smooth white card stock and colored them in with alcohol markers. I then die cut them out with the coordinating dies that come in the set. All of the hats in the set have little slits that get die cut when you die cut them out so the hat will fit on her head perfectly. 


For my card I went with the birdcage hat and used the sentiment "A little birdie told me it was your birthday" which goes perfect with the bird cage. I also added the sentiment "Hatty Birthday!" I added lots of spring colors to this card to go with the bird cage and flowers on the hat. 


Spectrum Noir Markers: AB1, AB3, BT1, DR1, CT4, GY1, GY4, BO1, LG1, LG3, DR1, CR1, BG2

Happy Stamping! 


Thursday, April 15, 2021

Birdie Told Me it Was Your Birthday!
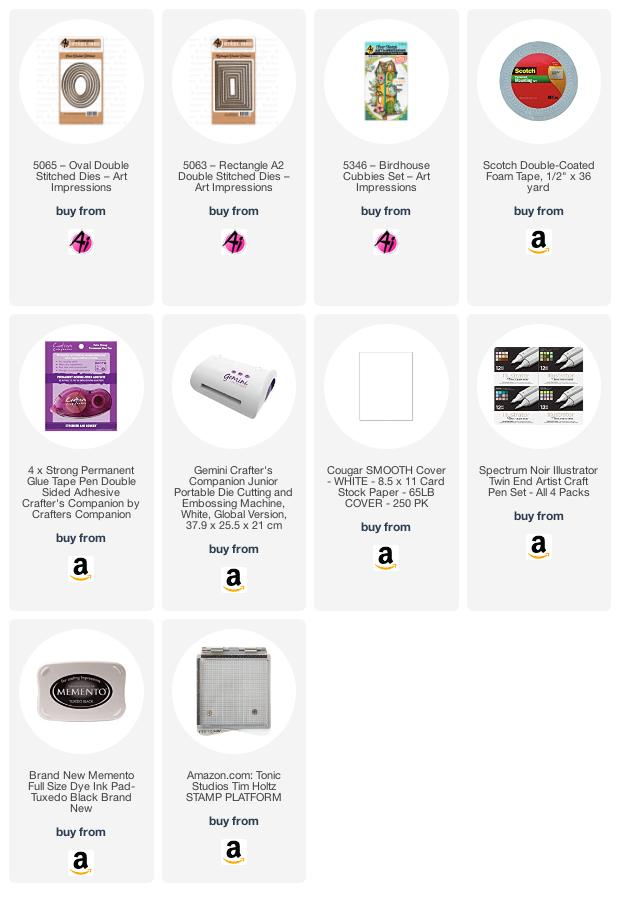

Good Morning Ai fans! We are well into spring now which is one of my favorite seasons. I do like different things about all four seasons but spring is my all time favorite one. Do you have a favorite season? If so which one? This week I played with the Birdhouse stamp set from the Cubbies collection. This set feels just like spring to me.


I stamped everything onto smooth white card stock with Memento black ink and colored everything in with alcohol markers. All of the colors I used are listed at the bottom of my blog post.


After every thing was colored I ran everything through my die cutting machine with the coordinating dies that come in the set. Don't you just love getting the matching dies? Or do you enjoy fussy cutting everything out?  I stamped the sentiment "A little birdie told me it was your birthday" onto a double stitched oval that I die cut out. I did need to trim the side of the oval just a little bit to help it fit better. 


I glued all of the birds into place and then added foam tape and adhered the house to pattern paper. I tucked the vines into different spots behind the bird house and glued flowers to the vines. 

Spectrum Noir Markers: 
PP1, PP4, PL2, PL05, PL3, TB1, TB3, AG1, AG3, OR3, EB1, EB2, EB3, MG1, MG3, BT1, BT3

Happy stamping!


Thursday, March 25, 2021

Easter Bunny Card Set of Three!
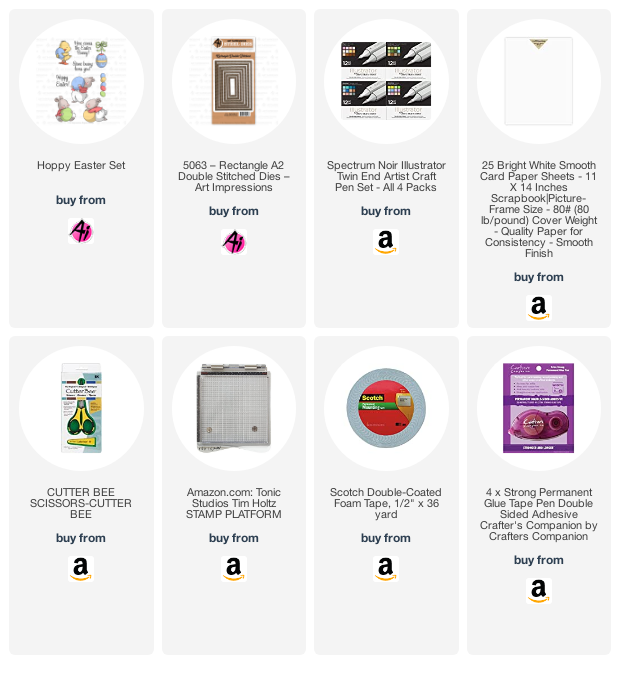

Hi Ai fans! This week I played with the Hoppy Easter stamp set and made a set of three cards. Easter is coming soon I'm loving this spring weather and seeing all of the flowers starting to bloom and trees have buds on them. For this card set I planned on adding all three bunnies to one card but after I had them all colored and cut out I changed my mind and made a set of three cards.  


I layered pattern paper on this card and stamped the sentiment "Here comes the Easter Bunny" onto a die cut double stitched circle and adhered the bunny on the top of the circle. 


The second card I layered more pattern paper and stamped the sentiment "Some bunny loves you!" onto banner. This card could be given an time during the spring I don't think it only needs to be for Easter. 


I added more pattern paper for this card but I cut the center out to show some solid blue paper that I had matted the pattern paper with. I added the sentiment "Hoppy Easter!" to a die cut oval double stitched die cut. 


I used coordinating paper and all three of the bunnies clothes and eggs are colored with the came colors to make this a set of cards.  


Spectrum Noir markers: 
Blender, FS4, BT1, BT3, TB1, TB2, TB3, LG1, LG2, LG3, DP1, DP2, DP3, BG1, BG2, BG3, GB2, GB4

Happy Stamping!


Thursday, January 28, 2021

Simple Floral Thank You Card by Crystal
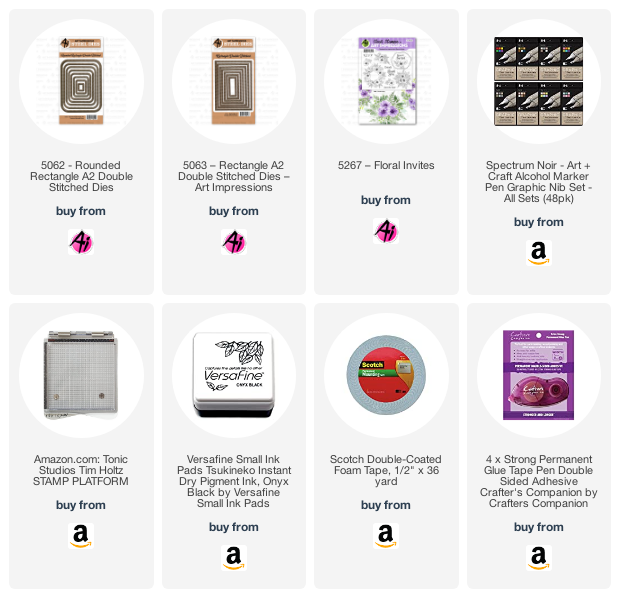

Hi AI fans! This week I played with the Floral Invites stamp set. 


Sometimes when I start making a card I have no idea what the finished card will look like. I just pull out some card supplies and start playing. This was totally one of those cards this time. I stamped the image onto pattern paper with black versafine ink. I was not in the coloring mood so I thought if I stamped the image onto pattern paper it would be enough. But once I cut the floral wreath out I didn't like. I ended up adding a little color with alcohol markers. I couldn't blend and ass lots of colors because I used the wrong ink to stamp it and it would have bled the ink.  In the middle of the wreath I stamped "Thank you". I adhered the wreath with foam tape to help it pop. 


I stamped the straight line wreath onto pattern paper four different times so it would stick out under the other wreath. I did lots of layering of different pattern of paper. I love how this card turned out. Never throw out anything when you are making a card keep it and just change your plan a little bit.


Happy Stamping!


Thursday, November 26, 2020

Wishing You Pumpkin Spice & Everything Nice! by Crystal


Hi AI fans! 

Happy Thanksgiving! 

Any big plans? I plan on eating lots of pumpkin pie. 

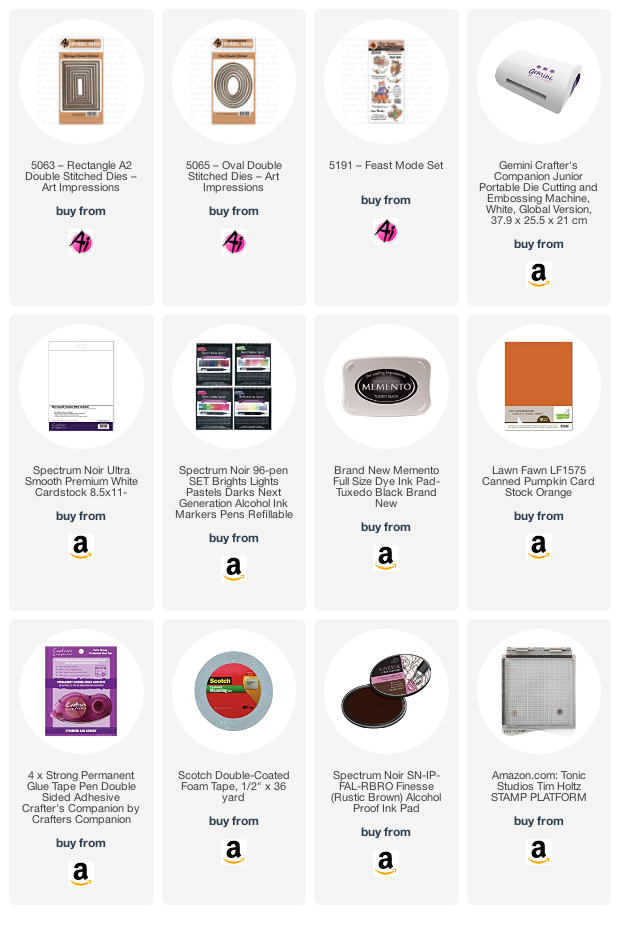
This week I made a card using this fun stamp set from last year -Feast Mode I love the name of this set. 


I stamped the image with Memento black ink onto smooth white card stock. I colored this image in with alcohol markers which is my favorite coloring medium. I have made so many cards with this image last year and this year and I think I will be using this same set again next year. 


I stamped the sentiment with brown ink "Wishing you Pumpkin Spice & everything nice!" After I stamped the sentiment I die cut it out with a double stitched oval die.  I love pumpkin spice and this sentiment! Are you a fan of pumpkin spice or are you someone who doesn't care for it? 

Happy Stamping!


Spectrum Noir Markers: 

OR1, OR2, OR3, BO1, BO2, BO4, GY2, GY3, GY5, BG2, VB1, VB2, VB3, YG1, YG2, YG3, EB6, EB7, EB5
Friday, October 16, 2020

Spooky Fright Night Ghosts | By Jessica Shier

 Hello Ai fans!

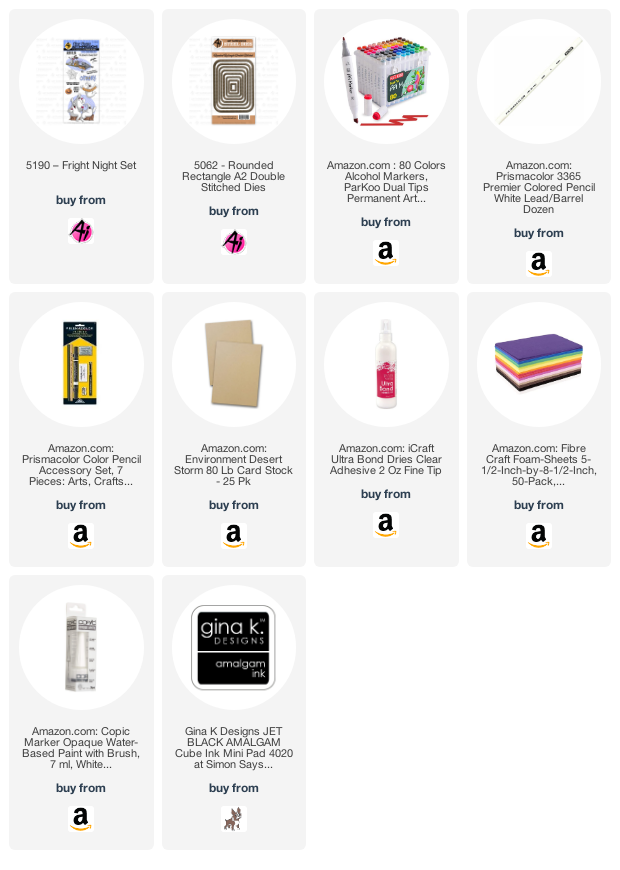
I hope everyone has had a good week so far! One of my favorite holiday sets is Fright Night! I love all the images and the trio of ghosts are just too cute. This is so simply colored and most of the shading is done with a white Prismacolor Pencil! Perfect for some more kraft cardstock inspiration. 


The markers I'm using today are Parkoo. You can find them listed down below. They are a cheap alternative to Copic markers, if you don't mind the bullet tip instead of a brush. I did use a alcohol marker friendly black ink, I like Gina K. Designs Jet Black Amalgam ink. I stamped the ghosts, spooky word and bats on to Neenah Desert Storm 100lb cardstock. 

The marker colors I used will be listed below. Using two shades for each color. I went with a simple shading with a hard line, similar to what the packaging of Art Impressions products show. I also colored in the ground level with several more markers. I like how this has more of a non traditional Halloween color palette.


Once I had the marker coloring done, I started coloring over the top with a white Prismacolor Pencil. This is my most used colored pencil. To get the most out of these pencils I do use a pencil extender. 

I started coloring the white pencil in the certain of the ghosts and lightly shaded out to the edges. I kept a hard line right on the edge to give these ghosts a more rounded feel. You can still see the two shades of colors I used underneath the white pencil coloring and of course white pencil shows up so nicely on kraft colored card stock. I did the same for the spooky word and then also added a little bit of shading on the ground. 


Using some scrap pieces of paper I covered the colored areas and added some white splatters with Copic Opaque white. You could also use white acrylic paint. I did use the Copic Opaque white for the highlights on the ghosts and the eyes of the spooky word. It is hard for me to get a nice line with a gel pen over colored pencils due to the wax from the lead. Using a Rounded Rectangle die I die cut the ghost panel and added a green craft foam layer underneath using the same rounded rectangle die. These are mounted to Neenah Solar White 110lb A2 top fold card base. 

Parkoo Markers Used:

64 Indian Blue, 182 Frost Blue

46 Vivid Green, 174 Spring Dim Green

14 Vermilion, 122 Fluorescent Orange

35 Lemon Yellow, 49 Pastel Green

99 Bronze, 97 Rose Biege

GG7 Green Grey, GG3 Green Gray, 123 Fluorescent Yellow


Thank you so much for joining me today! Happy stamping. 


Friday, August 14, 2020

Birthday Fishes | By Jessica Shier

 Hello Ai Fans!

It's Jessica today on the blog. As some of you may know I love the critter stamps from Art Impressions. The dogs and cats are some of my favorites and the Real Great Guy stamp set as the most adorable dog floating in the water! So I thought I would combine him with some of the other smaller stamp sets and create an alcohol ink background to go along with him. I also wanted to keep the color scheme to a minimal again. I love mixing teal and orange together, such a great color combination for fall and more masculine cards.

I don't really have anyone that loves to fish. My husband and I have talked about it, just to try something new but to real avid fishers. My mom did have a Dachshund that loved to go fishing. She would dive in to the water after them! 

The background is a mix of alcohol inks on vellum. I'll have the list of colors I used down below in the product list. To add some shine I did use the Silver and Snow Cap Mixatives and also the Alcohol Pearl in Tranquil. I like using the alcohol ink on vellum because it makes your piece a little more transparent then on regular Yupo paper. Something different and fun to try out. By adding a a teal card stock behind the vellum it intensifies the teal colors of the alcohol inks. Adding a gray card stock tones the colors down a bit and a white brightens them. 

I stamped the images on to Neenah 80lb cardstock and die cut them using different shaped dies. I used several of the squares from Art Impressions Square double stitch die set. For the fish jumping out of the bucket I used one of the smaller rectangle dies from the Rectangle double stitch die set. I also tend to die cut the my panels for cards a lot with the second to largest rectangle die. It's the perfect size to layer on a A2 card front. 

The sentiment I used two inks from Gina K. Designs and stamped it in sections. The lighter color at the top and a darker ink color towards the bottom. This gives a fun gradient design. I don't utilize this technique enough! I also die cut the sentiment with one of the tag dies.


Thank you so much for joining me today. Happy Stamping!