Showing posts with label birthday tag. Show all posts

Friday, August 11, 2023

Have a Blessed Day Tag by Tasha!

 Happy Friday Ai Fans!

Tasha here sharing a new Tag inspired by the "Tag, You're It! Challenge. Tags are just so much fun to make and are great to add to cards, scrapbooks, journals, or use on gift bags.


For my project, I used the 5132 - Tag Stitched Dies to cut a large tag to use as the base. After, I stamped the door from the 5512 - Front Porch Door Set and colored the background with Copic Markers. The door fits perfectly on the large Tag and there was still plenty of room to decorate.


For the greeting, I embossed "Have a Blessed Day" on the bottom of the tag with white powder. I also used multiple shades of green ink to create a grassy look and made sure a darker green was used along the edge to allow the white letters to show. I just love embossed sentiments!


To decorate the door, I used the 5494 - Front Door Patriotic Set to give a Summer vibe. This set is great to use all Summer long and this little sleeping doggie stamp is just too cute!

Lastly, I added Red, White & Blue embroidery thread to complete the design. I am so happy with how this turned out and think I may try making some Fall/Winter designs next.

Thank you for checking out today's project and I hope you will participate in the "Tag, You're It! Challenge. 


Monday, August 7, 2023

Happy BAAAday to Ewe! by Sharon Caudle

Hello AI Fans!!

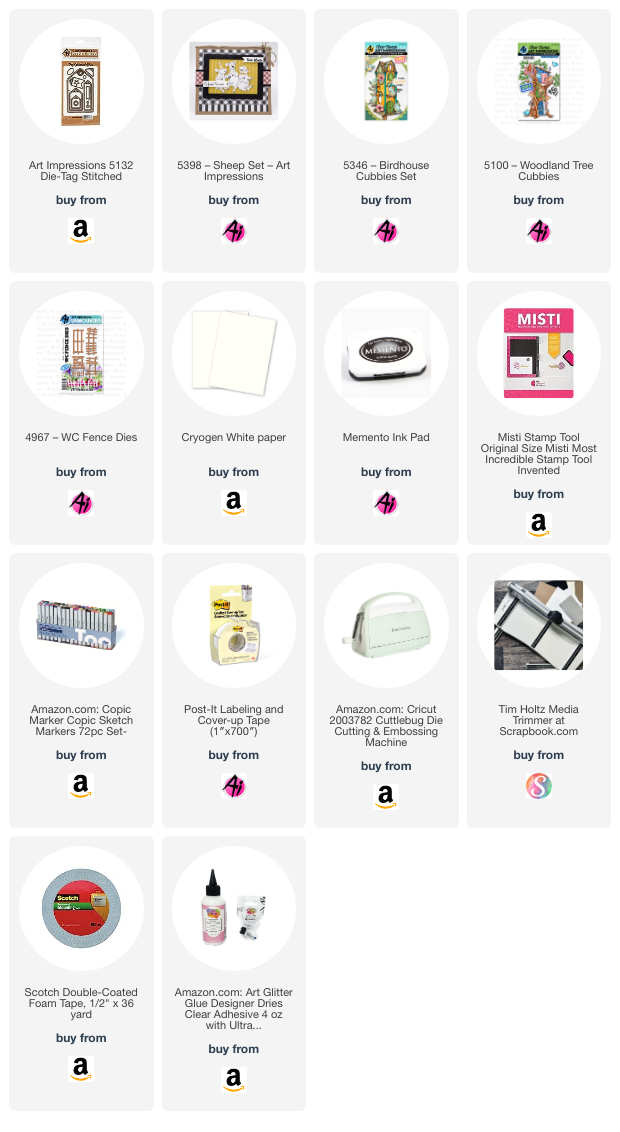
I've got a tag for you today that I made for the Tag You're It Challenge going on right now on the blog! I love making tags, and they elevate a package or gift bag to the absolute next level, don't you think? If you know me, you know how much I love whimsical, bright, fun projects, so that's usually the way I lean when I create. For this tag, I used 5132 Tag Stitched Dies (I cut three of them and glued them together so the tag would be nice and sturdy), 5398 Sheep Set, 5346 Birdhouse Cubbies (for the bird flying to the right), 5100 Woodland Tree Cubbies (for the bird flying to the left), and 4967 WC Fence Dies. The images are stamped onto Cryogen paper and then colored with Copic markers (the markers I used are listed below).  I inked the background with distress inks, added a sun with a few clouds and called her done! 


Thanks so much for stopping by for a visit! Until next time - hope you stay crafty!


Copics used:

E51, E53, E97
BG11, BG13, BG15, BG18
BV00, BV02
Y13, Y17
C1, C2, C3


Saturday, August 5, 2023

More Candles? Just Get a Bigger Cake! By Janet


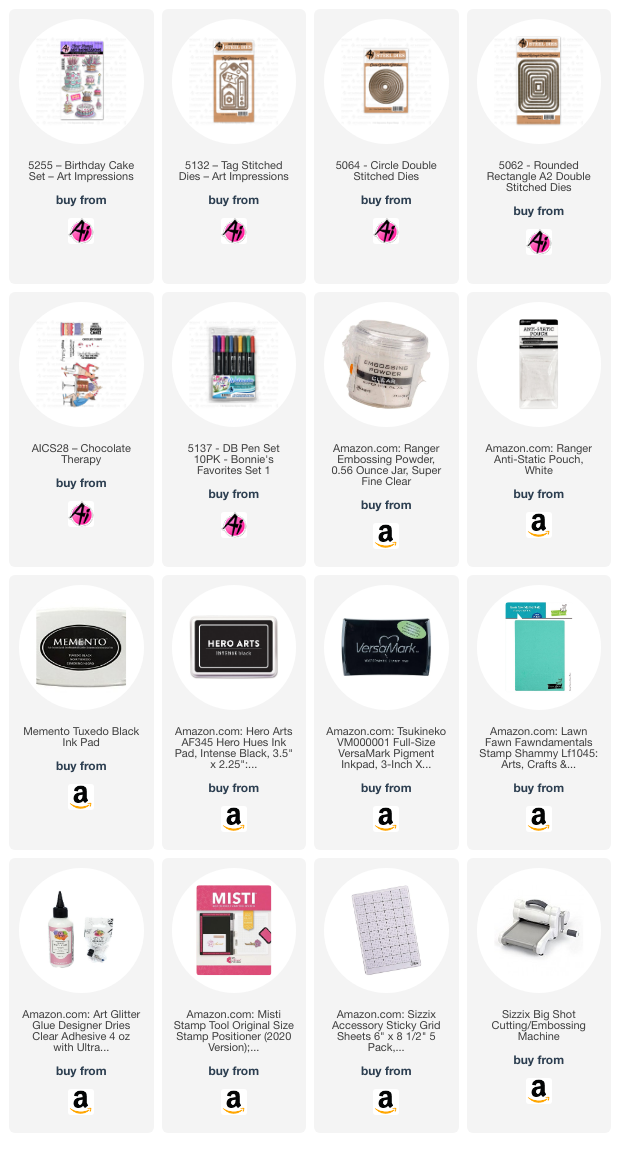
The newest challenge on our blog calls for tags. I love making tags so this challenge is even more fun than normal for me. Today I've made a free form water-colored cake in pinks and purples. This cake comes from 5255 Birthday Cake Set. It has many cakes of different sizes and even has a cupcake, a cake slice, and a candle. There's sure to be a cake in this set that fits your card or tag if a cake is what you're looking for.

To color the cake, I stamped it on water color paper and then used Tombow Dual Brush Pens #565, #636, and #725 mixed with water. All three of these are part of Bonnie's 5137 Bonnies Favorites Set 1. I randomly dabbed the colors being careful not to mix them too much as I wanted the colors to be distinct. I added Nuvo Crystal Drops in yellow for the candle flames and sprinkled some yellow glitter on them for good measure. The texture and shine on the cake comes from covering the cake with embossing ink and Ranger Bridal Tinsel in zig-zag patterns so areas are either glossy or glittery. It gives the cake a more interesting look than leaving it plain. I cut out the cake image after everything was dry and set it aside to make the main tag.

I used the largest tag in the 5132 Tag Stitched Dies Set and cut it in white and in metallic gold. I cut circles randomly in the white tag with the smallest circle in the 5064 Circle Double Stitched Dies. Then I adhered it to the gold tag. This is a simple way to create a faux foiled look with no muss or fuss. Once done, I stamped and heat embossed the sentiment before cutting it out with the 5062 Rounded Rectangle A2 Double Stitched Dies. The sentiment is from AiCS28 Chocolate Therapy. I edged the sentiment in pink ink to make it stand out a little more from the white tag.

I applied 2 layers of foam tape to the cake and adhered it to the tag. Then I adhered the sentiment directly to the card. I added two paper flowers set with a lavender jewel brad and added some purple and pink jewels and pearls. Last I added bakers twine to the tag and a pink and white twine bow. 

Thanks so much for stopping by today and don't forget to enter your tag in our challenge. I hope you'll stop by the store soon for all your card and tag making needs.


Janet - YouTube - Blog - Facebook - Instagram - Pinterest 

Wednesday, July 31, 2013

Wine bottle tag by Crystal


Hello Ai fans !!
It's Crystal here and today I am making a tag for a wine bottle using Monique U2828 and grape cluster # 2827.
Sometimes to celebrate birthday's I will give a bottle of wine to my friends , so today I want to show you how I made this cute tag . Who wouldn't love to get this as part of their gift ?

For the base of my tag I am using a Prima tag , they are total awesome and thick and perfect for my base , it will allow me to ink up and water splatter and heat dry and will come out just perfect.I am using Time Holtz stains to get the color blotches
old geezer bday and wine bottle 020these are the colors I chose to use on my tagold geezer bday and wine bottle 021this is Monique coloredold geezer bday and wine bottle 031wine bottle 005
copic colors I used
old geezer bday and wine bottle 024more picsold geezer bday and wine bottle 028old geezer bday and wine bottle 029wine bottle 004
I used the grape cluster to stamp along the left side of tag then I colored the grape with copic markers and then added glossy accents to the grapes to make them come alive
wine bottle 003
I used the copper brilliance ink to randomly add copper shimmer throughout the tag , for the bow I used green tulle and black eyelash yarn , I fold both tulle and yarn in half and poke thru the hole in the front , this will give me a loop to put over the neck of the wine bottle ,then tie in a bow . I added flourishes from TH die and a 4"doily I aged , the words (It's your Day ) are cute from a cuttlebug A2 birthday die , roses are hand-made from a scallop punch, the black flourish is a MFT die . these are so much fun to make and a great WOW presentation ...

Thanks for stopping in ,I hope you leave with a little crafty inspiration : )  Please come back tomorrow for more inspiration for our Simple Sentiments challenge
Crystal Signature