Showing posts with label Birthday Cake Set. Show all posts

Thursday, July 17, 2025

Let Them Eat Cake Challenge #408 wk #1

Hello Ai fans!
Welcome to our
Let Them Eat Cake Challenge.
We want to see your handmade projects using Art Impressions stamps, dies and paper that include CAKES or CUPCAKES!

So fun! Great for birthdays, graduations, retirement, baby showers, weddings and more!

After enjoying Tasha's absolutely incredible card, scroll down to see who won our Spritz, Splatter and Paint challenge.

Now, here's our Featured Designer Tasha.

-----------------------------------------------------------------------------------------------------------------------------

Hi everyone!
Sharing a festive new birthday card featuring the fun 5255-Birthday Cake Set and the brand new 6090-Patriotic Paper Pack! I absolutely love the red, white, and blue flowers in this paper; it’s so bright and cheerful, and perfect for a July birthday card!


To get started, I stamped one of the cute cake images from the Birthday Cake Set and used the coordinating die to cut it out. I picked the cake with stars so I could color the frosting in red and blue to match the patriotic theme. So fun!

After coloring, I cut two scalloped squares; one from white cardstock and the other from silver glitter paper. I ink blended the white scalloped square with blue ink to give it a pop of color. I really love how the ink highlights the scalloped edges!

Next, I created the card base using red cardstock and layered on the pretty floral paper from the new Patriotic Pack. To add some dimension, I used foam tape to attach the cake to the card. I also love that this card stands up for display but folds flat to fit in an envelope; so easy to mail!

To finish it off, I added the sweet sentiment “Hooray! It’s Your Day!” from the 5735 – Birthday Sentiment Set. It’s such a fun way to complete this cheerful birthday design.

I hope you enjoyed today’s project and feel inspired to join in on the “Let Them Eat Cake!” Challenge!


Box Stand-Up Card Tutorial

Step 1: Cut and Score the Card Base
Cut a 4-1/4” x 10-1/2” piece of cardstock. With the 10-1/2” side across the top, score at 1/2”, 1-3/4”, 3-3/4”, and 5”.

Cut a second piece of cardstock measuring 3” x 5” . With the 5” side across the top, score at 1/2” and 1-3/4”.


Step 2: Add Patterned Paper to the Card Base
Position the 4-1/4” side at the top, with all the score lines at the bottom.
Attach a 4” x 4” piece of patterned paper to the top section, making sure the top and side borders are even.
Fold all score lines to crease them, then flatten the base again.

Turn the piece over so the score lines are at the top.
Add a strip of strong adhesive along the narrow top flap.
Attach a 4” x 1-3/4” piece of patterned paper to the center of the third section (from the top).


Step 3: Form the Base Box
Fold the third score line from the bottom upward so the 1-3/4” patterned panel is visible at the bottom.
Remove the adhesive backing from the narrow flap, fold it back, and press it down to secure it to the card base.
Push down gently on the folds to form a rectangular, box-like shape.


Step 4: Decorate and Prepare the Second Piece
With the 3” side at the top (score lines at the top), attach a 2-3/4” x 3” piece of cardstock or patterned paper to the bottom section.
Fold both score lines, then flatten the piece again.
Add strong adhesive to the top narrow flap.
Flip the piece over (score lines still at the top) and add a strip of adhesive along the bottom edge.


Step 5: Attach the Second Piece to the Base
Flip the piece back over so the score lines are at the top.
Remove the adhesive backing from the top flap.
Fold the bottom score line back and line it up with the top edge of the card base, centering it side to side. Press to adhere.


Step 6: Finish the Fold and Secure
Lift the top section of the smaller piece and remove the backing from the bottom strip of adhesive.
Flatten the bottom box section.
Fold the top score line of the top piece down and line it up with the top edge of the card base, just like before.
Press down to secure the bottom edge to the flattened box.


Step 7: Add a Back Panel
Cut a 4” x 5-1/4” piece of neutral cardstock.
Stamp or write your message if desired.
Attach this panel to the back of the card base.


Step 8: Decorate and Display
With the card flat, decorate as desired using stamped images, die cuts, or embellishments.
Then pop it back up to display your finished card.


Tasha's card is stunning and how pretty will that look on display in someone's home!

Now, let's take a look at our winners.

For Challenge #407 Spritz, Splatter and Paint we chose Laura Fulcher for our Top Spot


Please contact Leah at Feedback@artimpressions.com
to claim a free stamp set of your choice!!
Be sure to grab our badge to display on your social media too!

Our Lucky Random Winner was #13 Lynn C.


Please contact Leah at Feedback@artimpressions.com
to claim a free stamp set of your choice!!
Be sure to grab our badge to display on your social media too!

 Congratulations to both of our winners and thank you for sharing your beautiful cards with us.

For those of you that didn't win, please try again! You never know. Try our new challenge or hop on over to the Monthly Challenge where there is no theme. You might be our next winner!

As we said, our new challenge is Let Them Eat Cake.


Use cakes or cupcakes on your project.

You are invited to the Inlinkz link party!

Click here to enter

Saturday, May 25, 2024

Happy Birthday Treats! by Janet

Happy Saturday everyone! I hope you visited the blog to learn all about the latest challenge, All That Glitters. I was the featured artist and I shared how I made a fancy fold card that had a middle panel pop-out. Today I'm showing a slightly different version of that card style. I don't have a name for it but I feel like it could be called an Inside Out Pop-Out Panel fold. This is because the middle cake panel is the front when closed and also the main image when it's opened. To close the card, the two side flaps slip under the middle panel of cake. This one also lays flat for mailing. The set I have used for this card is 5255 Birthday Cake Set. There are so many fun cakes in this set. I used five of the nine images on this card, two outside and three inside. 


When displayed, this card looks like an M from the top as you can see here.

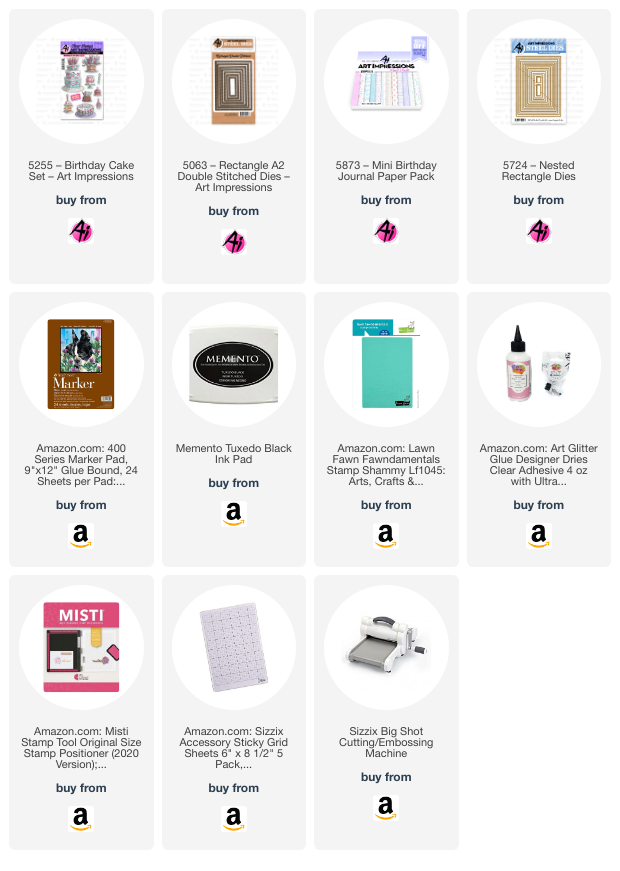
The inside panel which is also the outside panel when closed, was cut with a 5063 Rectangle Double Stitched Die. I layered a piece of purple polka dot paper on top cut with a 5724 Nested Rectangle Dies and then the big cake and cupcake on top of that. All the papers except for the main card base are from the 5873 Mini Birthday Journal Paper Pack

To refresh your memory, this is the card I featured this week for the challenge. Here's a link to that post with complete instructions: All That Glitters Challenge. I used glitter glue on the cakes for my card today so it works for the challenge. If you use any kind of glitter product on a project, you can participate in the challenge. Just upload it with the link above for the challenge.


Thanks for stopping by today. I hope my card gives you some ideas of your own. Please visit the store to see all the things you need for your card, journal, and tag making projects. Have a great Saturday!

Janet YouTube - Blog - Facebook - Instagram - Pinterest  

Monday, February 5, 2024

Mini Journal Template along with new box dies and Mini Journal Birthday Set

 Hello AI Fans!! 

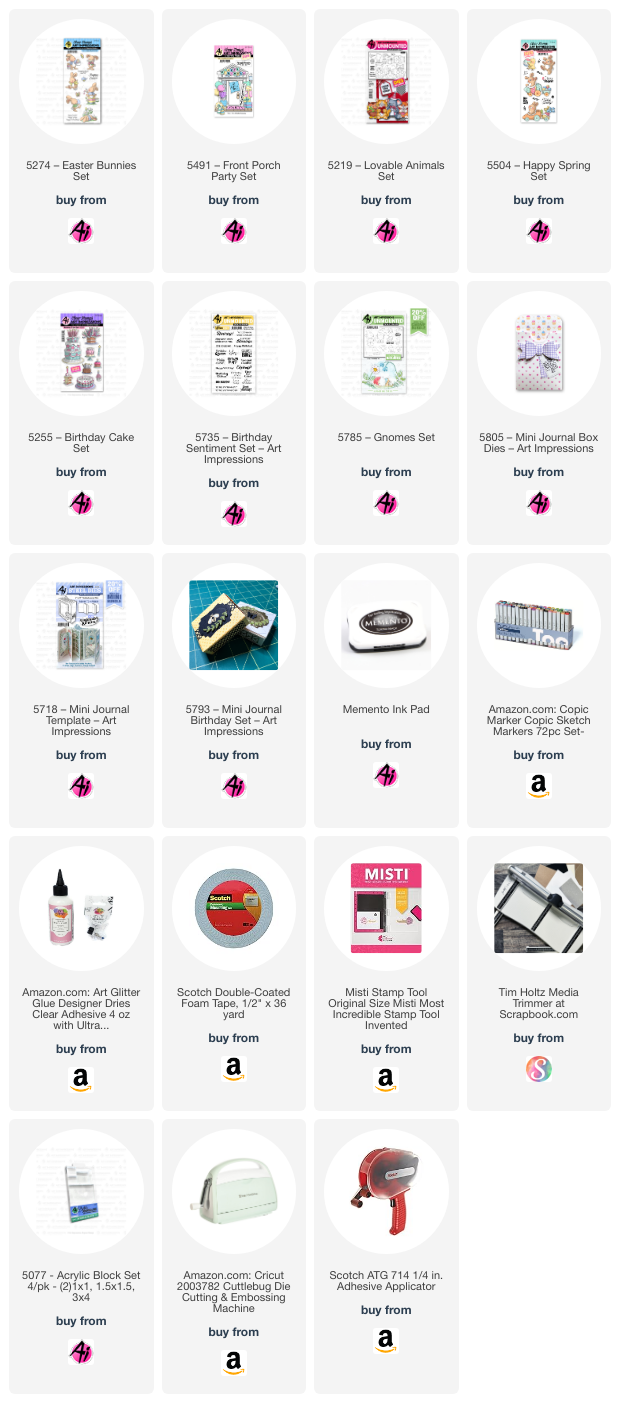
Today I'm sure excited to show you another Mini Journal I made using new sets released this year by Art Impressions.  I can't even begin to tell you how much I love making these Mini Journals! They are so much fun!!! I honestly can't stop making them! I must say I was so excited when Art Impressions released new sets that are made to coordinate with the Mini Journals!! The box is SOOOOO CUTE and easy to make and decorate!! The journals fit in them perfectly! I will say you don't want to use a lot of dimensionals, or you'll end up having to use a belly band around the box. LOL! I learned that the hard way. haha  I forgot to mention that I used Art Impressions Paper. I love the colors and patterns! We will start with a video I made of the Mini Journal, and individual pictures will follow. There's a long list of sets I used, and you can find them all below in the Link Deli list.  I really hope you enjoy!!! 


And here are some individual pictures. 


That's it for me today! Thanks so much for stopping by for a visit and until next time - stay crafty!!


Saturday, August 5, 2023

More Candles? Just Get a Bigger Cake! By Janet


The newest challenge on our blog calls for tags. I love making tags so this challenge is even more fun than normal for me. Today I've made a free form water-colored cake in pinks and purples. This cake comes from 5255 Birthday Cake Set. It has many cakes of different sizes and even has a cupcake, a cake slice, and a candle. There's sure to be a cake in this set that fits your card or tag if a cake is what you're looking for.

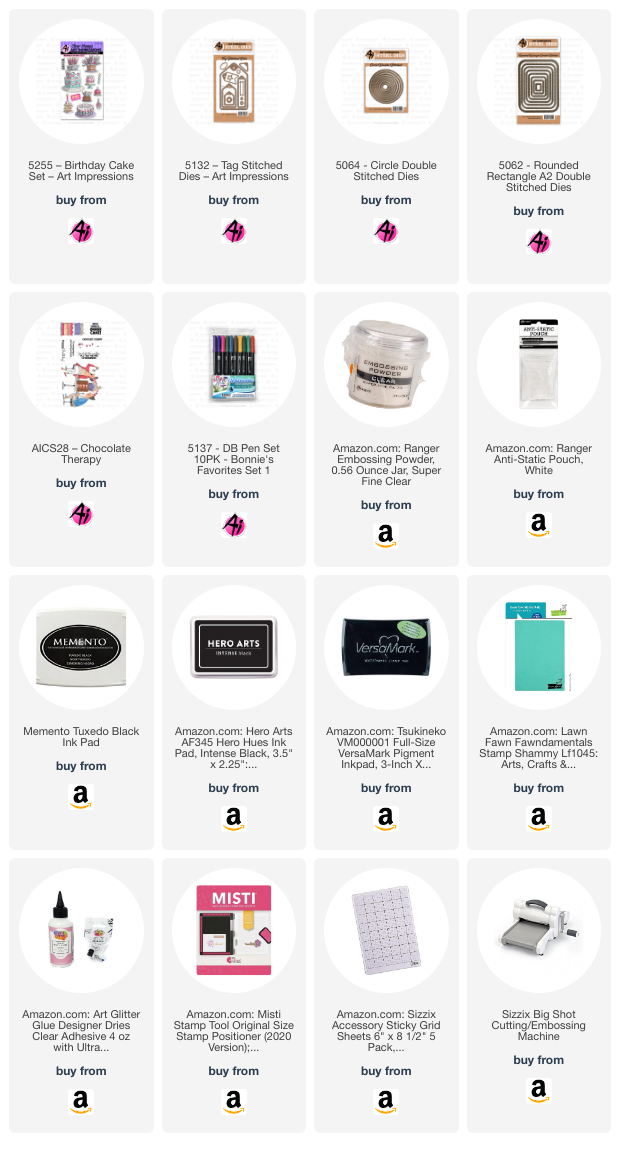
To color the cake, I stamped it on water color paper and then used Tombow Dual Brush Pens #565, #636, and #725 mixed with water. All three of these are part of Bonnie's 5137 Bonnies Favorites Set 1. I randomly dabbed the colors being careful not to mix them too much as I wanted the colors to be distinct. I added Nuvo Crystal Drops in yellow for the candle flames and sprinkled some yellow glitter on them for good measure. The texture and shine on the cake comes from covering the cake with embossing ink and Ranger Bridal Tinsel in zig-zag patterns so areas are either glossy or glittery. It gives the cake a more interesting look than leaving it plain. I cut out the cake image after everything was dry and set it aside to make the main tag.

I used the largest tag in the 5132 Tag Stitched Dies Set and cut it in white and in metallic gold. I cut circles randomly in the white tag with the smallest circle in the 5064 Circle Double Stitched Dies. Then I adhered it to the gold tag. This is a simple way to create a faux foiled look with no muss or fuss. Once done, I stamped and heat embossed the sentiment before cutting it out with the 5062 Rounded Rectangle A2 Double Stitched Dies. The sentiment is from AiCS28 Chocolate Therapy. I edged the sentiment in pink ink to make it stand out a little more from the white tag.

I applied 2 layers of foam tape to the cake and adhered it to the tag. Then I adhered the sentiment directly to the card. I added two paper flowers set with a lavender jewel brad and added some purple and pink jewels and pearls. Last I added bakers twine to the tag and a pink and white twine bow. 

Thanks so much for stopping by today and don't forget to enter your tag in our challenge. I hope you'll stop by the store soon for all your card and tag making needs.


Janet YouTube - Blog - Facebook - Instagram - Pinterest 

Sunday, June 11, 2023

Cakes for all! by Reneé Matarese

 Hello Ai fans!

Today I have lots of birthday love for you!

The current challenge here on the blog is Midnight Snack.
Use food on your card.  This week I'm using cake!  I've created 3 cards.
One in girly pink, one using the same large cake in patriotic colors since
Fourth of July is right around the corner and the 3rd one is for my friend Bob
who will be turning 70 in about 2 weeks.


It's difficult to see but I used Wink of Stella on all 3 cards on the stars and candle flames.


These cakes are so fun and be colored any which way you think your recipient would love.


I love bling so much!  I added some sequins and some metallic stars to this one.


Bob is famous at school for his sweet tooth so these cakes and cupcakes are just perfect!


I tried something new on the inside of his card.  I basically used every stamp in the set.
I removed the Birthday Queen,  To the birthday girl and Treat Yourself sentiments. *I used that one on the front of the card.  I left all the others on the acetate index sheet.  I applied some tape to the acetate so it would adhere to my Stamp Perfect.  In one fell swoop I had the entire inside stamped.  I used one of the little cakes to fill in where the Birthday Queen sentiment left a space.  I like how it turned out.
I'll write his message on the left side of the inside.


Copics used:

Y13, YR0, B28, R27, R85,
RV10, C2, C6, T5, E00, E31


Friday, March 18, 2022

Happy Birthday Card by Tasha!

Happy Friday Ai Fans!

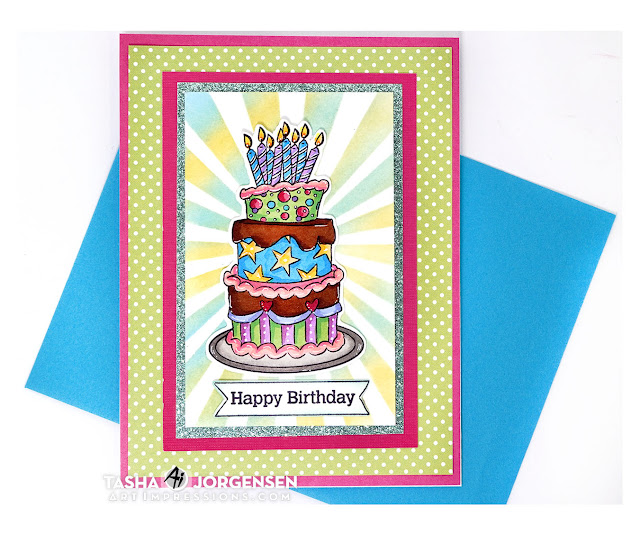
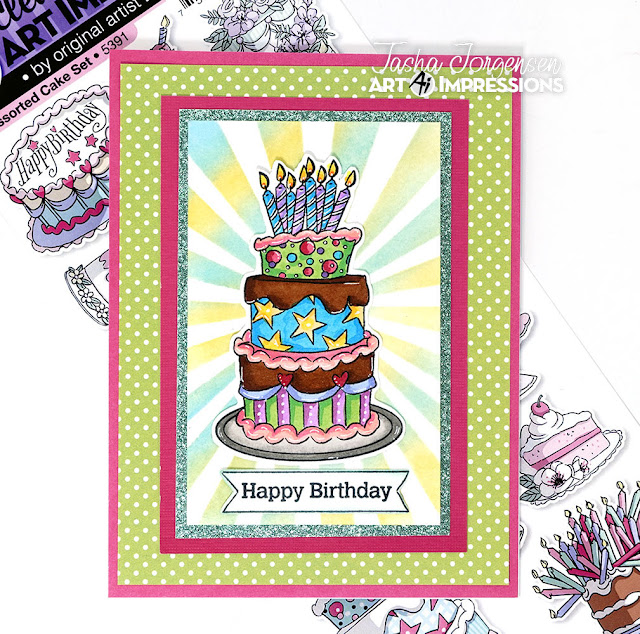
Tasha here sharing a birthday card created with the fun 5255 - Birthday Cake Set!

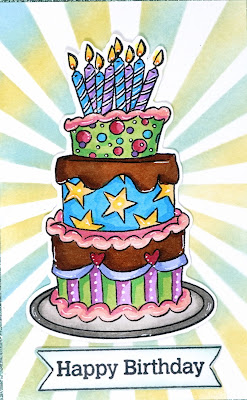
This cute cake themed stamp set includes several cakes, sentiments, and coordinating dies. I stamped this festive cake with black ink and colored it with Copic Markers. I love that each layer has a different look. I would love a cake like this for my birthday!


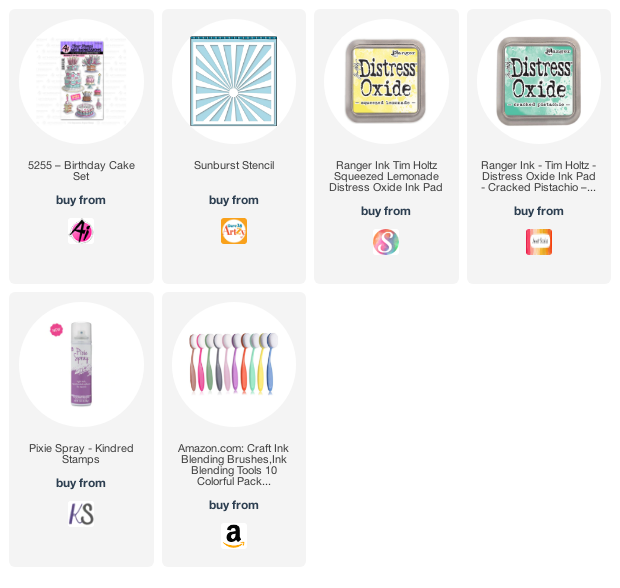
To spotlight the cake, I used a sunburst stencil and two shades of Distress Oxide Ink. I blended the ink in a circular pattern to give a unique glowing look. I like the pops of yellow in the background!


Lastly, I added layers of green glitter paper, hot pink card stock, and a lime green polka-dot pattern paper. Pink and green is one of my favorite color combinations! I also attached a "Happy Birthday" banner before adhering the card to an A2 sized card base.

Have a wonderful day!