Saturday, October 24, 2026

Sweet Candy Parade by Janet


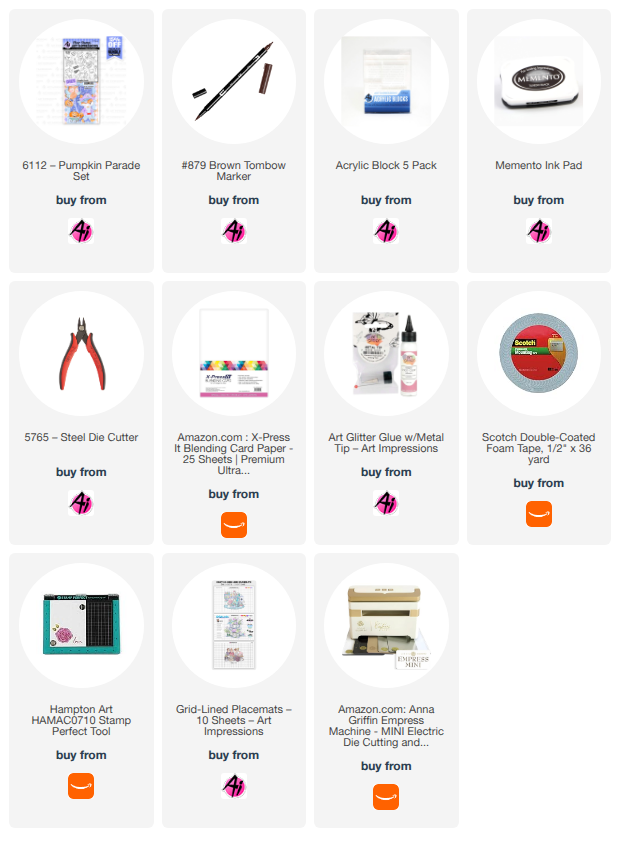
Hi everyone! Today I have made a cute Halloween card full of treats and no tricks! This is made with the amazing 6112 - Pumpkin Parade Set. There is a cast of six characters in this set that are all decked out and ready to collect candy. It was hard to pick three of them for my card!

I began this card by working on the background scene. I used a background stamp from my stash for the tree scene and then filled in the grassy area in the foreground. All were colored with Copic makers. To make it be a little fallish, I added splashes of orange tones here and there in the trees and bushes. This is what it looks like in my neck of the woods right now. It's still several week here before fall leaves peak. 

Next I chose the three characters from the set and set about stamping, coloring and cutting them out. I also did the same with several pieces of candy included in the set. I also stamped the sentiment and made it ready to add to my card. There are dies for every image in this set which is super handy. Ai is one of the only companies that include dies with their stamps and don't make you buy them separately. I love that!

Finally I adhered the characters with foam tape, added the sweet sentiment and positioned several gold glitter enamel dots. I placed the finished panel on an orange glittered card base. This makes the card perfectly fit the current challenge, Glitter All The Way. I hope you will enter your own card in this glitzy challenge. Just add something with a glitter finish. It can be any theme you want it to be.

Thanks for stopping by and spending time with me and Art Impressions today. Please visit the Ai store to pick up your favorite stamps, dies, papers, accessories, and supplies, including all the supplies I used in this card. 

Happy Crafting!


Friday, October 23, 2026

Not-So-Scary Halloween Tile Card! by Tasha

 Happy Friday Art Impressions friends!

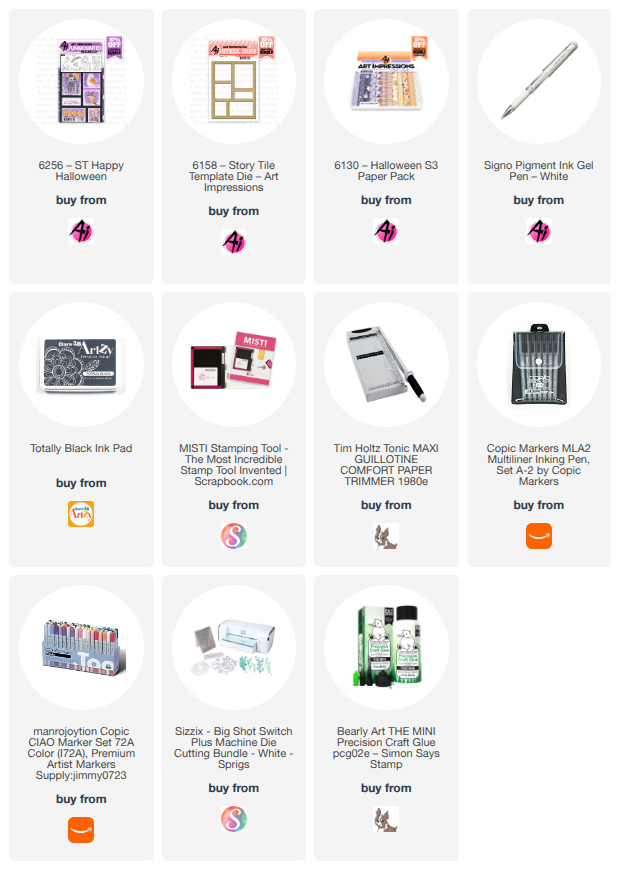
Tasha here sharing a not-so-scary Halloween tile card created with the 6158-Story Tile Template Die and new 6256-ST Happy Halloween Stamp Set. I love creating Halloween/Fall projects and this stamp set creates the cutest little Fall night scene!

I started by cutting the frame twice; once out of white cardstock and a second time out of the black pattern paper. I used the white cardstock for the tiles and to layer behind the black pattern paper to raise the center up. I think the little ghost and owl images are just so cute and love the happy pumpkins!

All the images were colored with Copic Markers and I used a white gel pen to draw in the stars. The light purple color in the background gives a nice Fall vibe to the design and I like the purple & white color combo.

For the greeting, I stamped the included sentiment, but used markers to add the purple color around the edges. I wanted to make sure the greeting tile also coordinated with the other tiles in the design. 

Lastly, I attached a layer of Art Impressions star pattern paper, gold and black card stock and a piece of gold glitter paper for sparkle. I love these colors!

I hope you enjoyed today's project and are having a wonderful day!


Thursday, October 22, 2026

Glitter all the Way #439 Week #1

Hello Ai fans, and welcome to our new challenge...

GLITTER ALL THE WAY!

We're looking for your crafty projects using something glittery.
Glittery paper, embellishments, gel pens, gems...whatever.
These don't need to be cards either. Whatever crafty 
project you create is just fine, as long as you use something from Art Impressions.

Our Featured Designer this week is Janet and you're going to LOVE her
sparkly Frankenstein Puppet card.

After you check out her card, be sure to scroll down to see who won our
 Bats in the Belfry challenge.


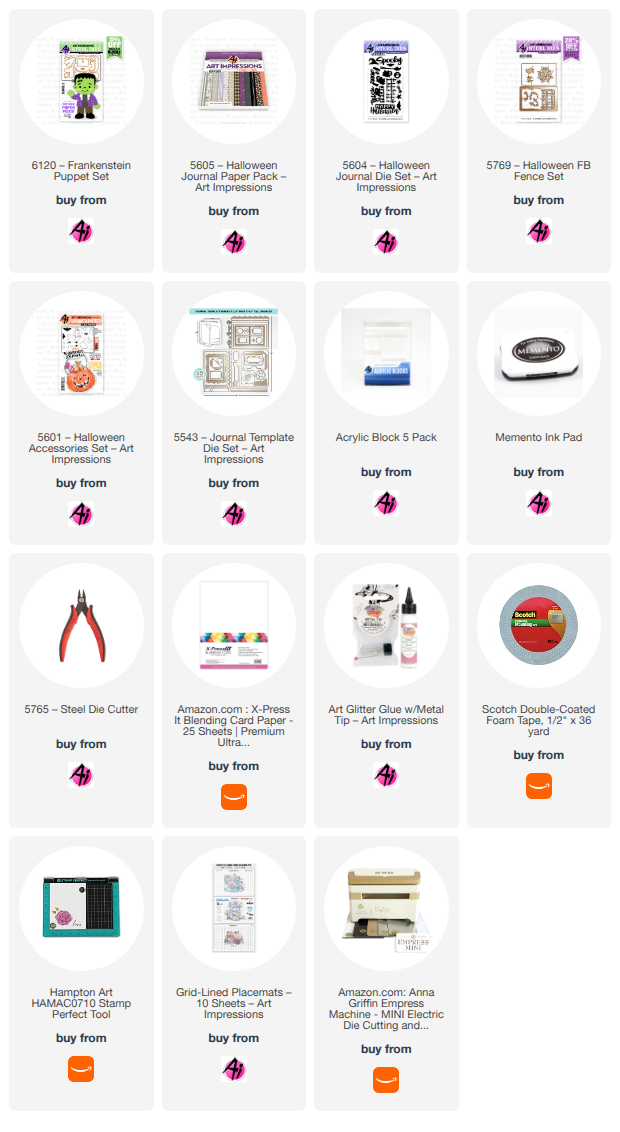
Hi Ai fans. It's my turn to make the feature card for Ai's latest blog challenge. It's #439, Glitter All The Way. This one is certainly up my alley as I love putting shine into my creations. The challenge gives me a legit reason to do what I love doing anyway! My project features the adorable 6120-Frankenstein Puppet Set and it's perfect for a youngster in your life.

I enjoy making interactive cards. This one has a pop and twist interior. When opened, four panels pop out with four Halloween scenes and sentiments! The top and bottom panels can be used to write your message to your lucky recipient. Overall, it's a lot of creepy fun.


To start the card, I first created the Frankenstein puppet. The die set includes all the pieces shown on the back of the package. It's easy to put him together because the packaging clearly explains each die and what part of Franky it is. I used green and black cardstock for his face, hands, and boots. His clothing is made from 5605-Halloween Journal Paper Pack. I used a touch of black glitter paper for his jacket lapels. I used an acrylic paint pen to draw his eyebrows, nose and mouth following the sample shown on Frankie's packaging. You can either draw his eyes or use googly eyes like I did. I also added some some green chalk to his cheeks.


The next step was to cut a 4" x 10" piece of purple metallic cardstock. I scored the long side at the 5" mark to create a 4" x 5" top fold card base. 

The next thing was creating the pop-up mechanism for the inside. This is the piece that makes the panels lay flat when the card is closed and pop up and out when it's opened.   


Place glue on the triangle shaped on both sides of the mechanism. Glue one side in first with the point flush and centered with the card fold. Apply glue to the remaining triangle as shown and close the card and hold until the glue sets. Give this a little time as it needs to be fully set before you try to open and close the card and the mechanism.


The result will look like this when the card is opened.


Next, cut another piece of metallic cardstock 2 1/4" x 5 1/4." Fold it in half, then fold each half again to create four folded panels in a valley, mountain, valley, mountain formation. This will be glued on to the mechanism after it's decorated.

To make the panels, I used a few die sets. I utilized 5604-Halloween Journal Die Set (pictured) and 5769-Halloween FB Fence Set. I also used a tag die from 5543-Journal Template Dies Set and cut four tags out of patterned papers from the Halloween paper pack.


Below you can see the four tags I decorated using the Halloween die sets. Once done, I added bakers twine in the tag loops and glued each of them to one of the four pop-up panels. Then I applied glue to the mechanism in the areas as shown and attached the pop-up panel to it. Do not apply glue in any other places on the mechanism or it won't open or shut correctly.


Hold the pieces in place until the glue sets. Make sure you've given time for the glue to fully adhere because there is a lot of pressure on the glued areas when folding and unfolding the card and you don't want it to release because the glue hasn't dried enough.

The next step was using dies to create the black and white panels that I glued on the top and bottom interior of the card. These look like they were torn but they are created with a die in the 5769-Halloween FB Fence Set.


Here's a close-up of the first two panels with the decorated tags.


And here are close-ups of the last two panels.


With the interior done, I worked on the front of the card. First I cut a piece of black cardstock 3 1/2" by 4 1/2." I cut strips of various heights from patterned cardstock in the 5605-Halloween Journal Paper Pack and in purple glitter cardstock. I glued them at an angle and then trimmed the edges flush with the cardstock edges. Then I glued the panel on to another mat of silver glitter cardstock sized 3 3/4" x 4 3/4." The layered panel was then adhered to the front of the purple card base shown on the left. Once that was complete, I glued Frankie to the finished card front. 


The final step was to stamp, color and cut out Frank's candy bucket and candies from 5601-Halloween Accessory Set. Then I staged them in Frankie's hands. Don't you love his googly eyes?


Thanks for joining me today for the Glitter All The Way Challenge. We love seeing all your cards and remember, all you need is something with glitter - a lot or a little meets the criteria. Please visit the Ai store to pick up your favorite stamps, dies, papers, accessories, and supplies, including all the supplies I used in this card. 
Happy Crafting!


Thank you so much Janet!!
That card is incredibly cute and the puppet series is so fun!

Now, let's see who won our Bats in the Belfry challenge.
Our Top Spot went to:
Dawn W.
How phenomenal is her version of Phil in a Halloween setting?!


Be sure to grab and share your Top Spot banner and then,
please contact Leah at Feedback@artimpressions.com
to claim your free stamp set.

Our Lucky Random Winner was #1
Cathlyn A.


Please contact Leah at Feedback@artimpressions.com
to claim your free stamp set.

Congratulations to our winners!

Here are the rules...

✻ Please make a new card or handmade crafty creation using either stamps, dies and or designer paper from Art Impressions. You can make any item you wish; this is not limited to cards! (unless specified)

✻ Limit two submissions per person.
✻Top Spot Winner and Lucky Random Winner each receive a free 
stamp set from Art Impressions
 ✻Please include your first name and last initial on your submission. You may include your entire last name, but it's not necessary.
✻We love to comment on your entries, but keep in mind if you use a private group or a platform that you need to sign up for, we probably won't be able to.
✻ The Ai Challenge is open to everyone, international submissions are welcome!
✻ Include a link back to the Ai Blog or grab our button on the top right of our sidebar!
✻ Share the Ai love if you can, by clicking and commenting on your fellow crafters.
✻ Make sure to get your link up by the deadline to enter your creations.
✻ Good luck and happy stamping!

You are invited to the Inlinkz link party!

Click here to enter

Thankful Fox!

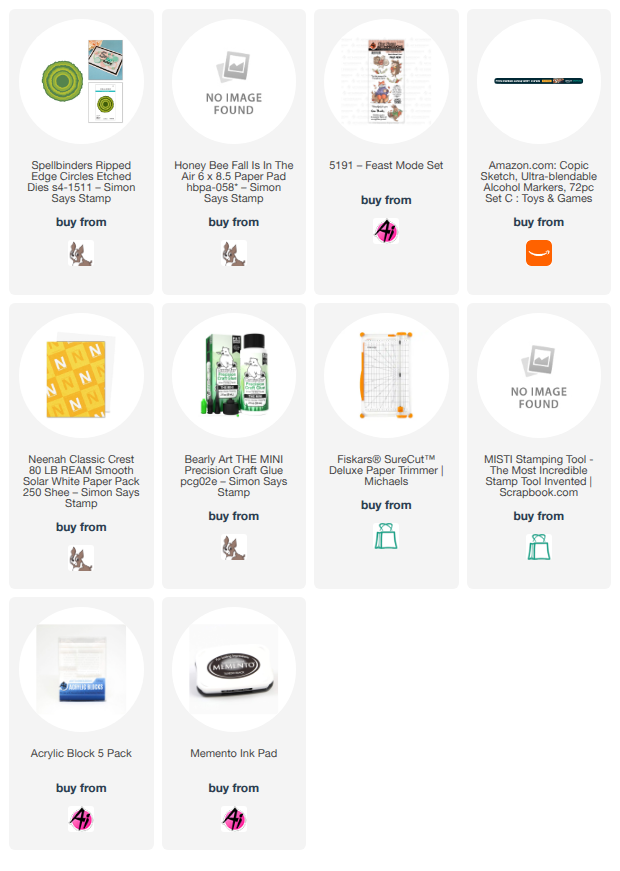
It is so crazy how fast time flies! Thanksgiving is right around the corner. I know we are still in Halloween mode, but I thought a little thankful fall card would be a nice change for this week's post. For this card, I made it into a 5x7 and used Art Impressions stamp set #5191 Feast Mode Set. I used fall paper from Honeybee Stamps and The die cut framing the fox is from Spellbinders. The image was colored with Copic Markers and I used a gelly roll pen to add accents to the sweater. To finish it off, I added some epoxy dots and a matching bow with ribbon from my stash. I hope you like it!


 Materials Used
Stamps:
5191 Feast Mode Set
Die Cuts: 
Spellbinders Ripped Edge Circles
Paper: 
Honeybee Fall is in The Air
Copic Markers and Pens: YR09, YR23, E23, R17, G99, E09, BV23, BV29, C1, C2, G94, BV25, E59, E08, RV11, gelly roll pen


Wednesday, October 21, 2026

Halloween Mini Book by Dori Mendiola

 Happy Wednesday AI Friends!

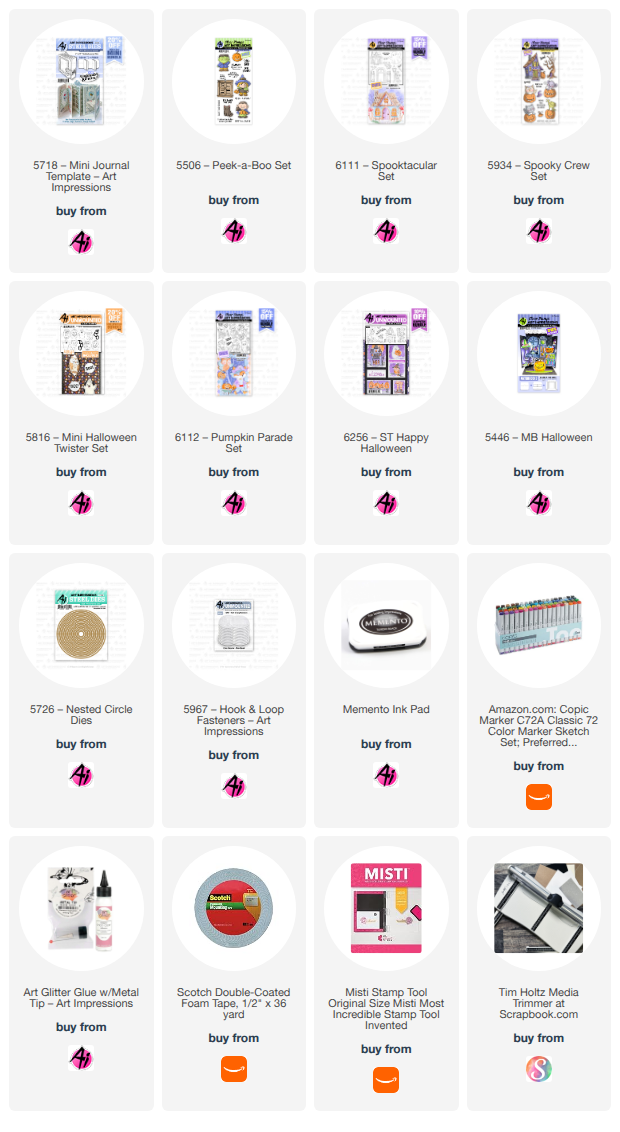
Today I have a Halloween Mini book using the #5718 - Mini Journal Template dies.  This mini book fits nicely into the #5805 - Mini Journal Box.  Back in July of this year, I created a Halloween mini box with an opening lid and promised to create the book that went with it.  Well, I finally made it, just in time. šŸ˜

Here is the box lid from previous post:


The book starts here.  Normally the book and box would close snuggly, but since I tend to use dimension on some images, I attached a #5967 - Hoop & Loop Fastener under the box flap for closure and it works fabulously.  


I put a little twist on this book and found it was a bit more difficult to find images that fit in a landscape version, BUT it can be done.  LOL!  I used images from several AI stamp sets.  See list below.  Art Impressions has sooooo many fun halloween stamp sets which made this project so fun to create.

I stamped numerous images onto copic friendly paper with Memento black ink and colored with my copic markers listed below.  My granddaughter loves ghosts this year (yes, she is going to be one for trick or treat 😁), so you will see many throughout the book.  How easy is that for coloring?  
She's going to love this book!  


Here is a video of the book:

Hope you enjoy making one of these mini books for someone special in your life!  They will have such fun with it!  
Have a great week and keep creating!

Copics used:  E00, E01, E11, E21, E23, E25
T0, T2, T4             R20, R22, R24
Y15, Y17       YR12, YR14, YR16, YR18
V12, V15, V17     YG11, YG13, YG17, YG67
B32, B34, B37

Tuesday, October 20, 2026

Focus on Faith: Clean and Simple PRAISE sets by Sara Furr

 Blessings my dear friends, and welcome to the second edition 
of my "Focus on Faith" for the month of October. 


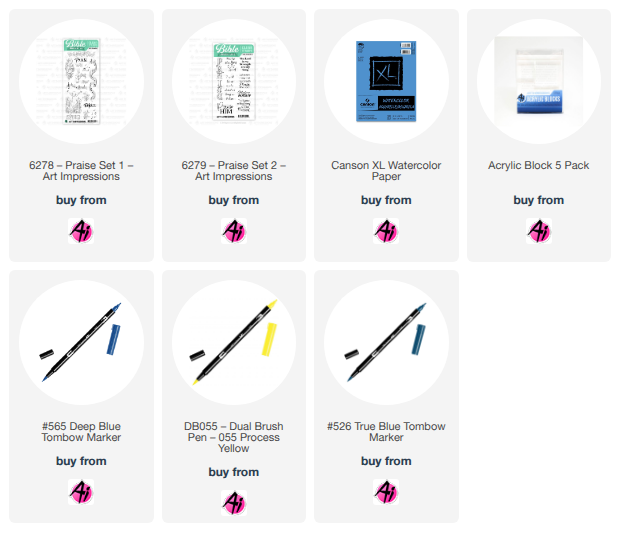
Today, I am excited to share with you a clean and simple Faith inspired card featuring the newest Bible Journaling stamp sets called "Praise set 1", and "Praise set 2".


 Now, if you know my work, you know that I love to make incredibly detailed, layered, shabby chic, square cards.... but I also love to challenge myself to work on techniques that I'm not very good at, so I challenged myself to create a clean and simple, A2 sized Watercolor hybrid. I'm not very comfortable doing Watercolor, so I like to mix it with mediums that I have been working with to get better at using, and colored pencils is one of those mediums. I consider myself a "jack of all trades" so to speak, when it comes to using different coloring mediums. I'm not strictly a Watercolor artist or strictly a marker artist, like most of the other Design Team members. I love to experiment with using multiple mediums to color my images and create my scenes.


 So, to start with, I stamped the girl with flowers and the two side florals in a soft neutral grey, and then colored them with colored pencils, but I watercolored the sky and green grassy area below the florals.
When it was all dry I applied self adhesive black rhinestone gems to the centers of the flowers. I stamped the music notes in a very soft light brown, and I stamped the sentiment in Versafine Onyx black ink. I cut down my panel and distressed the edges of it before adhering fun foam to the back, and adhering it to my card base.


For the inside I simply stamped the sentiment in Versafine Onyx black ink and then the G clef in the light brown ink, but I stamped it off once before stamping the image over the sentiment. 

And that's it. This was a fun challenge for me to do lots of things that I don't normally do. I really like how it turned out.


 Do you ever challenge yourself to step outside your usual comfort zone and try new things, or work at perfecting techniques you don't normally do? I do, it has really helped me grow as an artist! 

"Praise the Lord O my soul", "The Lord is my strength and my song"

Thank you Bonnie for giving us these beautiful Stamp sets! 

Blessings to you all my friends!
Sara Furr- The Crafty Farm Chick


Non Ai products used:
Tombow markers: 847, 131, 126, 192
Prismacolor colored pencils
Self adhesive Black rhinestone gems