Showing posts with label Hook & Loop Fasteners 5967. Show all posts

Wednesday, October 21, 2026

Halloween Mini Book by Dori Mendiola

 Happy Wednesday AI Friends!

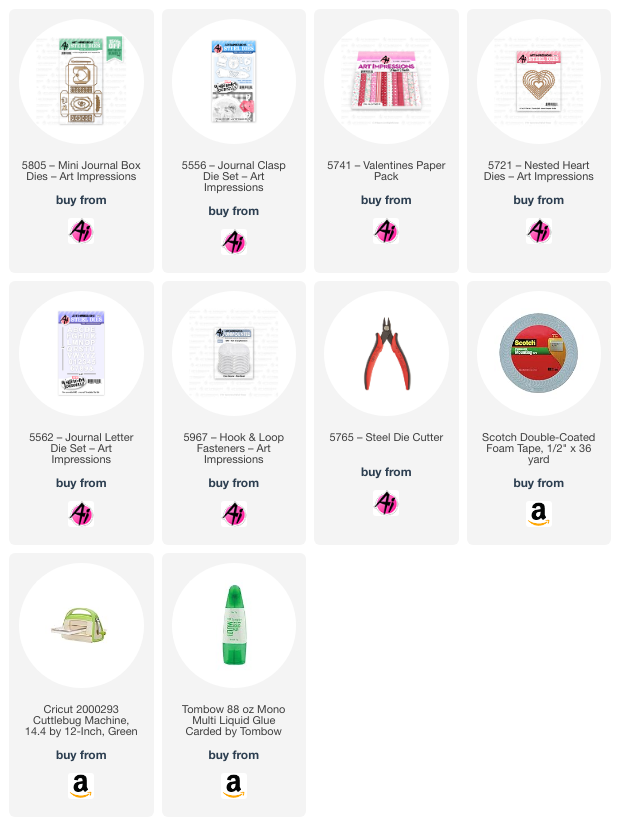
Today I have a Halloween Mini book using the #5718 - Mini Journal Template dies.  This mini book fits nicely into the #5805 - Mini Journal Box.  Back in July of this year, I created a Halloween mini box with an opening lid and promised to create the book that went with it.  Well, I finally made it, just in time. šŸ˜

Here is the box lid from previous post:


The book starts here.  Normally the book and box would close snuggly, but since I tend to use dimension on some images, I attached a #5967 - Hoop & Loop Fastener under the box flap for closure and it works fabulously.  


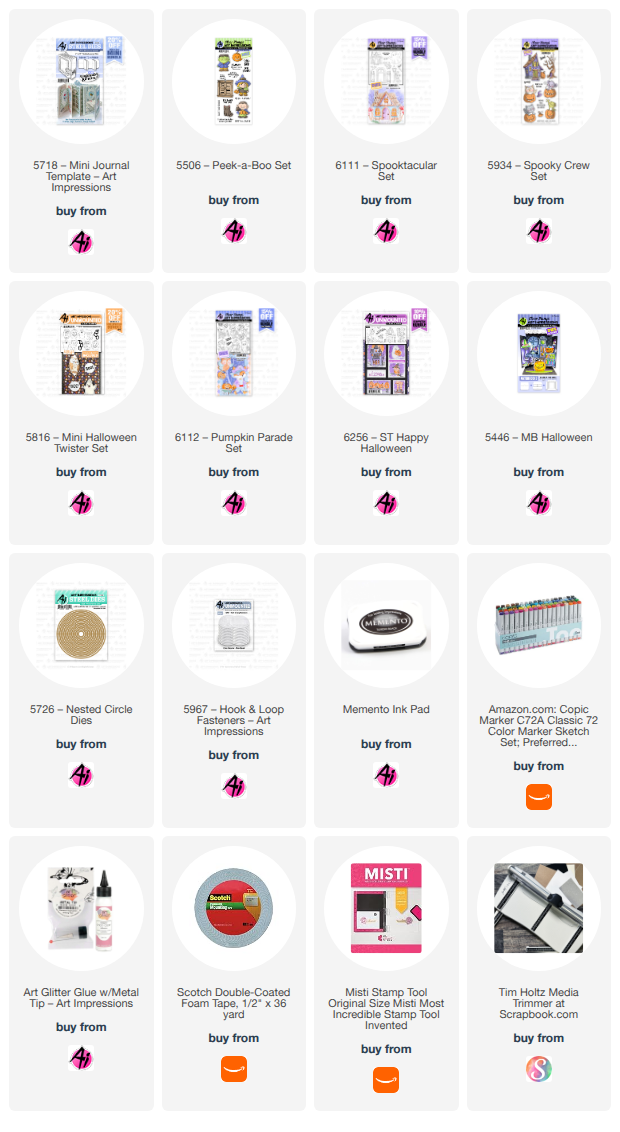
I put a little twist on this book and found it was a bit more difficult to find images that fit in a landscape version, BUT it can be done.  LOL!  I used images from several AI stamp sets.  See list below.  Art Impressions has sooooo many fun halloween stamp sets which made this project so fun to create.

I stamped numerous images onto copic friendly paper with Memento black ink and colored with my copic markers listed below.  My granddaughter loves ghosts this year (yes, she is going to be one for trick or treat 😁), so you will see many throughout the book.  How easy is that for coloring?  
She's going to love this book!  


Here is a video of the book:

Hope you enjoy making one of these mini books for someone special in your life!  They will have such fun with it!  
Have a great week and keep creating!

Copics used:  E00, E01, E11, E21, E23, E25
T0, T2, T4             R20, R22, R24
Y15, Y17       YR12, YR14, YR16, YR18
V12, V15, V17     YG11, YG13, YG17, YG67
B32, B34, B37
Wednesday, October 7, 2026

Just a Little Note pad by Dori Mendiola

 Happy Wednesday AI Friends!

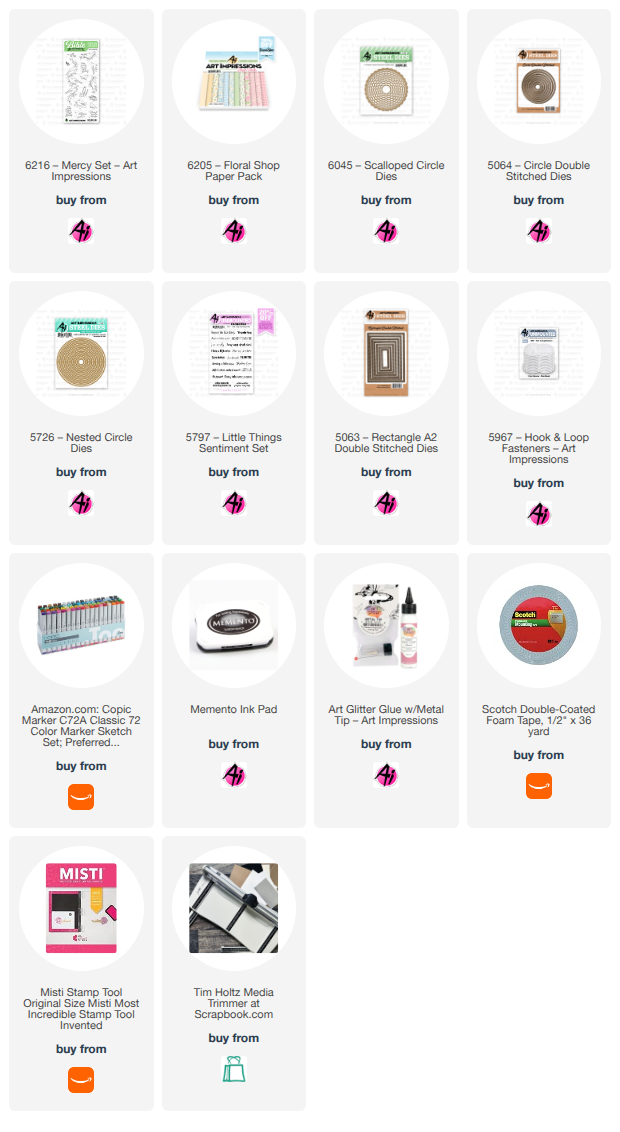
Our current blog challenge is "Spread Kindness" so I created a covered notepad with the sweet little bird from the #6216 - His Mercy stamp set.  Have you ever looked at a set and thought, how precious and beautiful, but you were too afraid to paint/color it?  Well, I was intimidated to color this, but I'm really excited with how cute it turned out.  What was I afraid of?  Ding a Ling!! LOL!  In my head, I could hear Bonnie and Kim saying just color one piece at a time and enjoy the process.  

This stamp set has such beautiful bird images and this one is my absolute favorite.  So darn precious and sweet!


My notepad measures 4" x 6" and 3/8" thick.  
To cover this size notepad, cut a piece of cardstock at 6" by 11 1/2".  
Score at 3 5/8", flip and score at 4", flip back and score at 4 1/2", 5", 9 1/8", 9 1/2".  Burnish the second score line as opposite fold than the others.  Glue down the two 1/2" folds to each other.  See below.  This will create the section for the pen.  


Die cut a pocket for the inside (optional).  To cover the notepad top that has the company name, place a piece of pattern paper over the top of the notepad (approx. 4" x 2 1/2") and glue down to the front.  Roll the rest of the pattern paper over the top of the notepad and down the back.  Glue in place.  Place glue over the back of the notepad and glue into the cardstock base.  Push tightly to the left edge and wrap the right edge around to the front.  Create pattern paper panels for the front left and right edges. 

Die cut the bird image with the stitch circle die and mat with the blue cardstock and then the white scallop circle.  Glue the right side of the scallop circle to the front right panel.  Adhere a #5967 - Hook and Loop Fastener to the back side of the scallop circle and then shut over the front and adhere the other side of the fastener to the left panel.  Add a "Just a Little Note" sentiment strip and your covered notepad is ready to give as a gift.

This project brought back such fond memories of my husband's aunt.  She use to have a notepad hanging from her front door of her summer cabin and she always said "Leave a Note if you are passing through".  She loved seeing those that stopped by but she was sure sorry that she missed them.  She LOVED company!!  What a sweet woman she was!  Isn't is funny that such a little thing can bring back such wonderful memories?  

Happy memories to all of you!  

Copics used:  B0000, B000, B01, B32, B34
E95, E97,      Y21, Y23     BG70
YG21, YG23   YR12, YR20, YR21

Thursday, February 5, 2026

Lots of Love Card pack by Dori Mendiola

 Happy Thursday AI Friends!

I have a fun card gift pack for you today that fits in perfectly for Valentine's day and for the bi-weekly challenge "Love, Love Me Do".  Do you have a friend that loves to give their family members a card for Valentine's day?  What a perfect little gift for you to give them.  My mind instantly goes to our elderly in the senior homes or your cute little elderly neighbor.   I created a fun, quick gift set of six cards all bundled in a sweet pouch.   The cards do not have a sentiment, so they can fit any occasion, if Valentine's day is not your thing.

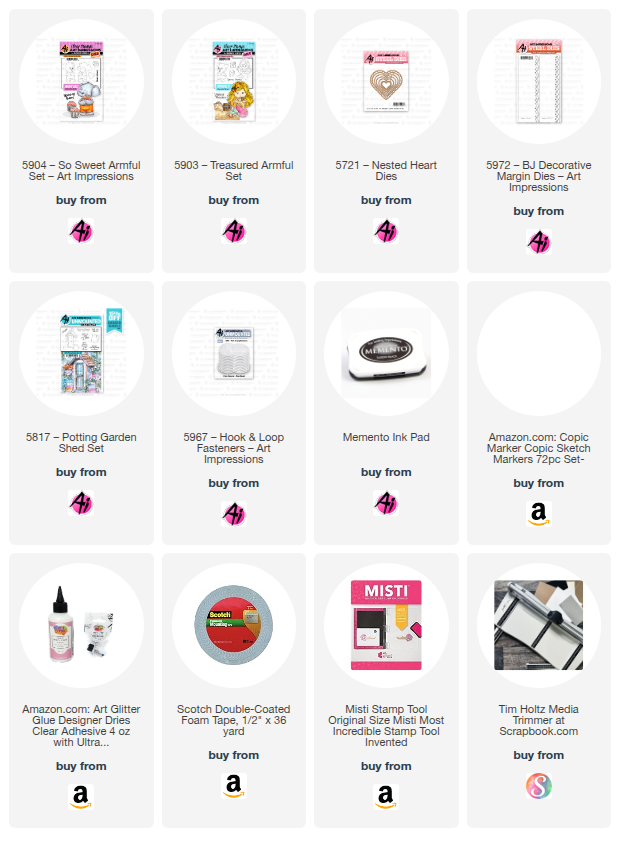
For the images, I used the Armful stamp sets - #5903 Treasured Armful and #5904 - So Sweet Armful.  The arms of each animal have a slit cut to allow you to slip a cute little heart, flower, star, etc.  These sets also include the corresponding dies.


I stamped each of the images twice on copic friendly cardstock with Memento black ink and colored with copic markers listed below.  I also stamped, colored and die cut the heart, that is included in the "So Sweet Armful" set, 6 times - one for each card.  I learned a little copic technique from my fabulous copic teacher and friend, Sharon Caudle, many years ago in a class and I use it whenever I can.  For the little bear image, I color him in the browns leaving the overalls until later.  I then take a little piece of wash cloth and dab some blender solution onto it.  Lightly tap that part of the cloth onto the colored part of the bear and it will make him look fuzzy (see the individual card below for a better visual).  Let it sit for a little bit and then finish coloring the overalls.
It's a great effect!  Many thanks, Sharon!  


Above is the A2 Card Gift pouch that will hold up to 6 cards (with minimal dimension) and 6 envelopes.  I found the template for this on The Paper Pixie or you can youtube A2 card gift pouch.  It uses one 12x12 piece of heavy weight pattern paper.   I then decorated using the #5972 - Bible Journal Decorative Margin dies and #5721 - Nested Heart dies.   The sentiment is from the #5817 - Potting Garden Shed set.  Lastly, I used one of the #5967 - Hook and Loop Fasteners to keep the pouch shut.


Here are the six cards in the pack:


That's it for me today!  Thanks for stopping by and I hope you have a great day!

Make sure to check out the bi-weekly challenge and play along for a chance to win a free stamp set.  
We love to see your creations!

Copics used:  C0, C1, C3
R20, R11, R12, R14
E21, E23, E25, E31, E33, E35

Tuesday, March 11, 2025

Personalized Treat Boxes by ReneƩ Matarese

 Hello Ai fans!

At work I have a "Soup Group." There are 7 of us and every Thursday one of us makes lunch for the other 6 members. We do soups, stews and chili in the fall and winter, and switch to salads and things like pulled pork sandwiches with slaw in the warmer months.


 It was my turn last Thursday and I made Italian Vegetable Beef soup.
It was DELIOUS! I didn't have cabbage so I added some spinach and diced zucchini. I also use pink beans instead of kidney beans.


We always plan a little something sweet for dessert and I wanted to present my treats in a special way. I made a little treat box for each teacher with 3 chocolate squares inside. I thought maybe they could store paper clips or something inside when the candy is gone.


Each member had their initial on the top of the box for a little personal touch.
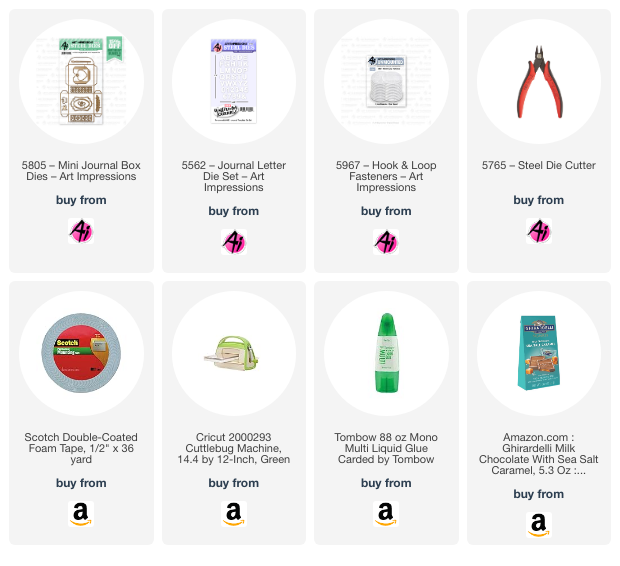
I used 5805 – Mini Journal Box Dies for the box, frame and butterfly. The letters are from 
5562 – Journal Letter Die Set and I held the little boxes closed with 5967 – Hook & Loop Fasteners.
The pretty little leaves and flowers are an old freebie die set from Art Impressions.
Everyone thought these were just the cutest thing!

I hope you're inspired to do something a little sweet for someone that you care about.
Enjoy your day and do something kind or crafty!


Tuesday, January 28, 2025

Mini Journal Box Tutorial with 6x6 paper by ReneƩ Matarese

Hello Ai fans!
I have loved this little box since the moment I saw it.

This is the first time that I've created it using Art Impressions paper. The reason? The template is larger than 6"x6" which most Ai paper measures. But, where there's a will, there's a way! I figured out a way to make the template work using two sheets of Ai paper.


I wanted to create a cute little Valentine's Day treat box and this is what I came up with.


To make the template dies fit on a 6x6" piece of paper to create the box, I used two sheets of paper. The first piece cut the top and back flap.


The second piece of paper cut the base of the box.


Then, I overlapped the back panel from the top, with the back panel from the base, to create a full box.


Though this die set was designed to hold the mini journal, it makes the absolute cutest little gift box or treat box. I filled mine with Hershey Kisses.


Doesn't someone in your life deserve a little something sweet?


If you share something made with Art Impressions products be sure to tag them or use #artimpressions so that we see. We LOVE seeing all of your creations.
 

Tuesday, November 12, 2024

Snow Portfolio Gift Card Holder by ReneƩ Matarese

 Hello Ai fans!
Are you all loving the new 5952 – Portfolio Template Die Set as much as I am?

This is my first time using it but I've loved everything I've seen everyone else making.

I wanted to give a gift card and I thought this might be a great way to present it.


I sent my message on the back of the tag. This really came together quicker than I expected.
I can't wait to use this set again.


My head is swirling with so many other ideas for this wonderful die set. 
There just aren't enough hours in the day!