Showing posts with label 6144 Woodland Christmas Cover PP. Show all posts

Monday, July 13, 2026

Christmas in July tiered wiper card by Sharon Caudle

 Hello AI Fans!

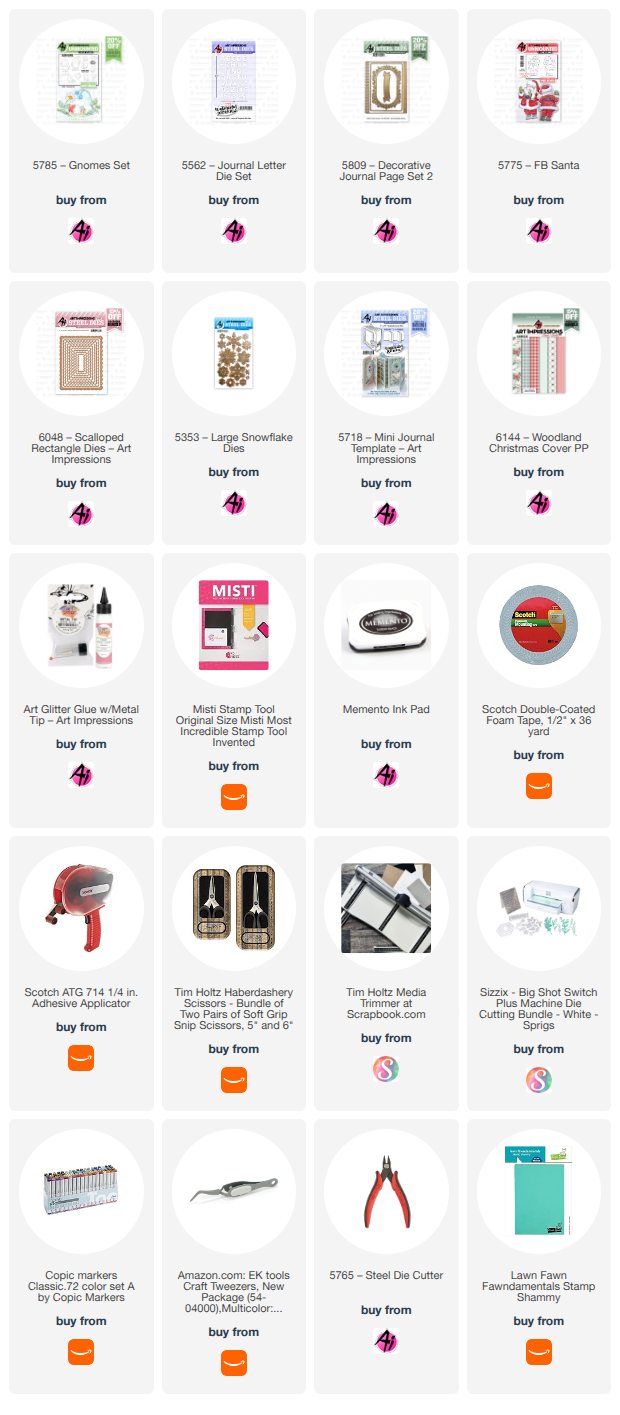
Our current challenge right now is Christmas in July! It's such a great chance to get a jump start on your holiday cards. Whether it's designing it if you make the same card for everyone, or just adding to your stash if you create different cards for everyone, it's a great way to get started! I just recently saw a video by Sam Calcott on how to create a tiered wiper card, and I immediately thought of how cute it would be for a Christmas card! You don't need any specialty dies and once you get the mechanism down, it's rather easy to put it together! I would suggest making one from scrap paper first, just to get the idea of how to put it all together. I took a video of it to try and show it in action, but I'm just having a heck of a time trying to post my videos lately. I'll keep working on that, but in the meantime, I guess pictures will have to suffice. Plus you'll be able to see it in action on Sam's video. :)  I started by stamping off three of the large gnomes from #578/5 Gnomes Set. I didn't want them to be the same so I used different colors and tried to make their beards look different as well. For the front, I used the adorable Santa from #5775 FB Santa, coloring and using only the front facing stamp. After coloring him and die cutting him out, I mounted him on a mat created using #6048 Scalloped rectangle dies. This card comes to life when you pull the top section of the card to the right, so I created a pull tab by grabbing the one from #5718 Mini Journal Template. I have a little stamp set in my stash that has a variation of action words, so I used the stamp "pull" on the tab. For the sentiment, I used the banner from #5809 Decorative Journal Page 2 ( I used this banner a LOT) and grabbed an old sentiment that I've cut apart from #SC0803, an old retired Santa Pop Up set. I just used two of them to create the sentiment on the front of the card. 


When you pull the top card layer to the right, a gnome pops out from behind the top panel to surprise you! I took a word bubble from my stash and die cut three H's and three O's from #5562 Journal Letter Die Set using red cardstock.  After gluing the HO letters onto the word bubble, I used a small piece of acetate to attach the word bubble to the back of each gnome. 


Keep pulling to the right and the next gnome pops out...


And finally the third. I finished the card by die cutting a variety of snowflakes out of glitter paper using #5353 Large Snowflake Dies. 


This was such a fun card to make, and I hope you're joining our challenge for a chance to win a free set of your choice from Art Impressions! Thanks so much for stopping by for a visit today, and until next time - stay crafty!!

Copic markers used:
E000, 00, 11, 33, and 35
R20, 22, 24, and 27
C0, 1, 3, 4, 5, and 6
T1
G82 and 85
Y32, 35, and 38


Friday, July 10, 2026

Merry Christmas in July! Card by Tasha

 Happy Friday, Art Impressions friends! 

Tasha here sharing a card inspired by the current Art Impressions Christmas in July Challenge.

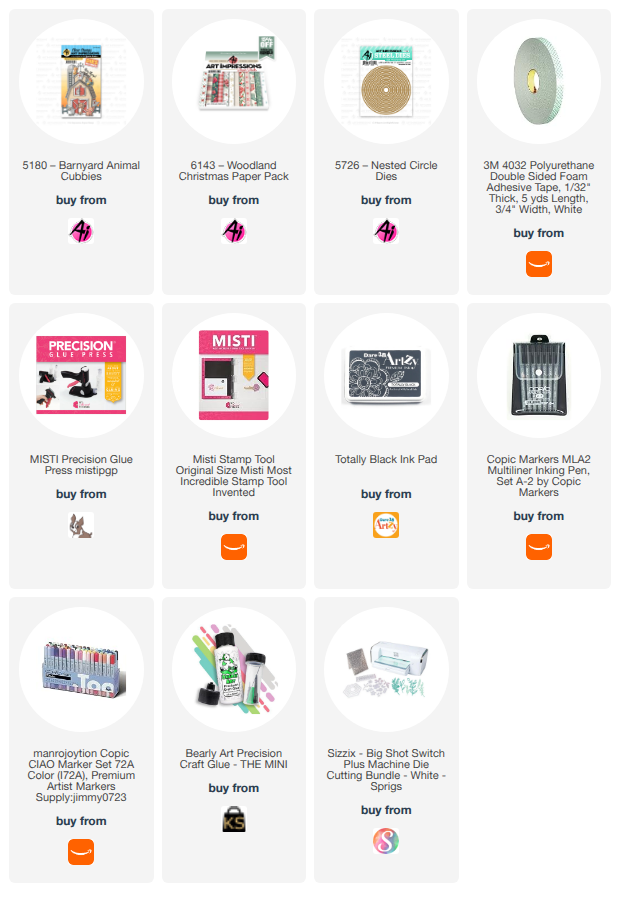
I love making holiday cards and finding ways to use my everyday stamp sets for Christmas. For this card, I used the piggy from the 5180-Barnyard Animal Cubbies stamp set and added a little Santa hat to make him holiday ready.

For the background scene, I used a stamp from the retired Sleigh Ride Circlet MTF set. I love the little wreath on the tree and the falling snow. It makes such a sweet winter scene.

I finished the card with pattern paper from the 6143-Woodland Christmas Paper Pack, layered it with red, gray, and white cardstock, and added a simple "Peace, Love & Joy" sentiment.


Thanks so much for stopping by today! I hope this card inspires you to give your non-holiday stamps a festive twist and join the Christmas in July Challenge. 


Thursday, December 4, 2025

Reindeer Box by Dori Mendiola

 Happy Thursday AI Friends!

I hope you all had a wonderful Thanksgiving week celebrated with friends and family!  

December is here and that means holiday creating!  Clearly, I'm one of those that doesn't get started until now.  Yikes!  Guess I love the pressure of the holiday season.  😏 

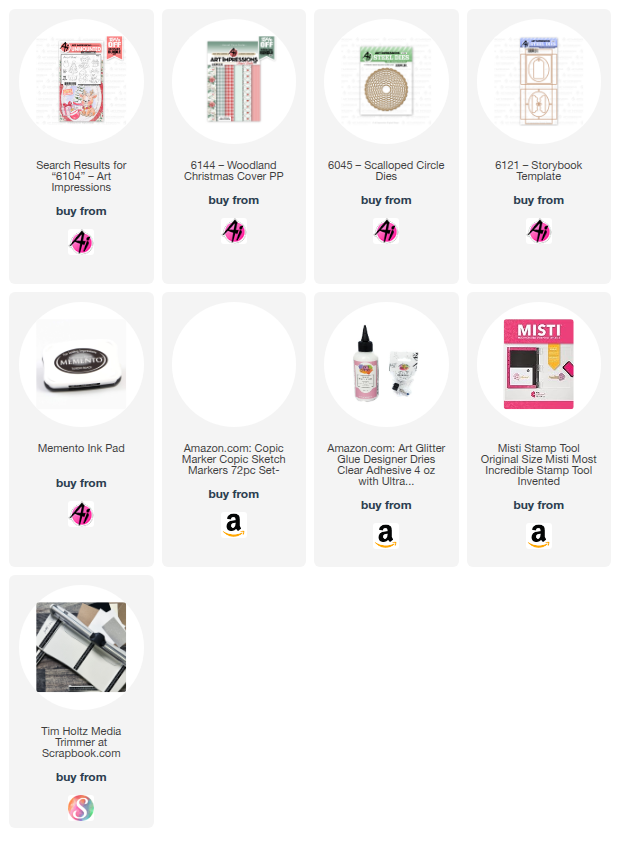
I've got a fun project for you today and you'll find yourself wanting to make lots of these.  I used the new #6104 Christmas Keepsake set for this cute little box.  I found a short video on Pinterest by SammyDemmy displaying this box, but it is in a foreign language.  I was able to improvise and create a version for you with English instructions.  I want to give credit to Sharon for helping me perfect the nose mechanism.  Thanks, bestie!
Cutest little box EVER!  

To open the box, you pull the reindeer's nose.


The finished box size is 3 1/2" tall x 2 3/4" wide x 1/2" deep.  This will fit a gift card nicely or you can place money or a small gift inside.

To make the box:  Cut a piece of 100 lb cardstock at 5 1/2" x 4 3/4".  Score along the 5 1/2" side at 
1/2", 1", 3 1/4" and 4 1/4".  Turn and score at 1/2", 1", 3 3/4" and 4 1/4".  On each of the corners, cut off the 3 small outer squares and snip up to the fold on the remaining small square (see below).


Fold and burnish all score lines remaining.  Tuck in each of the small tab squares and glue to the inside lower fold creating the box shape.  Before glueing the top 1/2" flap, check to see if you need to snip off a little so that it fits just to the bottom of the box when tucked inside.  Place glue on the top 1/2" flap and fold into the box to give the box stability (see below).  Do this for all four sides.  Your inside box is ready.


For the box cover:  Cut a piece of pattern paper at 7 1/4" x 3 5/8".  
Score along longest side at 1/2", 1 1/8", 3 7/8" and 4 1/2".  Fold and burnish.

To create the nose pull:  Color your reindeer and adhere it on a red circle base.  Punch a 1/8" circle into his nose.  Place the reindeer over your pattern paper box cover and mark where you want the nose.  Note:  I found that the lower you place the reindeer on the box, the farther the box will open.  
Punch a hole into the pattern paper for the nose.  If you have a crop a dile that will reach, you can adhere the reindeer onto the pattern paper and then punch the hole through all three layers at one time vs. marking it.  
Once the hole is punched onto the pattern paper, line up the hole with the reindeer and adhere the circle in place.  Thread the ribbon or embroidery thread through the bell.  Tie the thread so bell stays in place.  Place the two ends of the thread through the hole to the inside.  Hold the inside box into place and bring the thread up the front of the box and over the top.  Glue the thread on the top and again on the back of the box (towards the top).  After the glue has dried completely, snip off the loose thread from the back and glue the box cover together.  Make sure the cover does not adhere to the box.  


If you want the box to hang from the tree or a gift, place a tag topper to the back side of the box cover.  Tie some ribbon or string and a To/From tag to the topper and it's ready for your gift or tree.


Once you make one of these, you will find yourself making so many more!  Have fun pulling his nose!

Thanks for joining me today!  Keep creating!

Copics used:  E50, E51, E53, E55, E57, E59
R20, R22, R24, R27
Y28, Y32, Y35