Showing posts with label Nested Oval Dies 5727. Show all posts

Thursday, September 19, 2024

Hydrated by Dori Mendiola

 Happy Thursday AI Friends!

Today I have a card that fits both the Monthly Challenge - "We Don't Use Enough Purple" and the Bi-Weekly Challenge - "Not Just Paper".

I used the cute #5928 Stay Hydrated stamp set, which includes the die for the girl as well as for the tumbler.   I stamped the images and sentiment on copic friendly paper and colored with my copic markers (colors listed below).  The stamp set includes several different patterns for the tumbler and several fun sentiments.  What a fun way to change it up!

I hope you enjoyed my card today and you decide to play along with either or both of the challenges currently going on.  Check out the tabs above for the rules to enter for a chance to win a free stamp set.  Who doesn't like to win a free stamp set?

Have a creative day!

Copics used:  E000, E01, E11, E21, E23, E25
R20, R22
YG41, YG45
RV63, RV66
Y32, Y35
V12, V15, V17
YR32


Thursday, August 22, 2024

Happy Retirement by Dori Mendiola

 Happy Thursday AI Friends!

My card today was inspired by the current challenge - Keep Calm and Celebrate On!  This challenge only asks you to create and enter a card/project for any type of celebration.  How easy and fun is that?  Check out the tab above - "Bi Weekly Challenge" for details.  Hope you play along for a chance to win a free stamp set.  

Since I recently retired, I decided to create a Happy Retirement card.  This seems to be the year for many of us.  Finally!!  LOL!

I love making fun fold cards so this one is a twist on the standard easel card.  I call it the reverse easel.  Very simple to make!  Let's create the base first.  Cut a standard A2 card base (5 1/2 by 8 1/2) and score the long side at 2 1/8" and 4 1/4".  Fold at the 4 1/4 and opposite fold at the 2 1/8 to create a valley and a mountain fold towards you.  See card picture above.  For the background base, cut two from green cardstock (one - 4 1/8 x 5 3/8 and one - 2 x 5 3/8).  For the pattern paper, I used the 5832 Gnome Paper Pack and cut two pieces (one, 4 x 5 1/4 and one, 1 7/8 x 5 1/4).  At this point I mounted the pattern paper to the corresponding green base.  Before adhering these to the A2 card base, I used the 5223 bookmark die and placed the top part of the bookmark over the pattern paper, making sure to place the bookmark portion of the die underneath the pattern paper so that won't cut.    See Picture 1.


                        Picture 1:

Then, I partially cut the tab on the large green/pattern paper piece.  I want the tab to remain intact so to partial die cut you need to place your cutting mat only over the portion you wish to cut.  See picture 2.
As you can see, I did this upside down so make sure you put the cut edge of the die facing the cutting mat.  😞  Since I'm admitting my boo boos, I suggest you cut the tab before adhering the A2 card base.  As you can see in the picture, I adhered to the A2 base first.  You'll find it's easier to cut through without the A2 card base plus it won't make an indent into your card base.   

                        Picture 2:

Okay, now that the base is done, let's go to the image.  I used the 5186 Enjoy the Ride stamp set.  I love this fun little couple and their dog, but I especially love the lady drinking her coffee with her feet up.  No help from her!  My husband says that is exactly why we'll never own a tandem bike.  LOL!  
He knows me too well!  

I stamped the image on copic friendly paper and colored with my copic markers listed below.  I stamped the sentiment, from the 5187 Happy Trails set, into a rounded shape by curving onto my stamping platform.  I used the two largest dies from the 5727 Nested Oval dies to cut the image and also the pink frame.  I adhered the bottom half to the folded part of the card and tucked it into the tab for display.  I added some enamel dots and a bow and it's ready to go.

I hope you enjoyed my card today and it inspired you to join the challenge.

Have a great day and keep creating!

Copics used:  E000, E00, E11, E21, E23
T0, T2, T4, T6
R20, R32, R81
BG000, BG01
G20, G21, G24


Thursday, May 23, 2024

All That Glitters Challenge #379

Hello Ai fans!
Welcome to the All That Glitters challenge.

We want to see any sort of glitter or sparkle on your project.
Before we see what Janet, our Featured Designer created,
let's see who won our Just For You challenge.

For our Top Spot we selected


Please contact Leah at Feedback@artimpressions.com
to claim a free stamp set of your choice!
Also, be sure to grab our badge to display on your blog, Facebook or Instagram!

Our Lucky Random Winner was:
Julie W.


Please contact Leah at Feedback@artimpressions.com
to claim a free stamp set of your choice!
Also, be sure to grab our badge to display on your blog, Facebook or Instagram!


Now on to Janet's ADORABLE card.
Let's see and hear what she's made to inspire you!

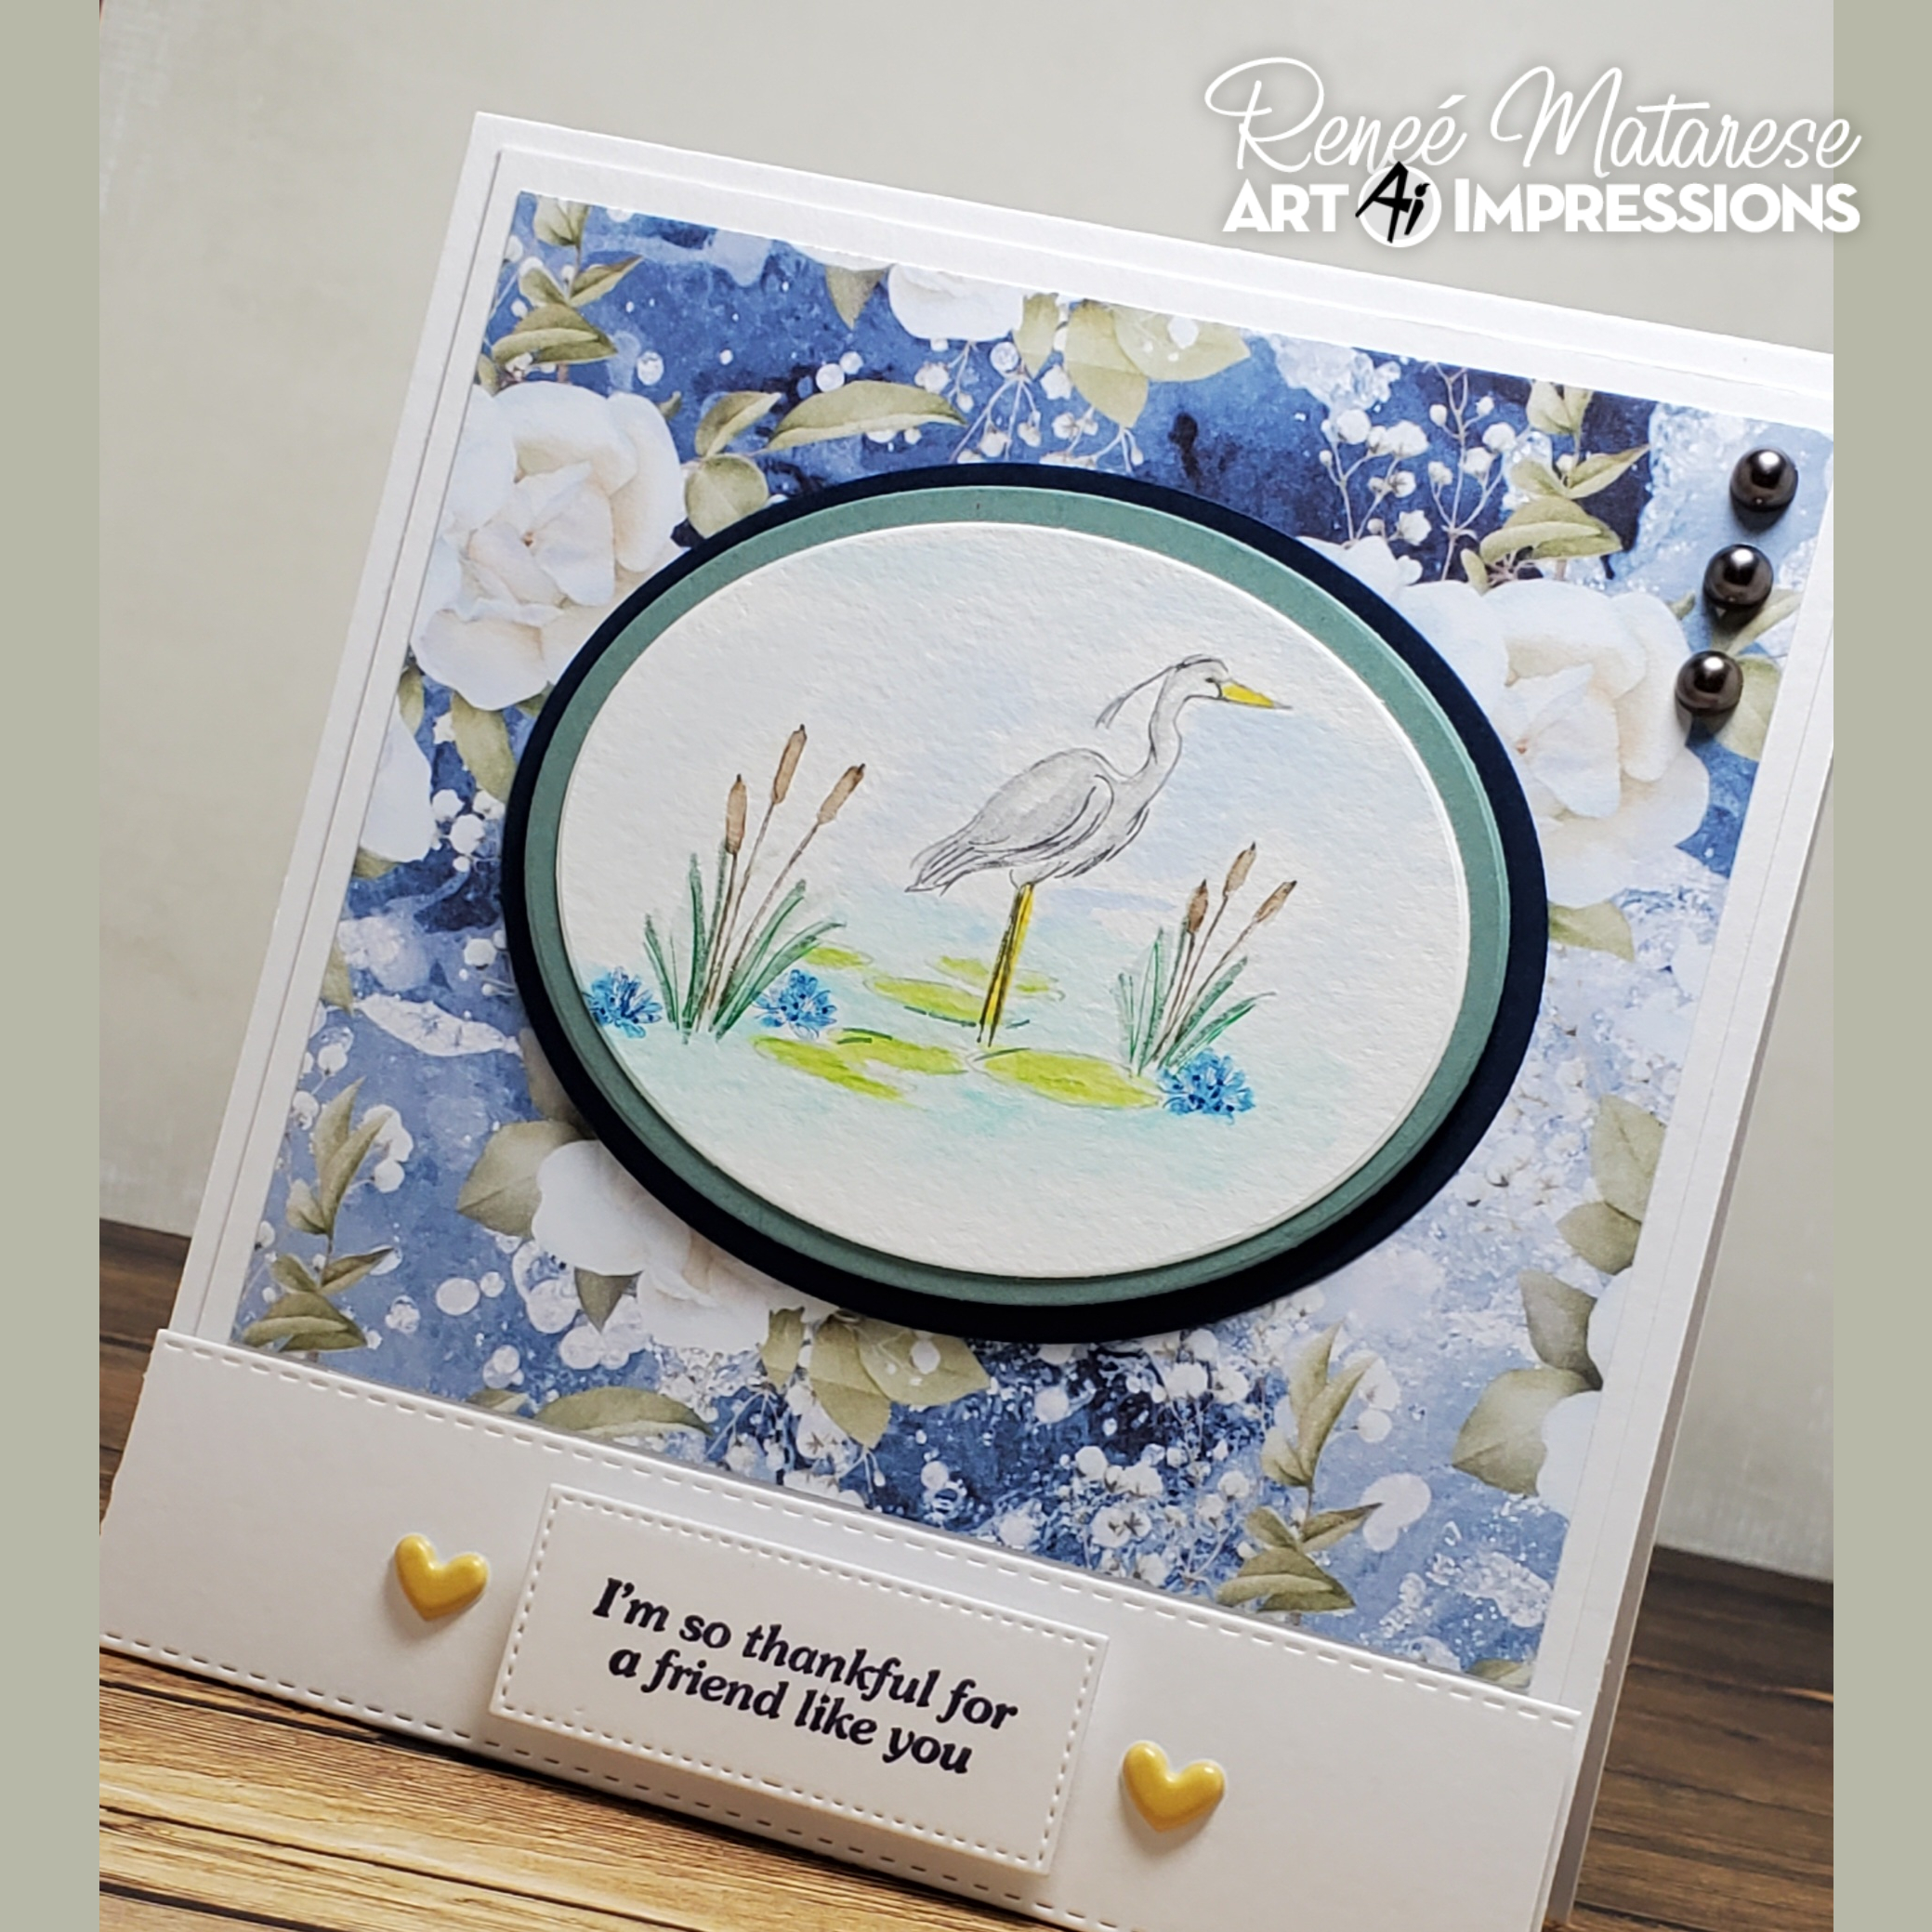
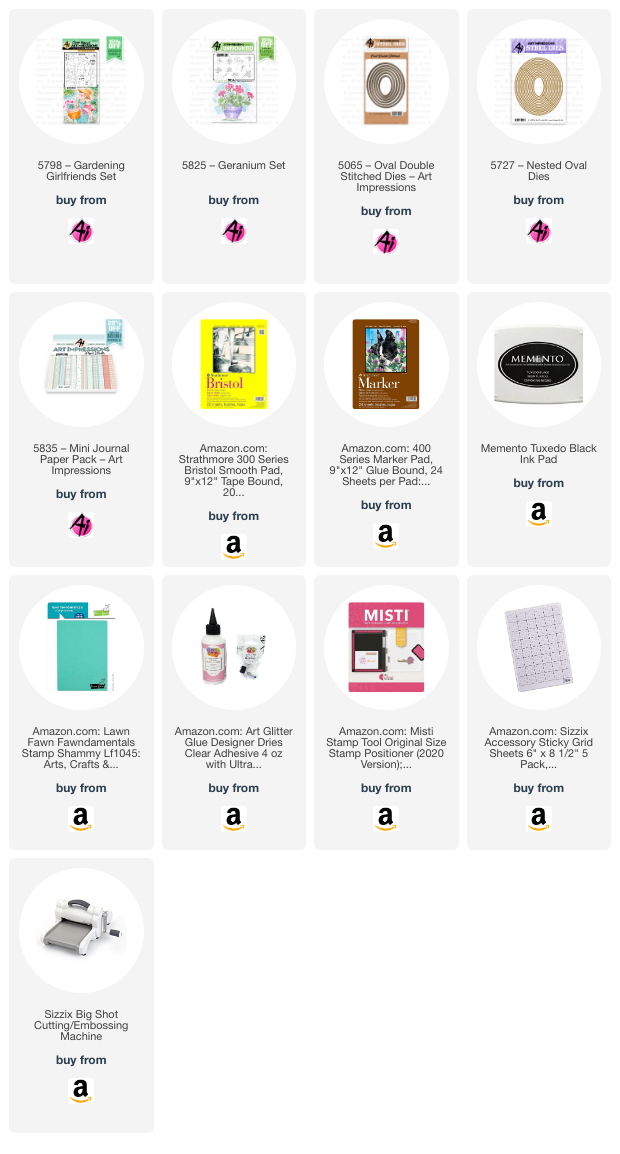
Hello everyone! It's my pleasure to feature a card for the new challenge made with 5798 - Gardening Girlfriends Set. I have chosen to put this wonderful image on a fun fold card base. I'm not sure what others call this fold but I call it a front fold pop-out card. This is pretty simple to make and it fits into a normal A2 card base. It also folds flat for mailing. 

The current challenge is All That Glitters. In the spirit of the challenge, I've added Star Dust Stickles (a glitter glue) to my flowers. Glitter glue is just one way to add some shine. I wasn't able to pick up the glitter in the photo as I had hoped but in person, it adds a very pretty shine to the flowers. I like glitter glue since it is mess free! So let's get started!

Cut four panels in the dimensions shown. I used patterns from 5835 - Mini Paper Pack. Going left to right, the first two panels are stacked and placed on the middle fold. The two identical panels on the right go on either side of the center panel of the card.


Create the card base from a piece of cardstock cut at 5 1/2" x 8 1/2". The folds are scored as shown below. 


Once scored, the card base is folded as shown from the top. Going from left to right, the folds are mountain, valley, valley and mountain.


Stamp the smaller middle panel with a sentiment and adhere it to the larger center panel mat. Adhere the two smaller panels on either side so that the card is as shown.


Cut two ovals for the focal image of the card. I cut an oval out of alcohol friendly cardstock with the 5727 - Nested Oval Die Set.  I cut a large oval out of cardstock from the 5835 - Mini PP paper pack to use as a mat with a die from 5065 - Oval Double Stitched Dies.


    Stamp the image and another sentiment on the the white cardstock. This image allows you to add flowers to the pot and the watering can. To do this and not ruin the main image, use washi tape or little pieces of paper, such as from the sticky part of a post-it-note to cover the edge of both containers and act as a mask. Then stamp the flowers. Notice how the stems stamp on the mask instead of the main image. The flowers I used come from 5825 - Geranium Set. Choose any ink colors you like for this. I chose blues, pinks, and lavenders.


After stamping, I peeled the mask away leaving the flowers as shown.


I then colored the flowers loosely and added contrasting dots and used a black pen to give a little more form to the flowers. I added Stickles to the flowers to give them a little more pop.


I colored the image using Copic markers: 

Skin: E000, E01, E02, E30, R20
Hair: E23, E15, E30
Bench: E23, E15, E29
Orange Pot: YR00, YR02, YR04
Watering Can: C1, W1, C7
Shorts: BG000, BG01, BG05
Capris: B23, B24, B28
Hat: E30, Y17
Boots: G99, G21
Yellow Shirt: Y11, Y15, Y17
Apron: V01, Vo4, V17
White Shirt: C1, BV31, 0
Ground: G21, W3

As a final touch, I added blue and purple matt enamel dots to the left and right panels.


Thanks for stopping by today. Don't forget to enter your card in the All That Glitters Challenge. Just add some glitter somewhere on your card in any medium to be eligible to win free stamps! I also invite you to visit the store to see all the things you need for your card, journal, and tag making projects. Have a great Saturday!

Janet YouTube - Blog - Facebook - Instagram - Pinterest  


✻ Please make a new card or handmade crafty creation. You can make any item you wish; this is not limited to cards!

✻ Limit two submissions per person. You will receive extra votes if you use Art Impressions stamps!
 ✻Please include your first name and last initial on your submission.
✻We love to comment on your entries, but keep in mind if you use a private group or a platform that you need to sign up for, we probably won't be able to.
✻ The Ai Challenge is open to everyone, international submissions are welcome!
✻ Include a link back to the Ai Blog or grab our button on the top right of our sidebar!
✻ Share the Ai love if you can, by clicking and commenting on your fellow crafters.
✻ Make sure to get your link up by the deadline to enter your creations.
✻ Good luck and happy stamping! 


You are invited to the Inlinkz link party!

Click here to enter

Tuesday, May 7, 2024

So Thankful...by Reneé Matarese

 Hey everyone!

Are you enjoying the Birds of a Feather challenge as much as I am?

I love all of the beautiful cards I've seen entered so far.

Where I live we have a bird called the Great Blue Heron. The only bird with 
a larger wing span where I live is the Bald Eagle. The heron is large, beautiful
and majestic. I have loved them since I was a little girl.


I was inspired by Kim's new KH5820 – My Favorite Birds Set. I am NOT a watercolor artist,
but for this card I wanted to give it a try. I used a #4 brush and a combination of WC pencils, Marvy markers, Tombow markers and Twin Tone markers.

I used two Ai die sets and the 5734 – Friend Sentiment Set. I'll link them all below.


WC Pencils:
Staedtler
50, 80

Derwent
6 Deep Cadmium, 30 Kingfisher Blue, 40 Turquoise Green

Twin Tone Markers:
Green, Gray

Marvy Markers:
45 Sepia, 99 Periwinkle

Tombow Markers:
N65, 158, 312, 528

Saturday, March 23, 2024

Hippity Hop! by Janet

Easter is almost here and I'm making my last Easter cards. I am having fun creating window cards lately and this week I decided to make a pair of them using the super cute images from the 4754 Hoppy Easter Set. There are several adorable bunnies wearing their Easter finest and hugging their eggs. I used two of them plus the mini border of Easter eggs. The hanging egg is also in the set and it was perfect for the oval window and frames I cut from the 5727 Nested Oval Dies. The patterned papers on these are from the 5892 Easter S2 Paper Pack. I made the pink marbled backgrounds on watercolor paper with ink and then cut out the windows and trimmed them with patterned papers. The sentiments are from the new 5733 Easter Sentiments Set. The last little touches were a few gems and a crinkle bow.


The card base is created by folding a piece of 5 1/2" x 11" cardstock evenly in three panels on the long side. The window is cut out of the middle panel and the outer panel folds inside and becomes the background for the window. I put patterned paper on that panel before gluing it down behind the window. At that point the card opens like a normal side fold card. It's one of the first "fancy folds" I learned when I started card making but it works well and makes a nice little card.

Thanks for stopping by today. I hope you'll visit the store to see all the things you need for your card, journal, and tag making projects. Have a GREAT Saturday!

Janet YouTube - Blog - Facebook - Instagram - Pinterest 

Saturday, February 3, 2024

Treasure the Little Things

It's February and I'm already dreaming about warm spring days. What's more spring than a cute little gnome taking a nap under a pot of beautiful geraniums? That was my thought as I created my card.

I started by stamping the pot and gnome from the 5785 - Gnomes Set. I did not ink the very top of the pot or the tip of the gnomes hat. I wanted to leave that area blank so that I could stamp the leaves at the top of the pot using the new 5825 - Geranium Set. This is intended to be more of a watercolor set but I found I could get a nice look with the stamp using a loose Copic coloring technique. I stamped the leaves with green ink and the flowers with dark pink ink before coloring. 

The next thing I did was color the pot and the gnome. I added stripes to the pot and the gnome's hat. Then I shaded the ground below them and added some sprigs of grass. I also added a very light blue halo around the image. 

I cut the main image out with an oval from the 5065 - Oval Double Stitched Dies. Then I used the 5727 - Nested Oval Dies to cut out two more ovals to use as mats. Next, I made a gate folded, A2 sized card base using dark navy cardstock. I cut mats out of 5835 - Mini PP and added a strip of grass washi tape at the bottom of each panel. Then I glued the panels in place. I added the oval piece but glued only the left side of it so the card flaps can open. Then I stamped the sentiment from 5797 - Little Things Sentiment Set on a piece of matching cardstock and heat embossed it. I fussy cut a banner around the sentiment. To finish this card I added two pink pearls and a jewel. 

Isn't it so true that we need to appreciate the little things to appreciate the bigger things? I so believe this and I can't wait to share this card with a friend who has had a bad week. I know this will give her a little lift!

Thank you for joining me here today. You'll find several new 2024 releases in the store already so check them out to see what you can't live without! Happy weekend!

Janet YouTube - Blog - Facebook - Instagram - Pinterest 

Thursday, November 16, 2023

Snowman Puppet Ornaments by Reneé Matarese

 Hey everyone!

Last week I shared a cream and gold snowflake slimline card.

This week I have two snowman ornaments for the Art Impressions Making Spirits Bright challenge.


One is a Front and Back "see through" ornament and the other features the snowman front with a sentiment on the back.


His clothes are cut from 5812 – Christmas S2 Paper Pack and I framed him using
5727 – Nested Oval Dies.


I added some stitching where I pieced his coat together on his back.


The little hanger hook was cut from 5718 – Mini Journal Template.


On the back of this one I stamped a sentiment from 5566 – Christmas Sentiments.


He's stamped on Canson XL WC Paper Pad – 9×12 and I used Dr. Ph Martin's Bleed Proof White paint on his hat.