Showing posts with label 5847 Mini Christmas Sentiment Set. Show all posts

Thursday, June 26, 2025

Christmas Magic by Dori Mendiola

 Happy Thursday AI Friends!

Today I have a Christmas card inspired by the "Leon" blog challenge.  "Leon" is Noel backwards and since we are halfway to Christmas, a "Leon" challenge makes perfect sense.  Now is the time to start getting in the mood for creating our annual Christmas cards/tags/etc.  Hope you will join us and enter the blog challenge for a chance to win a free stamp set of your choice. 

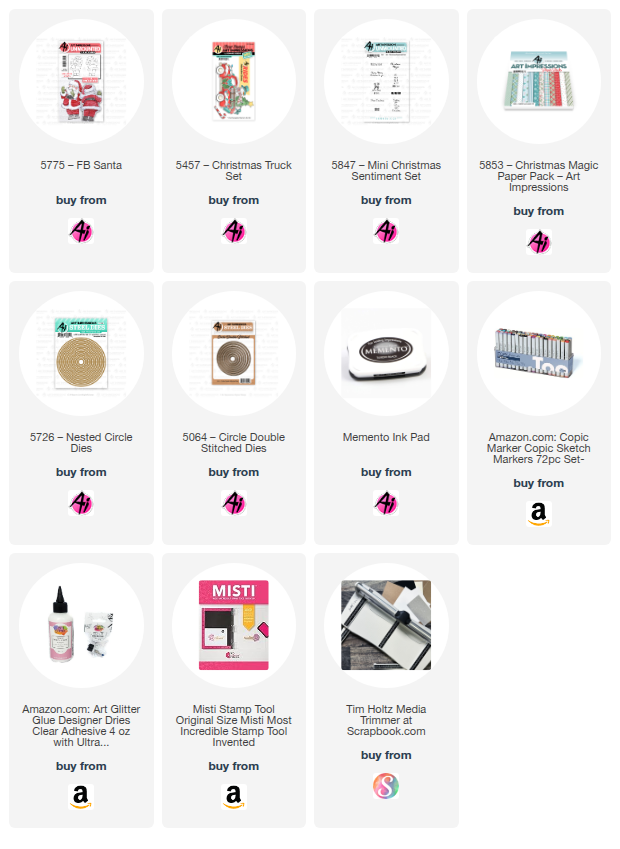
I used the #5775 - Front/Back Santa.  He is just the cutest peeking Santa Claus!  I also used the presents in the #5457 - Christmas Truck set.

I began by stamping the santa and the presents on copic friendly paper with Memento black ink and coloring with my copic markers listed below.  I then die cut each of the images with the corresponding dies that come in each of the sets.  I added Dr. PH Martin's bleed proof white paint to Santa's fur.

I cut three trees from the #5853 - Christmas Magic PP using a die I had in my stash.  I scored each tree in half and glued the fold into the next scored tree until all three trees were adhered together by the folds.  This allows for the trees to flair out for dimension.   I adhered the stripe pattern paper onto a green base and then added a strip of red cardstock to the bottom.  I then glued the bottom tree stack, at the fold, to the pattern paper card base.  I glued the santa front to the third layer tree and adhered his backside to the back of that layer.  I adhered the colored presents on each layer at the base of the trees.


Lastly, I added streamers to the tree, the sentiment, bow and jewels.  

I hope you enjoyed my "Leon" card and you enter the challenge.  We love to see what you all create!

Have a great day and keep creating!

Copics used:  E000, E01, E11
N0, N2, N4
R20, R22, R24, R27
Y13, Y15, Y17, Y26
BG53, BG57
G24, G28

Thursday, December 12, 2024

Merry & Bright by Dori Mendiola

 Happy Thursday AI Friends!

Christmas is going to be here before we know it and I wanted to share my Merry & Bright Christmas card.  I used the #5192 Penguin Cheer as well as the #5457 Christmas Truck Rides sets.  These little Penguins bring so much cheer!


I stamped the penguins with Memento black ink onto copic friendly paper.  I then made a mask of the penguins so I could stamp the tree to look like it is behind the penguins.  The tree in the Christmas Truck set was too small compared to the penguins so I had to stretch the tree to make it larger.  To do this, I inked up the tree with the Memento ink and wiped off the trunk before stamping where I wanted it to fall behind the penguins.  Then I inked it up again and wiped off the top two layers of the tree and the trunk and positioned the stamp to fall under and to the right of the original tree.  Lastly, I inked up the trunk and stamped it to fall in the center lined up under the tip of the tree.  Since it fell just perfectly behind the penguins, you can't tell the tree was stretched.  After the image was how I liked it, I then colored it with copic markers (listed below). 
I die cut the presents with the coordinating dies that came in the Christmas Truck set and popped them up under the tree.  I used stinkles on the star and glossy accents on the ornament and lights.  I stamped the sentiment from the #Mini Christmas Sentiment set.  I then layered the image onto papers from the 
#5962 Classic Christmas PP and tied a red bow to top it off.  The frame was made with dies I had from my stash.

 Thanks for joining me today and I hope you enjoyed my card!

Copics used:  C00, C1, C3, C5, C7
E53, E55, E57
R02, R05, R08, R20
YR21, YR23, YR14, YR18
G21, G24, G28
BG70, BG72, BG75

Sunday, December 8, 2024

Merry Merry Christmas to You Card by Diane Mason

Hello, and welcome back for the last Watercolor Weekend of 2024!

Hello, Ai Watercolor Friends! The holiday season is here, and festive cheer is everywhere! Today's card is inspired by holiday postage stamps, featuring delightful Christmas images from the new Village add-on set 5977 – Mini Christmas Village Set.

Merry Merry Christmas to You card:

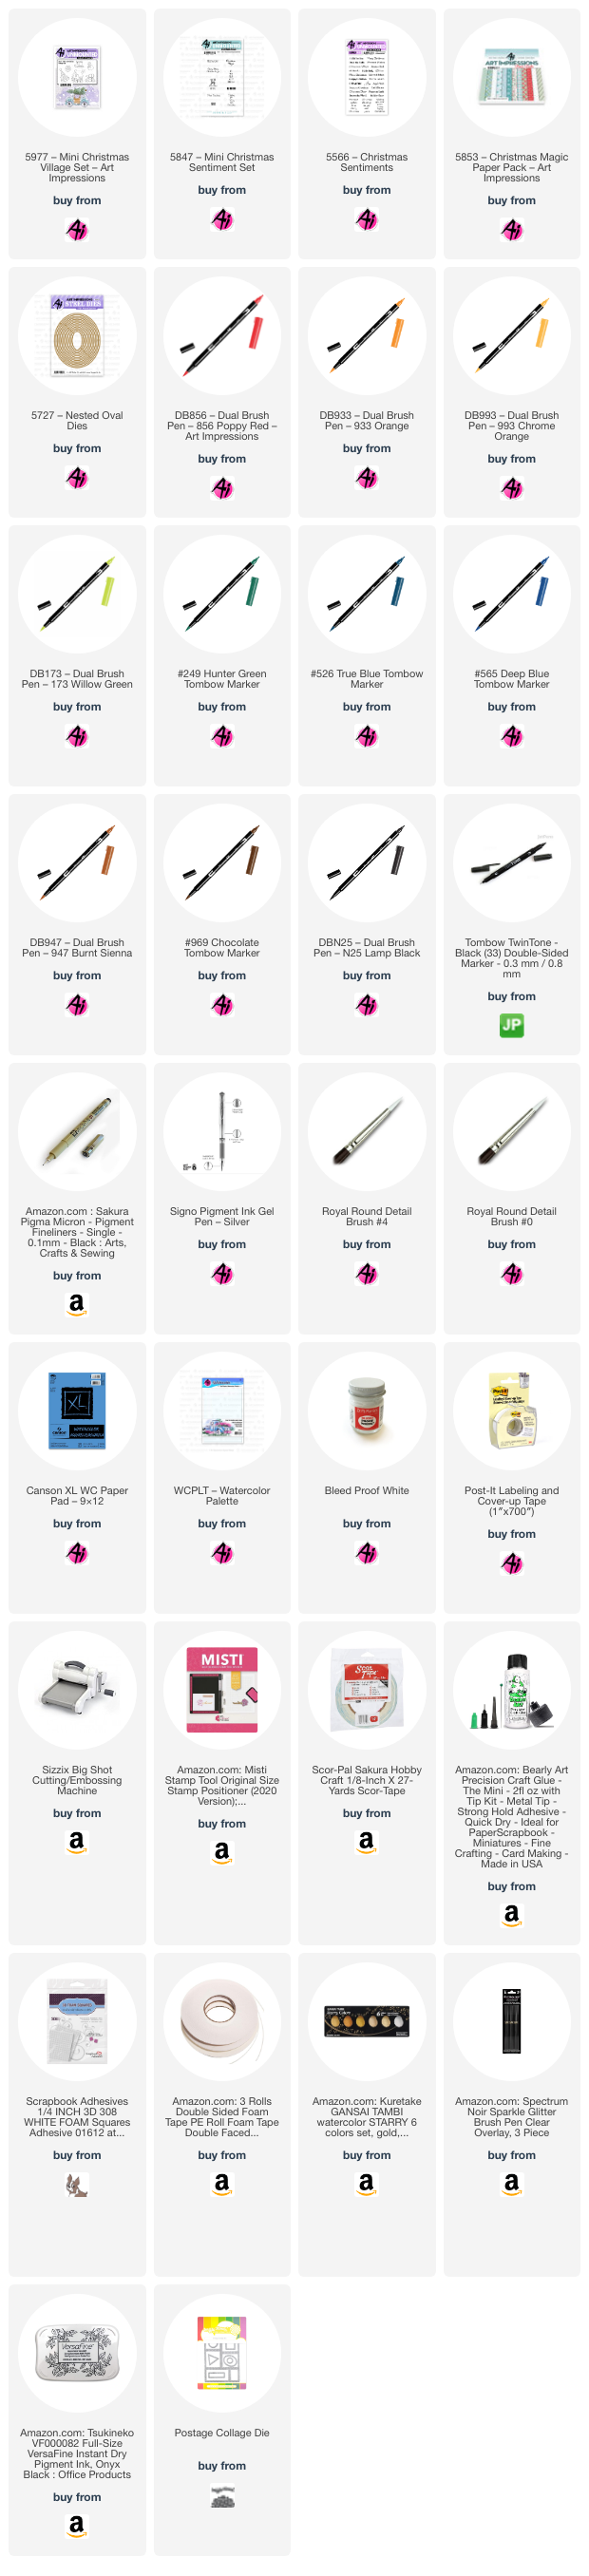
For this quick and easy card, I used all the images from 5977 – Mini Christmas Village Set, paired with sentiments from 5847- Mini Christmas Sentiment Set. The color palette was inspired by the beautiful blue, green, and red plaid patterned paper from the 5853 – Christmas Magic Paper Pack.

For my painting, I die-cut my Canson XL watercolor paper using the popular Waffle Flower Postage Collage Die. Although the die cuts six postage stamps, I used only four of them for this card. The images were inked with Versafine Onyx Black ink. This process was quick and easy, thanks to the lack of masking and the convenience of using a stamp platform for precise image stamping.

Before painting, I lightly sketched lines with a pencil to outline the snowy hills, path, and road. I began by brushing in the background skies using a mix of 526 and 565. For shading the snowy hills and the frosting on the gingerbread house roof, I used a watery mix of 565.

Colors Used:

  • Christmas trees, package: 249
  • Car, candy cane, lollipop, scarf, package, bow, and hatband: 856
  • Gingerbread house, tree stumps: 947/969
  • Tires, road, snowman hat: N25
  • Package: 526
  • Ornaments and star tree topper: 933, 993, 856, 173, and 526
  • Gumdrops at the base of the gingerbread house: 993, 933, 856, 526, and 173

For the garland on the tree, I used a pearly white paint by Gansai Tambi, shaded with 526. The sled’s runners were colored silver using a Silver Signo pen, and I added an orange TwinTone marker for the snowman’s nose.

To create a snowy effect on each postage stamp image, I dotted in snow using Dr. Ph. Martin’s Bleed Proof White. I also applied the white to the tree on top of the car, the gingerbread house, and the road lines. I added details back into the images with a black TwinTone or Micron pen. As a final glittery touch, I applied a Spectrum Noir Clear Sparkle brush pen to the snowy areas and other spots that needed a hint of shimmer. While the sparkle is subtle in photos, it adds a beautiful effect in person.

With all the images complete, I placed my painting back into the stamp platform and stamped the sentiments (5847) using Versafine Onyx Black ink. On a separate piece of watercolor paper, I stamped the "Merry Merry Christmas to You" sentiment (5566) and die-cut it with the smallest oval from the 5727 – Nested Oval Dies. To mat the sentiment, I die-cut a slightly larger oval from plaid patterned paper.

For the card base, I used a top-folding A2 size and matted it with plaid patterned paper from 5853. Next, I cut a smaller rectangle mat from red cardstock and attached the painting using foam tape. Before adhering the red cardstock to the card, I wrapped red and white baker's twine around the cardstock three times, securing the ends at the back.

To finish, I popped up the oval sentiment with foam tape and added red gems for a festive touch. The red cardstock panel was then adhered to the card base using double-sided tape.

Of course, I decorated the interior of my card because I’m extra like that—lol! The sentiment is from 5566. I used leftover strips of the plaid and red paper to create the paper ribbon.

For the wreath and bow, I painted them using colors 249, 173, and 856, with 526/565 for the background. The wreath was die-cut with a round postage stamp die from the Postage Collage Die Set and adhered to the paper ribbon with glue.

I hope you enjoyed today’s card. Even if you don’t have all the dies and sentiments I used, you can still create something similar with the Ai images you already have in your stamp stash.

If you create any cards to share with your friends and family this holiday season, we would love to see them - be sure to tag us on social media! Also, stop by the blog later today, Jami will be sharing her beautiful card for Watercolor Weekend.

A heartfelt thank you to everyone for visiting the blog for Watercolor Weekend. Wishing you and your family a very happy holiday season, along with a creative, joyful, and prosperous 2025! And, as always - Happy Painting!



Sunday, December 10, 2023

Watercolor Weekend - Diane and Jami Edition

Hello and welcome, Watercolor Weekend Fans!

With the AI blog taking a break later this month, we're doubling up on your Watercolor Weekend inspiration this week, featuring posts from both Diane and Jami.

Diane will kick things off with an elegant Poinsettia Card
and a sparkling Snowflake Snowman Gift Tag:

This year has been fantastic for new watercolor stamps to add to our collections. When I first saw the poinsettia set, I was thrilled about the possibilities it offers —wreaths, pots, swags, and more! It's a fantastic addition to our floral options. Christmas wouldn't be the same without decorating with a vibrant poinsettia plant!
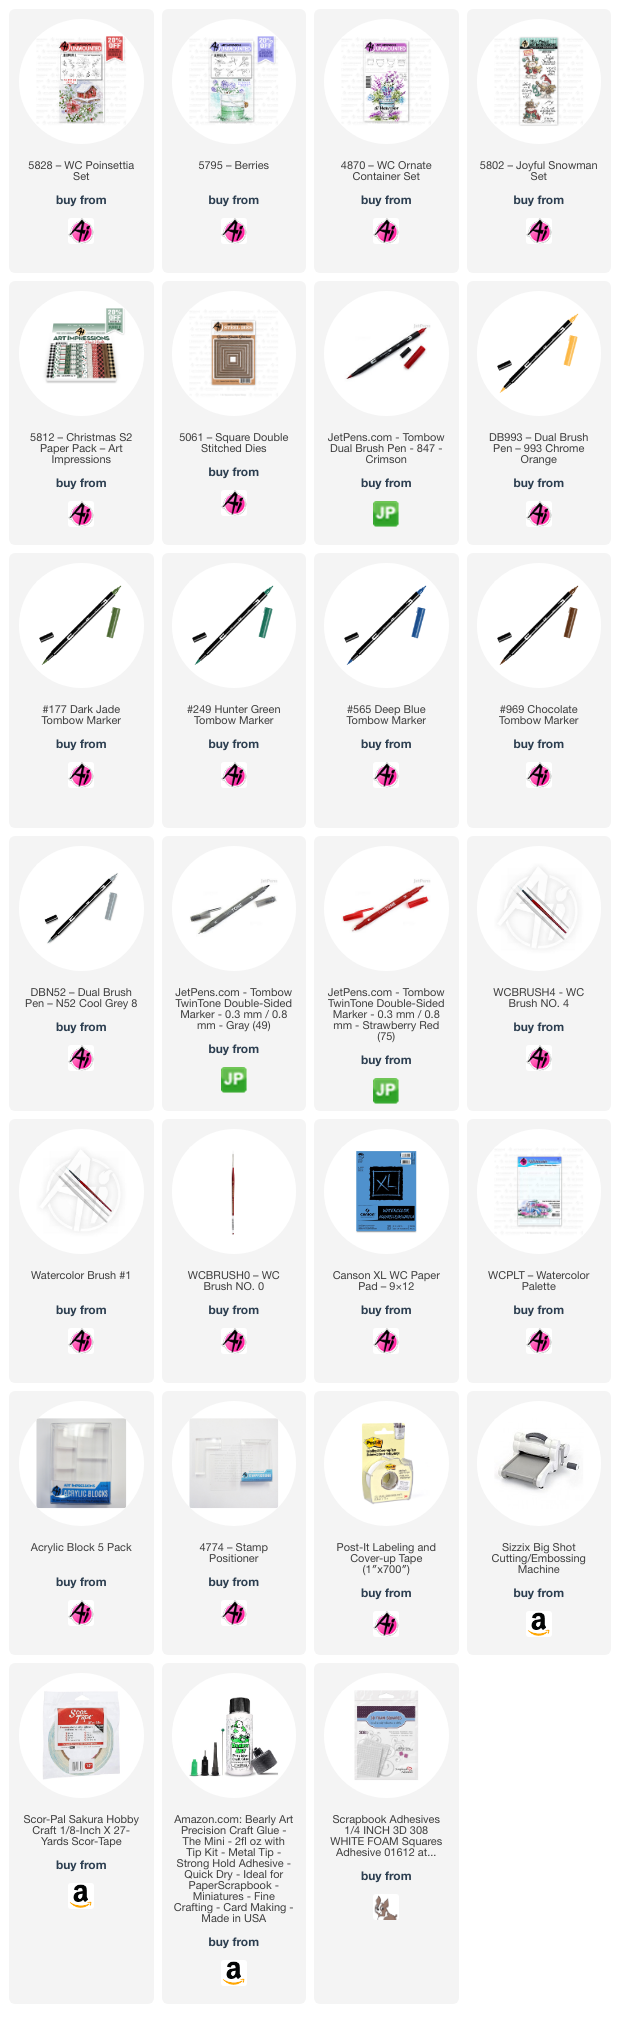
I focused on the simplicity of this card, making the potted poinsettia the main focal point. Starting with the flower pot from 4870 – WC Ornate Container Set inked in N52 (excluding the bottom saucer), I stamped the medium-sized poinsettia from 5828 – Poinsettia Set three times, masking each flower, and inked the petals with 347 and 993 for the centers. The large leaves filling the pot are from 5795 – Berries, inked in 249, with masking as needed. The berries from 5828 were inked with 347 for the berries and 249 for the stems. The leafy vines, also from the same set, were inked in 177.

For the pot, I used N52 with a touch of 969 to darken the sides for contour, while shadows were created with a mix of 565 and N52. The shadow below the pot is a blend of 528 and 565. I highlighted areas with a small dot of Dr. Ph. Martin’s Bleed Proof White, particularly at the berry centers and wherever a highlight was needed. I used a gray or red TwinTone for any details that may have been blended out. To deepen the shadows on the poinsettia, I mixed a touch of 969 with 347 and did the same for the leaves, adding a bit of 969 to 249 for depth.

The painting was die-cut using 5061 – Square Double Stitched Dies and matted with cardstock. The two patterned paper panels are from 5812 – Christmas S2 Paper Pack.

For the interior, I stamped a sentiment from 5802 – Joyful Snowman Set and added a small snowflake remaining from my previous card just above the sentiment. The "Merry Christmas" die-cut on the card front came from my collection of Christmas dies.

Next up is the Snowflake Snowman Gift Tag:

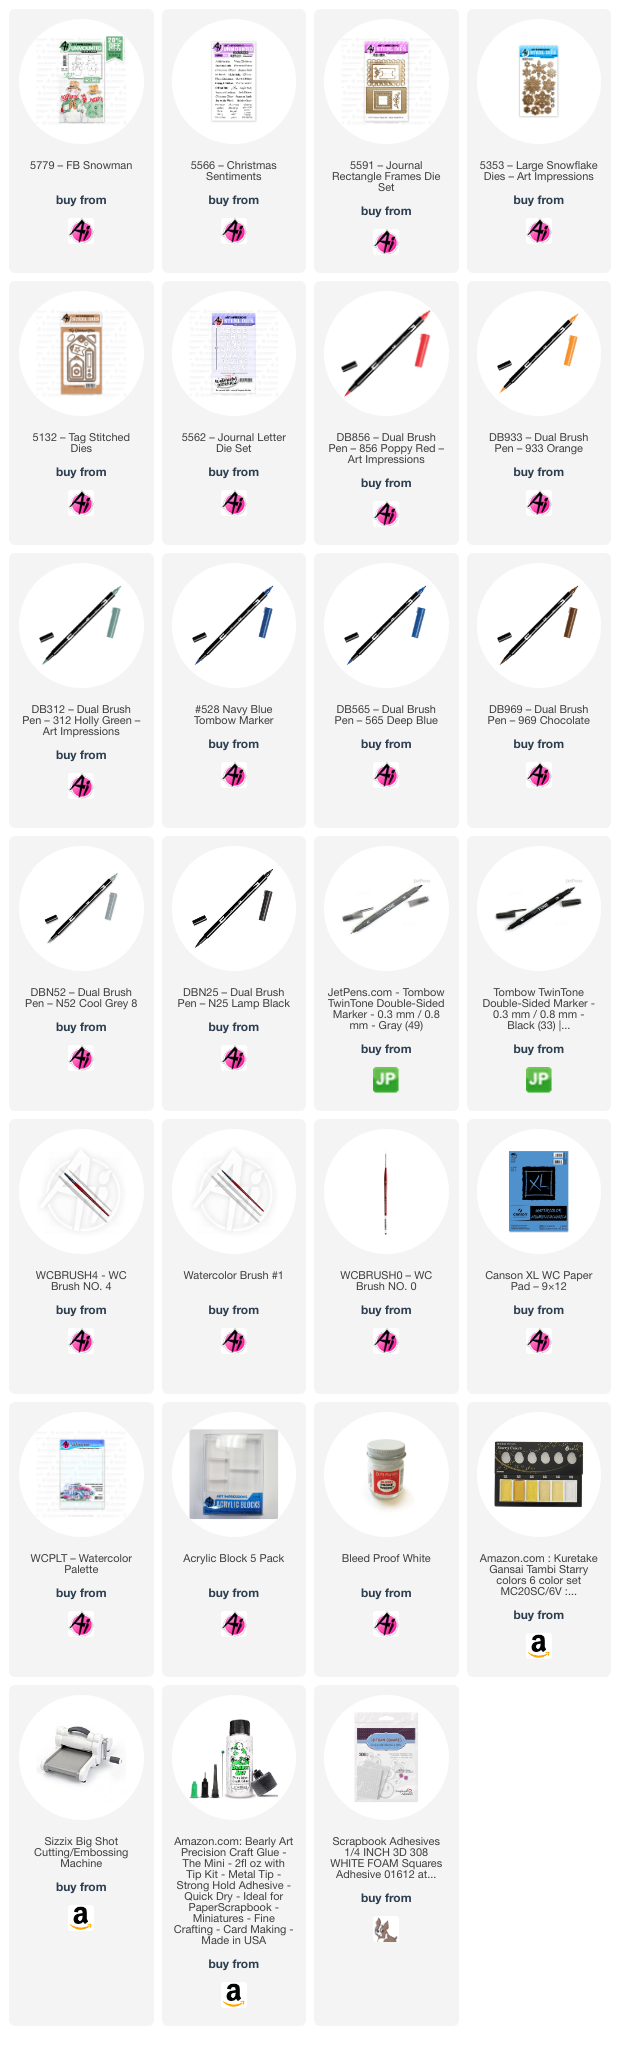
For my next project, I wanted to create a fun gift tag. I decided to use the new 5779 – FB Snowman and give it the appearance of a Polaroid picture, as if you're sending a snapshot of your new frosty friend to the gift recipient!

For the "Polaroid," I used the frame from 5591 – Journal Rectangle Frames Die Set, die-cutting it from Canson XL watercolor paper. After trimming away the decorative scallop and removing the center, I focused on the snowman. I inked it in 565, adding 969 to the non-snowy parts (like clothing, hat, and face) and stamped it off. The sky was painted with 528, and deepened at the edges with a mix of 528 and 565. I used 565 to shade the snowman's body, face, and scarf, while 933 added color to the carrot nose and a watery mix of 856 was used for the cheeks. The clothing and details were painted in 528 and 312, while the top hat was painted with N25 and 528 for the band. I added snowflakes using Dr. Ph. Martin’s Bleed Proof White and shimmery dots with Gansai Tambi White Gold paint. The frame was shaded lightly on the left side and bottom edges with N52 for depth. I stamped the sentiment from 5566 – Christmas Sentiments in 528.

As for the tag, I die-cut the largest tag from 5132 – Tag Stitched Dies twice: once in shimmery blue cardstock and once in white. The blue tag was decorated with snowflakes die-cut from shiny silver cardstock using 5353 – Large Snowflake Dies, ensuring some extended beyond the edges. Trimming off the excess snowflakes, I filled any gaps with the trimmed pieces. The snowman Polaroid was mounted on the blue tag at an angle with foam squares. Inside, I added "To/From" cut from silver cardstock using 5562 – Journal Letter Die Set and extra snowflakes were added to the bottom right. I scored a fold line across the top for easy access inside. I attached the white tag to the top of the blue one with glue, I added ribbon and a small snowflake with a tiny glue dot.

I'm very happy with how this tag turned out—it matches my vision perfectly! I think it would look fantastic on a package wrapped in white or silver. I hope the recipient loves it as much as I do!
Next, we're showcasing Jami's stunning Vintage Christmas Card
alongside delightful Snowman and Santa Ornaments. Take it away, Jami!

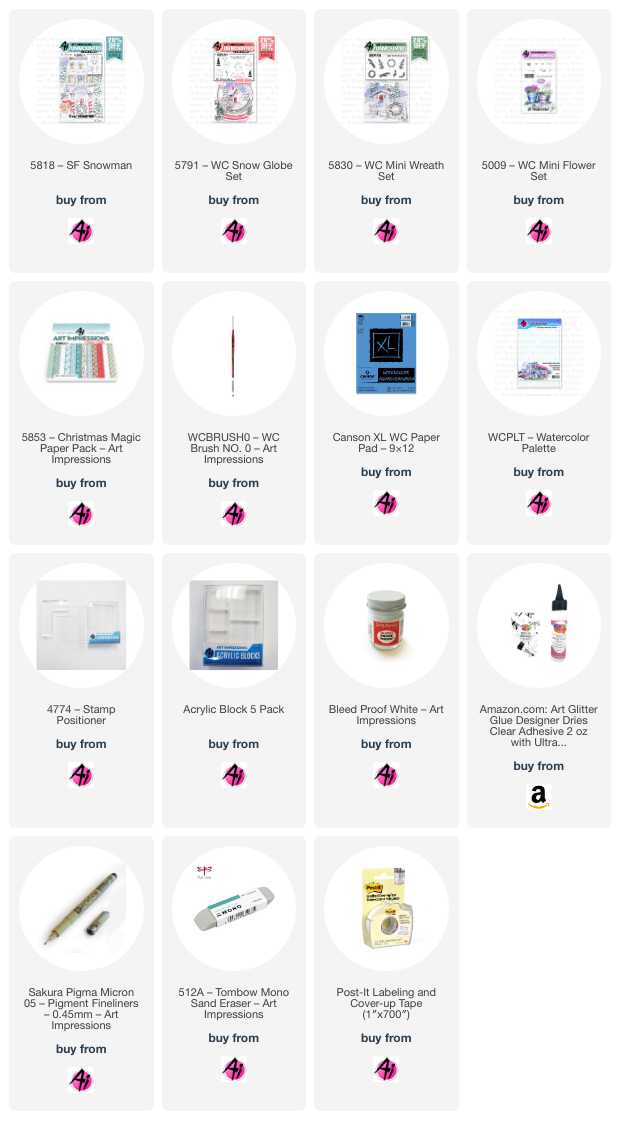
This Christmas card is one that I absolutely enjoyed creating. I love all things vintage and Christmas is no exception. I love the colors of Christmas in the 1950’s. The pink, teal, red and green with some glitter added is my favorite. For this card I started with stamping the Snowman Scenic Foundations #5818 with the 565 blue and 969 brown Tombow markers. I stamped off twice. I used the following markers to paint the image: Blue 565, Brown 969, Red 856, Bluish Green 312, Pink 761, Pink 817, Green 158, Green 296, Gray N65, Gray N45, and Gray 25. After I had done all of my painting I added some rainbow sparkle glitter to Nuvo Crystal Drops in clear to paint glitter onto the top of the door, the window shutters, the windows on the top floor and the lamp posts. This was an easy way to add the glitter without it falling off and to give a light shimmer. When I added Dr. Ph. Martin’s Bleed Proof White for the snow to the card while it was still wet I sprinkled some more glitter onto the snow.


For my second watercolor project this time I made an ornament using the Joyful Snowman Set #5802. I love these cute little snowmen! When I stamped the snowman I started with the usual markers and stamped him off only once this time so that the lines would be more prominent since I wanted the details to show from a far. I used the same colored markers painting the snowman as I did with the card above. He was pretty easy to make. Using the AI Circle Dies I cut out a circle that would fit the ornament and used the negative as a template for my watercolor paper. To give the earmuffs a fluffy look I used the grass from WC Mini Foliage. After painting I then did the shadowing and details. Here’s a tip, if you need to darken your red for shading try adding a tiny bit of green or gray. For me it makes it so much easier than trying to keep adding red. The blue 565 turns the shadows purple for me so I thought I would try something new. Lastly, I added some Uni-ball Signo Silver pen to the top of the ornaments and added Wink of Stella clear glitter to the ornament bulb. Dr. Ph. Martin’s was used to add some details and some snow. Next I die cut the circle with the snowman. At this point you will need to mark your hole for the ribbon to go through. I held the ornament and painting up to a light, marked where the hole would be and then punched it out using a 1/8th inch hole punch. Using Art Glitter glue and I glued the painting to the ornament lining up the hole for the ribbon. Now to make this artwork waterproof I covered the painting with Dorland’s Wax Medium. I love this stuff and use it on all of my watercolor projects. Finally I stamped the sentiment using a red ink pad on watercolor paper using the Mini Christmas Sentiment Set #5847. I die cut it out with a small circle and glued that to the back. The ribbon was 1/4 inch Offray red. I added the jingle bells to both ornaments because they were adorable and I loved hearing the ornaments jingle! 


And just because the stamped snowman ornament was too cute I had to make one more! This was done using the same techniques as above. I used stamp set FB Santa #5775. These front and back Santa’s have so many options!  


Diane's Poinsettia Card:  
Diane's Snowflake Snowman Gift Tag:
Jami's Vintage Christmas Card:
Jami's Snowman and Santa Ornaments: