Today I have a Christmas card inspired by the "Leon" blog challenge. "Leon" is Noel backwards and since we are halfway to Christmas, a "Leon" challenge makes perfect sense. Now is the time to start getting in the mood for creating our annual Christmas cards/tags/etc. Hope you will join us and enter the blog challenge for a chance to win a free stamp set of your choice.
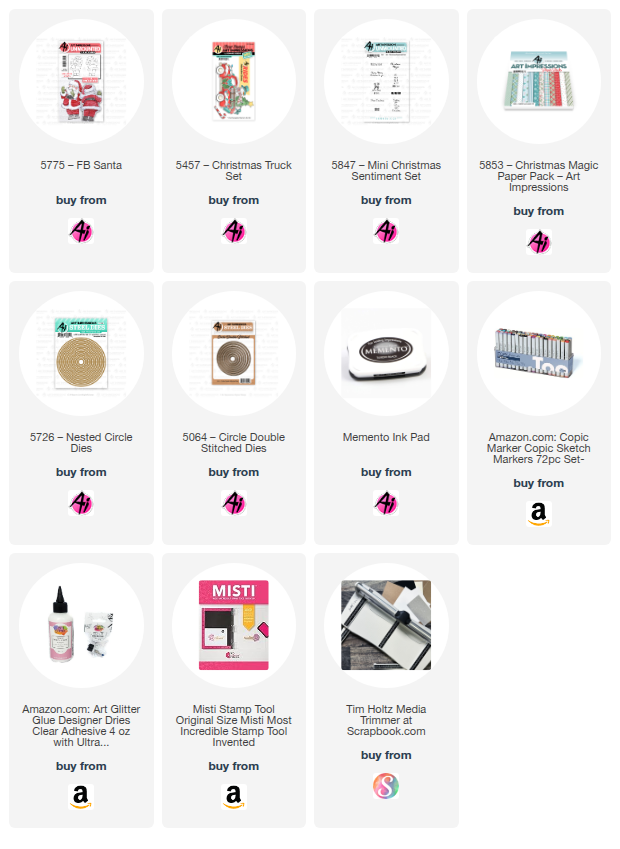
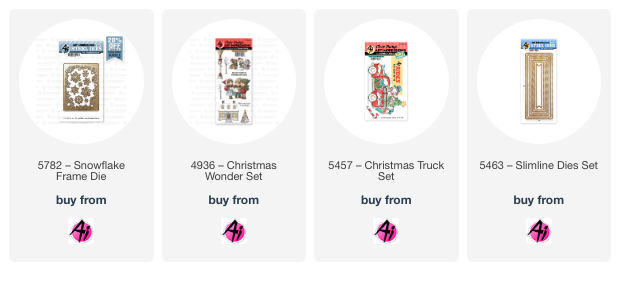
I used the #5775 - Front/Back Santa. He is just the cutest peeking Santa Claus! I also used the presents in the #5457 - Christmas Truck set.
I began by stamping the santa and the presents on copic friendly paper with Memento black ink and coloring with my copic markers listed below. I then die cut each of the images with the corresponding dies that come in each of the sets. I added Dr. PH Martin's bleed proof white paint to Santa's fur.
I cut three trees from the #5853 - Christmas Magic PP using a die I had in my stash. I scored each tree in half and glued the fold into the next scored tree until all three trees were adhered together by the folds. This allows for the trees to flair out for dimension. I adhered the stripe pattern paper onto a green base and then added a strip of red cardstock to the bottom. I then glued the bottom tree stack, at the fold, to the pattern paper card base. I glued the santa front to the third layer tree and adhered his backside to the back of that layer. I adhered the colored presents on each layer at the base of the trees.
Lastly, I added streamers to the tree, the sentiment, bow and jewels.
I hope you enjoyed my "Leon" card and you enter the challenge. We love to see what you all create!
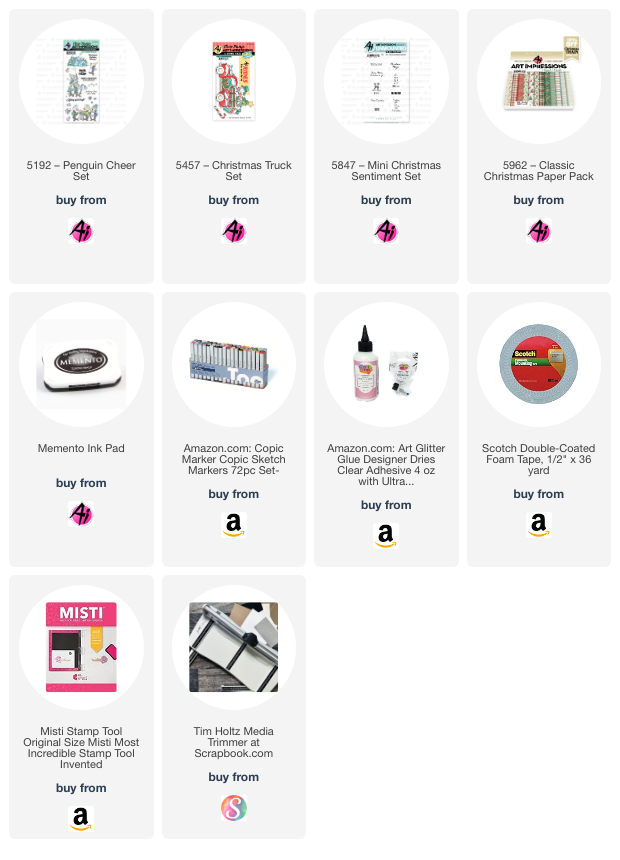
Christmas is going to be here before we know it and I wanted to share my Merry & Bright Christmas card. I used the #5192 Penguin Cheer as well as the #5457 Christmas Truck Rides sets. These little Penguins bring so much cheer!
I stamped the penguins with Memento black ink onto copic friendly paper. I then made a mask of the penguins so I could stamp the tree to look like it is behind the penguins. The tree in the Christmas Truck set was too small compared to the penguins so I had to stretch the tree to make it larger. To do this, I inked up the tree with the Memento ink and wiped off the trunk before stamping where I wanted it to fall behind the penguins. Then I inked it up again and wiped off the top two layers of the tree and the trunk and positioned the stamp to fall under and to the right of the original tree. Lastly, I inked up the trunk and stamped it to fall in the center lined up under the tip of the tree. Since it fell just perfectly behind the penguins, you can't tell the tree was stretched. After the image was how I liked it, I then colored it with copic markers (listed below).
I die cut the presents with the coordinating dies that came in the Christmas Truck set and popped them up under the tree. I used stinkles on the star and glossy accents on the ornament and lights. I stamped the sentiment from the #Mini Christmas Sentiment set. I then layered the image onto papers from the
#5962 Classic Christmas PP and tied a red bow to top it off. The frame was made with dies I had from my stash.
Thanks for joining me today and I hope you enjoyed my card!
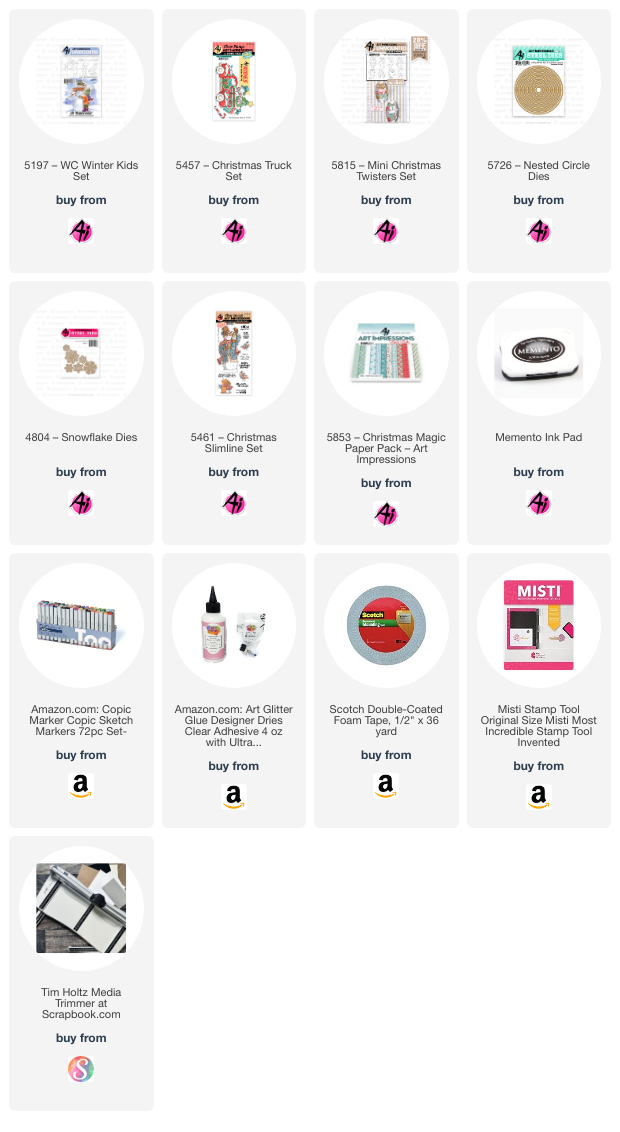
I have a fun card for you today that fits the "Under the Dome" challenge. Who doesn't love snow globes? I used the #5815 Mini Christmas Twister snowman along with the #5457 Christmas Truck cubbie and the #5197 WC Winter kids sets.
I used a plastic dome cover from the packaging of a battery powered light. You can use any size covering from most household items. Find one around your home that fits your scene or go to your nearest dollar tree and look for an item that the covering would work. 😀 My measures 2 3/4" so it is perfect for my scene and made for a nice snow globe.
I stamped the images onto copic friendly paper and colored with my copic markers listed below. I die cut the images with the coordinating dies except for the little girl in front, which I fussy cut, but it was simple enough. I inked the hillsides and the background with Broken China Distress Oxide ink. I layered the scene together on a circle die cut larger than the base of the globe. Once the scene was created, I painted with some stickles and let dry. Before I added the snow (glitter) to the globe, I dusted the inside of the globe with my anti-stick powder pouch. I then filled the globe with glitter and placed liquid glue around the edge and placed the scene piece onto the globe. I die cut a circle frame using pattern paper from #5853 Christmas Magic PP and two sizes of the #5726 Nested Circle dies, making sure that the inner circle fit around the base of the globe. I created two more hillsides to place on the bottom of the card, stamped the sentiment from the #5461 Christmas Slimline set and inked the edges with the broken china distress oxide ink. I adhered the little girl to the bottom right and a few snowflakes around.
This is such a fun card to play with.
Thanks for joining me today and I hope you decide to enter the challenge to have a chance to win a free stamp set. Make sure to check out the tab above for details.
Hello Ai fans and welcome to our newest challenge on the Art Impressions blog!
Farm Fresh!
We're looking for your projects that take us down on the farm...hay bales, animals, barns, wagons, wheelbarrows, trucks, tractors, chicken coops, produce/veggies etc.
Before we see what our Featured Designer Lynn has created, let's see who won our last challenge.
Please contact Leah at Feedback@artimpressions.com
to claim a free stamp set of your choice!!
Also, be sure to grab our badge to display on your blog, Facebook or Instagram!
Congratulations!
Now for Lynn's fabulous Farm Fresh inspiration! She created a gorgeous diorama card and has a video tutorial to walk you though everything step by step. Sit back and enjoy. We hope you'll give this challenge a try. You may be the next lucky winner of a free stamp set.
Today I am the Featured Artist for the brand-new Art Impressions "Farm Fresh" Blog Challenge! I'm really excited to be asked to create a card that includes anything farm related such as, hay bales, animals, barns, wagons, wheelbarrows, trucks, tractors, chicken coops, produce/veggies etc. So, I thought we would create this fun, interactive, diorama card!
I'm calling today's card the "Christmas on the Farm" diorama card and we will be using the Ai Christmas Truck Set (5457) which includes a truck, tree, Christmas lights, presents, a candy cane, and a cute little signpost. We will also be grabbing the hay bales from the Ai Harvest Set (5598).
Let's go ahead and stamp, color and cut the pieces that we will be using today. To do our coloring we will be using the Zig Clean Color Real Brush Pens in the following colors: Blender, Lt Pink, Wine Red, Orange, Yellow, Mustard, Ice Blue, Persian Blue, Lt Green, Deep Green, Lt Gray, Warm Gray 4, Beige, Mid Brown.
To create the diorama card base we will be using the Lawn Fawn Ta Da! Diorama! Set. This die set will cut and score all of the pieces that we will need to create this fun design. For paper we will be using the Ai Christmas S2 Paper Pack (5812). I'll give you a detailed demonstration in the video for how to easily assemble this fantastic and fun diorama.
For the little signpost we will add a "Joy" sentiment using the Ai Christmas Sentiments Set (5566). This just looks so cute on our woodgrain sign!
Again, I will show you the assembly of the card base and all of the dies needed in this video! The end result is just so cute and interactive!
I hope you will join us in this new challenge! We would love to see what you create! It is a great opportunity to dig through your stash and combine some of your stamp sets to create your own "Farm Fresh" project!
Thank you so much for joining me today! Have a fun and crafty day!!!
Thank you SO MUCH Lynn for that amazingly cute card and wonderful tutorial.
Now, here is YOUR chance to enter and win...
✻ Please make a new card or handmade crafty creation. You can make any item you wish; this is not limited to cards! (unless specified)
✻ Limit two submissions per person. You will receive extra votes if you use Art Impressions stamps!
✻Please include your first name and last initial on your submission.
✻We love to comment on your entries, but keep in mind if you use a private group or a platform that you need to sign up for, we probably won't be able to.
✻ The Ai Challenge is open to everyone, international submissions are welcome!
✻ Include a link back to the Ai Blog or grab our button on the top right of our sidebar!
✻ Share the Ai love if you can, by clicking and commenting on your fellow crafters.
✻ Make sure to get your link up by the deadline to enter your creations.
I sure hope all of you have had a wonderful start to the new year! I have a few more holiday cards that I haven't been able to show you yet, so thought now is the perfect time. It seems I never have time to show you everything before the Holiday arrives and it's over. So I'm cramming them all into one blog post. Hope you don't mind! All of the images are stamped with Memento ink and colored with Copic markers. So here we go!
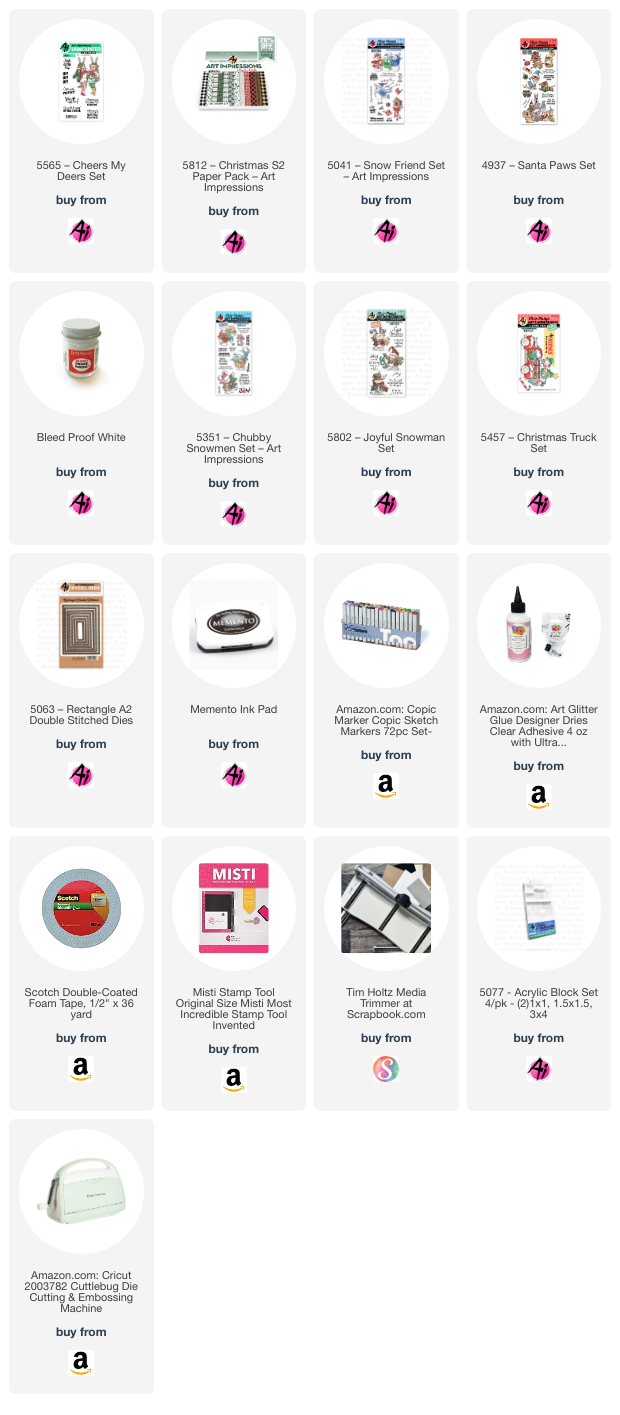
For this first card, I used #5565 Cheers My Deers Set. I also used #5812 Christmas S2 Paper Pack
For this card, I used #5041 Snow Friend Set. I love how they spell JOY!
This little cutie pup is from #4937 Santa Paws Set. I used Dr PH Martins Bleed Proof White on his fur.
Who doesn't love Chubby Little Snowmen? And that's exactly what this set is #5351 Chubby Snowmen Set
I made a little gift tag with the new set #5802 Joyful Snowman Set. I add a small tag on the back of it with my to and from. That way, that little tag can be removed and the main portion can be used again in the future!
And my final card used one of the adorable snowmen from #5802 Joyful Snowman Set and a tree from #5457 Christmas Truck Set and the sentiment is cut out with #5063 Rectangle double stitched dies.
So that's it for me today! Thanks so much for stopping by for a visit and until next time - stay crafty!!
Hello Ai friends, Nina here and today I have a cute slimline card for our current challenge "Christmas Came Early". I used Snowflakes Frames, Christmas Wonder Set, Christmas Truck Set (for the tree and Gifts) and Double Stitched Slimline Dies.
I stamped all the images with Memento Tuxedo Black ink using my Mini Misti and colored the images with a lot of Copic shades :)
Copic Shades:
Greens: YG95 YG67 YG17 YG23 YG01
Reds: R39 R27 R29
Yellow: Y08 Y06
Beige: E40 E42 E43
Greys: C0 C1 C2
Blues: B05 B02
Browns: E99 YR27 YR24
Black: C08 W10
I then cut the images and backed them with foam tape to give the card some fun dimension.
I used a die from Double Stitched Slimline Die Set to cut the background from white paper and then added some irregular inking with the ink blender and Peacock Feathers Distress Ink. It was not a homogenous blending I wanted to leave some areas white since it is a snowy scene.
I die cut another piece of the background using the same slimline die and used the scissors to cut two hillsides of different heights.
I glued the taller hillside to the background and then attached the other one on top with foam tape to raise it with dimension which leaves a gap between both hills to tuck my images that I colored earlier in between.
I assembled my images starting with the house tucked it in between the hillsides and added the Christmas trees next to it. I attached one a little tucked behind the house and the other in the center on top both of them.
I then attached the adorable singing kids image to the other side of the card with their singing cat :) and finally added the Christmas gifts next to the trees.
I die cut some snow flakes from the snowflakes Frames die set and scattered some around the scene and finally finished everything with a scrap of light blue paper behind the whole panel.
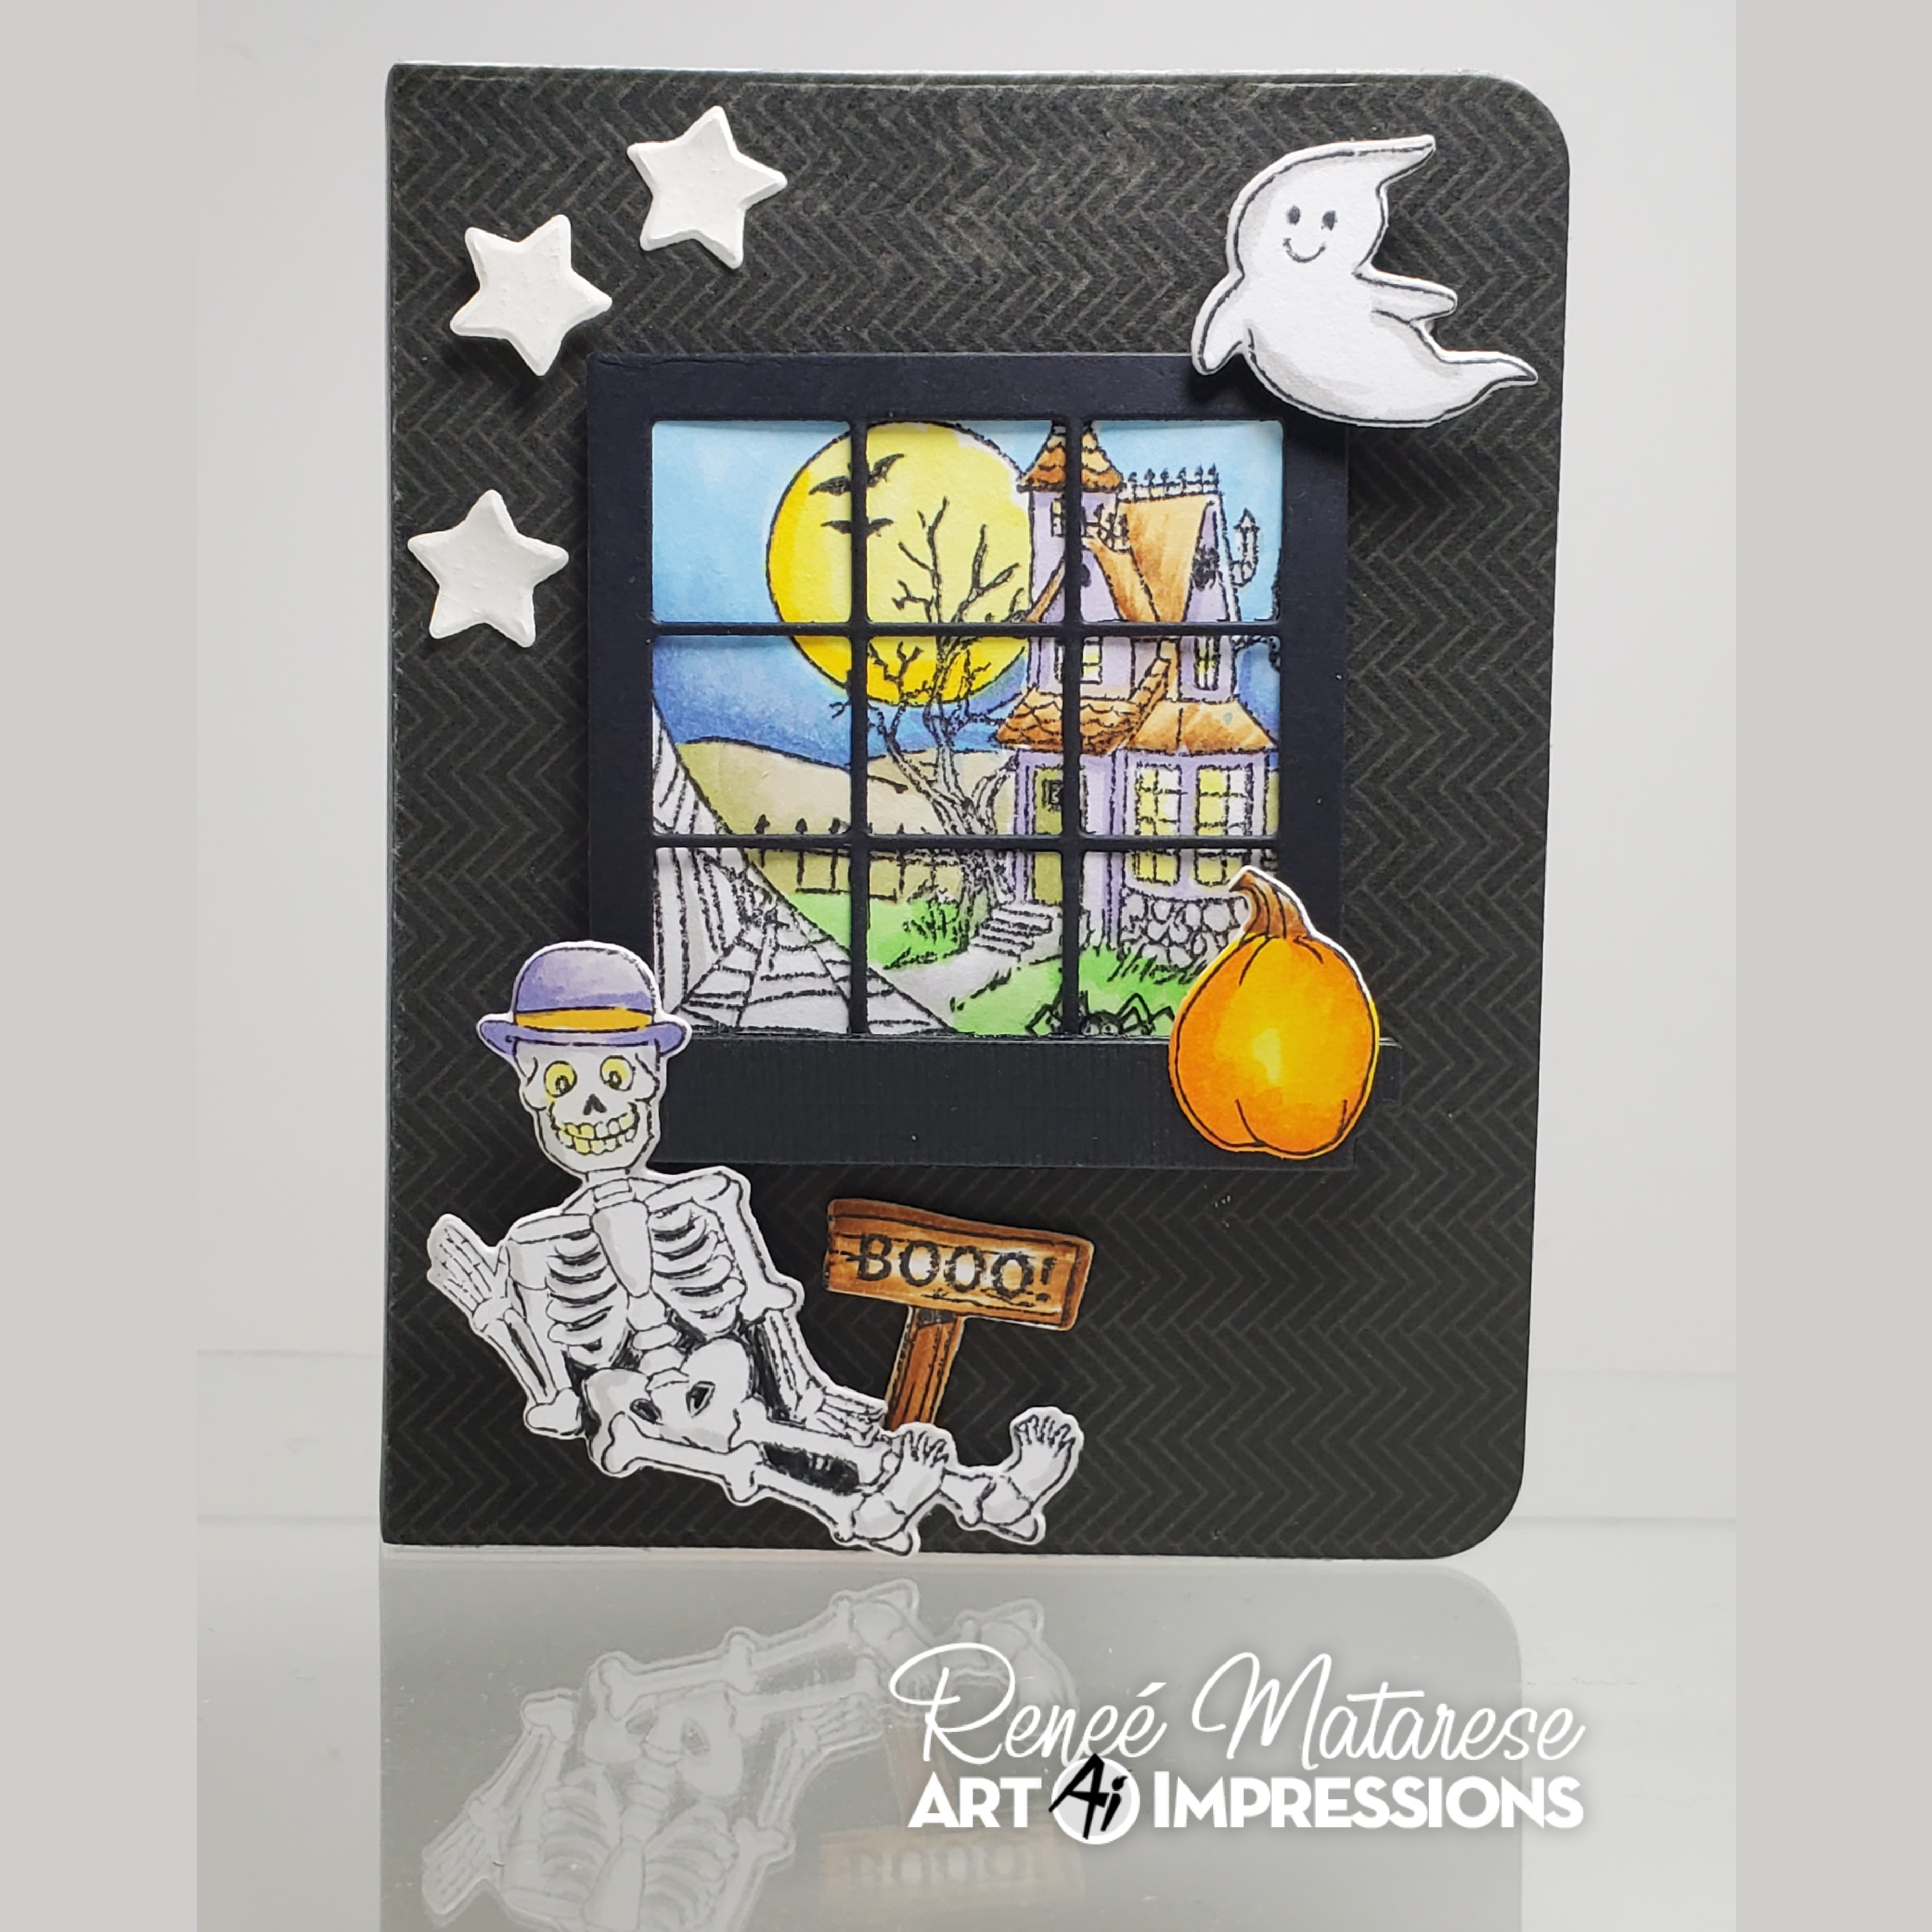
It's almost spooky season and so I'm beginning a little project now because I know it'll take me a while. I'm making some Halloween journals for my kids. I'm beginning with the cover but then I'll be skipping around a bit. When they're finished, I'll show you them in order from front to back. There will be 3 journals in all, one for Art Impressions and one for each of my kids. Each one will be very similar and yet completely unique.
For Dominick and Makena's, I personalized them by adding their names with the 5562 – Journal Letter Die Set. I also added the name Jackson's to the sign post because that's a famous pumpkin farm just down the road from us that they've gone to since they were babies.
My kids are grown now, but they've loved Halloween since they were little. My plan is to put a GC and a little cash in here for them. They're also each getting a Halloween Tea Towel and probably a favorite candy. Though you can't tell in the pictures, the stars are cut out of glittery white paper.
I colored in the negative space in between the skeleton's bones to make him pop more. I hope you're inspired to give the Ai Journals a try. They're so fun and can be personalized for any theme or person that you wish. The possibilities are endless.
I've got a fun card to show you today that features the AI Rides stamp set ##5457 Christmas Truck Set. Who doesn't love an old red pickup truck??!! Especially at Christmas time! :) I wanted to put it into a frosty forest with an evening sky and make it full of presents! It fits right into the current challenge going on over at the Art Impressions Blog! The cute little Santa is the perfect size for the truck! He's from the Holiday Mansion Line of stamps #4927 HM Accessory Set. Think how cute it would be for a birthday card using the clown from #5907 HM Birthday Set!! Anyway, I also used #5566 Christmas Sentiments and stamped it onto the fishtail banner from #5543 Journal Template Die Set. I colored the sky with my copics using some masking paper for the moon.
Thanks so much for stopping by today and if you haven't joined the That's a Wrap! Challenge over on the blog, what the heck are you waiting for! Can't wait to see your creation!
Hello Ai fans, Nina here and today I am sharing my third page of the Holidays Art Journal Series that I started couple weeks back. For today's page I am using the Christmas Truck Set.
To create the background, I pressed blue shades from distress inks on my glass mat and then smooshed my background against it to create the sky. After it totally dried, I used my blending tool loaded with vintage photo distress ink to go all around the edges of my art journal page. This gives the vintage look that I am going for on this page.
I stamped the Christmas truck, Christmas lights, the wreath and the tree with my Mini Misti and Memento Tuxedo Black Ink and then colored them with Copic Markers. I used muted red shades and then on top gave a wash of light brown to match with the rest of my vintage looking page.
I cut two snowy hillsides with my hand and backed with different thickness of foam tape to give fun dimension to the art journal page and attached them to the page.
I die cut many trees using the dies included in the set without stamping the tree, just die cuts and left white which looked so gorgeous when added on the page, the blue sky behind them made them pop so much.
I used different foam tape thicknesses behind my trees to make them overlap. I then added some star gems and blue pearls.