Our current challenge here on the blog is called Enjoy the Ride. The challenge is to use something that you ride on or in. When you enter your
creation using something from Art Impressions, you become eligible to win
a free stamp set. Good luck!
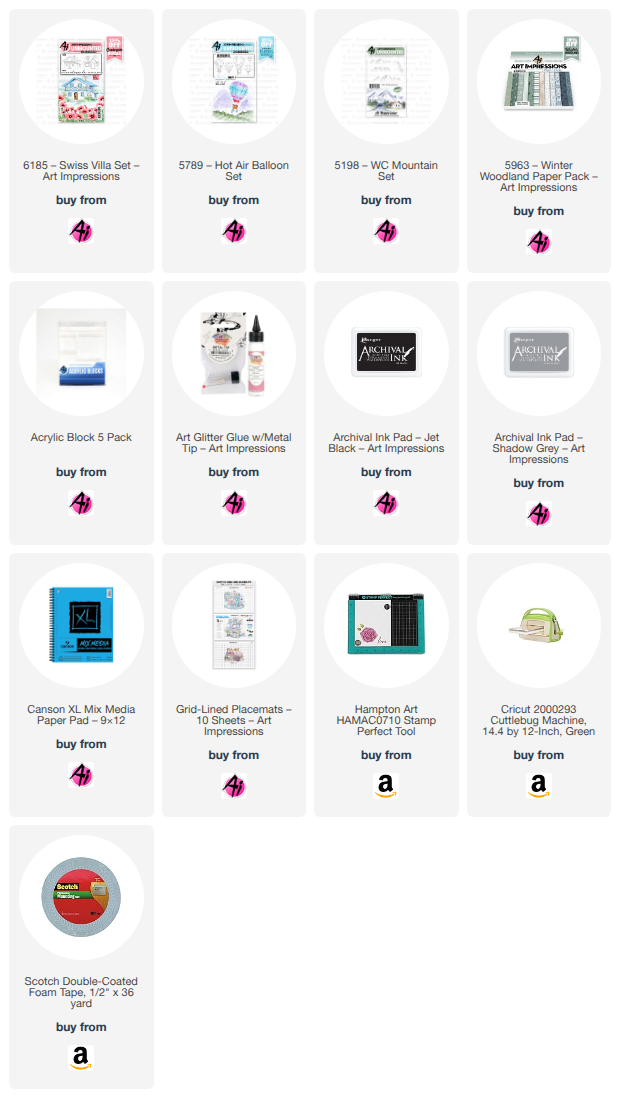
My card was created for my Father-in-Law for Father's Day. I used 3 different images that are a "ride." A plane, two hot air balloons and a scooter. My craft room is in the process of moving right now and is spread out across 4 rooms It's a pain lugging my Copic markers from place to place to I've been using my
Watercolor Pencils and colored pencils quite a bit lately. It's nice to be using them
again. I forgot how much I enjoy the look I get from those. I used Art Impressions Mixed Media paper and ink because they're compatible with the water. Links for
everything are below.
I stamped the mountains three times, trimmed them by hand, and layered them to add dimension.
I then fussy cut all of the other stamped images and popped those up as well, to give the entire card a nice 3-D effect. The plane, scooter, wood pile and lamp post
Hello Ai fans and welcome to our latest challenge!
LEON Day!
You might be asking yourself "What is LEON Day?"
I just recently learned myself.
Leon Day takes place on June 25th. Leon is Noel spelled backwards and June 25th is halfway to Christmas. So, we're asking you to make something Christmas or winter themed for our challenge.
June 25th will be extra special for me next week because my daughter's birthday is June 25th and she's turning 25, it's called a Golden Birthday. This is because the day of your birth (25th) matches the age you are turning (25). She even has an extra 25 in hers because the year matches as well so hers is called a Beddian birthday. Super cool.
Lynn is our Featured Artist for this challenge and she created the cutest little gift tags and has a wonderful video tutorial for you.
Be sure to scroll all the way down to find the winners of our last challenge.
Now, let's look at Lynn's fabulous Christmas gift tag project!
I know it's only mid-June but... today's tags were inspired by the current Ai "LEON Day!" Blog Challenge! Leon is Noel backwards and is a great way of celebrating the half-way point to Christmas and the holidays!
I thought this would be a fun way to get a bunch of holiday gift tags done and ready to add to Christmas gifts! We will create 6 tags, and I will talk a little bit about mass producing these tags in an easy and efficient way in today's video!
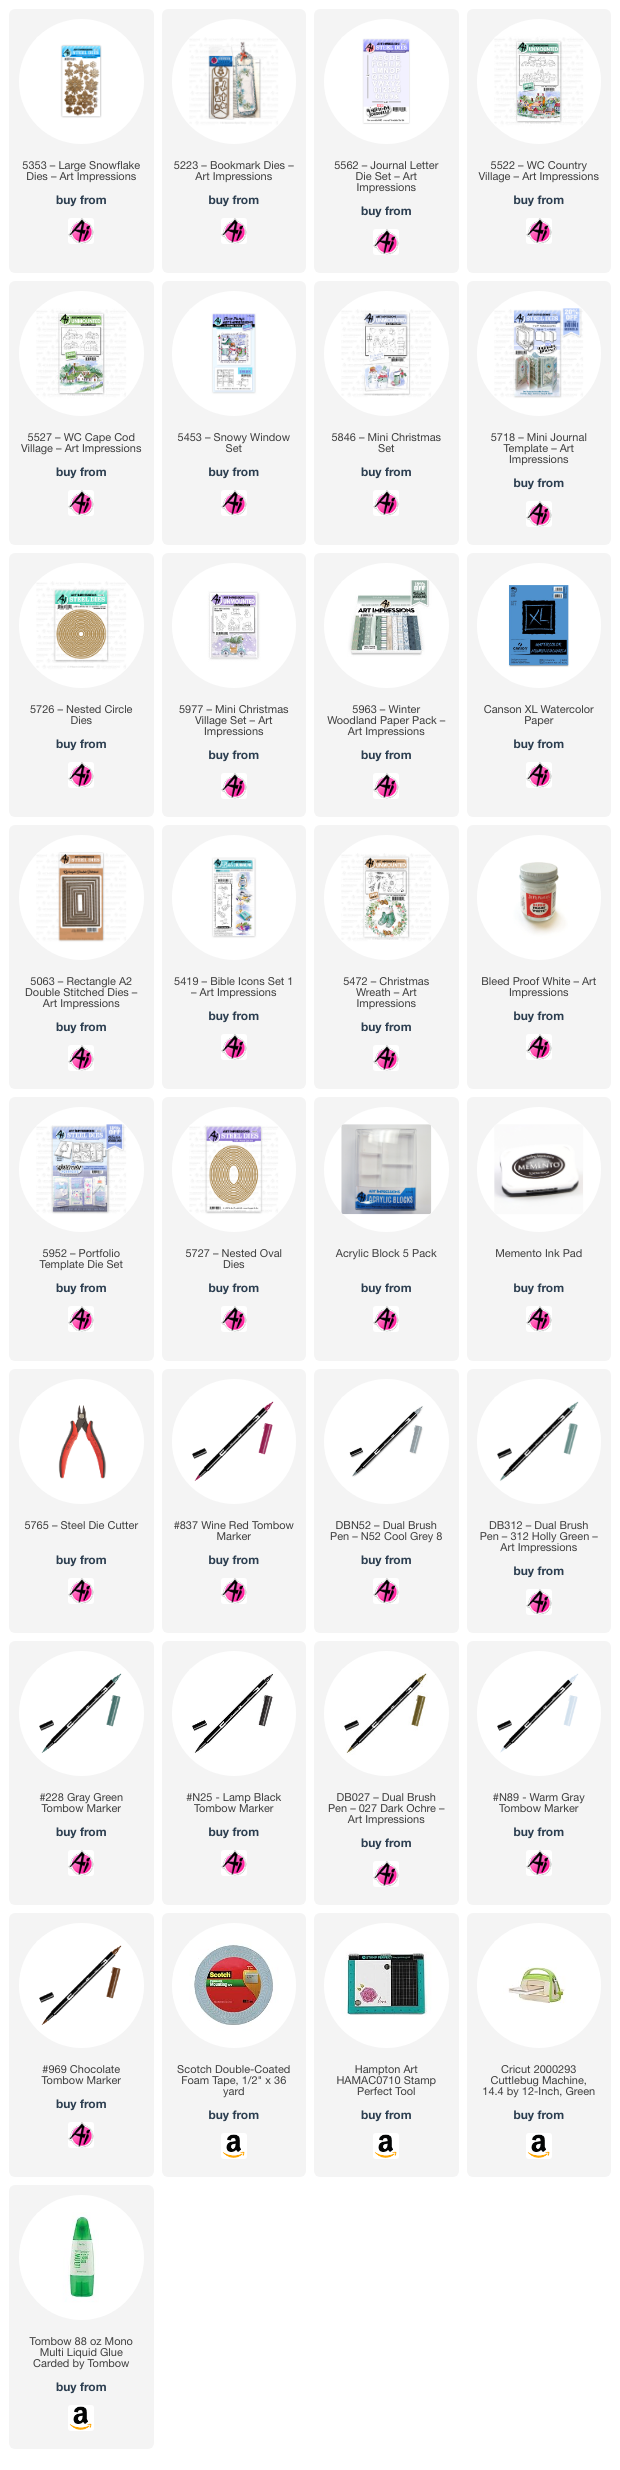
We will be using the Ai Mini Christmas Village Set (5977) to create all 6 of these tags. These tiny little images will be perfect for some quick and easy coloring and cutting. This set is part of the Ai Village Series and will coordinate perfectly with your Village Freebies, and the three add-on sets (Ai Village Signage, Ai Village Vehicles, and Ai Village Accessories).
Let's begin by stamping and coloring all of the images using the Zig Clean Color Real Brush Pens in the following colors: Blender, Sugared Almond Pink, Deep Red, Scarlet Red, Peach Pink, Yellow, Lt Green, Green, Ice Blue, Lt Blue, Cobalt Blue, Violet, Lt Brown, Beige, Mid Brown, Dk Gray.
For the tags we will be using the stitched label die from the Ai Decorative Journal Page 1 Set (5768). Let's die-cut these from some Kraft 100lb cardstock.
Next, we will add some white ink around the edges of the tags, to soften the look a bit. Then we will use the Dr Ph Martin's Bleed Proof White Ink to spatter some "snowflakes" around each of the tags.
Now let's stamp a bunch of sentiments from the Ai Christmas Sentiments Set (5566) and cut these into thin sentiment strips. We will be attaching these to some pretty holiday papers from the Ai Christmas Paper Pack S2 (5812). This is the fun part.... just selecting some fun patterned papers to go behind each of the sentiments! We can attach these to each of the tags!
Let's pop up each of the images on our tags and then for some sparkle and bling we will add some clay peppermint candies and some pretty gems.
Finally, we will add some red/white baker's twine to each of the tags. These are an easy and fun project to make ahead and to have on the ready for the holidays or to give as a gift to a friend!
Thank you so much for joining me today! Have a fun and crafty day!!!
We hope you love Lynn's little tags and tutorial as much as we do!
Not quite ready for Christmas? This idea could be changed up for any occasion.
Now let's see who won our Blossoms & Blooms challenge.
Our Top Spot went to Betty Crunk for her FABULOUS window sills lined with flowers. 5511 – Floral Truck Set
Please contact Leah at Feedback@artimpressions.com
to claim a free stamp set of your choice!!
Be sure to grab our badge to display on your social media too!
Our Lucky Random Winner was Gabriella B.
Please contact Leah at Feedback@artimpressions.com
to claim a free stamp set of your choice!!
Be sure to grab our badge to display on your social media too!
Be sure to enter your creation for the chance to win a free stamp set from Art Impressions.
We award one Top Spot and one Lucky Random Winner and each will win a free stamp set from Art Impressions.
✻ Please make a new card or handmade crafty creation. You can make any item you wish; this is not limited to cards! (unless specified)
✻ Limit two submissions per person.
✻Please include your first name and last initial on your submission. You may include your entire last name, but it's not necessary.
✻We love to comment on your entries, but keep in mind if you use a private group or a platform that you need to sign up for, we probably won't be able to.
✻ The Ai Challenge is open to everyone, international submissions are welcome!
✻ Include a link back to the Ai Blog or grab our button on the top right of our sidebar!
✻ Share the Ai love if you can, by clicking and commenting on your fellow crafters.
✻ Make sure to get your link up by the deadline to enter your creations.
I'm starting out by sharing a winter card today. Christmas may be over but we still have LOTS of winter ahead where I live and I know some people like to create Christmas cards all year round. It's never too early to start adding to your Christmas stash for December 2025!
All of the colors that I used are at the end of my InLinkz at the bottom of the page.
My next project was something put together to do with one of the 5th grade classes that I work with.
I thought a little snowglobe ornament would be fun for them. They tend to be a very "lively" class but they really focused on this and did a great job. One girl added a deer silhouette with hoof prints, several kids added smoke and some made the chimney brick or added Aurora Borealis to the background. They were so creative.
I used colored pencils for my sample since I knew that's what they'd be coloring with.
My third project is my second attempt at making a Matchbook resembling the 5950 - Christmas Town MBE which quickly sold out. Don't despair. You can create something similar using current Art Impressions products. I think it might have been Caly Person who said she initially mistook the easel die that holds the MB up, for a snowbank. I decided to use it that way with the snowman.
I have two coworkers who are avid readers. I had a bunch of scraps laying around from other projects and decided to whip these up. They would have come together really quickly except that I decided to add text which took time to cut and glue.
A couple of weeks ago, Art Impressions paired with Simon Says Stamp to release an exclusive Christmas Village Matchbook set.
Not everyone who wanted one was lucky enough to get one before they sold out.
I've done my best to recreate that village with my own spin, using only currently available products from Art Impressions. That way, if you want to create something similar to the sold out set, you can.
I hope you like it. It's not exactly the same but it's similar and cute in its own right.
My card is for the current Teeny Tiny challenge.
Enter your small, handmade creation for the chance to win a free stamp set.
Today I want to show you that even if you missed out on the Exclusive set, you can still create something similar with current Art Impressions products.
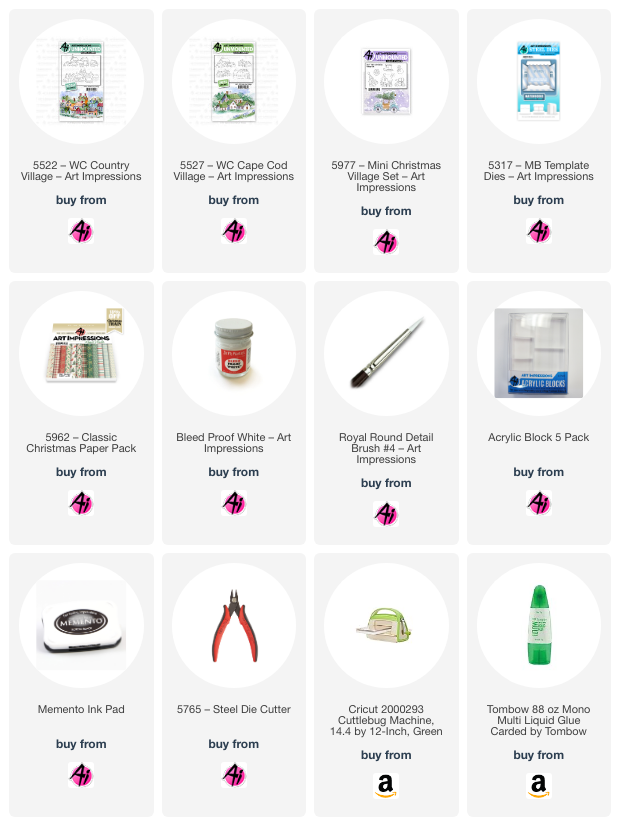
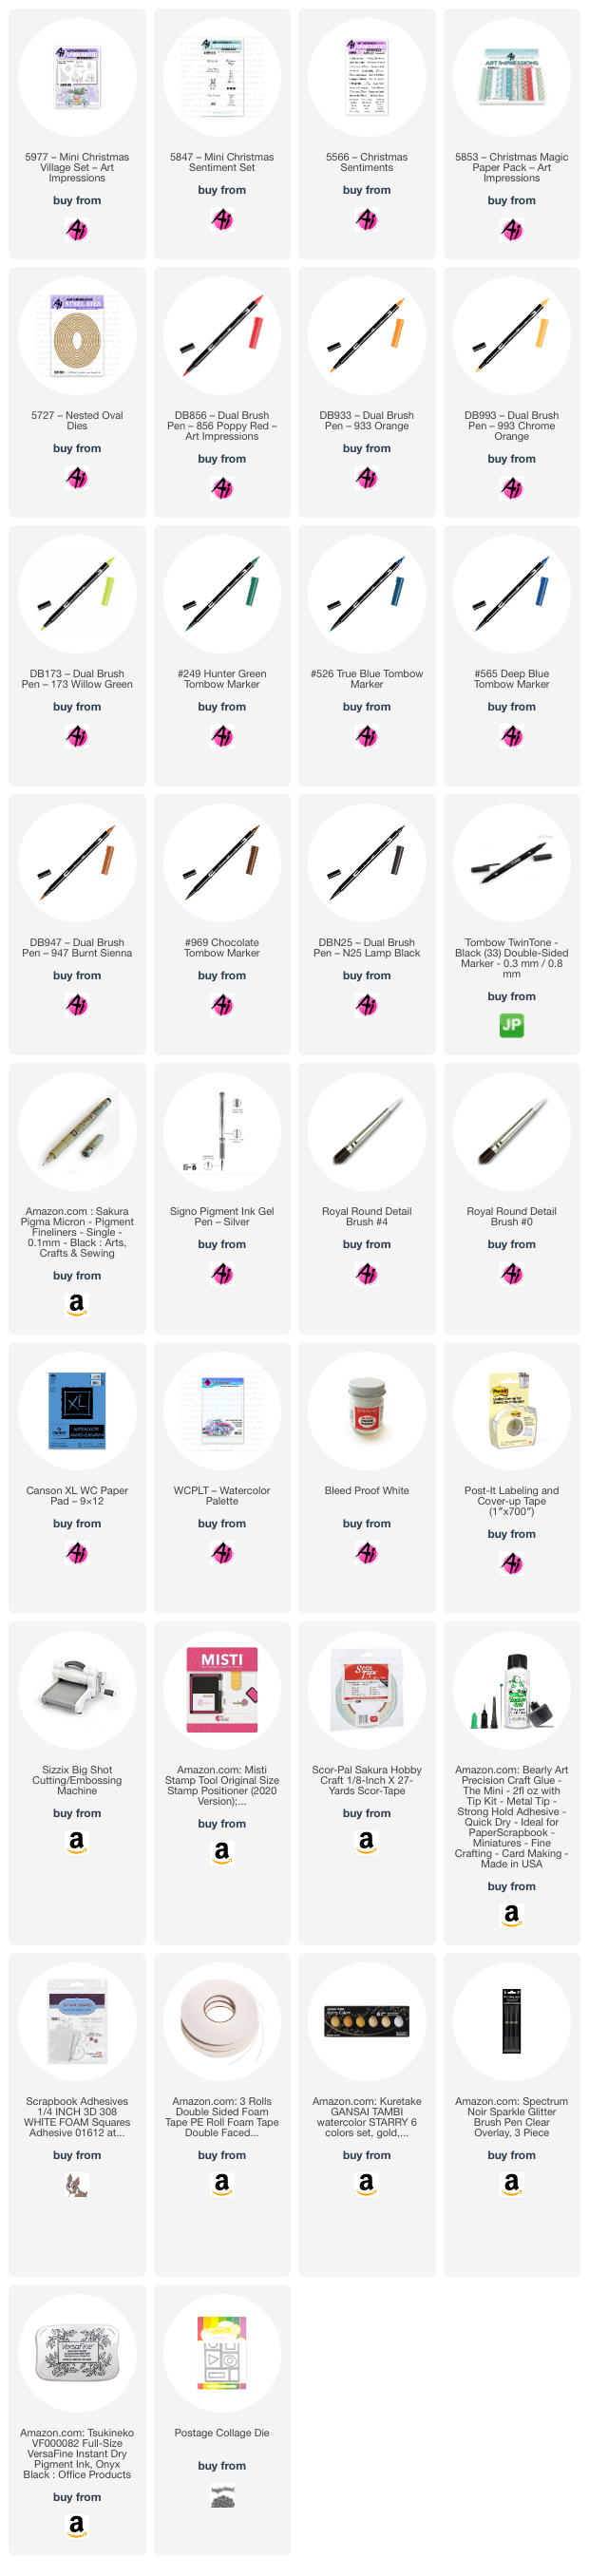
All of the products I used to create this Christmas Matchbook Village are linked below.
I stamped a couple of different options and decided what I wanted to cut out. I used the MB Template as a guide when deciding which buildings I wanted to include.
I created my own tabs to pop up the little pieces. The side tabs were just glued to the buildings behind them.
This is what it looks like all folded up. Super tiny and super cute.
What a way to present a card.
I have some other cards to show you today as well.
A coworker is retiring on Dec. 20th and our Parent Group at school is giving her some wine glasses with etched hummingbirds on them, among other things. It's her favorite bird. They asked me to make a card to go in the gift basket.
I rarely watercolor but I didn't feel that I could create the delicate look that I wanted for the little bird with my Copic markers. I'm pleased with how it turned out.
I created a second, similar card using a Christmas sentiment and paper.
These aren't TEENY tiny but they are 3"x 3", so still small. The hummingbird is a tiny bird though so I still think it qualifies!
I hope you're all having a wonderful holiday season so far.
Hello, and welcome back for the last Watercolor Weekend of
2024!
Hello, Ai Watercolor Friends! The
holiday season is here, and festive cheer is everywhere! Today's card is
inspired by holiday postage stamps, featuring delightful Christmas images from
the new Village add-on set 5977 – Mini Christmas Village Set.
Merry Merry Christmas to You card:
For this quick and easy card, I used
all the images from 5977 – Mini Christmas Village Set, paired with sentiments
from 5847- Mini Christmas Sentiment Set. The color palette was inspired by the
beautiful blue, green, and red plaid patterned paper from the 5853 – Christmas Magic
Paper Pack.
For my painting, I die-cut my
Canson XL watercolor paper using the popular Waffle Flower Postage Collage Die.
Although the die cuts six postage stamps, I used only four of them for this
card. The images were inked with Versafine Onyx Black ink. This process was quick
and easy, thanks to the lack of masking and the convenience of using a stamp platform
for precise image stamping.
Before painting, I lightly sketched lines with a
pencil to outline the snowy hills, path, and road. I began by brushing in the
background skies using a mix of 526 and 565. For shading the snowy hills and
the frosting on the gingerbread house roof, I used a watery mix of 565.
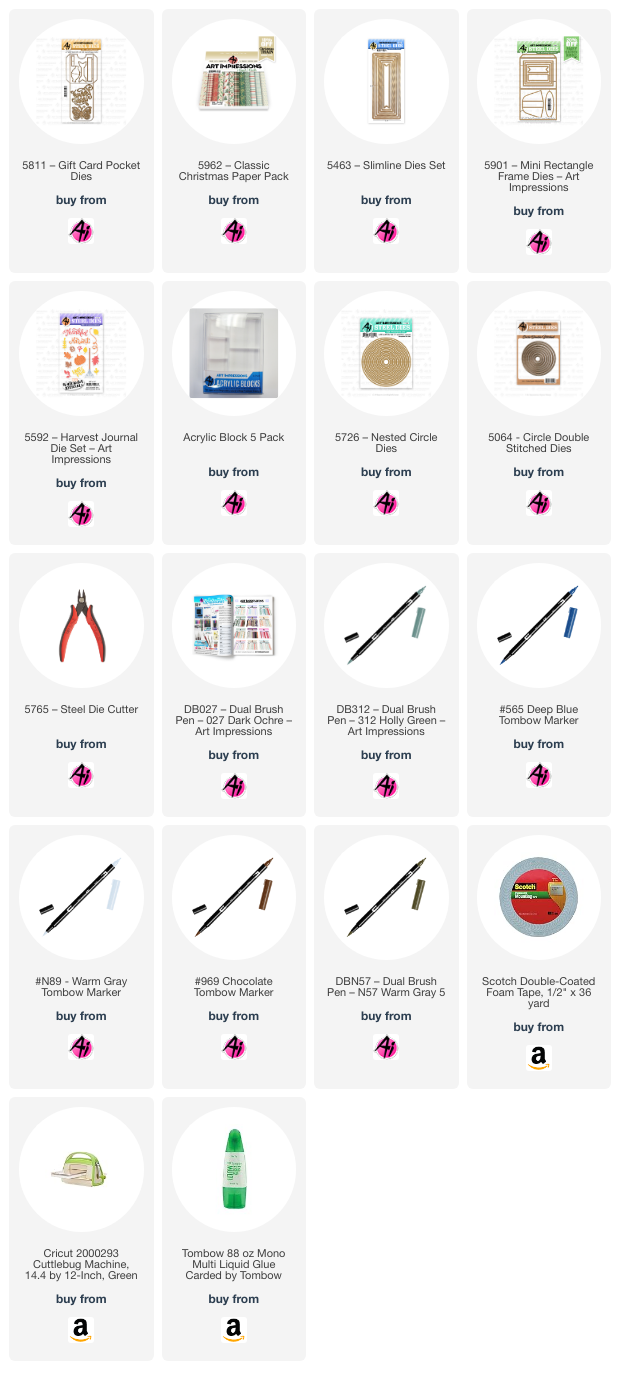
Colors Used:
Christmas
trees, package: 249
Car, candy
cane, lollipop, scarf, package, bow, and hatband: 856
Gingerbread
house, tree stumps: 947/969
Tires, road,
snowman hat: N25
Package: 526
Ornaments and
star tree topper: 933, 993, 856, 173, and 526
Gumdrops at
the base of the gingerbread house: 993, 933,
856, 526, and 173
For the garland on the tree, I used a pearly white
paint by Gansai Tambi, shaded with 526. The sled’s runners were colored silver
using a Silver Signo pen, and I added an orange TwinTone marker for the
snowman’s nose.
To create a snowy effect on each postage stamp
image, I dotted in snow using Dr. Ph. Martin’s Bleed Proof White. I also
applied the white to the tree on top of the car, the gingerbread house, and the
road lines. I added details back into the images with a black TwinTone or
Micron pen. As a final glittery touch, I applied a Spectrum Noir Clear Sparkle
brush pen to the snowy areas and other spots that needed a hint of shimmer. While
the sparkle is subtle in photos, it adds a beautiful effect in person.
With all the images complete, I placed my painting
back into the stamp platform and stamped the sentiments (5847) using Versafine
Onyx Black ink. On a separate piece of watercolor paper, I stamped the
"Merry Merry Christmas to You" sentiment (5566) and die-cut it with
the smallest oval from the 5727 – Nested Oval Dies. To mat the sentiment, I
die-cut a slightly larger oval from plaid patterned paper.
For the card base, I used a top-folding A2 size and
matted it with plaid patterned paper from 5853. Next, I cut a smaller rectangle
mat from red cardstock and attached the painting using foam tape. Before
adhering the red cardstock to the card, I wrapped red and white baker's twine
around the cardstock three times, securing the ends at the back.
To finish, I popped up the oval sentiment with foam
tape and added red gems for a festive touch. The red cardstock panel was then
adhered to the card base using double-sided tape.
Of
course, I decorated the interior of my card because I’m extra like
that—lol! The sentiment is from 5566. I used leftover strips of the plaid and
red paper to create the paper ribbon.
For
the wreath and bow, I painted them using colors 249, 173, and 856, with 526/565
for the background. The wreath was die-cut with a round postage stamp die from
the Postage Collage Die Set and adhered to the paper ribbon with glue.
I hope you enjoyed today’s card. Even if you don’t have all the dies
and sentiments I used, you can still create something similar with the Ai
images you already have in your stamp stash.
If you create any cards to share with your friends
and family this holiday season, we would love to see them - be sure to tag us
on social media! Also, stop by the blog later today, Jami will be sharing her beautiful
card for Watercolor Weekend.
A heartfelt thank you to everyone for visiting the blog
for Watercolor Weekend. Wishing you and your family a very happy holiday
season, along with a creative, joyful, and prosperous 2025! And, as always - Happy
Painting!