Showing posts with label 5727 Nested Oval Dies. Show all posts

Tuesday, December 9, 2025

Woodland Horse and Deer by Reneé Matarese

Hello Ai fans!

OH MY GOSH!

The new Woodland Scenes are just the prettiest.
Today I have two cards for you.
My first is the horse and ...
Is this not the SWEETEST little horse?!

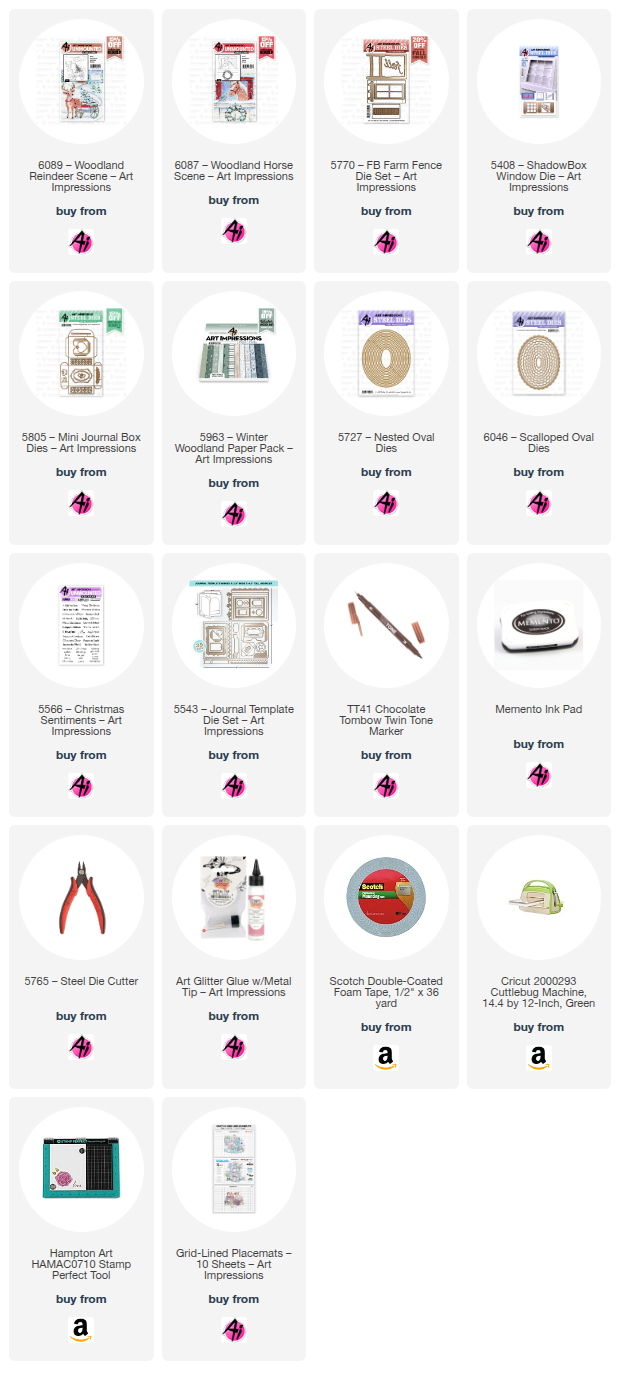
The set is 6087 – Woodland Horse Scene

As soon as I saw this sweet scene, I instantly thought to grab
my 5408 – ShadowBox Window Die which I adorned with greenery from
5805 – Mini Journal Box Dies and shutters from 5770 – FB Farm Fence Die Set.
The cute little bow is from 5317 – MB Template Dies.
The little picket fences are from 5807 – Journal Fence Dies and I used Bleed Proof White
paint to add stripes to the bow.
What a sweet scene this would be to wake up to this Christmas.
For my second card I used 6089 – Woodland Reindeer Scene.
I used the same greenery and bow as on the horse card. My deer is mounted on
Both the inside and front sentiments are from 5566 – Christmas Sentiments
and the one on the inside is mounted on 6046 – Scalloped Oval Dies and
The tree and snow were made using Bleed Proof White. For the tree,
I dabbed it with Copic markers and then lightly went over it with the paint.

Copics:

R29, R37, B000, B34, B91, E30, E31,
E55, E57, C0, N2, YG93
Chocolate Twin Tone

Tuesday, September 30, 2025

Welcome to Art Impressions Frankie! by Reneé Matarese

 Hello Ai fans!

DID YOU SEE???

Oh my gosh!

The cutest little Frankenstein has been added to the
Art Impressions Puppet Series.

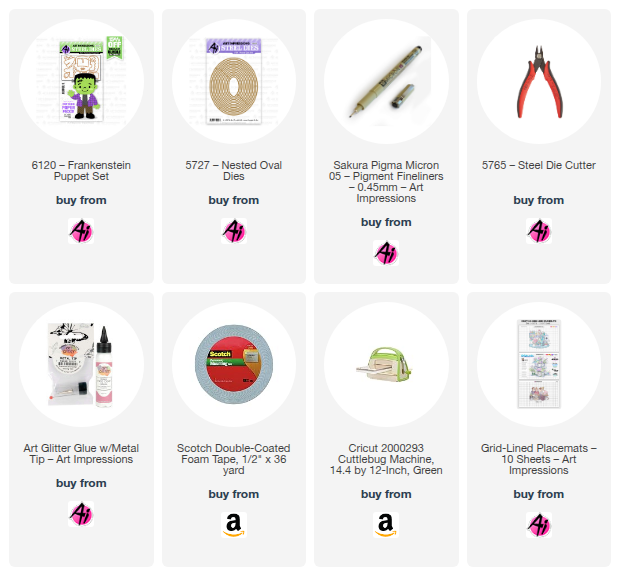
6120 – Frankenstein Puppet Set

Let's start off by saying, I know that his head is upside down.
This was the second one I created and I wanted his jaw to be a little more
squared off and his ears higher this time. It was intentional to create a different
look. One makes him a little "cuter" and this one makes him a little scarier.


Giving him a frown also changes the mood of the set.
As you can see, he's smiling on the packaging.


After I created him, I thought...hmmm...with the right paper and clothes
he could probably be used for Valentine's Day too. Why limit poor Frank
to just one holiday...lol?

His eyebrows were created by cutting the side burns off of his hair,
but they can easily be drawn to your liking as well.


I wrote a little play on words on his shirt. Instead of I ❤ you, I wrote I ❤ BOO! I trimmed out a little bottle of poison...I mean potion...he he he...from the paper
and placed it in his hand. I love him so much! I hope you do too.


Monday, August 11, 2025

Swingin' Through Retirement by Sharon Caudle

 Hello AI Fans!!

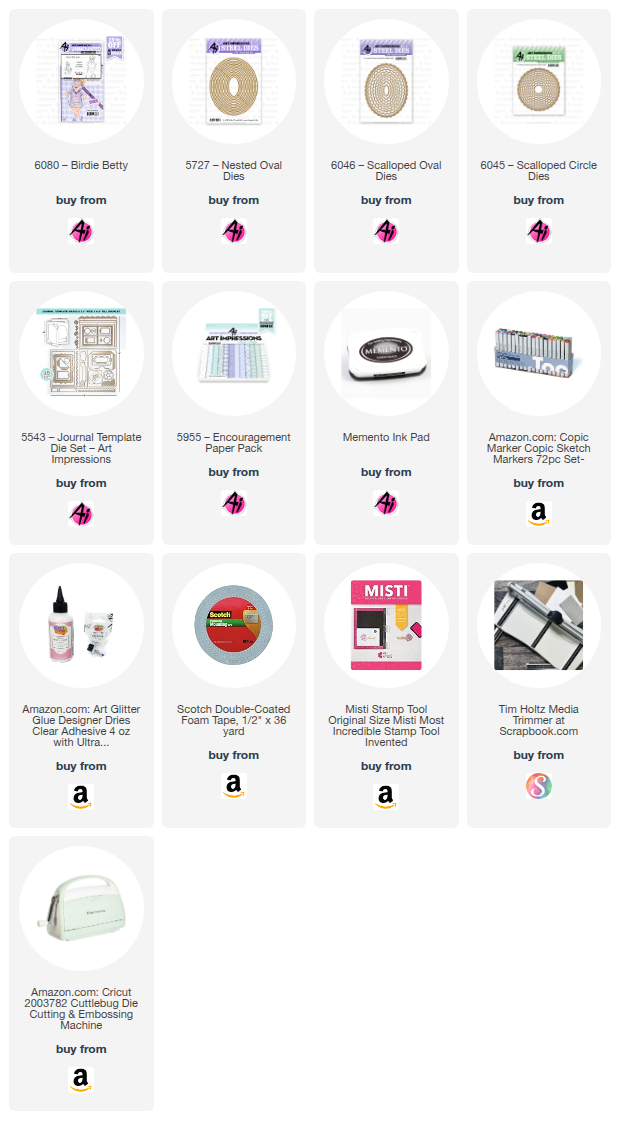
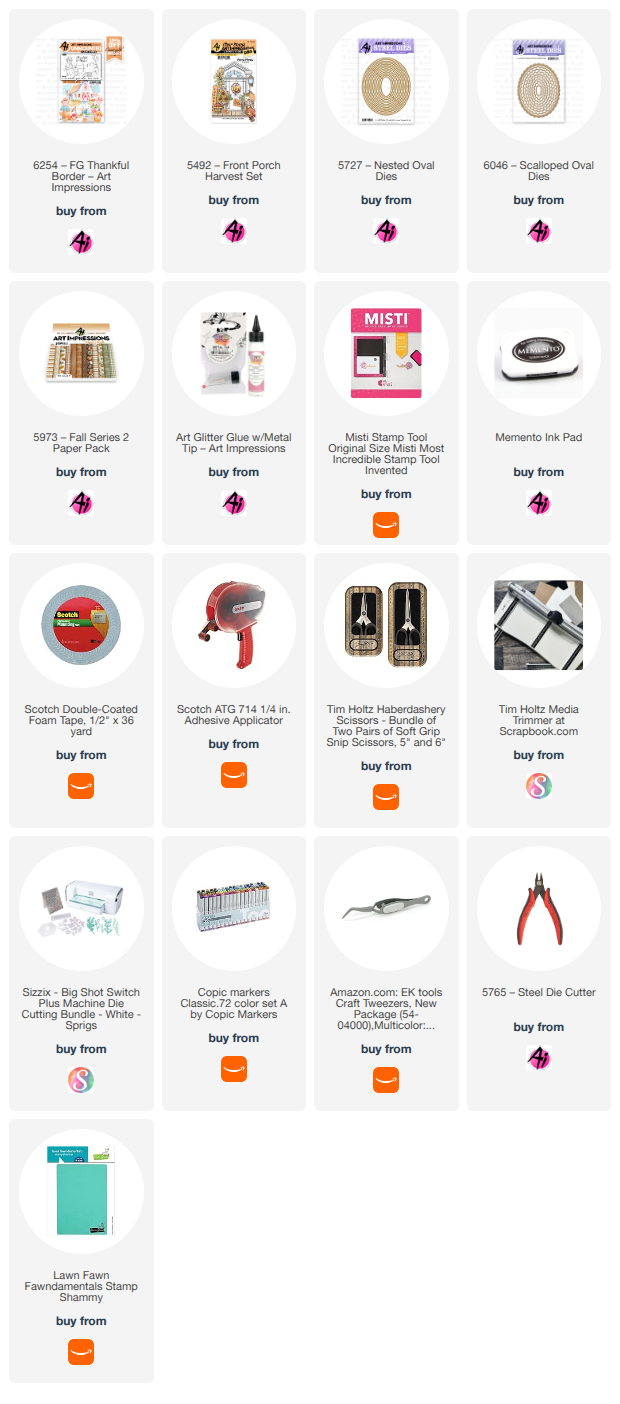
I sure hope you're enjoying your summer! The weather here has been remarkable and I have truly loved sitting outside and enjoying the breezes!! The card I've got for you today is for those golfers we have in our lives. I am very recently retired, so I am just getting to realize the joy that comes with it. I will say though, that the days just seem to fly by!! Nothing like when I was working and the work day seemed to be two days long! LOL!  I used one of the brand new AI People #6080 Birdie Betty!! I can't even begin to tell you how much I ADORE Bonnie's characters!! She amazes me with her talent! I am having soooo much fun coloring up these beauties!!  I stamped her onto a Copic friendly paper and then colored her up with the markers I've listed for you below. I then cut her out using #5727 Nested oval dies and then matted that with #6046 Scalloped Oval Dies.  The sentiment was stamped onto white cardstock cut out using #6045 Scalloped Circled Dies and then mounted onto a mat cut with the same set. I added the striped panel matted with a piece trimmed using the scalloped edge die from #5543 Journal Template Die Set. I almost forgot to let you know that I used #5955 Encouragement PP. Isn't this paper just gorgeous??!! 


So that's it for me today! Thanks so much for stopping by for a visit and until next time - stay crafty!!

Copic markers used:
E000, 00, 02, 04, 11, 13, 53, 55, and 57
BV000, 00, 01, 02, and 04
BG13, 15, and 18
R20
Y26
V04
C1, 2, and 3
N2, 3, and 6


Monday, August 4, 2025

Lying about your age? by Sharon Caudle

 Hello AI Fans!!

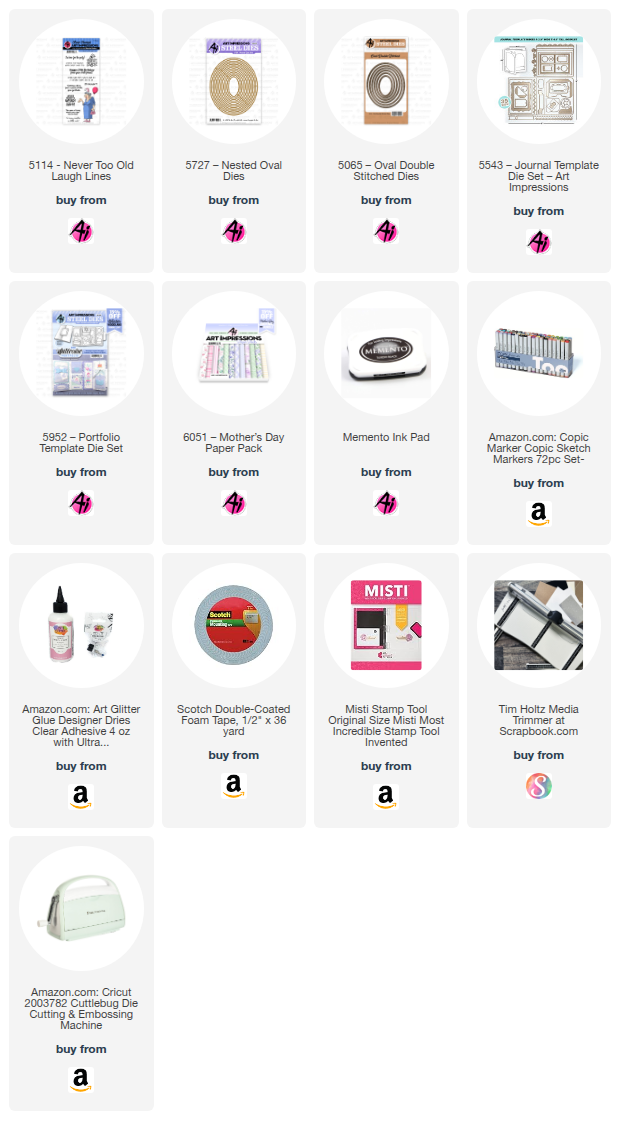
Ok, who is really honest about how old they are? I must admit, I am. LOL! I've earned every one of my gray hairs in my 68 years on this earth and I'm proud to say it.  I love Bonnie's funny stamps and sentiments and used a great one for my card I'm showing you today. It also happens to fit right into the new challenge Stitches and Scallops! I started with #5114 Never Too Old set from Art Impressions Laugh Lines. After stamping her with Memento Tuxedo Black ink, I colored her with Copic markers which I've listed for you below. At the end of this post, you will find a list of links to the products I used to create the card. It's kind of hard to see, but I swirled my Copic blending pen around on her dress to try and make it look like a brocade. I just thought she looks like she would wear a brocade dress. :) 


So that's it for me today. Thanks so much for stopping by for a visit and until next time - stay crafty!!

Copic markers used:
E000, 00, 11, 21, and 23
B00, 93, 95, 97, and 99
R02, 20, 81, 83, and 85
YG61 and 63
W3, 4, and 5


Thursday, July 17, 2025

Gardener Gail by Dori Mendiola

 Happy Thursday AI Friends!

WOW! WOW! WOW!  Have you seen the newest AI release?  OMGosh this release has got to be the best EVER!  I just LOVE the girlfriends line and this is right up that alley.  Add the papers to go with and WOW!  Bonnie and Joel knocked it out of the park with this release!
Picture a happy dance right now!!  Sorry, no video attached.  LOL!

My card for today uses #6076 - Gardener Gail.  These AI People are so fun to color and they are a great size (about 3 1/2 inches tall).  And the best part, they come with corresponding dies!  
I stamped each of the images onto copic friendly paper with Memento black ink and colored with my copic markers (colors listed below).  The bee and flowers come from the #5925 - Honey Bee stamp set and the papers are from two different paper packs - #5742 - Easter PP and #5939 - Fairy Garden PP.  
The watering can with the little flower is from the #5336 - Garden mini dies.  These mini dies make such a cute little addition to any card.  I love them as a simple accent or a charm hanging from a bow.  Adds a perfect extra little touch.

Make sure to check out yesterday's watercolor wednesday video  to see and hear all about the other sets.  Also, make sure to visit this blog daily for other inspirations.  There will be many more posts for these as well as other available sets.

Thanks for joining me today!  Hope you have a wonderful weekend and enjoy creating!

Copics used:  E000, E00, E11, E21, E23, E25
E51, E53, E55
N1, N3, BG32
 R20, R22, R24
Y11, Y13, Y15, YR65, YR68
YG41, YG61, YG63


Monday, June 23, 2025

Jingle Bells, Jingle Bells, Jingle all the way! by Sharon Caudle

 Hello AI Fans!

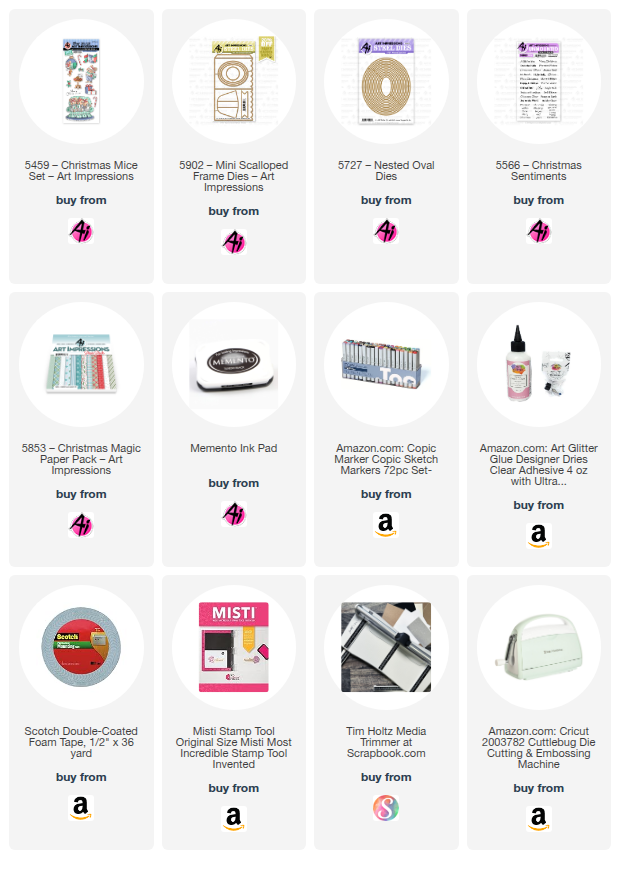
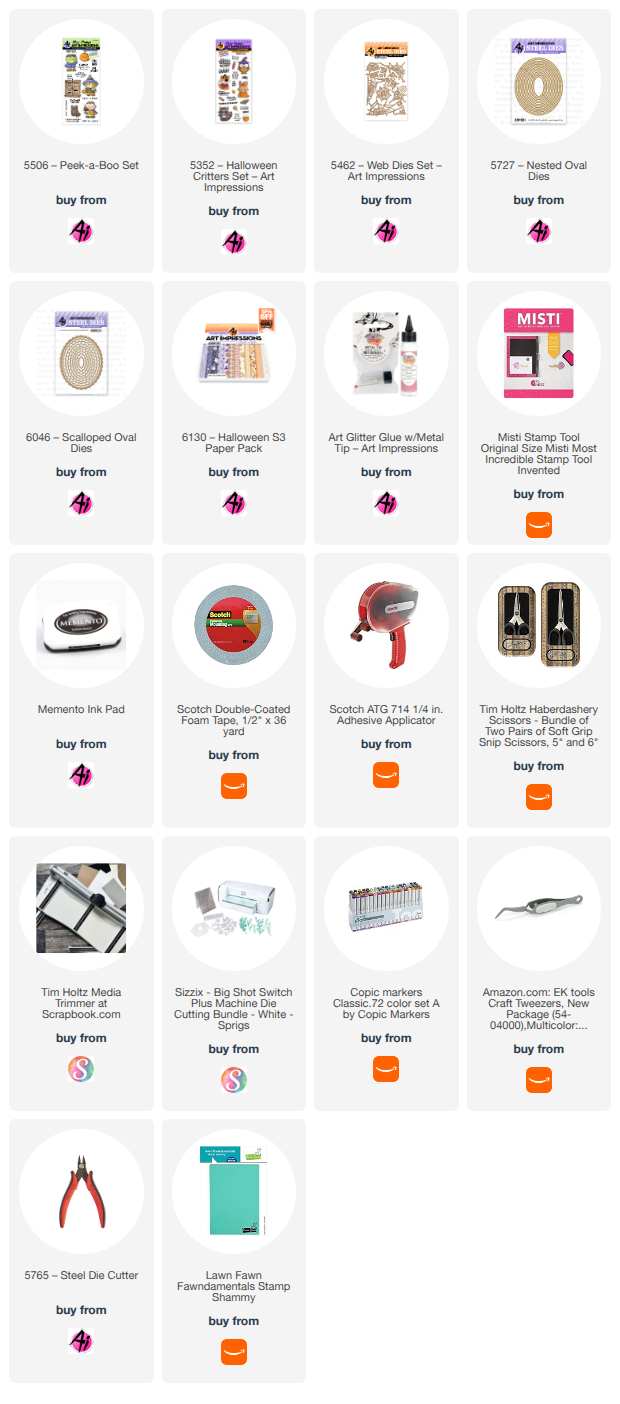
So have you ever heard of Leon Day? I just recently learned myself, so I wouldn't be surprised if you have not. It's actually Noel spelled backwards, and since June 25th is half way to Christmas, Art Impressions is having a Leon Day challenge. Make anything you want for the holidays and get a head start! As you know, Christmas will be here before you know it!  So I created a little decoration that is perfect to put in a small space in your home or on your desk at work. I love that this can be tucked just about anywhere to bring that festive feeling to life! I started out by using 5902 Mini Scalloped Frame Dies cutting the frame out of a heavy weight cardstock. I then cut a piece of 5853 Christmas Magic PP to layer on top. Instead of using the oval dies that came with the Mini Scalloped Frame set, I grabbed 5727 Nested Oval Dies and used those to layer it up.  I used one size smaller to place inside the top layer, and to create some dimension, I popped it up with a layer of foam tape from the bottom. The adorable images are from 5459 Christmas Mice Set. I stamped them onto a Copic friendly paper using Memento Tuxedo Black ink and then colored them with Copic markers. The Christmas Mice set comes with matching dies, so it was so easy to cut them out and place them into the frame. I wanted it to look like he was singing, so used the Jingle Bells sentiment from 5566 Christmas Sentiments Set, and just repeated it below, offsetting it a bit. I just used a black marker to hand draw some musical notes (sorry, I didn't do a very good job with those). 


So that's it for me today! Thanks so much for stopping by for a visit and until next time - stay crafty!!


Tuesday, June 17, 2025

Toad Birthday card by Reneé Matarese

Hello Ai fans!

I've been toad you're having a birthday!

Well, maybe not you, but someone is.
 

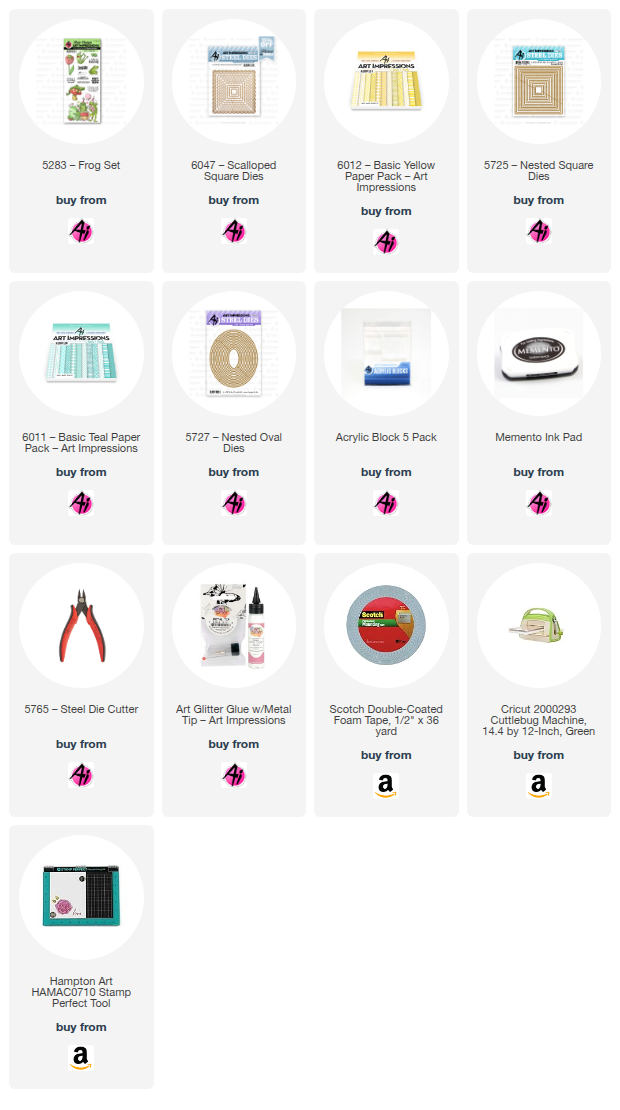
I adore all of the Funny Farm Series sets but the 5283 – Frog Set is one of my favorites.


I created two versions of the same card using a similar, yet different color palette. I'm really loving the new 6047 – Scalloped Square Dies.

I used the Basics Yellow and Teal paper packs and you can find to those below.


Thursday, June 12, 2025

Father's Day Cubs by Dori Mendiola

 Happy Thursday AI Friends!

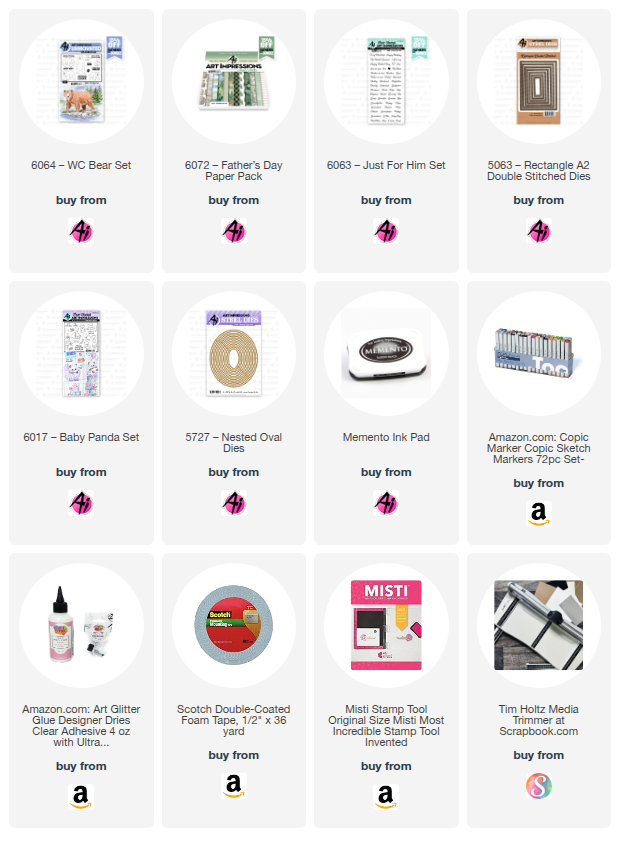
Thanks for joining me today!  I thought I'd share a couple of Father's Day cards I made for a few of the men in my life.  I used the #6064 - WC Bear set and the #6072 - Father's Day PP for both cards but changed the layouts.   


I started by stamping the images on copic friendly paper with Memento black ink and colored with my copic markers, listed below.  I then fussy cut each of the bears and cubs.  For the little girl cubs, I stamped the little girl panda from the #6017 - Baby Panda set and fussy cut the bow from her hair. 
 
For the top card, I die cut the pattern paper panels using the #5063 - Rectangle A2 Double Stitch die set.  I also cut a couple of trees from dies in my stash.  I popped up the Papa bear and the littlest cub with foam tape and placed onto the background pattern paper.  I stamped the sentiment from the #6063 - Just for Him set onto an oval die cut using the #5727 - Nested Oval dies.  I finished this card off with a couple of red hearts to add color and love. 

For this card, I used a postage background die for the base and placed pattern papers within each square.   Everything else is basically the same as the top card, but just wanted to show how different they can look by using different backgrounds.

I hope you enjoyed my cards today and they inspire you to create a few for the men in your lives.

Have a great day and keep creating!

Copics used:  R20, R22
E50, E51, E53, E55, E57

Thursday, June 5, 2025

Hydrangea Window by Dori Mendiola

 Hello AI Friends!

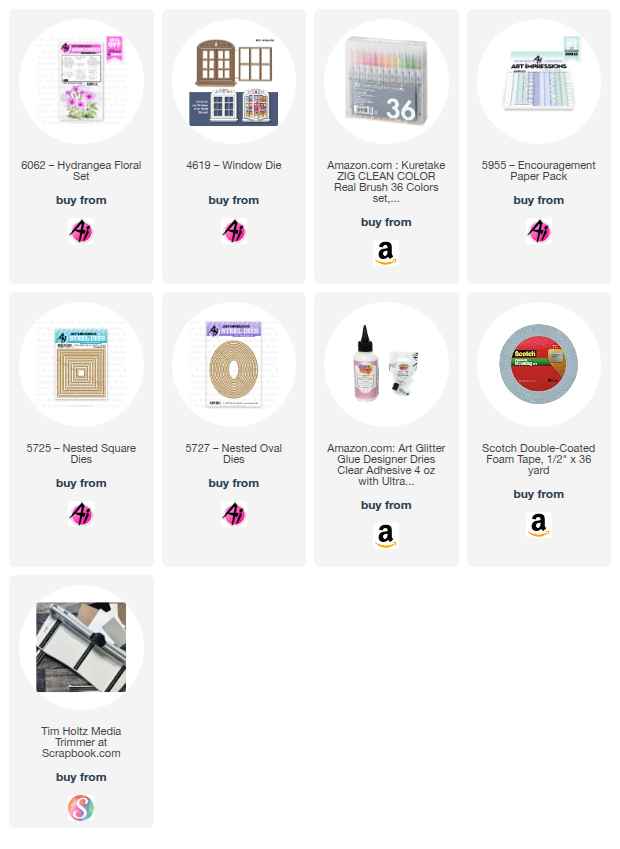
I have a window card for you today inspired by the newest floral set #6062 - Hydrangea Floral.  These flower sets are so pretty!  

I decided to try a new coloring medium for me.  I usually color using copic markers, but this time, I thought I'd try my hand at a little water coloring using the Zig Clean Color Real Brush pens.   Needless to say, I need a lot more practice but it still was fun playing and I feel like this turned well.  I used the water color technique where you color the stamp with the markers and then stamp it onto the paper.   I colored the leaves using the #41 Light Green and the blooms with the #81 Light Violet and stamped the image onto a 3 1/2" (top) x 3" piece of Strathmore Bristol Smooth cardstock.   Using the blender brush, I pulled out some of the color on the leaves and the flower blooms.  
Ta da, that's it!  Fairly simple coloring!  


For the card, I cut a 4 1/4 x 11" piece of heavy cardstock and scored at 4 3/4" along the 11" side.   I turned the cardstock and scored from the other end at 1/2", 1", 1 1/2".   I burnished each of the score lines creating a top fold card with a valley, mountain, valley fold at the bottom.   I also cut a narrow 2" piece of cardstock and created a spring-like piece with the same valley, mountain, valley fold to fit behind the image and onto the back side.  See picture below.
 This spring-like piece is optional, but it helps hold the image slightly back from the window opening.
 

I die cut the window, using #4619 - Window die, from the base card front (the longer side with the scored V, M, V edge).  I adhered a lavender pattern piece of paper from the #5955 - Encouragement PP to the front of the base, over the window opening.  I then took a die from the #5725 - Nested Square die set, that is slightly larger than the window opening, and placed it over the pattern paper where the window opening will be.  Tape down temporarily and run through your die cut machine.  I scored the window panes on the window die cut and folded them open.  I then adhered the window to the pattern paper centering over the square hole.  I then sealed up the card by gluing down the bottom edge to the back panel.  The scored mountain should be in the center.  See above.
On the image panel, I scored a tab 1/4" - 1/2" from the top.  Fold it towards the back and adhere it to the inside back of the card, centering it behind the window.  If needed, take the spring-like piece and  adhere to the back of the image and the other end to the back inside of the card.  
Now, to finish the front, I created the fringe-like grass by cutting a strip of green pattern paper and snipping the long edge every 1/8 of an inch (approx.).   I then slightly curled the fringe edge so that it came over the fence.   I weaved a piece of ribbon through the fence, popped up a sentiment from the #6062 - Hydrangea Floral set and added a few small white hearts for the finishing touch.

Thanks for joining me today!
Have a wonderful day and keep creating!

Tuesday, May 27, 2025

Happy Wedding Day Tara! by Reneé Matarese

 Hello Ai fans!

My niece is getting married soon and she'll be married at a castle.

My first thought was to use 5225 – Castle Cubbies, which is a favorite of mine, but then I remembered 5916 – Woodland Castle Set, and although I think I've used it several times, I don't think I've used the castles.


I'm very happy with how it turned out. She is very into flowers and I tried to incorporate all of the colors in her bouquet.

This card took a complete turn as I was creating it. I initially set out to use the 5902 – Mini Scalloped Frame Dies as intended, with a window and maybe something to pull out. For some reason I switched gears and decided to cut off the little flap and just use it as a mini card. The

May all your wishes -Come True- 

sentiment is from the discontinued Art Impressions/Hobby Lobby exclusive 5438HL Fairy Cubbies Set.

I didn't use a wedding sentiment on it but I don't think it needs it. I think these verses are perfect and I can handwrite a wedding wish when I fill out the card.


I apologize that I don't have marker colors for this. This was my 3rd attempt and I had such a pile of markers that I don't know which ones I used for this final copy.

Don't forget to enter the current We 💚 Dads! Challenge 
for your chance to win a free stamp set.