Showing posts with label 5pk snow globe shaker dome. Show all posts

Tuesday, February 25, 2025

Happy Easter! Happy Spring! by Reneé Matarese

 Hello Ai fans!

Today I'm sharing an Easter shaker card.

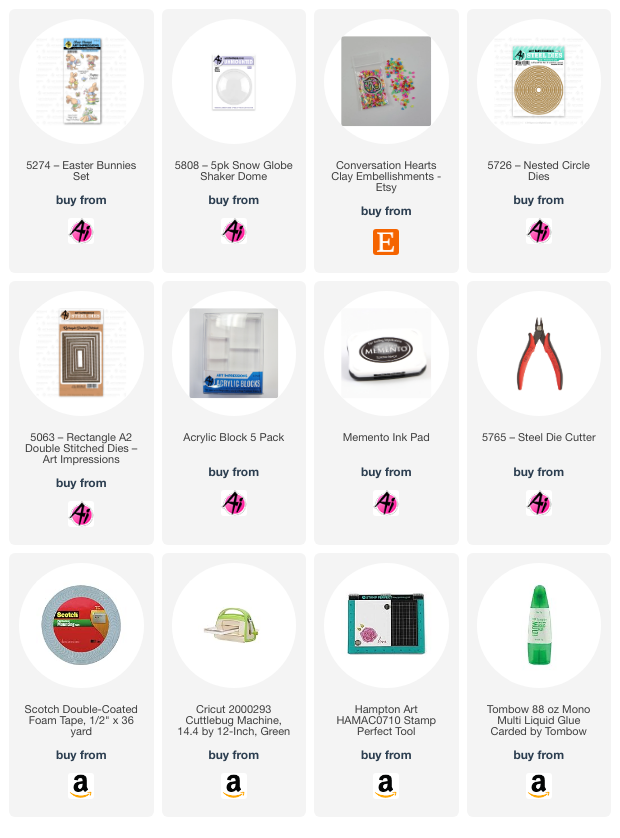
The 5274 Easter Bunnies Set is just so cute and has many main images to choose from as well as lots of sentiments to compliment the images.


I've already made a ton of shaker cards using the snowglobe domes from Art Impressions and I see many more in my future!


Maybe I'm just a big kid at heart because I kept shaking and shaking this. I think anyone would appreciate receiving this card.


Tuesday, February 18, 2025

Let the shenanigans BEGIN! by Reneé Matarese

 Hello Ai fans!

Today I'm sharing the card that I made for the current Drink Up! challenge.


You all know that I'm obsessed with the Ai shaker domes.
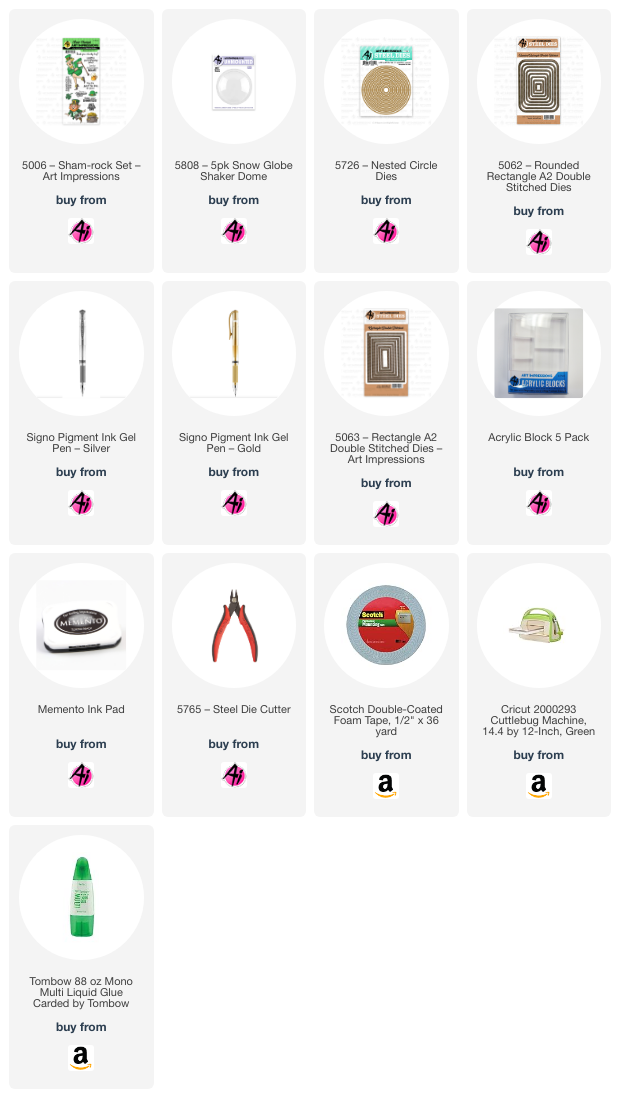
I couldn't wait to put some green and gold bits in this one for St. Patrick's Day.


I made my card a little on the masculine side but most women would love this too. The little beer mug is what makes it fit the Drink Up challenge.


Copics used:
W3, E84, YR21, Y000, Y04, Y35

Tuesday, July 23, 2024

Doggies Need to Stay Hydrated Too! by Reneé Matarese

 Hello Ai fans!

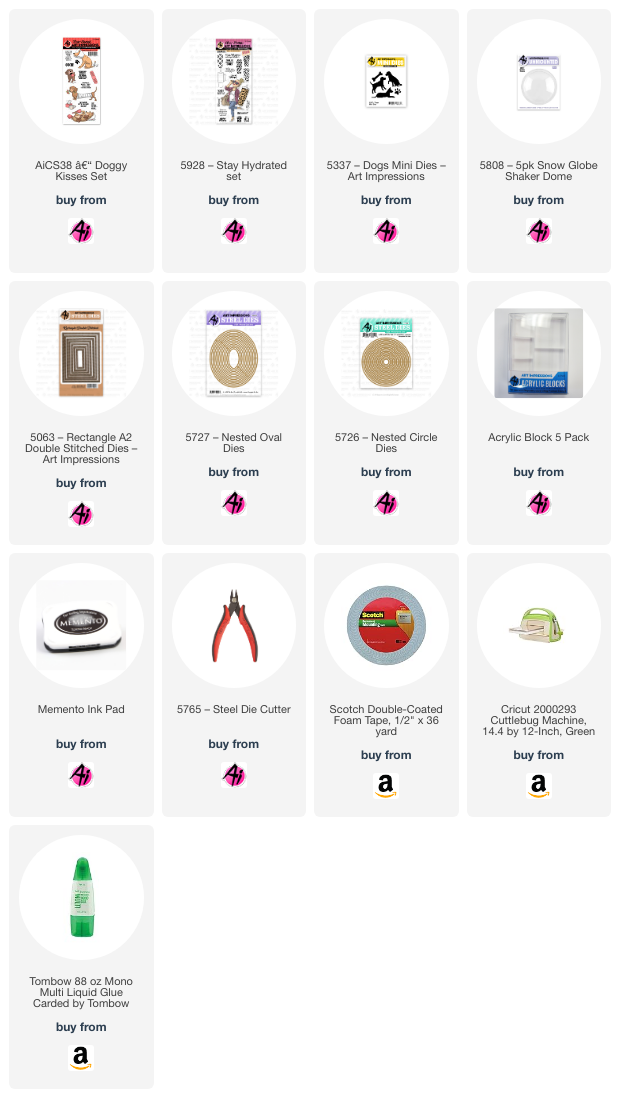
Today I have some dog themed shaker cards for you.

These did not set out to be shakers.
I had cut the dog out with my circle dies and had
intended to leave it just like that with a matte around it.
I still had my snow globe domes out from last week though
and noticed that they would fit perfectly around this little guy.


After stamping and coloring the image I used Diamond Stickles to drip water
out of the tumbler onto the floor.  You can just ignore the little dog hair that attached 
itself to my dome...lol! (We'll just say it's there for authenticity)


I have always cut a circle frame to put around the dome when I've 
used it in the past but I didn't this time because I wanted to be able to 
see the entire tumbler. I used the paw print die to cut a stencil out for the
tumbler. Once I had the die cut OUT, I used a black marker to stencil the 
paw onto the tumbler.


I love finishing the insides of my cards as well.
I have so many friends that are dog lovers that will enjoy
this card. I hope you do too!


Copics used:

RV000, RV52, B000, B00, B01, E23, E53, W00, W2

Thursday, July 18, 2024

All A-Buzz Challenge #383

 Hello Ai fans and welcome to our newest challenge,

All A-Buzz!


We want to see your crafty projects using INSECTS!
Bees, butterflies, snails, ladybugs, caterpillars, dragonflies, spiders (yes, I know that they're not
actually an insect but they count) Any creepy crawly.
 
Before I show you my feature, let's see who won our Magical Creatures challenge.

Our Top Spot went to Deanna F.
She used 5345 – Fairy Cubbies Set


Congratulations!

Please contact Leah at Feedback@artimpressions.com
to claim a free stamp set of your choice!!Also, be sure to grab our badge to display on your blog, Facebook or Instagram!

Our Lucky Random Winner was:


Please contact Leah at Feedback@artimpressions.com
to claim a free stamp set of your choice!
Also, be sure to grab our badge to display on your blog, Facebook or Instagram!

-----------------------------------------------------------------------------------------------------------------------

Hello everyone and welcome to my feature.
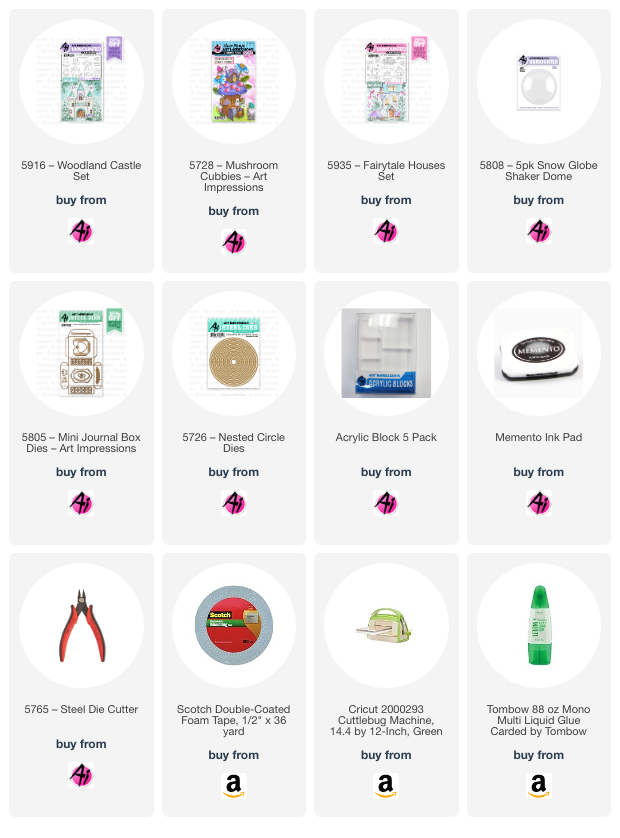
Today, I've created a shaker card using the little domes from
Art Impressions. They aren't JUST for snow globes!


I began by coloring the images that I wanted to put inside
the dome. I cut a circle slightly smaller than the dome and
adhered the little house, flower, fence etc. to that.
Then, I cut a white circle the same size as the circumference 
of the dome and glued my smaller circle to that.


Using the same two circle dies, I cut a little frame to go on the outside
of the dome. It's covered in a protective plastic film to keep it free of
fingerprints until you're ready to use it. I roughed mine up a bit so you
could see what I mean. Be sure to remove this BEFORE adhering your
frame to the outside.


My next step was to lay out my pieces and kind of get an idea
of where I wanted things. At this point I decided I wanted a sentiment
on the front so I scooched things up a bit to accommodate that.


Now I have everything glued down EXCEPT for my dome.
It's time to put the beads in. I selected the amount that I wanted
and laid them on top of the little scene. 


Then I peeled the backing off of the dome and placed 
it over it. At this point I added the green 
frame to the outside of the dome.


I used a different sentiment on the inside. I love finishing
the insides of my cards too.


I hope you enjoyed my shaker card and will give this challenge a try!
I can't wait to see what you create.

Copics used:
BG000, B05, C1, C5, Y08, YR12, 
E30, E53, YG09, YG13, RV06

Twin Tones:
Black
Gray

✻ Please make a new card or handmade crafty creation. You can make any item you wish; this is not limited to cards!

✻ Limit two submissions per person. You will receive extra votes if you use Art Impressions stamps!
 ✻Please include your first name and last initial on your submission.
✻We love to comment on your entries, but keep in mind if you use a private group or a platform that you need to sign up for, we probably won't be able to.
✻ The Ai Challenge is open to everyone, international submissions are welcome!
✻ Include a link back to the Ai Blog or grab our button on the top right of our sidebar!
✻ Share the Ai love if you can, by clicking and commenting on your fellow crafters.
✻ Make sure to get your link up by the deadline to enter your creations.
✻ Good luck and happy stamping! 


You are invited to the Inlinkz link party!

Click here to enter

Tuesday, October 31, 2023

Snowy Ornaments by Nina

 Hello Ai fans, NIna here with a fun new project using Ai new WC Snow Globe Set. I decided to turn them into little ornaments.


I started by stamping all the cute images from the set using my Memento Tuxedo Black Ink and my Mini Misti and I colored them quickly basic coloring with my Copic Markers.

I then die cut 8 circles, 4 of which are going to be the background of the scene for the four ornaments and the other four we will sit aside for later.

I used Tumbled Glass Distress Ink to lightly blend the backgrounds so the white snowy hills and trees that we will add later will pop out.

I then used my hillside border dies to create tiny hills to place my images on. I also die cut some trees from white cardstock as if they are covered with snow.


I then assembled the scene, glued th hillsides and tucked the trees behind them and added my image on top, did the same for all the ornaments.

I also die cut some tiny snowflakes from the dies included in the set to decorate my scenes.

To create the handles I diecut a handle from my stash and glued it to the back of the ornament and then glued the other four circles that we set aside previously to hide the handle from the back.

I then use the dome that comes with set, and other three domes from a separate set. The separate set is a pack of 5 domes. I removed the protectice cover from the front of each dome. I then removed the backing release paper to expose the adhesive on the domes and attached them to each ornament.