Showing posts with label 6046 Scallop Oval Dies. Show all posts

Monday, November 16, 2026

Trio of snowmen by Sharon Caudle

 Hello AI Fans!

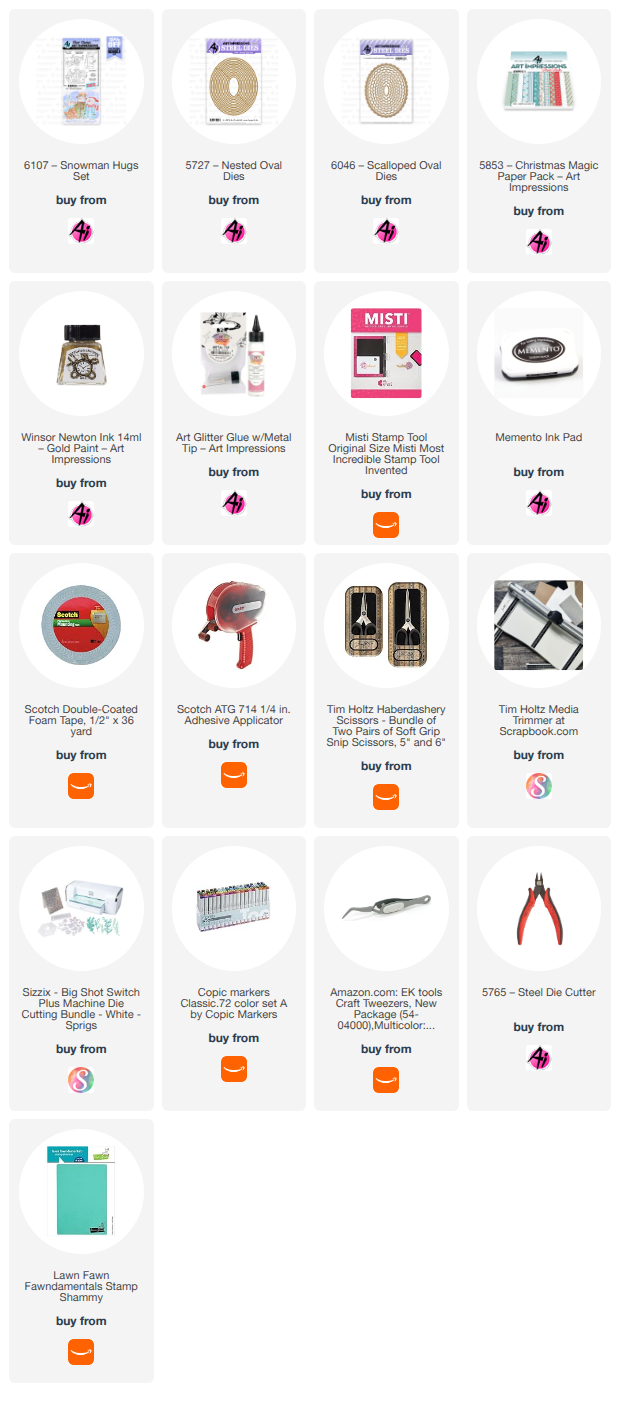
I'm back today with another little touch of winter/Christmas. This one features #6107 Snowman Hugs Set. Bonnie makes the best snowman images ever!! I love all three of these amazing images that come in this adorable set. I stamped them onto a Copic friendly cardstock and then colored them using the markers I've listed below. After that was finished, I used #5727 Nested Oval Die set to die cut it out, then took a slightly smaller oval die and the largest scalloped die from #6046 Scalloped Oval Die Set to create a frame for the cute trio. The paper is from #5853 Christmas Magic PP. For the corners, I just cut two 3/4" squares out of white and two squares at 5/8" out of the candy cane stripe paper, then cut them in half on the diagonal. It's a super simple way to dress up the corners. For a finishing touch, I added a touch of Winsor Newton gold paint on the buttons. Hope you enjoy!


That's it for me today! Thanks so much for stopping by for a visit and until next time - stay crafty!

Copic markers used:
Y32, 35, and 38
R01, 22, 24, and 27
B00, 91, 93, and 95
YG13, 17, and 67
E33, 97, and 99
C3, 4, and 5


Monday, October 26, 2026

Merry & Bright by Sharon Caudle

 Hello AI Fans!

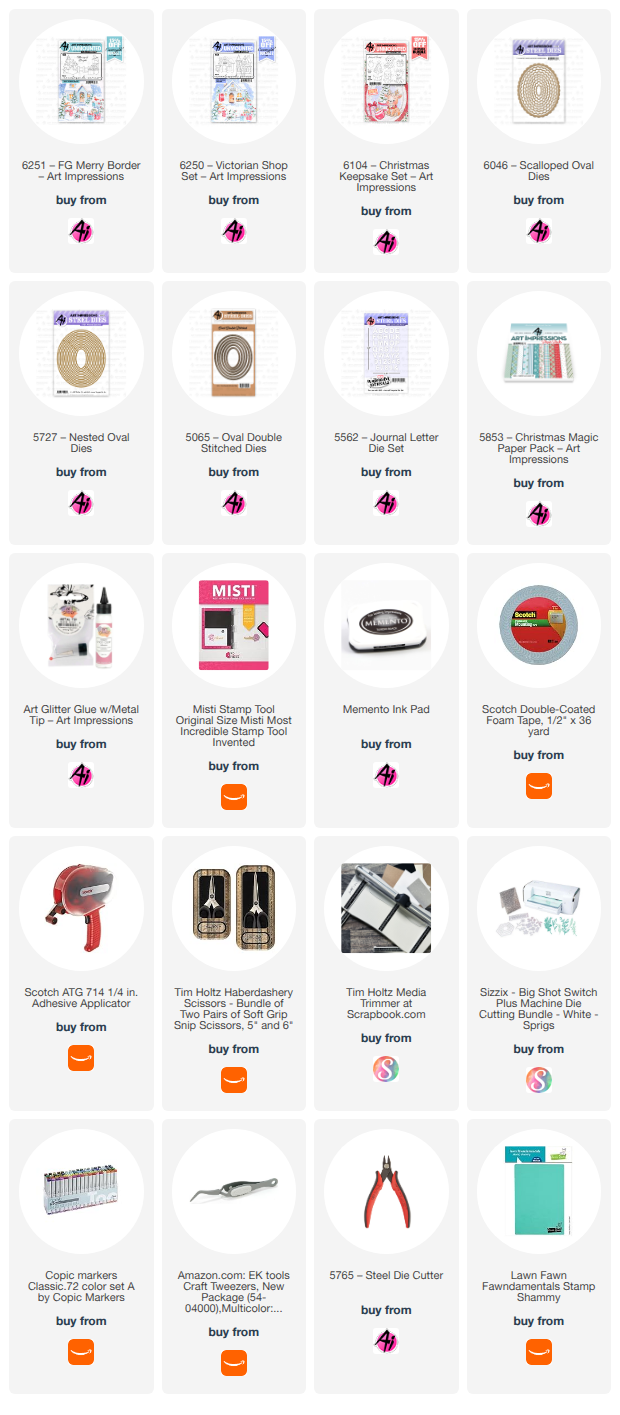
Yes, I know....I am skipping ahead a little. LOL! But I just couldn't help myself when I saw our challenge was Glitter all the Way! I will be back to the fall season after this one. :)  But I just had to use the new beautiful stamp sets from Art Impressions and I had so much fun making this card. If you know me, you know how much I love dimension in my projects. Always have...always will. And this card has no shortage of dimension. I started out by stamping & coloring #6251 FG Merry Border and #6250 Victorian Shop Set. I just could NOT resist that adorable Santa's workshop image!! I stamped the images onto separate pieces so I could fussy cut the Merry Border image and use it on the top layer. I centered an oval die from #5065 Oval Double Stitched Dies and cut it out of a panel the same size as the panel stamped with the workshop image. After cutting out the oval, I took the same double stitched oval die and used it with a die from #6046 Scalloped Oval Die Set to create a frame to go around open window. After placing the Merry Border on the top layer, I saw it needed something else on either side of it. So I went looking through the trees in my stamp sets (with the help of my Bestie, Dori) and used the cute tree from #6104 Christmas Keepsake Set. It was the perfect size! I was looking for a small candy cane for the window box and used the J from #5562 Journal Letter Die Set. It turned out to be the perfect size so I even added one to the snowman's hand! I just die cut it in white and then colored it in with Copic markers. 


So that's it for me today! I hope you join us in the Glitter all the Way challenge for a chance to win a free set of your choice! Thanks so much for stopping by for a visit and until next time - stay crafty!!


Copic markers used
YG13, 17, 67, 82, and 85
Y11, 13, 21, 23, 35, and 38
E21, 23, 33, and 35
R00, 22, 24, and 27
YR61 and 65
B00, 41, 45, and 60
T1 and 2
C5


Monday, October 19, 2026

Thankful and Blessed by Sharon Caudle

 Hello AI Fans

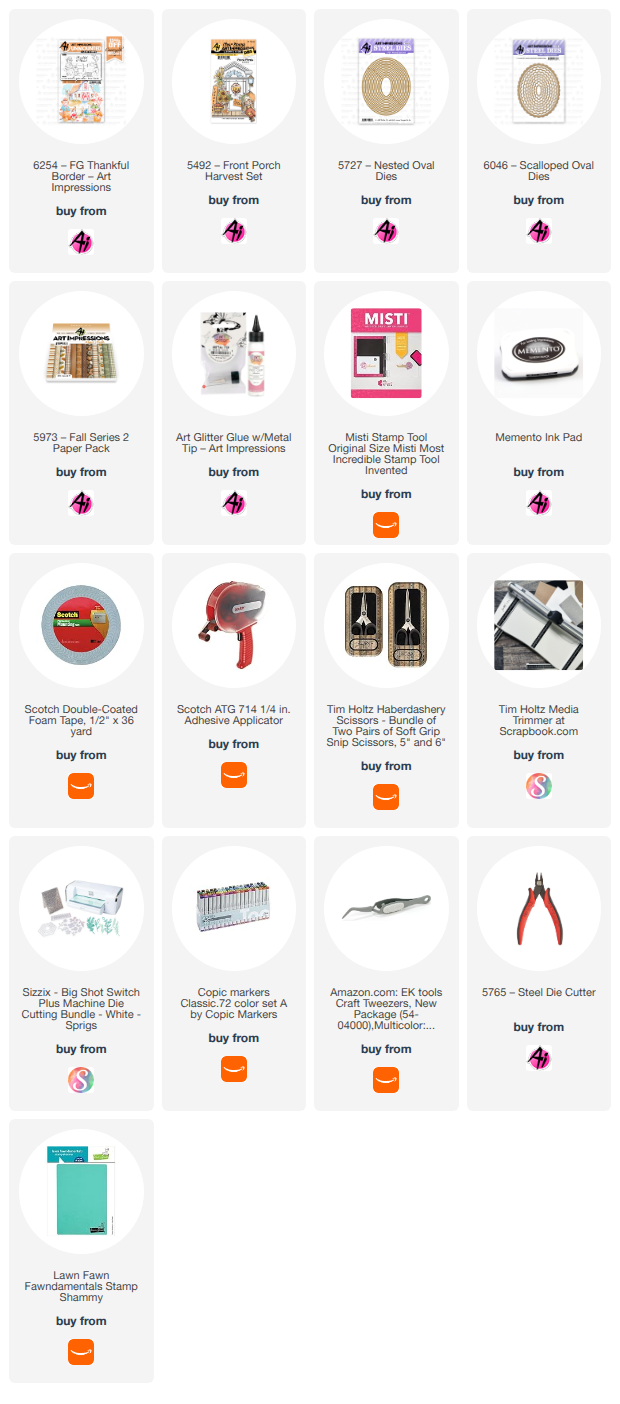
For my card today, I pulled out the brand new #6254 FB Thankful Border. I just think it's the cutest fall scene and frames out the sentiment that comes with it just perfectly! I could have just stamped the scene and sentiment onto one piece of cardstock and colored it, but I decided to fussy cut it and pop it up onto my pattern paper. I like the way it came out. There are so many different designs in this line and they can so easily be mixed and matched together! If you haven't taken a look at them, I would highly encourage you to do so! As this set is meant for watercolor, there is blank space above the basket for you to stamp your flowers and foliage to enhance the image. Since I don't watercolor, I ended up cutting a slit in the top of the basket and added some leaves from #5492 Front Porch Harvest Set (bonus! It comes with matching dies!!). . That cute little sign hanging on the fence is also from the same set.  Don't ever forget to look at all your stamp sets for the cute little accessories you can use to enhance your cards/projects! 


That's it for me today! Thanks so much for stopping by for a visit and until next time - stay crafty!!


Copic markers used:
YR02, 04, 07, 12, 14, 16, 18, 23, 24, and 27
Y13, 17, 32, 35, and 38
E08, 13, 21, 23, 25, 33, 35, 37, 51, 53, 55, 71, 74, and 87
YG21, 23, 25, 91, and 93
G12, 14, 82, and 85
R20, 22, 24, 27, 32, 35, and 37


Monday, October 12, 2026

You My Boo by Sharon Caudle

 Hello AI Fans!

Our current challenge right now is "Bats in the Belfry" and we are looking for anything related to Halloween! This is such a great time of year...the weather is usually cooling down and the kids are all so excited about picking out their costumes and going house to house for candy! I LOVE when the kids come all dressed up. And this may be controversial but I don't care how old you are. If you dressed up and walk up to my door, you're going to get candy for it! I believe we should let them be kids for as long as they want, and if they're just a kid at heart - well that's good enough for me. That's just the way I feel about it. No judgement from me if you feel differently. You do you, BOO. LOL! I snuck that one in there! HAHA So my card today is to celebrate Halloween. I started by taking little Frankenstein from 5506 Peek a Boo set and coloring him with Copic markers which are listed below. That fun sentiment came from #5352 Halloween Critters Set. I created a background for him and then die cut it using #5727 Nested Oval Dies and then matted that with some cardstock die cut using #6046 Scalloped Oval Dies. That fun little spider and the web are from #5462 Web Dies Set and I just added a couple tiny googly eyes to him. 


So that's it for me today! Thanks so much for stopping by for a visit and until next time - stay crafty! Hope to see your entry in the challenge! 


Copics used:
BV00, 02, and 04
YR02, 04, 07, 12, 14, and 18
YG03, 05, and 07
R20
C3, 5, and 7
Y13 and 15
E33 and 35


Tuesday, September 22, 2026

Long Stemmed Daisies by Reneé Matarese

 Hello Ai fans!
Is everyone enjoying these long stemmed flowers as much as me?
Daisies are one of my favorite flowers.


I initially began by stamping this image just once. When I placed it on my card, it just didn't feel like it filled it up enough. My card is pretty large. I stamped it two more times and fussy cut out all of the flowers. I then stuck sprigs here and there until it seemed like a full bouquet.

I stamped one of the sentiments on a nested oval for the front of the card, framed it with a scalloped oval and then popped it up on dimensional foam tape.


On the inside, I stamped another sentiment from the set and also stamped the daisies again. The bottom border was made with some of Art Impressions designer paper and the largest die in the scalloped rectangle set.


Thursday, July 16, 2026

Have Mercy Birds by Dori Mendiola

 Happy Thursday AI Friends!

I'm sure you have all seen the latest Bible Journaling release by Art Impressions - #6216 Mercy set.  
The set features sparrow-style birds perched on delicate floral branches perfect for cards, bookmarks, or other projects.

I stamped this image using Memento black ink onto copic friendly paper and colored with my copic markers listed below.   These birds are beautiful no matter what colors you choose and thereby each creating a unique card/project with the same image.

I love dimension on my cards, so I stamped a separate image and colored the wings again.  I then fussy cut them out and popped them up with foam tape.  I used the #6046 - Scallop Oval die to cut the image panel and the #6205 - Floral Shop PP for the pattern paper background.

I hope you enjoy my card and you find yourself coloring a variety of these birds in different colors.

Have a wonderful day!  Keep creating and coloring!

Copics used:  W0, BV000,
B000, B00, B01     BG0000
E21, E23, E25     G40, G43, G46   
Y20, Y21, Y32, Y35, Y38

Thursday, May 21, 2026

Yellow! Challenge #428 Week #1

Welcome to our newest challenge!

I feel like this one is pretty self explanatory. Use yellow on your project.
The second I decided to do a yellow challenge, I knew that I wanted it to be Sharon's feature.
Her favorite color is and always has been yellow. After you check out her adorable interactive card, be sure to scroll down and find out who won our last challenge.

Also, don't forget you have one more day to apply to our Design Team call.
Details are below.

 Hello AI Fans! 

If you know me, you know my favorite color is yellow. Just ask my sister, she still hasn't forgiven me for making her wear yellow in my wedding in the 70's. HAHA Oops...I just gave my age away, didn't I. LOL! Anyway, I am super excited to get to introduce our new Challenge #428 Yellow! Whoot Whoot!! I can't wait to see all your amazing creations using the beautiful color of yellow! For my feature, I created a slider card where an adorable frog surprises the birthday girl by popping up out of her birthday cake! First a look at the finished card...


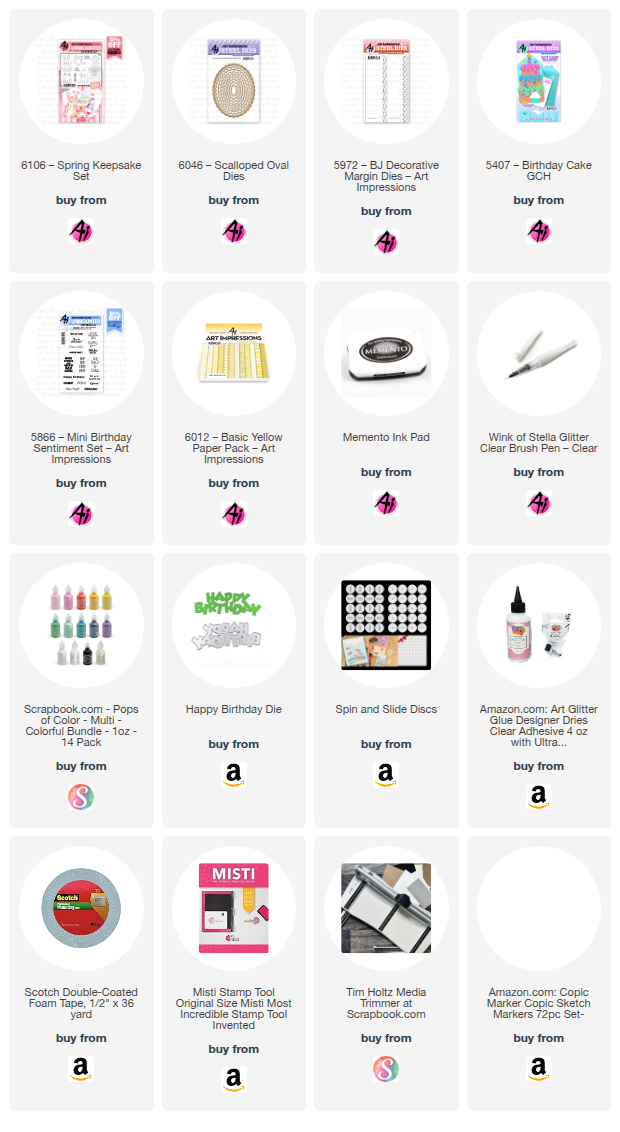
So to make the card, I started with #5407 Birthday Cake GCH. This cake die can be used for so many things!! I cut the pieces using #6012 Basic Yellow PP and then inked the edges to give it a little depth. 


After assembling the cake, I grabbed #6046 Scalloped Oval Die Set and chose the correct sizes so the cake and frog had enough room. If you have a channel die, you can use that. If not, you can also cut a slot with a ruler and your craft knife. I wanted a larger channel than what my die provided so I improvised. Once I cut the one slot, I lined the die up and cut it again to the length I needed as shown in the pics below. You want a slot that is long enough to allow your image to be hidden behind the cake and also reveal it once it's pulled up. 


I cut a pull tab twice out of heavy cardstock and glued them together so they would be strong enough to hold up to the pushing and pulling it was going to receive. (I always play with the interactive cards I create!)


It really helps to keep the pull tab on track if you create a little sleeve for it to slide through. Just take a light weight paper and cut a strip around 1/4" wide and fold it loosely around the pull tab. Glue it down to the back of the card. 


I wanted the frog to "talk" when he jumped out of the cake, so I die cut a word bubble and used a sentiment from #5866 Mini Birthday Sentiment Set. I die cut both the word bubble and the frog 3 times and glued them together for stability. Then, to attach it to the frog, I just cut a small strip of acetate and doubled it up for strength. 


After lining up the pull tab with the channel, I used a strong glue to attach a slider disc to both the pull tab on the back side and the frog on the front side. Be sure to use a strong glue and allow lots of time for drying. You don't want it separating from either of them after you've assembled the entire card!! 


I used two layers of foam tape on the back of green and white slider panel as well as the cake that goes over the top of the slider to give plenty of room for the frog to slide. I added some dots from Scrapbook.com Pops of Color and some of those cute candles that are in the set with the cake. For a touch of sparkle, I went over the Happy Birthday die cut and candle flames with Wink of Stella and then popped a bow on there. I do love interactive cards, so I hope the person that ends up with this enjoys it as much as I enjoyed making it. 


So that's it for me today! Thanks so much for stopping by for a visit, and I can't wait to see what yellow creations you'll be making for the challenge. Until next time - stay crafty!!! 

I knew Sharon would have fun with this challenge. What an adorable card! That frog is just TOO CUTE!!

Now for the winners of our Mix & Match challenge.

For our Top Spot we selected Neema M.


Please contact Leah at Feedback@artimpressions.com
to claim a free stamp set of your choice!!
Be sure to grab your winner's badge to display on your social media.


Our Lucky Random Winner was:


Please contact Leah at Feedback@artimpressions.com
to claim a free stamp set of your choice!!

Be sure to grab your winner's badge to display on your social media.

Congratulations to both of our winners and thank you
Sharon for the amazing inspiration for the new challenge!


If you're interested in applying for our Design Team please view all of the details below.


Now for our new challenge!


 ✻ Please make a new card or handmade crafty creation using either stamps, dies and or designer paper from Art Impressions. You can make any item you wish; this is not limited to cards! (unless specified)

✻ Limit two submissions per person.
✻Top Spot Winner and Lucky Random Winner each receive a free 
stamp set from Art Impressions
 ✻Please include your first name and last initial on your submission. You may include your entire last name, but it's not necessary.
✻We love to comment on your entries, but keep in mind if you use a private group or a platform that you need to sign up for, we probably won't be able to.
✻ The Ai Challenge is open to everyone, international submissions are welcome!
✻ Include a link back to the Ai Blog or grab our button on the top right of our sidebar!
✻ Share the Ai love if you can, by clicking and commenting on your fellow crafters.
✻ Make sure to get your link up by the deadline to enter your creations.
✻ Good luck and happy stamping! 

You are invited to the Inlinkz link party!

Click here to enter

Tuesday, May 5, 2026

For My Friend by Reneé Matarese

Hello Ai fans!
Today I'm sharing a new release with you.

I used the new
6188 – FG Daisy Border
along with one of the current BEAR Freebies (an assortment of little bears to choose as a freebie when you spend $30 or more on the Art Impressions Website)


My card was created with the current Feeling Crafty challenge in mind.
Just enter your project using Kraft paper and Art Impressions products and you'll be entered to win a free stamp set from Art Impressions. 

These daisies are so pretty and they look wonderful in other colors too.