Showing posts with label Barnyard Animal Cubbies. Show all posts

Tuesday, August 11, 2026

Tony's Tiny Joke Book (Post 3) by Reneé Matarese

 Hello Ai fans!

Welcome to my last installment of Tony's Tiny Joke Book.

I shared the previous pages, cover and box in prior posts.
Those can be found HERE and HERE.

I was asked to make a birthday card for a 9 year old boy with a 9 year old sense of humor.
I thought a little journal filled with silly dad jokes and riddles would be perfect for him.


The questions are on top of a flap and the answers are underneath.


I paired a cute animal with each joke.


I mean, how cute are these little guys?!


I loved that the Art Impressions Designer Paper
makes it so easy to coordinate an entire journal.


I hope you enjoyed Tony's Tiny Joke Book.
I'm told that he did.


Friday, July 10, 2026

Merry Christmas in July! Card by Tasha

 Happy Friday, Art Impressions friends! 

Tasha here sharing a card inspired by the current Art Impressions Christmas in July Challenge.

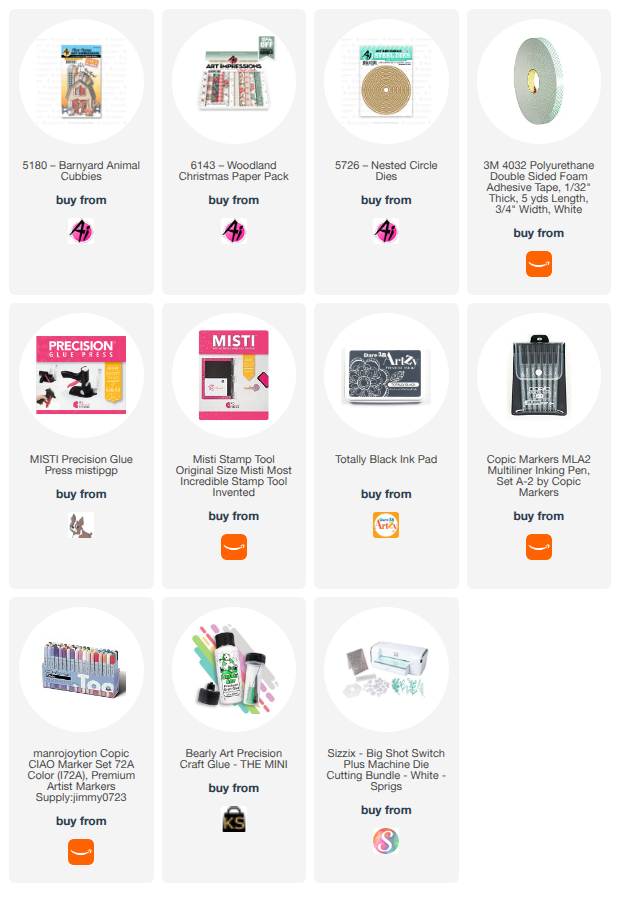
I love making holiday cards and finding ways to use my everyday stamp sets for Christmas. For this card, I used the piggy from the 5180-Barnyard Animal Cubbies stamp set and added a little Santa hat to make him holiday ready.

For the background scene, I used a stamp from the retired Sleigh Ride Circlet MTF set. I love the little wreath on the tree and the falling snow. It makes such a sweet winter scene.

I finished the card with pattern paper from the 6143-Woodland Christmas Paper Pack, layered it with red, gray, and white cardstock, and added a simple "Peace, Love & Joy" sentiment.


Thanks so much for stopping by today! I hope this card inspires you to give your non-holiday stamps a festive twist and join the Christmas in July Challenge. 


Tuesday, June 2, 2026

Tony's Tiny Joke Book by Reneé Matarese

 Hello Ai fans!

I had a request for a birthday card for a 9 year old boy.

One of the things I was told he likes was "9 year old boy humor."

I very much like lame dad jokes and instantly thought of making him his own little
journal full of jokes he can tell people.

I'll start by showing you the box I made to give it in and the cover and first two pages.
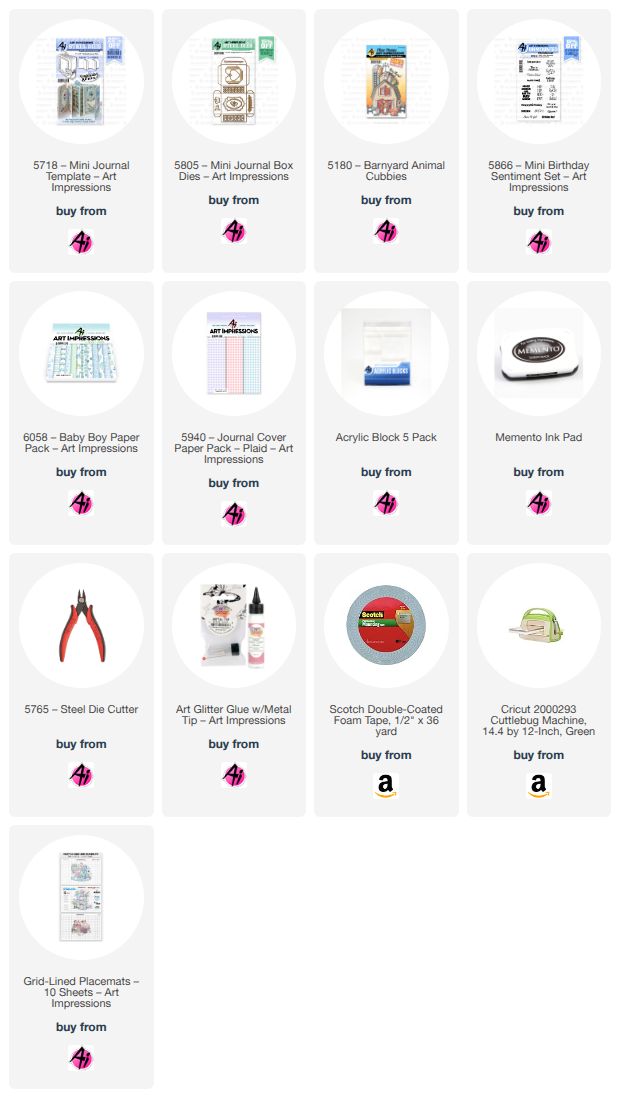
The box was created using 5805 – Mini Journal Box Dies and 5940 – Journal Cover Paper Pack – Plaid.
The sentiment is from 5866 – Mini Birthday Sentiment Set.


The journal and frame dies are from 5718 – Mini Journal Template.
I only did a "half journal" because I'm limited in time. This means I only cut the journal template twice so it looks like a regular book and not a fold out journal. I still plan to hopefully fit 10 jokes into it.


Here are the first two pages, the inside of the cover and the front of page one.
I used the corner die to hold the flaps closed. The little octopus is from retired 5397-Submarine Cubbies Set and the sweet duck is from 5180 – Barnyard Animal Cubbies.


The journal and pages are made from 6058 – Baby Boy Paper Pack.


Stay tuned at a later date for more jokes from Tony's Tiny Joke Book!
LOL!!!


Thursday, October 3, 2024

Barnyard Fun by Dori Mendiola

 Happy Thursday AI Friends!

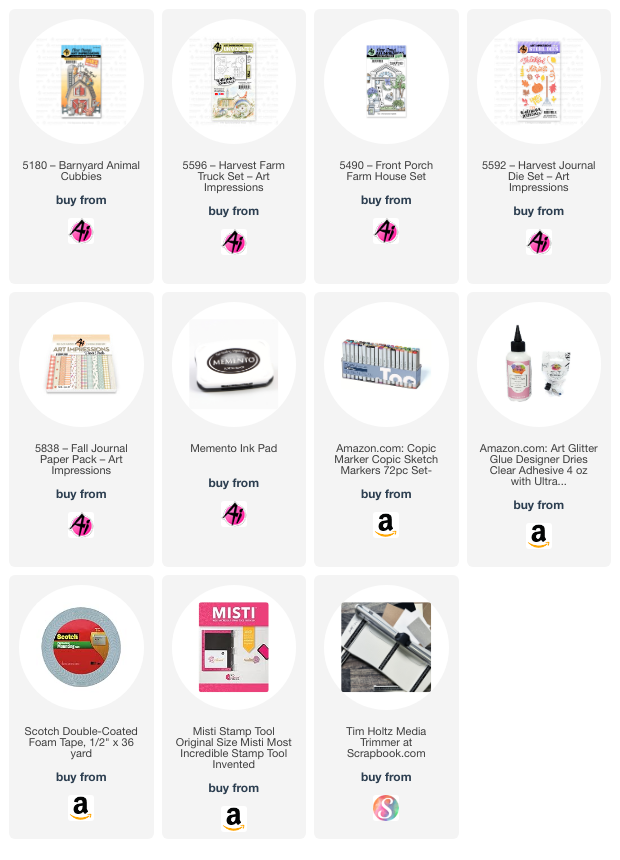
My card today was inspired by the current challenge "Farm Fresh".  I had a great time designing this interactive card with all of the little cubbie farm animals from the set #5180 - Barnyard Animal Cubbies and the truck from the #5596 - Harvest Farm Truck.


I began by stamping the images on copic friendly paper and coloring them with my copic markers listed below.  I also die cut several hay stacks from the #5838 - Fall PP and inked them with Distress Oxide Vintage Photo to give them texture.  Where did I get the die for the hay stacks, you ask?  I improvised and die cut the porch plant from the #5490 - Front Porch Farm House.  It had rough edges and without using the stamp, I thought it could pass for hay stacks.  Now that I told you, maybe it doesn't look quite like a hay stack?  😂  

To create the mechanism for the doors:  For an A2 size card, cut base cardstock at 5 1/2" x 5 1/2" (score at 4 1/4".  Cut two pieces of colored cardstock - 1 1/4" x 5".  Score down the middle lengthwise, turn and score at 1 1/4".  Fold one corner over to score line and then fold other corner over to score line.  Should create four scored triangles in that 1 1/4" square.  With right side facing you, cut 1 1/2 triangle off (as seen on left), then do the same on other piece but opposite side of piece.  As seen on the right side, fold long piece of triangles over the front.  Glue the tab (indicated on right by black marker).  Place point in fold and line up right side with white cardstock.  Fold down the top to adhere.  Then glue the bottom of the right half down to the base of the card (see Pic. 2).  

Pic. 1                                                                            Pic. 2


Fold back each side of the mechanism (Pic. 3).  Cut two pieces of colored cardstock for doors - 3 1/2" by 2 1/8".  Adhere in place (Pic. 4).

Pic. 3                                                                            Pic. 4

Hint:  youtube "Dual Pop Up Card" for video tutorial.  

Hope you have a wonderful day.
Keep creating!

Copics used:  E21, E23, E50, E51, E53
R20, R24
Y15, Y17, Y35
C00, C0, C1, C3
B000, B91, B93, B95
YR16
    

Tuesday, June 20, 2023

Tag Journal Recap by Nina

             Hi Ai fans, Nina here and I am so excited to recap with you all the tag pages I enjoyed creating using the adorable images and the die sets from Art Impressions.

This Tag Journal documented my moods since beginning of March all the way until today, each one of them gave me tremendous joy as I dig into my Art Impression collection of stamps and dies, mixing and matching elements from different sets to create one single adorable project.

I will include links to all of the tags in this article along with some photos so it will be easier for you to find them all in one place.

I used the Tag stitched Die Set for all the tags to create the base, I would usually die cut it twice and glue them both to each other so all my tags are sturdy and flat (not warped). For the elements I place on the tags you will find thier name below with each project.

1. You Rule! Tag


This was created for the Teacher Appreciation week using Teacher Rule Set. 


I also have a Video Tutorial here:


I created this one for our Windows Challenege, I used the Little Girl Front & Back set.


3. Spring Harvest Pastel Tag

To kick off the Spring season, I created this tag using the Harvest Together Set.


4. Easter Bunny Tag

Here I used the Sweet Easter Set.


5. Explore Nature Tag

I used the bag stamp from from Ole Buck Set.


6. Woodland Treehouse Tag

This project was created for the April Showers Ai Challenege where we included rain or clouds, I used Woodland Tree Cubbies Set.


7. Teacher Appreciation Tag

I created this one to thank all teacher as we hit the second day of Teacher Appreciation Week. I used Teacher Rule Set.

8. Barnyard Party Tag

This tag was for our Ai challenege "Don't Fence Me Up". I mixed and matched many decorations and critters from different Ai sets to achieve this adorable partying scene on the inside, it had an interactive door than opens up to this fun scene. I used:

4967 – WC Fence Dies
5180 – Barnyard Animal Cubbies
5455 – Birthday Buggy Set
5491 – Front Porch Party Set
5722 – Birthday Journal Set
5443 – MB Nativity


9. Life is Sweet Tag

Yet another tag, I used the adorable Birthday cake GCH Die set.


10. Spring Time Tag

 For this Spring tag I used the cute HM Garden Set which is an add-on for the Holiday Mansion Set.


11. Fabulous Flowers Tag


I was the featured Design Team member for the Fabulous Flowers Challenege and I created this tag as one my projects for this challenege. I used Birdhouses stamp Set.

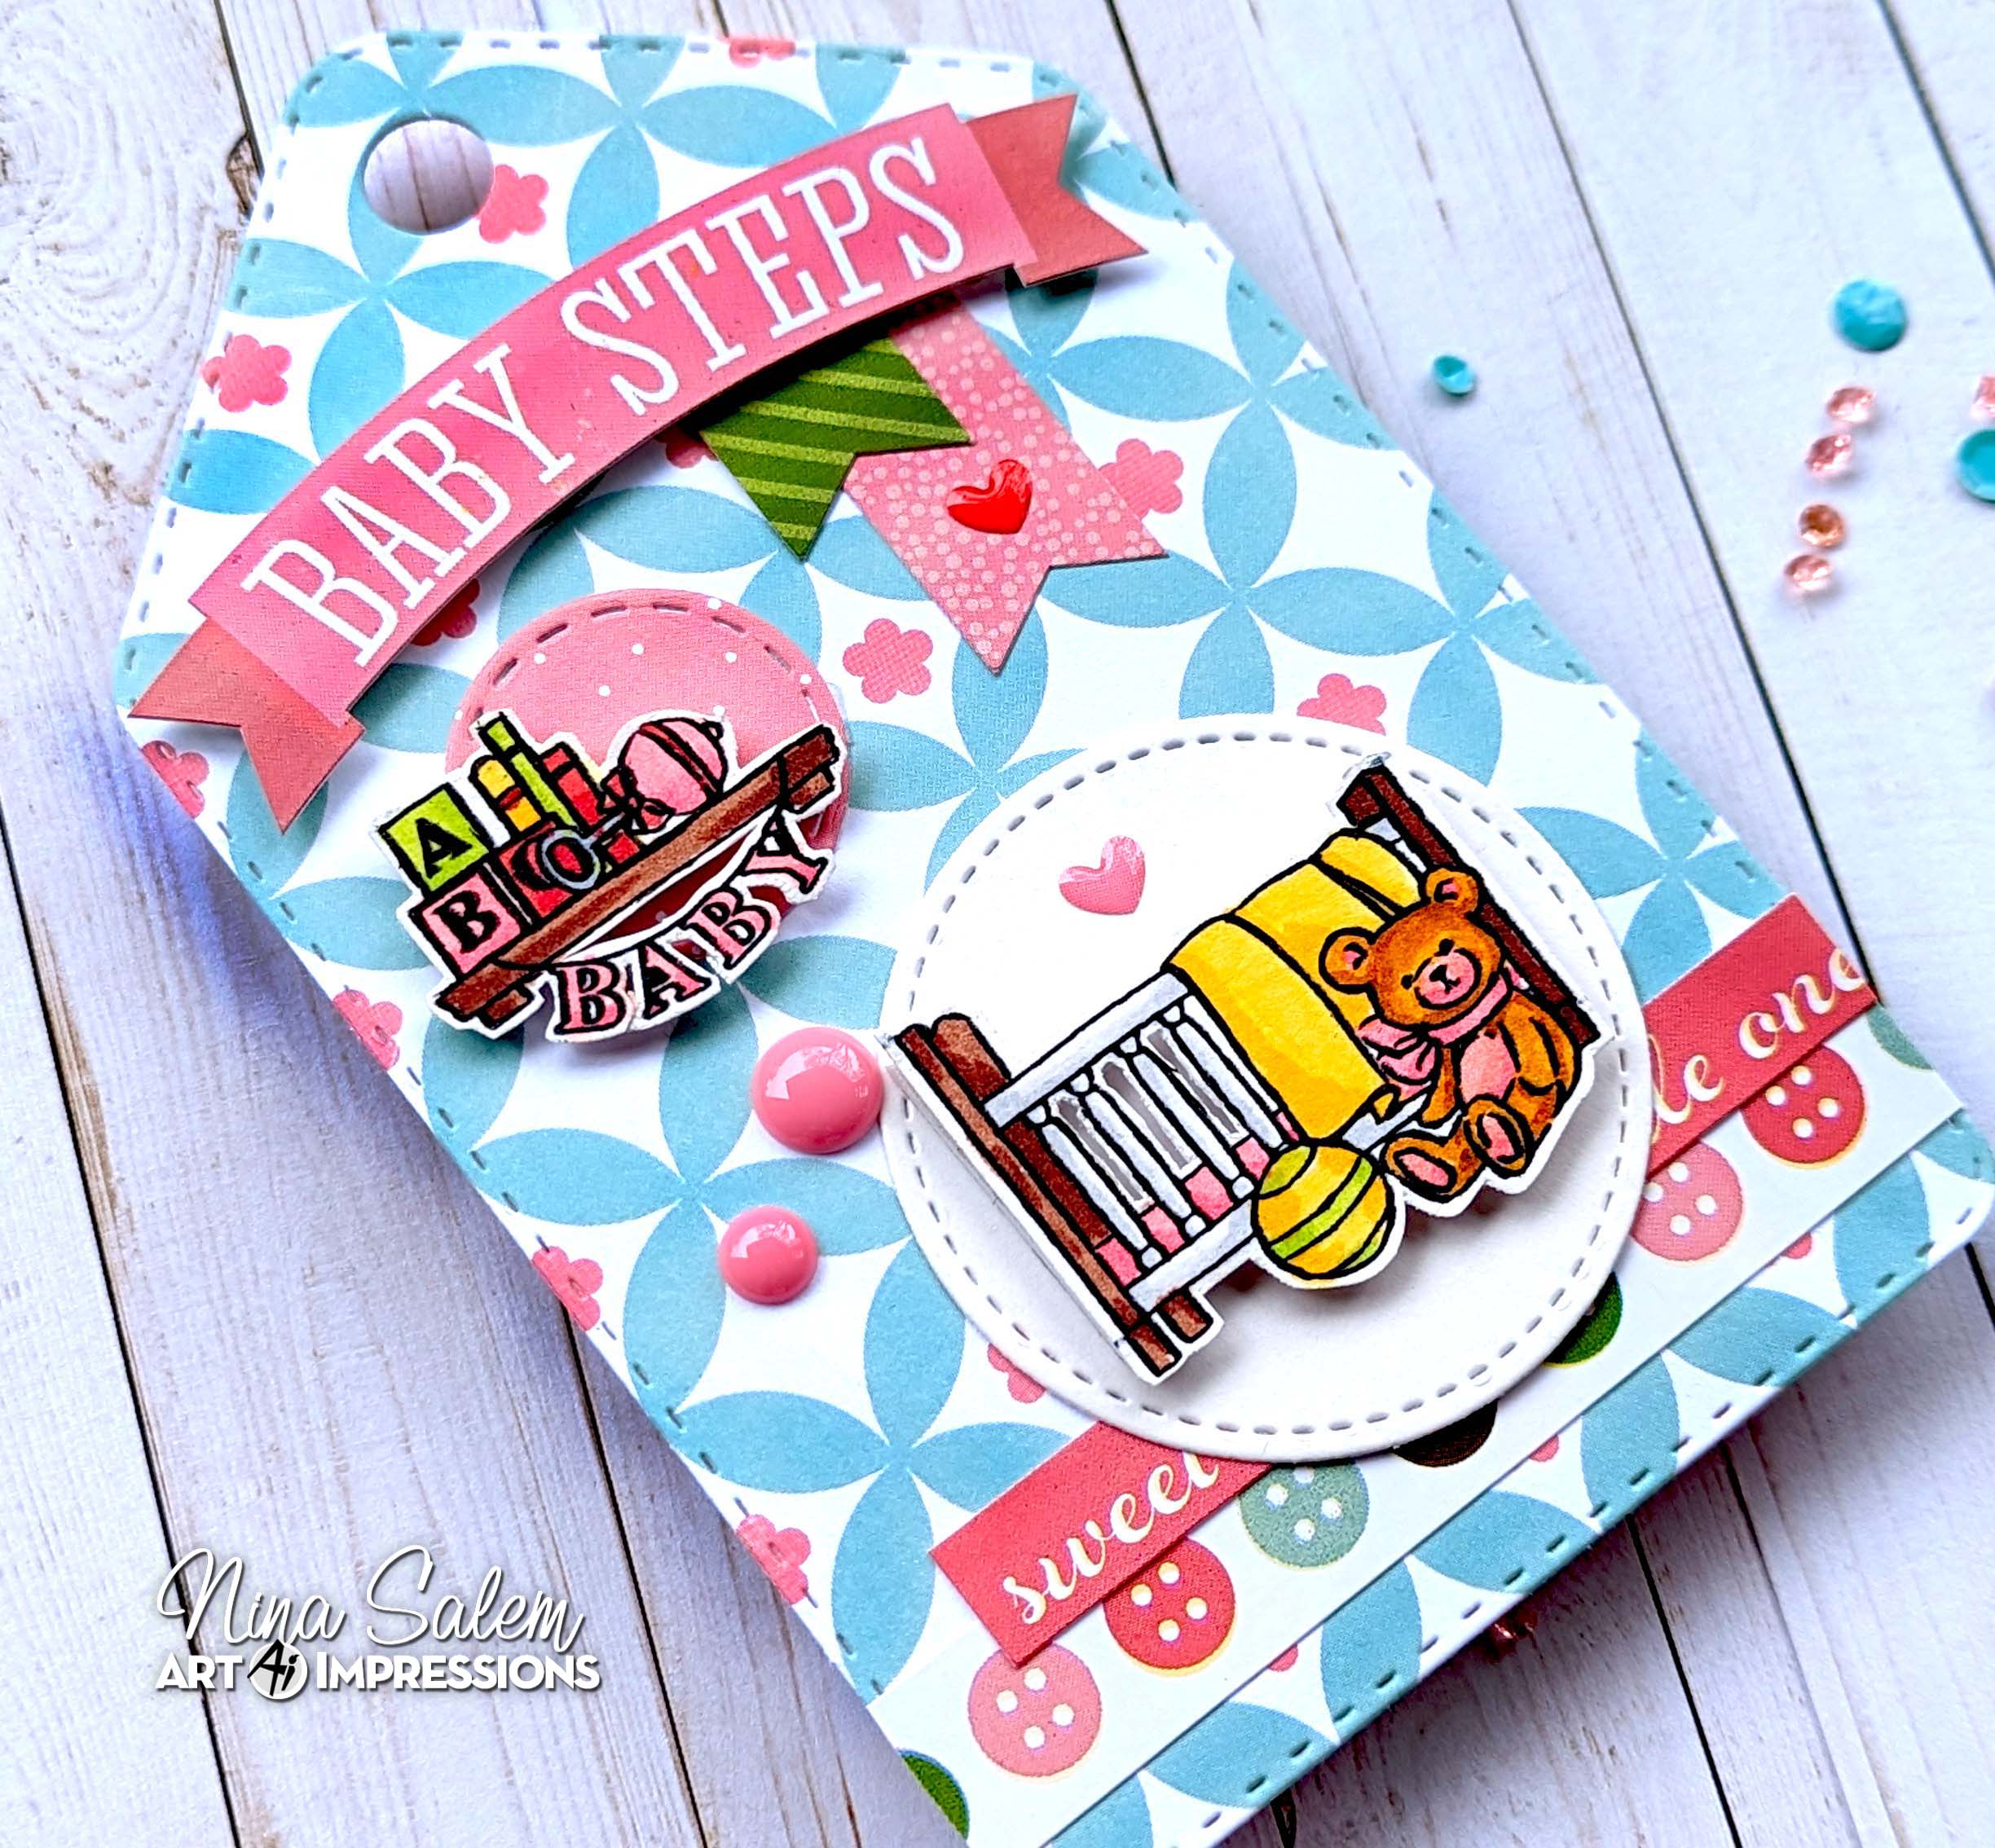
12. Baby Steps Tag

I used images from MB Nursery Set which is one of the Matchbook sets. Matchbook sets were the perfect size to create scenes on these tags.


13. Chicken Coop Tag

Again for this Spring Tag using one of the Matchbook sets, just the perfect size. Here I used the Chicken Coop Set.


I also created another tag for our current Midnight Snack Challenege that will be up on Art Impressions Blog Next Tuesday. Stay tuned.

Here are images for the complete Journal..


I had a blast creating this Tag Journal I hope you enjoyed each one of them. Thanks for being part of this journey!