Showing posts with label 6121 - Storybook Template. Show all posts

Thursday, March 12, 2026

Pickleball Wobble by Dori Mendiola

 Happy Thursday AI Friends!

The Art Impressions people stamps are a huge hit with me!  Bonnie does such a fantastic job with the characters and their facial expressions.  When she created this last set of AI People, I was in love and then she added papers to fit each.  What a wonderful way to create a card in a hurry!  Plus I added a wobble behind her and now she plays with a wiggle.  LOL!


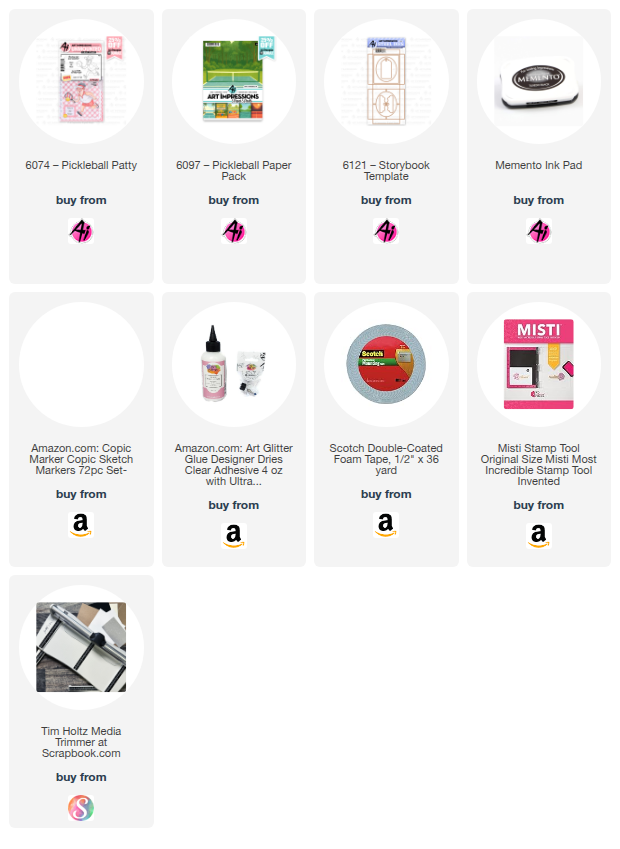
My card today uses #6074 - Pickleball Patty and #6097 - Pickleball PP.
I started by stamping the image onto copic friendly paper with memento black ink and colored with my copic markers listed below.  I cut the image out using the corresponding die included with the stamp set.  I also cut a second one with blank cardstock and glued to the back of the colored image.  I then added an action wobble to her back and adhered to the pattern paper.  She actually wobbles when she plays now.  
 Lastly, I added the sentiment, a bow and a pickleball pin.

Thanks for joining me today!  Hope you have a wonderful day!
Keep creating!

Copics used:  E00, E01, E11, E21, E23
T0, T2, T4, T6
R20, R22, R24
Y000, Y13, Y15
YG41, YG45

Thursday, January 1, 2026

No. 1 Book and Gnome bookmark by Dori Mendiola

 Happy New Year AI Friends!

I hope you had a wonderful holiday and are ready for the New Year!
 Can't wait to see all the fabulous creations from Bonnie and Kim.  I have no doubt that they will have lots of fun products for us again this year!

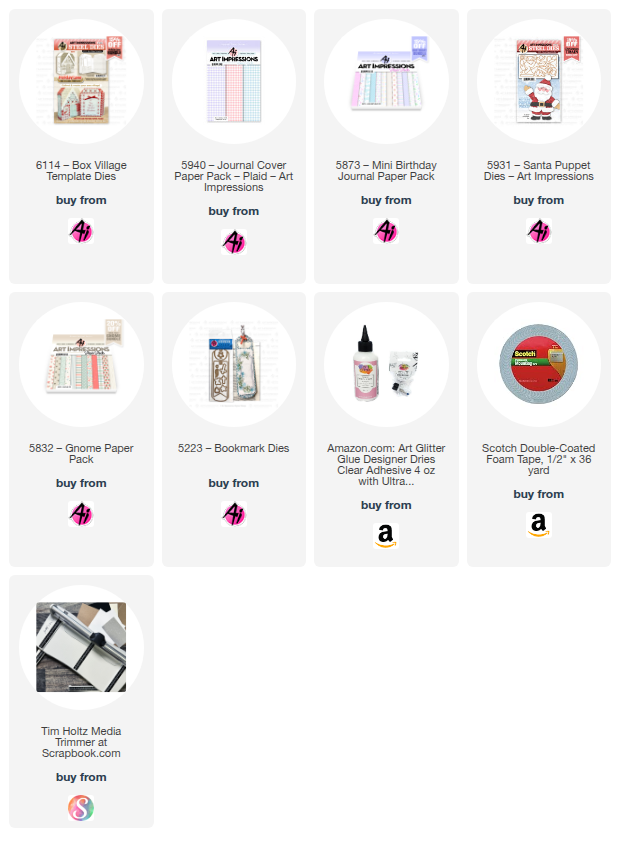
I'm starting off the New Year using #6114 - Box Village Template dies from the Holiday Lane series.  
I slightly changed the book cover to make it look like a number 1 for my granddaughter's first birthday.  Hope it's clear for you to see - made with the #5940 Journal Cover Paper Pack - Purple Plaid paper.  

I used #5873 - Mini Birthday Journal Paper pack for the inside of the book.  The inside contains pictures, pockets, notes and details from her first year and as much as I would love to show her off, my daughter asked that I didn't, so, unfortunately I don't have many pages to show.  However, my main purpose in showing this book was to emphasize how you can make slight changes to extend the die sets to fit your occasion.  Let your mind go!  Mine sometimes goes in odd directions but it's fun to see what can be created.  LOL!   


  Her birthday was S'mores themed so I created a S'mores with a square die from the #5725 Nested square dies set and the #5407 Birthday Cake GCH frosting die.  The graham cracker part was cut in rectangle shape and rounded the corners with a corner punch.  I inked the edges, stamped a cute little face on it and added a bow.  The sentiment tag is from the #6121 Storybook template.

Gnome Bookmark:  Another slight alteration of dies - here's a bookmark I made into a Gnome using the #5931 Santa Puppet die set.  The only real change that I made was that I added an additional beard layer by partial die cutting to make it slightly smaller so that it fit on top of the bottom one.  Then the nose fit nicely in between the top beard layer and the rim of his cap.  I omitted the brows, mustache and eyes.  Since he isn't a Santa, I also omitted the belt and fur parts of his outfit.  I die cut his outfit using the #5832 Gnome PP.  This paper choice made him look like he was wearing PJs so I added a cookie and coffee mug (from my stash) in his hands.  I placed him onto a bookmark made with the #5223 - Bookmark die.  He actually resembled me after Christmas.  I was a complete couch potato with my PJs on and my coffee mug in hand.  Life is good! 


Welcome to 2026 and another fun year with Art Impressions. 

Thanks for joining me today!  
Have a great day and keep creating!


Thursday, December 4, 2025

Reindeer Box by Dori Mendiola

 Happy Thursday AI Friends!

I hope you all had a wonderful Thanksgiving week celebrated with friends and family!  

December is here and that means holiday creating!  Clearly, I'm one of those that doesn't get started until now.  Yikes!  Guess I love the pressure of the holiday season.  😏 

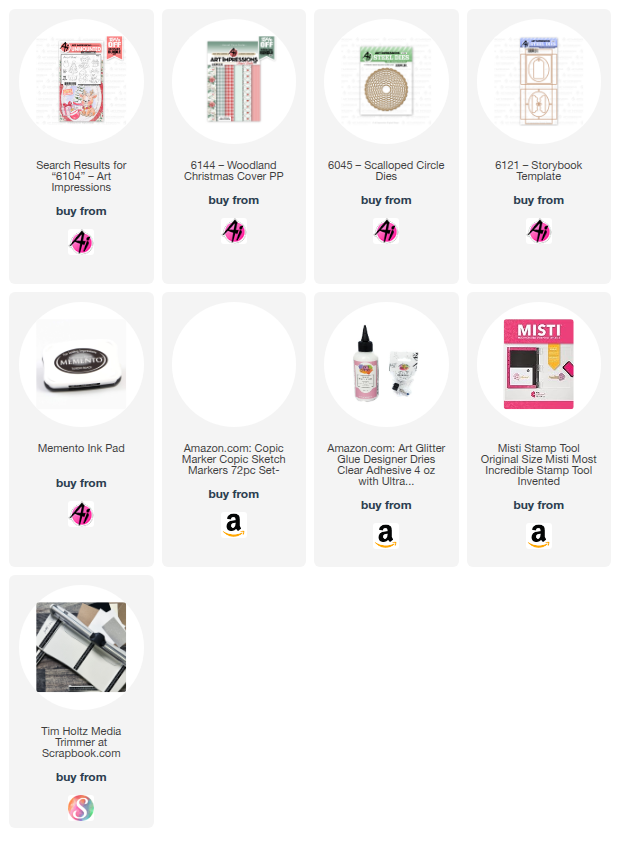
I've got a fun project for you today and you'll find yourself wanting to make lots of these.  I used the new #6104 Christmas Keepsake set for this cute little box.  I found a short video on Pinterest by SammyDemmy displaying this box, but it is in a foreign language.  I was able to improvise and create a version for you with English instructions.  I want to give credit to Sharon for helping me perfect the nose mechanism.  Thanks, bestie!
Cutest little box EVER!  

To open the box, you pull the reindeer's nose.


The finished box size is 3 1/2" tall x 2 3/4" wide x 1/2" deep.  This will fit a gift card nicely or you can place money or a small gift inside.

To make the box:  Cut a piece of 100 lb cardstock at 5 1/2" x 4 3/4".  Score along the 5 1/2" side at 
1/2", 1", 3 1/4" and 4 1/4".  Turn and score at 1/2", 1", 3 3/4" and 4 1/4".  On each of the corners, cut off the 3 small outer squares and snip up to the fold on the remaining small square (see below).


Fold and burnish all score lines remaining.  Tuck in each of the small tab squares and glue to the inside lower fold creating the box shape.  Before glueing the top 1/2" flap, check to see if you need to snip off a little so that it fits just to the bottom of the box when tucked inside.  Place glue on the top 1/2" flap and fold into the box to give the box stability (see below).  Do this for all four sides.  Your inside box is ready.


For the box cover:  Cut a piece of pattern paper at 7 1/4" x 3 5/8".  
Score along longest side at 1/2", 1 1/8", 3 7/8" and 4 1/2".  Fold and burnish.

To create the nose pull:  Color your reindeer and adhere it on a red circle base.  Punch a 1/8" circle into his nose.  Place the reindeer over your pattern paper box cover and mark where you want the nose.  Note:  I found that the lower you place the reindeer on the box, the farther the box will open.  
Punch a hole into the pattern paper for the nose.  If you have a crop a dile that will reach, you can adhere the reindeer onto the pattern paper and then punch the hole through all three layers at one time vs. marking it.  
Once the hole is punched onto the pattern paper, line up the hole with the reindeer and adhere the circle in place.  Thread the ribbon or embroidery thread through the bell.  Tie the thread so bell stays in place.  Place the two ends of the thread through the hole to the inside.  Hold the inside box into place and bring the thread up the front of the box and over the top.  Glue the thread on the top and again on the back of the box (towards the top).  After the glue has dried completely, snip off the loose thread from the back and glue the box cover together.  Make sure the cover does not adhere to the box.  


If you want the box to hang from the tree or a gift, place a tag topper to the back side of the box cover.  Tie some ribbon or string and a To/From tag to the topper and it's ready for your gift or tree.


Once you make one of these, you will find yourself making so many more!  Have fun pulling his nose!

Thanks for joining me today!  Keep creating!

Copics used:  E50, E51, E53, E55, E57, E59
R20, R22, R24, R27
Y28, Y32, Y35
Sunday, November 2, 2025

Fall Keepsake and Cozy Christmas Ornament by Karen Day

 Hello Ai Watercolour fans!


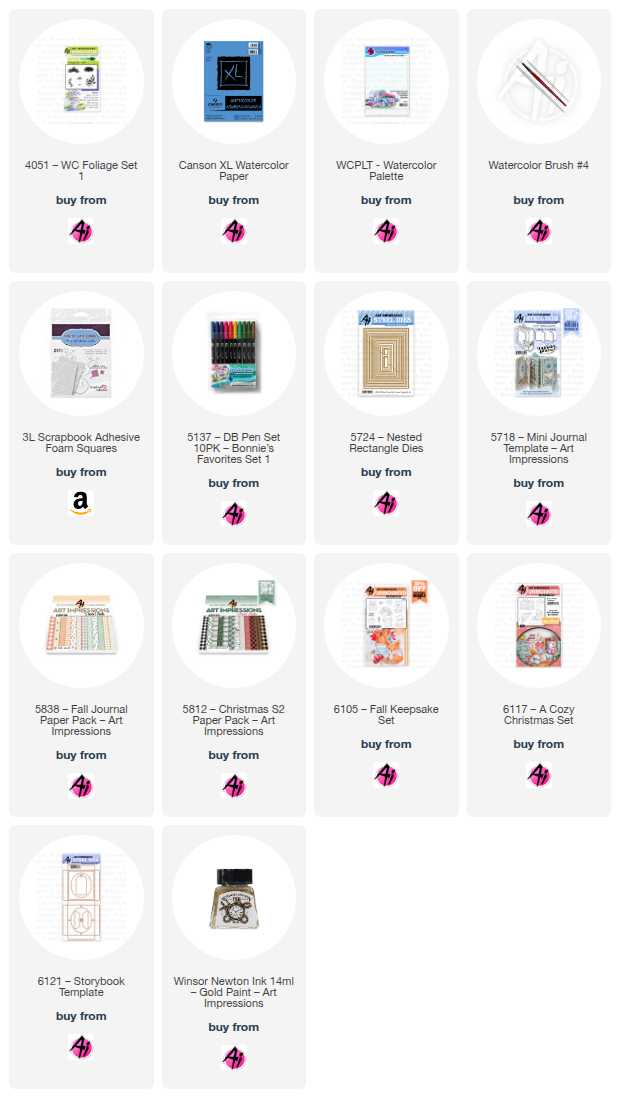
I have a couple of projects featuring some of the newly released sets today!  First is a card using the 6105 - Fall Keepsake Set:


I coloured the images with my N45 Tombow Dual Brush Marker, and stamped them on my Canson XL Watercolour Paper.  I started with the fox, then the toadstool, and added masks to both of them.  The pumpkin and pail followed, and finally the fall bouquet was added to the pail.  After pulling the colour out of the lines with a damp brush, I added a pale coat of #993 to the pumpkins and fox, followed by several layers of #947, and finally a mix of #947/977 to create the really dark areas.  Shades of #N55 were painted on his paws and to the bucket, layering to keep the sides of the bucket and bottom of his paws darker.


I wanted the leaves to be multicoloured, so did sections of #993/947/856/126/346/977, blending them together.  I added #346/126/977 to the stems of the pumpkins, and the stem of the toadstool, and painted shades of #856 on the top of it, touching the dots with a little 346.  I used the N55 to add shadows to the fox's white areas, and finally painted a wash of #126/346 for the grass, and stamped the small grass from 4051 - Foliage Set 1 in #126, and then I used the fine point of the 346 marker directly on the paper to add a few darker lines of grass.  A wash of #493 was painted in as the sky.  I used my Grey Twintone marker to colour in the eyes/features and redefine any areas that needed it.


My scene was die cut using the 5724 - Nested Rectangle Dies, and adhered to a brown mat with 3D foam adhesive.  The word 'hello' is from the 5718 - Mini Journal Template set, cut twice in brown and stacked to be a more stable die cut.  Both pieces of background paper are from the 5838 - Fall paper pack.

My second project is featuring the new 6117 - A Cozy Christmas Set, that creates a sweet little ornament!


I have a lot of photos for you today!  I tried to capture a few steps in the assembly process, but I highly recommend that you watch the Ai video by Kim to see how to assemble it.


In addition to the stamp set, you need to purchase the 6121 - Storybook Template die.  The die cuts out the box (at the top) and you cut three of the inner frame piece.  The images were stamped on Mixed Media paper with #N55, and painted in with #349/993/493/837/N55, and a few touches of gold ink.  Images were cut out using the coordinating dies that are included with the stamps.


I cut a piece of patterned paper from the 5838 - Fall Paper Pack at 3 1/8" x 2 5/8" to act as the background, and glued it to the back of the box.  I fussy cut the fireplace out, and glued it down so that it would appear behind all the other pieces.  Each of the stamped images is drawn along the curve of the oval opening, so each piece was die cut and glued under one of the frames (there is a tab where you can add the glue, see the photo below from the backside).


Each of the frames got pieces of 3D foam adhesive attached to the corners and in a few other spots, and then each of them is layered on top of each other starting with the tree.


After the tree comes the Mama bunny, and finally the baby bunny on the top layer.  *I used 2mm thick adhesive, but there is plenty of room to use a thicker adhesive if you prefer.  I'm happy with how this looks, though.  When you adhere the layers, you want to make sure that the openings are stacked directly over each other.


The Storybook die includes a tab piece which I cut out of some woodgrain paper from the 5812 - Christmas S2 Paper Pack.  I wanted the woodgrain on the outside of the box, so I used the inner frame piece to cut it out, then attached it to the front of the box.  I added pieces to cover the sides, top and bottom also.  The tab is adhered to the top back of the box after it's assembled.  Glue was added behind each of the tabs, the box was folded and attached to the other side, enclosing the scene.


Saturday, October 25, 2025

Oh Holy Night by Janet


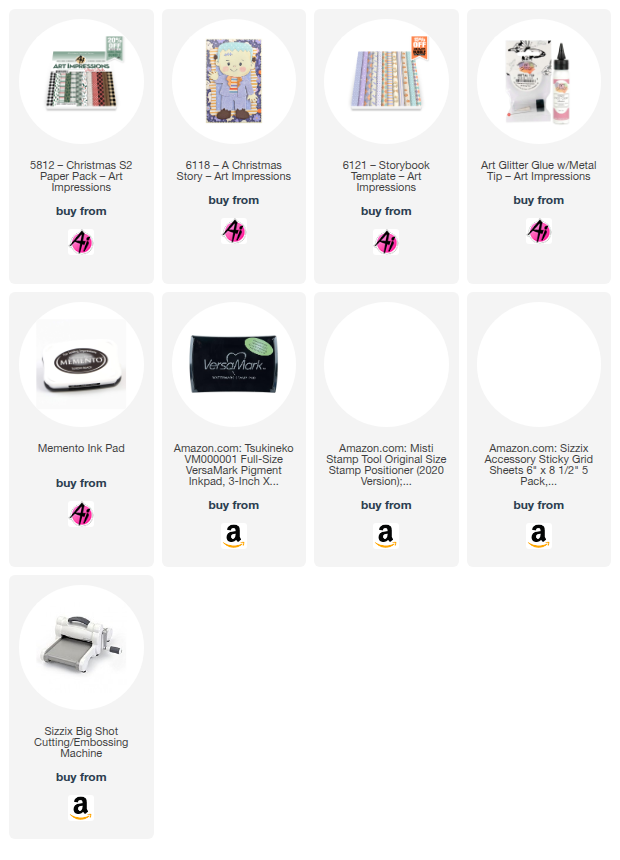
It's been a happy week for Art Impressions with several really unique releases. Today I'm featuring my favorite of the new Storybook Template sets, 6118 - A Christmas Story. To make this, there is a die set that works for all the Storybook sets, 6121 - Storybook Template. 

There are a few different ways you can incorporate the storybook sets into the template that is designed to hold the layered pieces to create a 3D image. I chose to use foam pads to building up the layers. Check out other DT member's version of this ornament and you'll see various ways that they've used these two sets together.

I chose to use kraft paper for the box since I always think of the desert when I think of this time period. That may not be right as there was probably a lot of green around Jerusalem, but I chose the kraft paper because of my perception. I decorated it with a mat cut out of 5812 - Christmas S2 PP.

The Storybook line is an exciting addition and I hope you'll enjoy it as much as I have!

Thanks for joining me here today. As always, don't forget to find your favorite stamps, dies, papers, and accessories at the Ai Store! You'll always find something that calls to you. 

Happy Crafting!

Janet YouTube - Blog - Facebook - Instagram - Pinterest