Showing posts with label CAS card. Show all posts

Friday, June 11, 2021

Lake House Cards by Tasha

 Happy Friday Ai Fans!

Tasha here sharing two cards created with the pretty Boat Window Accessory Stamp Set (#5409)


This stamp set includes the boat house scene and a little boat image with a coordinating die. You have the option to just use the scene stamp as is, stamp and cut out the boat image, or stamp the boat directly into the scene. Being able to add or remove the boat allows you to really personalize your design.


I stamped all the images with black hybrid ink and used Copic Markers for the coloring. I like having little stars in the sky, it makes me think of being up north in WI.


My second card uses the stamp alone without the boat. I also used different colors and added more white gel accents. It's fun to mix up the color combinations! I think this scene would also look nice with Fall colors; I may need to try that out next!


To complete both cards, I added layers of card stock and glitter paper before attaching them to a card base.

I hope you enjoyed today's projects!


Friday, June 4, 2021

You Brighten My Day! Card by Tasha

 Happy Friday!

Tasha here sharing a new card created with the M5048 – Succulents Window Stamp Set!


This window stamp is one of my favorites! The pretty succulents and fun Hello banner makes the perfect card to send any time of year. I'm always looking for cards to send to my friends and this stamp makes it so easy to create a quick and pretty design. 


The sentiment "Your friendship brightens my day and adds color to my life" frames the image nicely and the little sun detail allows for another pop of color! This greeting would surely brighten someone's day!


For the layers, I selected bright green, purple, and a deep golden color to coordinate with the colors used on the image. I also added some foam tape to attach the top two layers before adhering it to an A2 sized card base. This card has so much detail and I can not wait to send it out!

Thank you for visiting and I hope you enjoyed today's project!
Have a wonderful day!


Wednesday, April 8, 2020

Easter Blessing by Niccole

Hello Ai fans!!

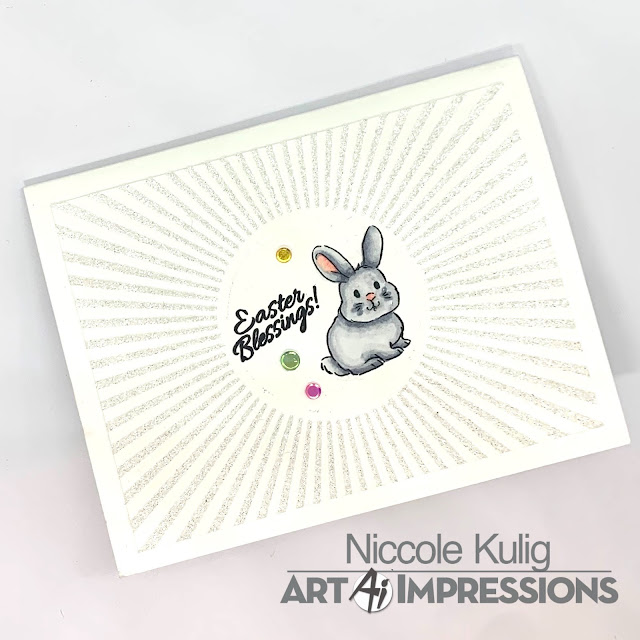
I am stopping by today to share a card I made using the Sweet Easter stamp set from Art Impressions.  
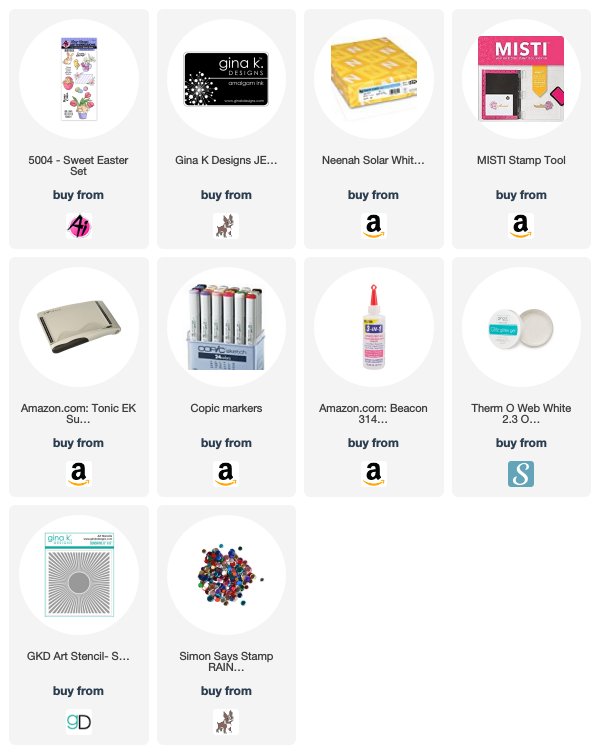
This card came together relatively quickly. I started by applying my Glitz Gel to a stencil I had.  I let it dry and trimmed the panel down.  I attached it to  my white card base.  I love the look of white on white.  
I placed my stamps down so I knew they would fit perfectly.  I Copic colored my bunny. I only used two color families; my cool grays and my reds.
I finished it by adding some pastel confetti sequins to make it pop a little more.  I really love how it turned out, might be one of my recent favorites.
Thank you so much for stopping by and spending a little time with me.  Make sure you come back soon to the Ai blog and see what the team has been up to.  

Copics used:
C0, C1, C3, C5
R11, R22, 

Until next time ... Hugs & inky fingers!

Wednesday, March 25, 2020

You're A Cherry on Top by Niccole

Hello Ai fans!!

I am stopping by today to share a card I made using the Cherry stamp set from Art Impressions that is being sold exclusively at Scrapbook.com.  
This card came together rather quickly but I LOVE how it turned out. 
I stamped the cherry image in the bottom right corner of my card.  I Copic colored it.  I added my sentiment above the cherry image to the right of the card. I decided it needed a little more pop so I went around it with my C1 & C3 Copic marker to give it a shadow like its popping off the screen. I added some clear droplets around the image to even out my my card front.  
I added some black and white plaid/gingham to a strip of paper and trimmed it to fit the front of my card.  I glued it to the left side of the card.  I also added some of my Copic marker to a strip of paper so I knew it matched my leaves. I added that to my card front. And ... voila ... DONE ... didn't it turn out cute??? 
Here is one more look at the card ... 

Thank you so much for stopping by and spending a little time with me.  Make sure you come back soon to the Ai blog and see what the team has been up to.  

Copics used:
C1, C3,
E44, E47
G28
R22, R24, R27
YG23, YG25, YG67

Until next time ... Hugs & inky fingers!

Wednesday, March 11, 2020

Thin Enough by Niccole

Hello Ai fans!!

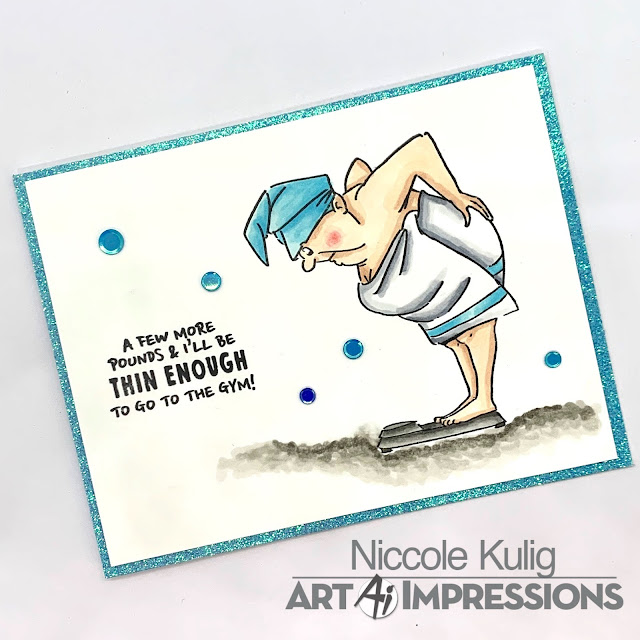
I am stopping by today to share a card I made using the Thin Enough stamp set from Art Impressions.  There is a larger set called Pamper Yourself which has this stamp set along with a few others. 
It came together rather quickly.  I stamped the woman and the sentiment first and Copic colored her.  I added the panel to my glitter background.
 I finished off my card by adding a shadow for my lady.  I also added some matching sequins for added dimension to my card.  That was it. The card came together rather quickly.
Here is one more look at the card.  I love how it says what a lot of us women are thinking.
Thank you so much for stopping by and spending a little time with me.  Make sure you come back soon to the Ai blog and see what the team has been up to.  

Copics used:
BG000, BG01, BG02
C0, C1, C3, C5
E00, E11
R11, R22
T2, T4, T6
W1, W3, W5, W7


Until next time ... Hugs & inky fingers!


Wednesday, June 26, 2019

Succulent Terrarium by Niccole Kulig

Hello Ai fans!!

Today I am stopping by to share a card using the Succulents stamp set from Art Impressions. This card is clean and simple that is for sure.  But it sure makes an impact.


I started by coloring my Succulents with my Copic markers and using the coordinating dies to cut them out.  


I used my Hexagon Double Stitched Dies from Ai to cut out my make shift terrarium.  I have not cut apart my hexagons yet.  I love that I can cut multiple frames in the hexagon shape. I only used the biggest three sizes for my frame.


I added my Succulents last and arranged one flat with glue, the big one in the middle I used glue on the bottom half and raised the top half with foam tape.  For the last smaller one in front; I popped him up with foam tape. 


I finished it with a few light green confetti sequins.  And a small stamp in the bottom corner of the inside of the card.  I love the offset of the sentiment in the corner. It really was a card that came together quickly.  


I love how it looks like you are looking down into a terrarium. Wouldn't you agree ... a perfect birds eye view??

COPICS Used:  
G99
YG00, YG03, YG25, YG67

Thank you so much for stopping and spending a little time with me. See you soon!

Until next time ... Hugs & inky fingers!