Showing posts with label window card. Show all posts

Sunday, October 29, 2023

Welcome Guest Designer Carrie Triner!

 Hello everyone!

Since we've shifted our Watercolor Weekend to Sundays and have 4 designers something rare popped up.  October has a 5th Sunday!

What should we do? No one wants a blank day on the blog.

We reached out to Art Impressions SUPER FAN Carrie Triner and she agreed to make us some cards.

If you're not familiar with her work, you're going to love it! 

She created two Christmas cards, one with carolers and one with Santa and his crew.

Let's hear from Carrie herself.

Hello, my name is Carrie Triner. I would say that I am probably one of your biggest fans.

After loosing my mom I had difficulty letting her go and trying to move on.

I remembered my moms love for coloring and decided I would color to keep her memory alive. 


It has been a journey that has allowed me to heal, while keeping her memory alive. I color nightly and call it my nighttime wind down. Up until til this year I colored every single night. Recently I’ve allowed myself a little grace and by not having to color every single night. 


The first card  I’ve created comes from a memory of my children being young and 

Anxiously  awaiting  the arrival of Santa and hoping to get a glimpse of him. One of my daughters swears she say him out from and climbing of chimney. For this card I used Sleigh Bells.


Cardmaking two takes me back to the first Christmas of my marriage and new home. Neighbors all got together to welcome us to the neighborhood by ringing our door and caroling in front of our home. It’s a memory I’ll always cherish. For this card I used Christmas Wonder.


I’ve been a huge fan of Art Impressions stamps for over 9 years. I believe my first stamps were 29 again and Hog wild. 

As far as my favorite series, I absolutely loved them all. To pick one collection would be leaving out all the other ones I love. Your company makes it tough to choose a favorite. I’d have to say all of them. Recently I’ve been researching all your collections and stamps and got to see and know all the many collections you have made over the years. 

So back to trying to choose a favorite, I’d say between Golden Oldies and Girlfriends.


Her first card uses 4936 – Christmas Wonder Set.

She created a gorgeous "window" card so that you can see through to the inside.


Her coloring is always so fabulous.  (I've followed her for a long time)


She usually creates fun Reels on her Instagram account. If you're looking for ways to index all of your Ai stamps, she's spent the last 5 weeks organizing hers and has shared on IG.


Her second card uses 5040 – Sleigh Bells Set.


It's also a window card but this one is different.
Don't the little elves look so happy and proud as Santa is
setting out for his midnight ride with all of the toys that they've made?


Her deep, rich colors are wonderful.  Creating such depth is something that alludes so many artists.


Don't you love how she added the gold cord as reins?


We'll see you soon Santa and hopefully we'll be seeing lots more from Carrie very soon too.

Copics used:

Skintones-

1- E04-21-01-00

2- E04-25-13

3- E04-11-21-02-00

Cheeks

R22-11

R21-11

Hair

E44-47-49-100

E19-18-17

YR23- E35-Y23

Brown E49-47

Red- R89-37-27

Green- YG67-63-17-61

Brown- E59-57-55

Gold- Y21-26-28

White- W1-2-0

Tan- E57-E35

Brown E35-37-39

Blue - B39-99-95

Orange- YR14-18

YR27-14-24

Green- G85-29-YG67-YG63

Santa Skin- E25-23-13-04-11

Cheeks- R35-27-05

Book- E43-42-41-0


Thank you so much for helping us out Carrie.

We're sure the entire Ai community and beyond will be inspired by your beautiful cards.

Thursday, October 12, 2023

Frog Costume FB Halloween Card by Reneé Matarese

 Hello Ai fans!

I've got some really cute cards to share with you today!

I've used several of the newer Art Impressions sets and you can find links to everything at the bottom of my post.


I've always been a huge fan of the Front and Back stamps and was so excited when Art Impressions started making them again.


The oval cut outs are nice and large so I saved them for a future project which you'll see below.


Most of the patterned paper is from Art Impressions.


As I was cutting out the ovals I was just tossing them aside on my table.  When I looked at them I noticed that they looked a bit like a pumpkin.  I turned them into this Simon Says Stamp Stamptember Exclusive.  I really like how it turned out and I saved something from going in the recycling bin.


Both cards are similar but they have subtle differences like different front pages and the inside papers are arranged in a different order.


I also used different sentiments on them as well.


Goodbye until later today!
Be sure to check back at noon for our new challenge!
I'm the featured artist and I have several projects to share with you.


Friday, July 21, 2023

Wishing You A Warm and Beautiful Day Card by Tasha!

 Happy Friday Ai Fans!

Tasha here sharing a new card created with the 5488 - Sailboat Window Set. I love all the Window stamps and I thought this one would be perfect for a Summer card, the lake is so pretty!

This image was stamped with black ink and colored with Copic Markers. I live near lots of lakes and had a wonderful time coloring this image, especially the flowers.  I also added little white accents to the water to make it look like the sun was shinny on it. Doesn't the bright blue sky and clear water make it look like a perfect day for sailing?


One of my favorite color combinations is Blue and Yellow, so I used these colors to bring in tons of color. It reminds me of the sun and water and I love the bright yellow pattern paper!


Lastly, I added layers of silver foil paper and several white enamel dots before attaching it to a white card base. 


I hope you enjoyed today's card and are having a great day!


Friday, June 11, 2021

Lake House Cards by Tasha

 Happy Friday Ai Fans!

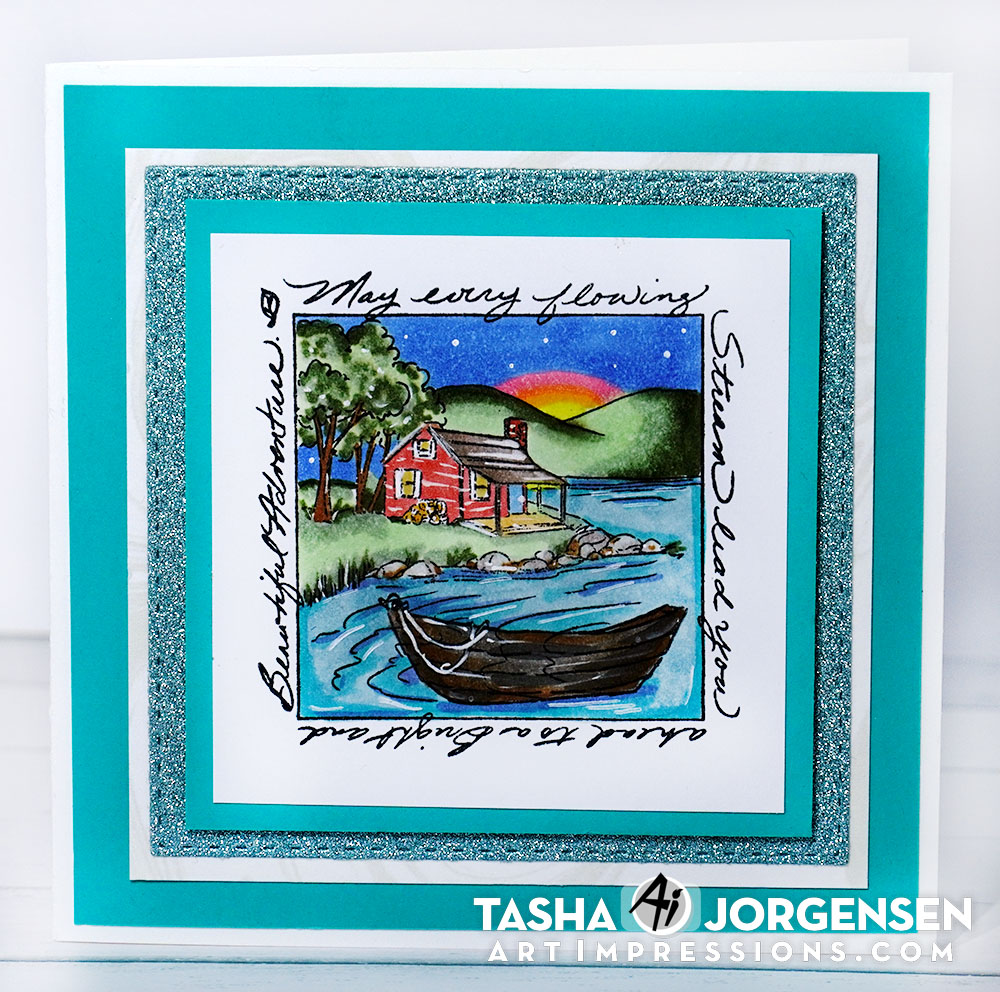
Tasha here sharing two cards created with the pretty Boat Window Accessory Stamp Set (#5409)


This stamp set includes the boat house scene and a little boat image with a coordinating die. You have the option to just use the scene stamp as is, stamp and cut out the boat image, or stamp the boat directly into the scene. Being able to add or remove the boat allows you to really personalize your design.


I stamped all the images with black hybrid ink and used Copic Markers for the coloring. I like having little stars in the sky, it makes me think of being up north in WI.


My second card uses the stamp alone without the boat. I also used different colors and added more white gel accents. It's fun to mix up the color combinations! I think this scene would also look nice with Fall colors; I may need to try that out next!


To complete both cards, I added layers of card stock and glitter paper before attaching them to a card base.

I hope you enjoyed today's projects!


Friday, April 3, 2020

Exclusive Roses Window Card | By Jessica Shier

Hello Ai Fans!

It's Jessica today and I have a rose window card to share with you. These Scrapbook.com exclusives are gorgeous and the rose one especially. I love all the detail, I knew these roses would look good colored or embossed so I had to try both. 


I'm using the Hexagon Double Stitch die set. This shape is a lot of fun to work with. I die cut one of the larger dies on to the front of my card. I'm using a Neenah 110lb card base. I one of the large rose images and heat embossed in two corners, using copper embossing powder. Having some fun with a teal and copper color combination. 

The light gray texture is done by using gray dye ink and a hexagon stencil. Also, I shaded in the roses with a W3 Copic Marker. I never recommend coloring your images with alcohol markers when it has been powder embossed. I'm pretty sure I have ruined more Copic tips. 


Using black ink I stamped the wreath image on to Neenah 80lb card stock. And color in with Copic Markers. The list of colors I used is listed below. After heat embossing the sentiment into the center of the wreath, I fussy cut it out and adhered to the inside center. I do like to add something else to the inside with window cards. I like the idea of having a little surprise. For this card, I die cut two smaller hexagons and add an embossed sentiment and small rose image to them. Those are adhered to just out of sight through the window of the card. Embossing these images in a metallic powder is pretty magical. 


Copic Marker list
BG18, BG15, BG11
YG67, YG03
W3

Color inspiration.


Thanks for stopping by today and happy stamping!

Friday, May 3, 2019

Heard It's Been Ruff | By Jessica Shier

Hello Ai Fans!

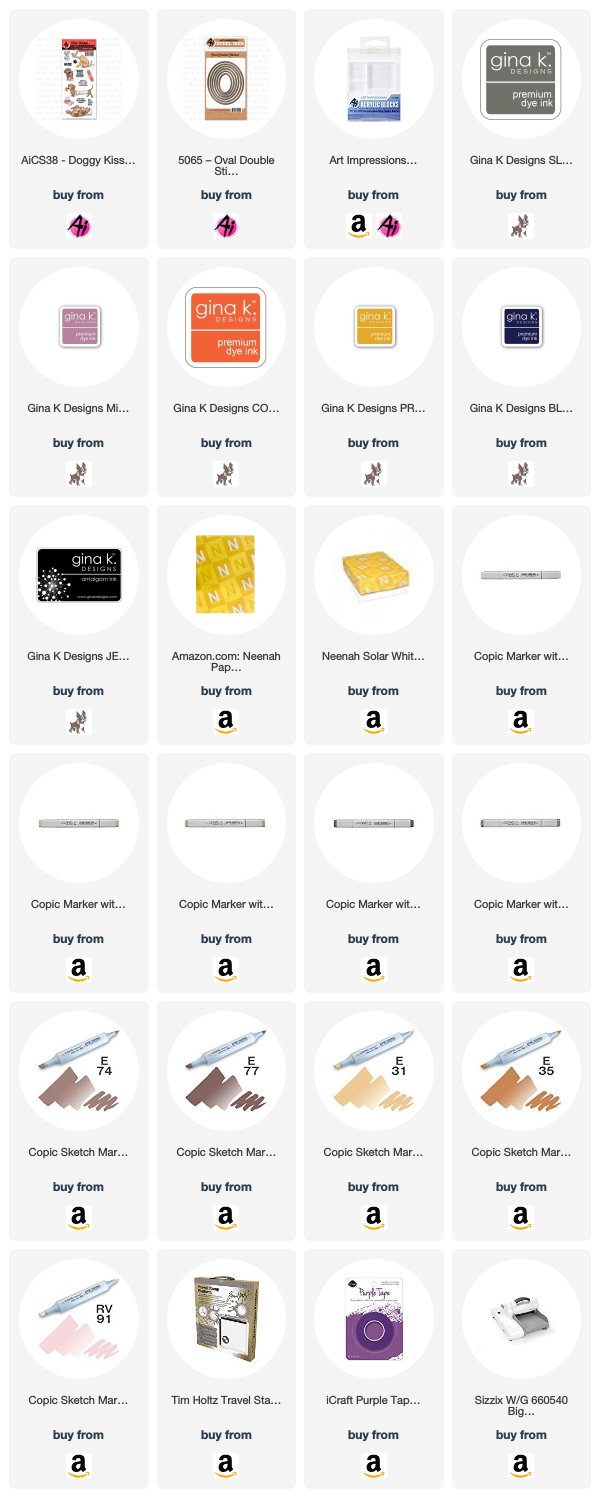
Today I'm sharing this card I made using the Doggie Kisses set but focusing more on using those smaller stamps. I've been trying to write down color combinations that interest me and this one uisng; Coral, Blue, Mustard, Lavender and Gray really captured my attention, so I knew I had to make something using those specific hues.


I started off with cutting the oval in the center using the Double Stitch Oval dies. The one I used is one of the smaller sizes that comes in the set, but I wanted something that would just barely show the dog. Luckily clear stamps make it very easy to see how things will look before you stamp and die cut!

To stamp the bandage, I used several Gina K Inks in the colors mentioned above, exact colors listed below. I do stamp in clusters and in threes at first then fill in from there. Through out the process I just kept in mind that I also wanted larger white areas so that I could add a few more elements.


In those larger areas is where I stamped the lavender paw print and the sentiments for the front. It was fun just stamping instead of stamping to color. It's like making your own pattern paper. I did go over the bandages with a W1 and W0 Copic marker just to give them some depth. Totally optional step though. 


Now for the inside I was able to line up the dog where I wanted him to show through on the front of this card. After that I simply closed the lid of my stamp platform and used a piece of 80lb Neenah Solar White cardstock to stamp on to. Then I colored a simple scene with Copic markers. I thought the sentiment mentioning the dog cone was hilarious, so I used that on the inside with the coordinating image. Then adhered that to the inside.  


I've always liked making window cards and I love the way it looks with the pattern stamping using the smaller stamp images on the front. It's also a great way to experiment with some color combinations. I usually search by season or sometimes you just see a color combination that inspires you.

Copic Markers Used:
Card Front - W1, W0
Inside - W6, W3, W1
C5, C1, E74, E77
E31, E3, RV91

Thanks so much for stopping by today and Happy Stamping!


Sunday, October 15, 2017

Skeleton Wiggle Wobble by Reneé Matarese

Hello Ai fans!!

Today I'm sharing such a super fun new stamp from Art Impressions.
This is the 4952 – Skeleton Wiggle Wobble


I created a window on the front that has a web "woven" in it that the skeleton can peek through from the inside.


Here is is on his Action Wobble on the inside of the card.  Give him a flick and he'll dance around.


Shake Rattle & Roll!  Wait until you see this guy in action.  I have a video below.  He's so cute!!  Who wouldn't want to receive an interactive card like this??


Enjoy!


Copics Used:
YR04, YR07, W1, T1, T3, C0, C5,