Showing posts with label Fall Leaf Frame Die Set. Show all posts

Saturday, October 19, 2024

Tres Chic! Harvest Blessing by Janet


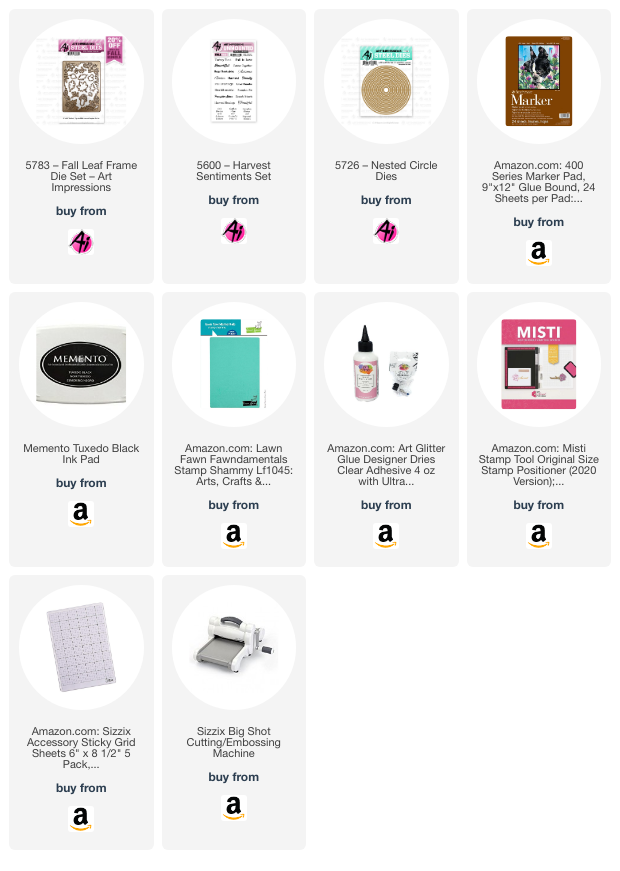
 Hi everyone. Today I have a card that's quite different from my usual. If you have visited here enough, you know that I like to use characters, critters, and always bright and cheerful colors. Today's project was made for the current challenge, Tres Chic. The challenge asks for projects made using the color palette and inspiration shown in the pictures posted for inspiration. I did my best! As usual, the end result is a bit brighter than I had intended but I have used twine and some neutral colors. Good thing the challenges are always pretty lenient! Most of the features in this card was created using 5783-Fall Leaf Frame Set.

I made this with inspiration from a video I watched from Laura Evangeline. I masked a piece of watercolor cardstock with 1" wide washi tape. Then I blended Antique Linen, Dried Marigold, and Victorian Velvet Ranger Distress inks in the unmasked rectangle. Then I splattered water, white, and copper watercolor inks over the panel. I next created my own stencil by arranging the leaf and acorn dies from the Fall Leaf Set on thick cardstock. Once done, I taped it in place over the inked rectangle I had just finished and then applied rose gold stencil paste over my homemade stencil. 


This method worked reasonably well. There was a little leaking but overall, that didn't take away from the result. Before the copper paste dried, I used a pin to draw in the veins of the leaves.


  I next cut more leaves, mushrooms and plant sprigs from the dies in the set in a few different colors. I picked some of them and arranged them as shown by gluing the stems and backs with just a little bit of glue. I used 5600-Harvest Sentiments Set to stamp the sentiment on kraft cardstock before cutting it out. I cut a circle out of vellum using the Nested Circle Dies and glued the collage and the sentiment to it. I added the crystals to the circle and to the inked and stenciled rectangle. The crystals are leftovers from a diamond art kit I had finished a while back. They worked great for this use.

I wrapped natural twine around the bottom of the card and added a bow. Then I attached the completed circle with foam tape placed strategically behind the sentiment and the collage. The last step was to attach the finished panel to a mustard gold card base. 

I hope you enjoyed seeing my interpretation of the Tres Chic challenge. Be sure to go to the challenge post and upload your entries. Share your work for a chance to win a free stamp set from Art Impressions.

Thanks so much for joining me to see what I created for you today. Please visit the Ai store for the sets I used and all the things you need for your card, journal, and tag making projects. Happy creating!

Janet YouTube - Blog - Facebook - Instagram - Pinterest

Monday, September 18, 2023

Fall into Fall Challenge by Sharon Caudle

 Hello AI Fans!

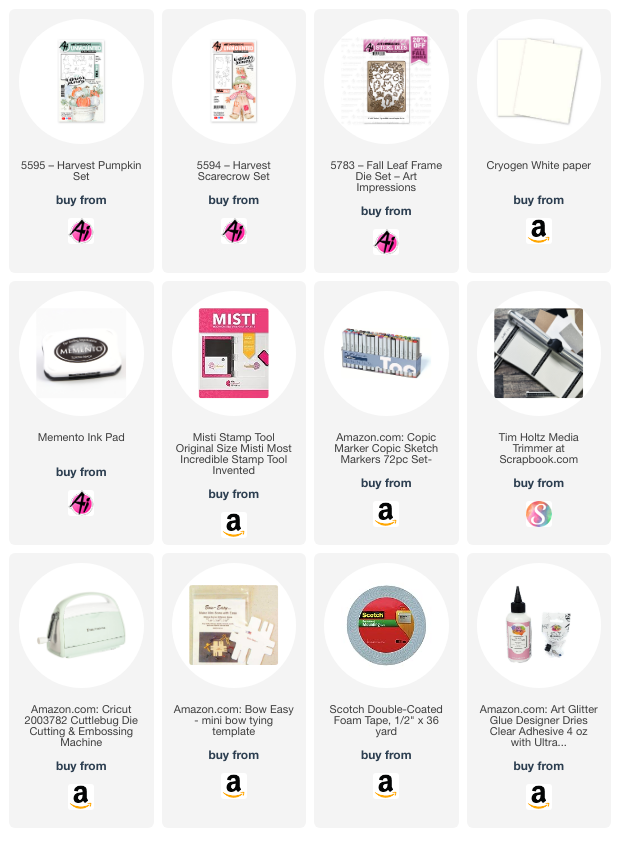
So have you checked out the new challenge?  It's Fall into Fall, and this card would work for it! I used 5595 Harvest Pumpkin Set, 5594 Harvest Scarecrow Set, and the brand new 5783 Fall Leaf Frame Die Set.  I stamped the images onto Cryogen white paper using Memento Ink and then colored them with Copic markers which are listed below. 


Thanks so much for stopping by for a visit today, and until next time - stay crafty!!


Copics use:

Y02, Y13, Y17, Y21

YG01, YG03, YG91, YG93

YR01, YR02, YR04, YR07, YR15, YR18, YR23

E19, E25, E33, E40, E42, E53, E57, E59, E81, E84, E93, E95, E97

B000


Thursday, September 14, 2023

Fall into Fall Challenge #360

Hello everyone!  We have a new challenge beginning today.  I had to Google it to see if I was rushing things...lol.  Turns out the official start of Fall is during this challenge so, it's all good!
Fall begins on...
Sat, Sep 23, 2023, 2:49 AM
Eastern Time

I won't be awake to experience it, but I will enjoy seeing all of your Fall themed handmade projects!
Our new challenge is called Fall into Fall.  We want to see any Fall themed crafty project.  Halloween, Thanksgiving, Fall leaves or whatever says Fall to you!


Before we check out Mercy's gorgeous card and picture tutorial she made as our featured artist for this challenge, let's see who won our Feeling Blue challenge.

For our Top Spot, we selected Cat L.
She made two cards.  One features the retired Gossip Club and on the other she used 5346 – Birdhouse Cubbies Set.


Please contact Leah at Feedback@artimpressions.com
to claim a free stamp set of your choice!
Also, be sure to grab our badge to display on your blog, Facebook or Instagram!

Now for our Lucky Random Winner.
#22 Debbie Hedges
She used the new 5794 – Whimsical Flowers set.


Please contact Leah at Feedback@artimpressions.com
to claim a free stamp set of your choice!
Also, be sure to grab our badge to display on your blog, Facebook or Instagram!


Now for the MAIN FEAUTURE!

Mercy has a dies only card with the exception of her sentiment.
Art Impressions has added some fabulous die sets over the last two years!


Here we are starting a new challenge, all about fall!   My favorite season! I love the feel, smell and colors of autumn.   But if I had to chose, the two things that stand out the most for me are the harvest festivals and fall leaves.   Both so fun.    In today's card I am using a newly released die set, the Fall Leaf Frame Die Set.  I decided to use this staple set as the "main" character, not combined with any other set and I loved the results.  Let's take a look,


For this project, I used a technique I don't often apply but equally enjoy, paper piecing.    As shown below I did not cut apart the frame set.  I die cut the first piece in yellow cardstock and removed the center and outer pieces from the frame.

Following this step I repeated the process using red cardstock except I only removed the centerpiece part of the die.  Then I adhered the two pieces together as shown below.


I proceeded to stamp the sentiment.   In addition, I die cut the frame using different color cardstock.


Following the previous step, I overlaid the center cut out as a guide to adhere the "floating die pieces".


I avoided the area where the sentiment was stamped and added a few extra layers to some of the leaves and the mushroom.   Finally I used Glossy Accent on selected elements.

I love this card, it's fun and pretty easy to create.   Hope you have a lovely day and will see you next time!


✻ Please make a new card or handmade crafty creation. You can make any item you wish; this is not limited to cards!
✻ Limit two submissions per person. You will receive extra votes if you use Art Impressions stamps!
 ✻Please include your first name and last initial on your submission.
✻We love to comment on your entries, but keep in mind if you use a private group or a platform that you need to sign up for, we probably won't be able to.
✻ The Ai Challenge is open to everyone, international submissions are welcome!
✻ Include a link back to the Ai Blog or grab our button on the top right of our sidebar!
✻ Share the Ai love if you can, by clicking and commenting on your fellow crafters.
✻ Make sure to get your link up by the deadline to enter your creations.
✻ Good luck and happy stamping!


Join our challenge by linking up below.

You are invited to the Inlinkz link party!

Click here to enter

Saturday, September 9, 2023

Fall Glory by Janet


 I started my cardmaking with die cuts and just a few sentiment stamps so I was thrilled to make this card using only cardstock and dies. This features Ai's 5783 Fall Leaf Frame Die set. It includes a plate that cuts out a beautiful decorative frame and also small fall ephemera dies you can use to enhance it. I thought it would be fun to create a dimensional frame from the dies included in the set. Some of the elements are glued down and others are raised up with foam tape. 

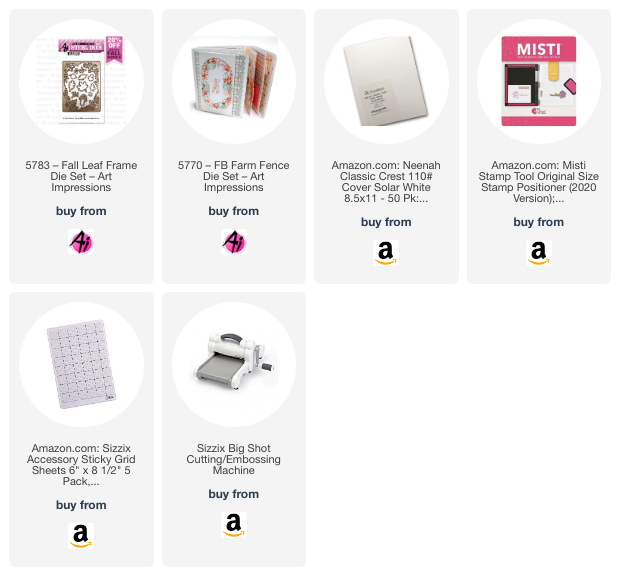
I die cut the frame from white glimmer cardstock and placed a light yellow cardstock underneath. Then I cut and layered the fall ephemera pieces included in the die set. With many leaf styles, mushrooms and even acorns, the layering was super easy. I die cut the word Fall from the new 5770 FB Farm Fence Die Set. It fit absolutely perfectly in the middle of the frame. To finish it, I cut a 4" x 5 1/4" piece from copper metallic cardstock and embossed it before layering all the pieces on a dark chocolate A2 card base.

I really enjoyed breaking out some fall colors with these two wonderful new dies from Art Impression. Thanks for joining me. I hope you stop by the store soon to check out all the newest releases at the Art Impression store.


Janet YouTube - Blog - Facebook - Instagram - Pinterest 

Thursday, August 31, 2023

Feeling Blue Challenge Week #1

Welcome to week one of our newest challenge,
Feeling Blue.


Don't worry.  We're not sad.  We just want to see all of the blues for the next two weeks!
Maybe you prefer powder blue, maybe midnight blue...maybe all of them?
We just want you to use lots of blue on your project.
Blue paper, blue ink, blue paint, blue embellishments...
whatever you like!

Our Featured Designer for this challenge is Nina and she has two FABLULOUS cards for you.
Before we see what she's made, we need to announce the winners of our All Wrapped Up challenge.

For our Top Spot, we selected De F.
She made the cutest birthday card using 5455 – Birthday Buggy Set!


Please contact Leah at Feedback@artimpressions.com
to claim a free stamp set of your choice!
Also, be sure to grab our badge to display on your blog, Facebook or Instagram!

Now for our Lucky Random Winner.


Please contact Leah at Feedback@artimpressions.com
to claim a free stamp set of your choice!
Also, be sure to grab our badge to display on your blog, Facebook or Instagram!


Now for the MAIN FEAUTURE!

Nina often uses blue and does it very well, so we knew this challenge would be perfect for her!
She did NOT disappoint! Let's see what she made...


 Hello Ai fans, Nina here with fun projects for our new challenge "Feeling Blue". It is such an inspiring challenge. I had so many sets that would fit perfectly for it. I choose two main sets to create two projects and then decorated them with more sets.


I started with this Miss You Card where I used the Boy Front and Back set from the new release and stamped the front image of the boy with Memento Tuxedo Black ink and my Mini Misti.

I colored the image with Copic Markers using these shades:

Yellows: Y06 Y08
Oranges: YR68 Y17
Jeans: B45 B21
Boots: E99 YR24
Bench: E27 E29
Red: R27 R29
Blue Green: BG13 BG15


To create the sky background I used a scrap of paper and blended Mermaid Lagoon and Speckled Egg Distress inks using my ink blender. For visual texture I then sprayed it with water to make some spots of ink to react with water.

I die cut the leaves frame from the Leaves Die set from white paper and glued it to my sky background.
I also die cut the leaves and mushrooms that came with the same set and colored then with same Copic shades I used for the boy image and glued them here and there around the frame.

Our boy needed a bench to sit on so I used the wooden plank die from the mini Fence Set to die cut it from white paper and I colored it with E27 and E29 Copics.


I attached the boy to the bench with foam tape to give dimension behind the boy and attached it to the sky background.

I then used enamel dots to decorate here and there. I then attached it the little card to a blue card base and added alphabet stickers to write "Miss You" t the bottom.


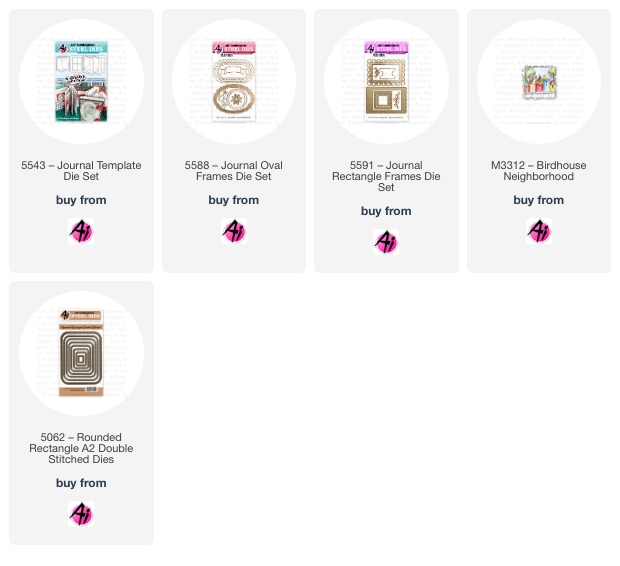
I also creatd another project for this fun challenge using Birdhouse Neighborhood set to create a new page for my Friendship Polaroids Art Journal.


I stamped the lovely image of the birdhouses and colored them with these Copic shades:

Yellows: Y06 Y08
Oranges: YR68 Y17
House 1: B45 B21
House 2: BG10 BG13 BG15 
House 3: B06 B04
House 4: B04 B02
House 5: B28 B24
Brown: E99 YR24
Greens: YG17 YG23 YG68
Greys for the fence: C1 C3 C4
Sky Blue: B01


I cut all around my image and placed it on a bigger white scrap of paper to make it like a polaroid picture and attached it with foam tape on a background that I cut using the Double stitched round rectangle die set.


To decorate all around my polaroid photo I cut and colored flowers, tabs and banners using journal dies, Journal rectangle frames dies and journal oval frames from white, teal and blue colors.


With this cute bird waiting on the roof of his little birdhouse I thought of a fun sentiment that says: I'd climb rooftops for you :) I printed it from my label maker and attached it to a white paper which I colored its edges with E99 to match with the image and attached on the tag.


After Nina's inspiration, we hope you're feeling blue, in a GOOD way!
Link up your blue project below for the chance to win a free stamp set of your choice.
Good luck!  We can't wait to see what you make.

✻ Please make a new card or handmade crafty creation. You can make any item you wish; this is not limited to cards!
✻ Limit two submissions per person. You will receive extra votes if you use Art Impressions stamps!
 ✻Please include your first name and last initial on your submission.
✻We love to comment on your entries, but keep in mind if you use a private group or a platform that you need to sign up for, we probably won't be able to.
✻ The Ai Challenge is open to everyone, international submissions are welcome!
✻ Include a link back to the Ai Blog or grab our button on the top right of our sidebar!
✻ Share the Ai love if you can, by clicking and commenting on your fellow crafters.
✻ Make sure to get your link up by the deadline to enter your creations.
✻ Good luck and happy stamping!

Join our challenge by linking up below.


You are invited to the Inlinkz link party!

Click here to enter