Showing posts with label Island Window. Show all posts

Tuesday, July 11, 2023

Friendship Polaroids - Art Journal by Nina

 Hello crafty friends, Nina here and today I am starting a new journal in which I will color the Windows sceneries from Art Impressions' Windows Stamp Sets. Each page will include a window scene in a polaroid picture frame and the theme will be Friendship.

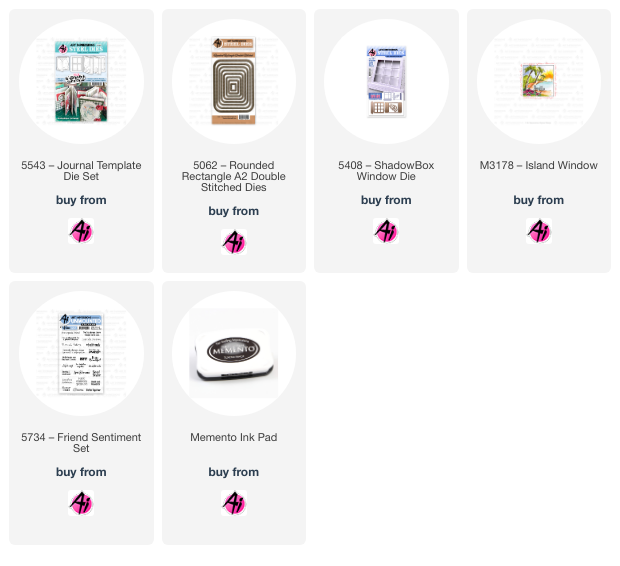
For the journal pages I used the largest die from the Rounded Rectangle Double Stitched Die Set which is perfect for my Polaroid Picture to fit in with some decorations and a sentiment.

I stamped the Window scenery image from Island Window Stamp Set using my Memento Tuxedo Black Ink and my Mini Misti and colored it using my Copic Markers.

Shades:

Green Combos: YG03 & G43, YG23 & YG25, YG67 & YG17, G09 & G14

Orange: YR24 YR04

Yellow: Y17 & Y08

Pinks: R22 R14

Blues: BG13 BG15 BG11 BG10 B01 B04 B00 

Browns: E99 E29 E19 

Grey:C1

To create the polaroid picture I cut the image using the square die from the Shadow Box Windows Die Set and placed it on a scrap of paper that I cut using my paper trimmer measuring: 2.75 inch X 3.25 inch and placed my image towards the top of the rectangle to make it resemble a polaroid picture. I backed my polaroid picture with a foam scrap and attached it to the journal base. 

I stamped the sentiment from the Friendship Sentiment Set on a banner I cut using a die from Journal Template Die Set. I also used multiple mini dies from the same set to decorate all around my art journal elements. I also added couple heart shaped enamel stickers.

I used my disc bound hole punch to make three holes on the top of my art journal page and added three discs to attach more future pages that I will create.


Friday, July 5, 2019

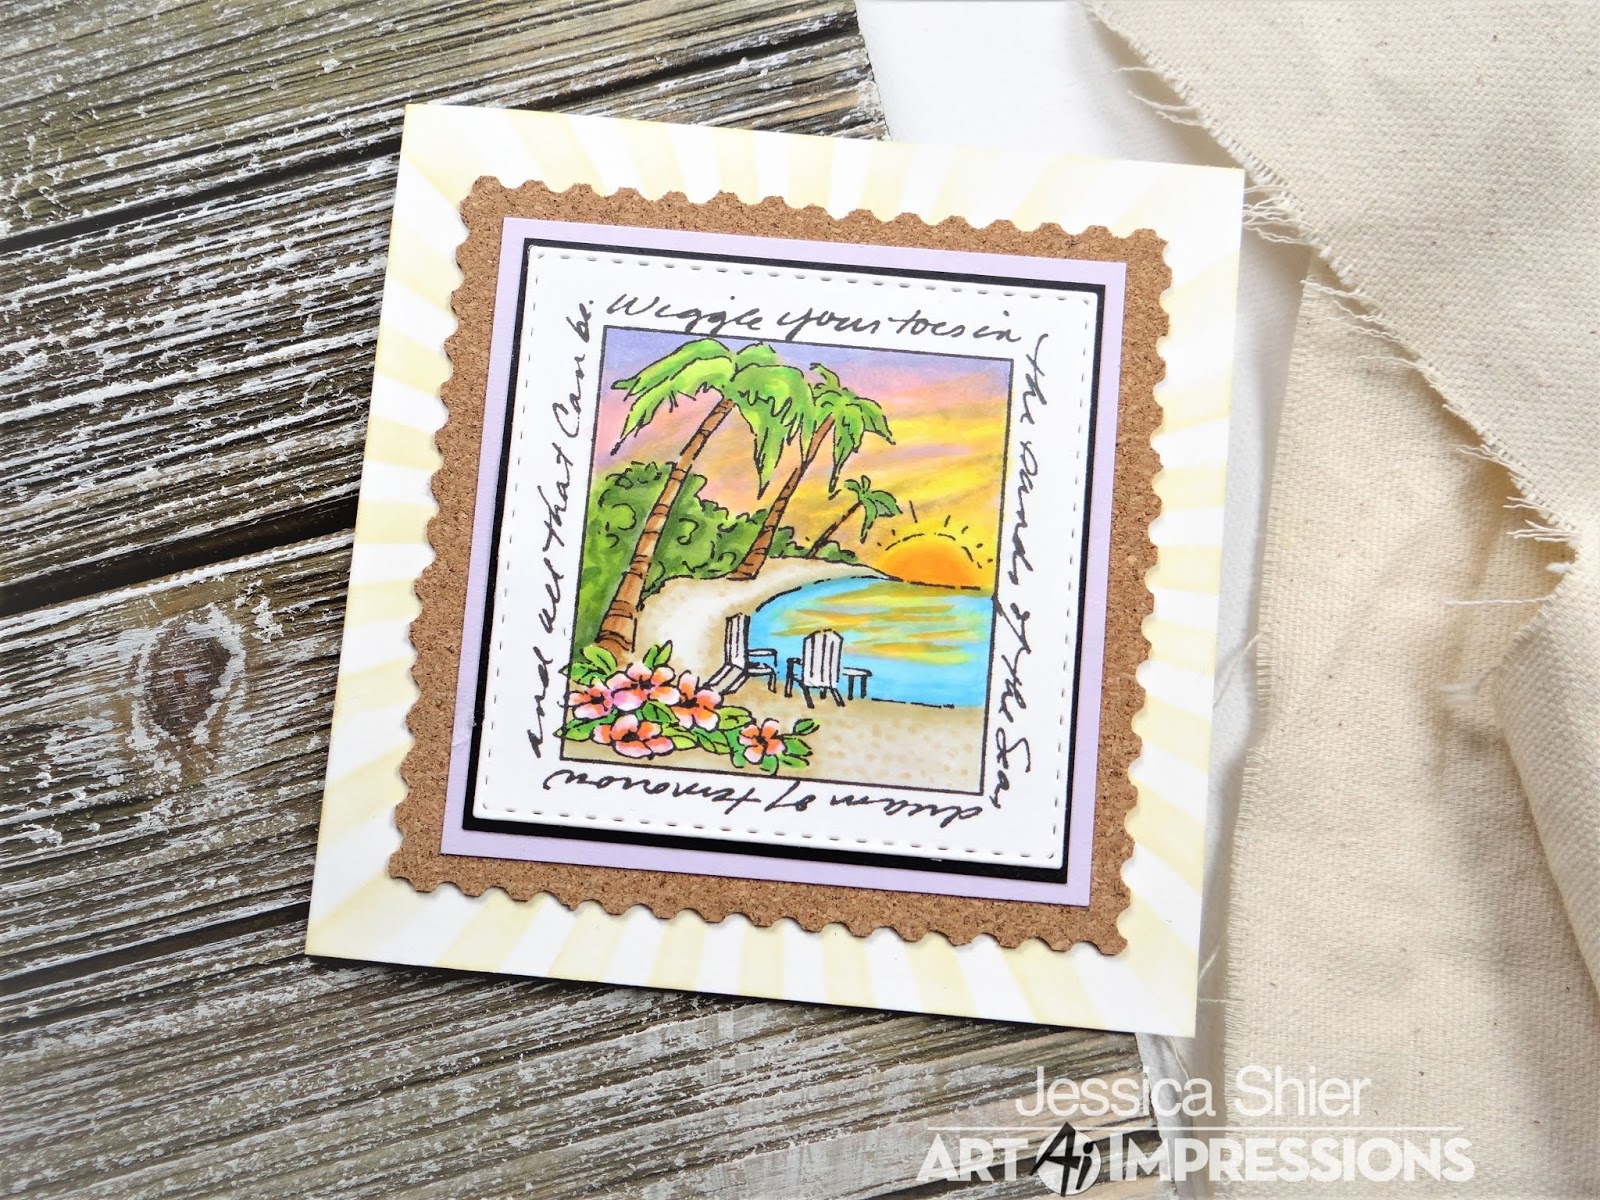
Tropical Island Window | By Jessica Shier

Hello Ai Fans!
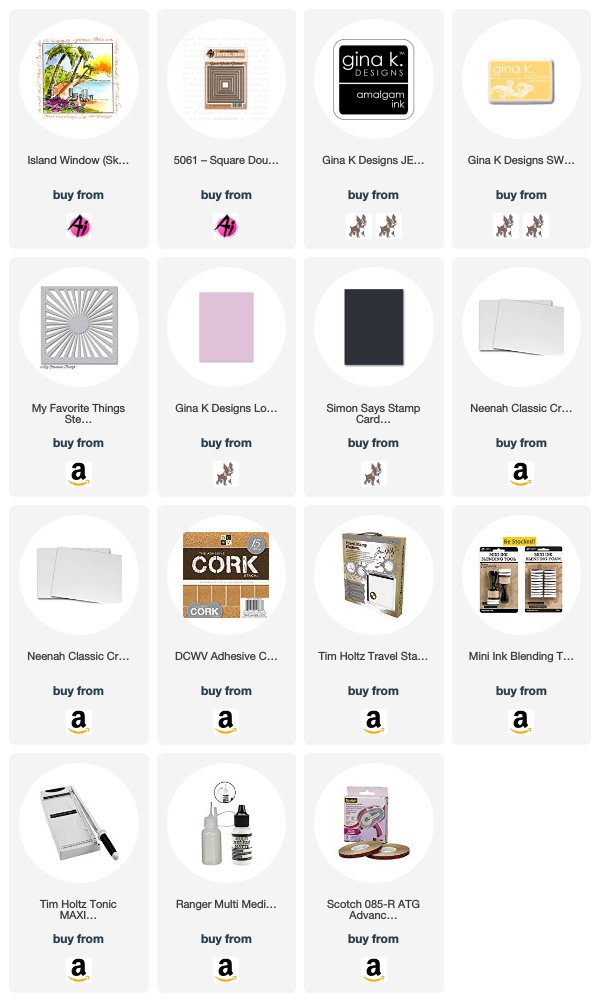
Today, I'm sharing a fun tropical card, using the Island Window set. I've enjoyed using these Window stamps over the last month! I know I've said it before, but one of things I most like about these style of stamps is that they are great for quick cards! This time of year can be so crazy busy yet these style of stamps also give me enough area to experiment with coloring, so they are also fun! For this one I used Copic markers. I also added some texture behind the scene with some simple layers, using cardstock, cork and a stencil. 


I first stamped the image and colored with Copic Markers. Since I used bright and bold colors the last time I colored one of the window stamps (Desert Window with Tombow markers), I decided that I would try a lighter palette of colors. I have the markers I used listed below. 
The reflection on the water was tricky, since orange and yellow like to make green. I used the Copic Colorless Blender to push back most of the blue which helped. Another small coloring detail I did is adding a gradient of dots in the sand. I used the E34 for this. Small things like that can add simple but fun textures.  


I used one of the Square Rectangle Double stitch dies to die cut my colored Island Window, this time leaving the fun sentiment intact and added a slight black cardstock layer underneath. This card was feeling a little flat so I used an EK Success border die to create a decorative edge on the cork paper. then topped that with a layer of Lovely Lavender cardstock, before adhering the other pieces over top. 


The card base is 4 1/4 x 4 1/4 inches. I stenciled over the top of it using the Radiating Rays stencil and Sweet Corn ink. I also used liquid glue to attach any cardstock to the textured cork paper.

Copic Markers Used:

Thank you so much for stopping by today! Happy Stamping! 


Friday, June 28, 2019

Pedal Pushers with Island Window | By Jessica Shier


Hello Ai Fans!

This week I'm using the Island Window stamp as a backdrop for these fun loving gals from the Pedal Pushers set! 


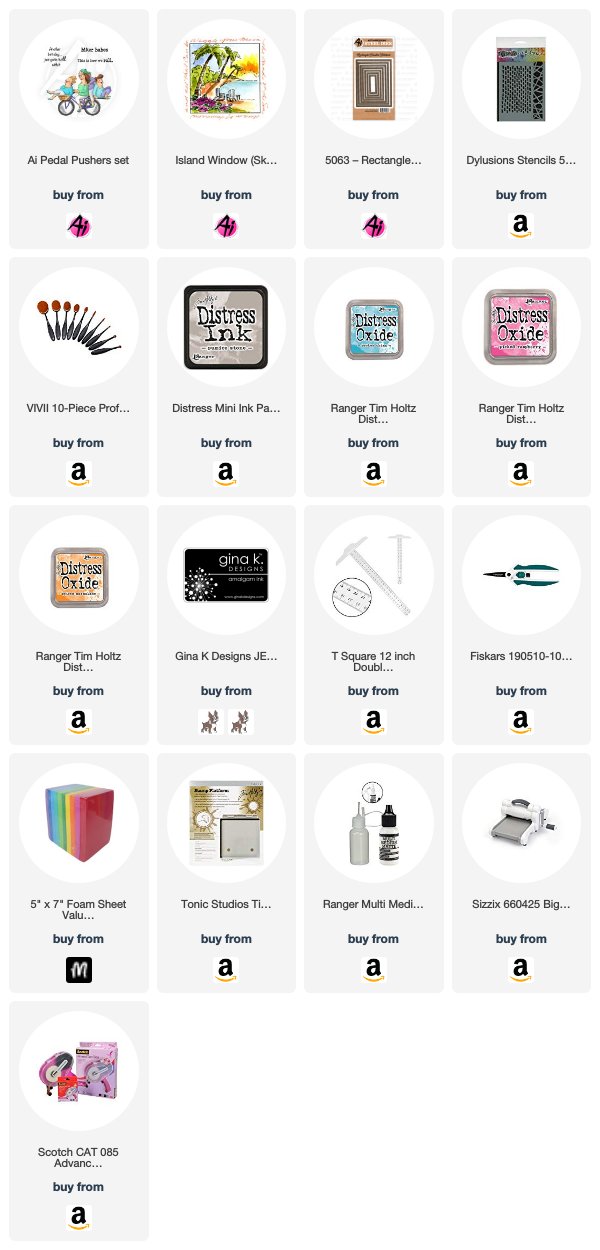
For this one I started off with stamping these fun loving Pedal Pushers on to a piece of Neenah 80lb cardstock using Gina K. Amalgam ink. I colored these ladies with Copics, colors are listed below. Once I had them colored up I used a T-square and a W6 Copic marker to create the sidewalk. Then I trimmed the sidewalk and the ladies out, only the area above the tires though. That way I could layer it over the background.


This was super easy and quick to make. I first used a brick stencil with pumice stone Distress ink on top of a piece of fog cardstock. I kept the ink blending light and let it fade off around the edges. Then I stamped the Island Window three times across it. This was easily done with Distress Oxide inks since they are a pigment ink and layer nicely over colored cardstock and dye inks. I attached those together and ran them through with a rectangle die then layered a piece of  pink craft foam underneath, for a slight dimensional look. 


The sentiment is from the Pedal Pushers set also! There is a certain Birthday Wheelie Dog or Workout Gal Wheelie that the sentiments in this set would pair nicely with too. For this card though I simply stamped the "This is how we roll." with Picked Raspberry Distress Oxide ink on white cardstock.

Copic Markers Used:
C7, C5, C3, C1
W9, W6, W3, W1
E77, E74, E59, E51
E35, E34, E31, E17, E15, E11
YR27, Y38, Y35, Y26, Y21, Y02
B99, B95, B93, B02, B00
BG000, BV04, BV02, BV01
RV55, RV09, R85, R83


Thank you so much for joining me today! Happy Stamping!


Monday, July 16, 2018

Toes in the Sand! by Carol Hintermeier

Hello Ai Fans!

"Wiggle your toes in the sands of the sea, dream of tomorrow, and all that can be."

Who wants to join me on this beach watching the sun set?!!  I do love beaches and could spend the entire summer at one!  Too bad the closest beach is about an eight-hour drive from where I live!  So I'll just dream of being there!

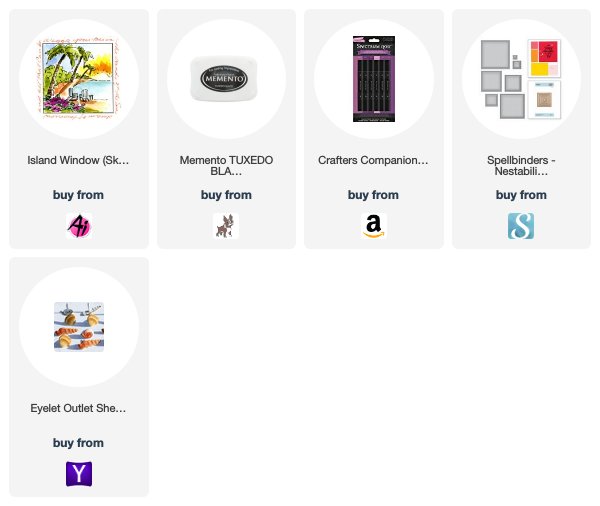
 To help me dream of being at the beach, I've made this summery card featuring the Windows to The World M3178--Island Window.  I've stamped my card using Memento Tuxedo Black ink.  I colored it with my Spectrum Noir Alcohol markers.


I finished it off by adding a few brads that I've had in my stash, FOREVER, as added embellishments along with the twine.  I bought them from Eyelet Outlet when they were at a local craft show.  I just bent the brads back and forth till they broke off and used Beacon 3-in-1 glue to adhere them.  I also used one of my Spectrum Noir markers to tint the twine, which was much lighter than I wanted for this card.


This beautiful image is so fun and easy to color!  I hope you've enjoyed dreaming of the beach with me!  Have a happy, crafty day!


Spectrum Noir colors used:
EB1, EB2, AB2, CT1, CT4, GY3, AG1, AG3, LG3, LG4, LG5, DG1, DG2, DG3, CR1, CR3, TB1, TB3, MB1, MB3, MB4

Apologies that the Spellbinders Rope embossing folder I used is no longer available!  I didn't realize that until after I finished my card.

Thursday, February 25, 2016

island window by Diane Zechman

Hello Ai friends and happy Thursday!
 
Today I am sharing a card using the Ai Island Window (3178) image.  We are having such an unusual winter here with no snow to speak of yet!  Even though it is cold, I am sort of understanding how my friends in the warmer states must feel when crafting winter scenes.  lol.  I am not using my snowy stamps as much this year.  In fact, I spied this tropical image in my stash and decided to bring a little warmth to the cold temps.


The Windows To The World images don't need to be used only with the Window Dies (although they are beautiful paired together!).  Here I watercolored the scene and popped it up with some dimensionals.
 

Whether you are stamping winter or summer images, I hope you are inspired to create some cards.  Have a great day and… happy stamping!


Tuesday, July 8, 2014

Windows To The World by Karen Day

Hello Ai fans!
I have a group of Windows To The World cards to share with you today!  This is the first time that I have used these along with their matching window stamp - and they were so much fun to colour and make.  They aren't the easiest cards to photograph, so bear with me, and scroll down to the end of my post, I'll share some step by step photos with you.  First up is Island Window (Sku #M3178):
I stamped Window (Sku #M3169) onto coloured cardstock and mounted it on the card front.  The windows have been cut open so that they reveal the 'scene' that is placed on the inside:


I chose a different jewel colour for each card, and they make a pretty striking set if I do say so myself :o)

By stamping each of the images on their own piece of cardstock, it made colouring easy, and positionning them even easier. 

I cut the window panes open with an exacto knife first, then trimmed around the edges, and finally I cut open the upper, lower and center lines of the windows so that they would open up.

I cut a 2" square in the front of my card base, glued on the window, then it was a simple matter of centering the image on the inside of the card, so that it would show through the window.

There are 21 different Windows To The World images to choose from!  Literally for every occassion - so check them out in the Art Impressions store here.  The Copics that I used were too numerous to mention, so if you have any questions about them - leave me a note on my blog and I'll get back to you, you'll see a link here on the sidebar.  Happy stamping, everyone!