Hello Ai fans!
Welcome to our It's in the Mail Challenge!
This time, we're all about envelopes, postage stamps (or postage stamp dies) and mailboxes.
Stamps, dies, embossing folders, embellishments.
As long as your handmade project contains a mailbox or envelope of some sort, along with stamps, dies or paper from Art Impressions, then you might be the next winner of a free stamp set from Ai.
As we announced before our last challenge...
Please take note,
we have a new requirement.
We're not a large corporation like Simon Says Stamp that sells MANY brands.
Art Impressions is a family run company that designs ALL of their own stamps, dies and designer paper.
Therefore, moving forward, we're going to ask that you use some sort of Art Impressions product on your challenge entries. Everything else remains the same. Please see the full list of rules below.
After checking out the absolutely adorable baby bear card from our Featured Designer Janet, scroll down to see who won our last challenge.
------------------------------------------------------------------------------------------------------------------------

Hello and welcome to the feature post for the, "It's in the Mail Challenge." It's a Slider Double Pop-Up Easel card. Although I own a die set for this style of card, I wanted to show you how to make one without anything special. The twist on the card is that it has two stand up panels instead of just one. I want to credit Connie Stewart of Simply Simple Stamping for the measurements and inspiration for the project I'm sharing with you today.
Follow along with my instructions below. If you have questions or get stuck on anything, leave your question as a comment and I'll respond.
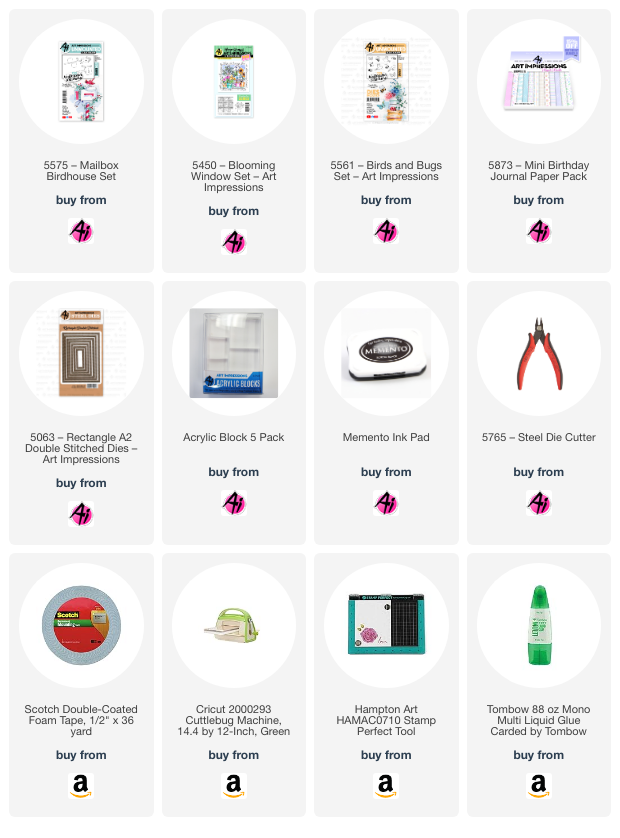
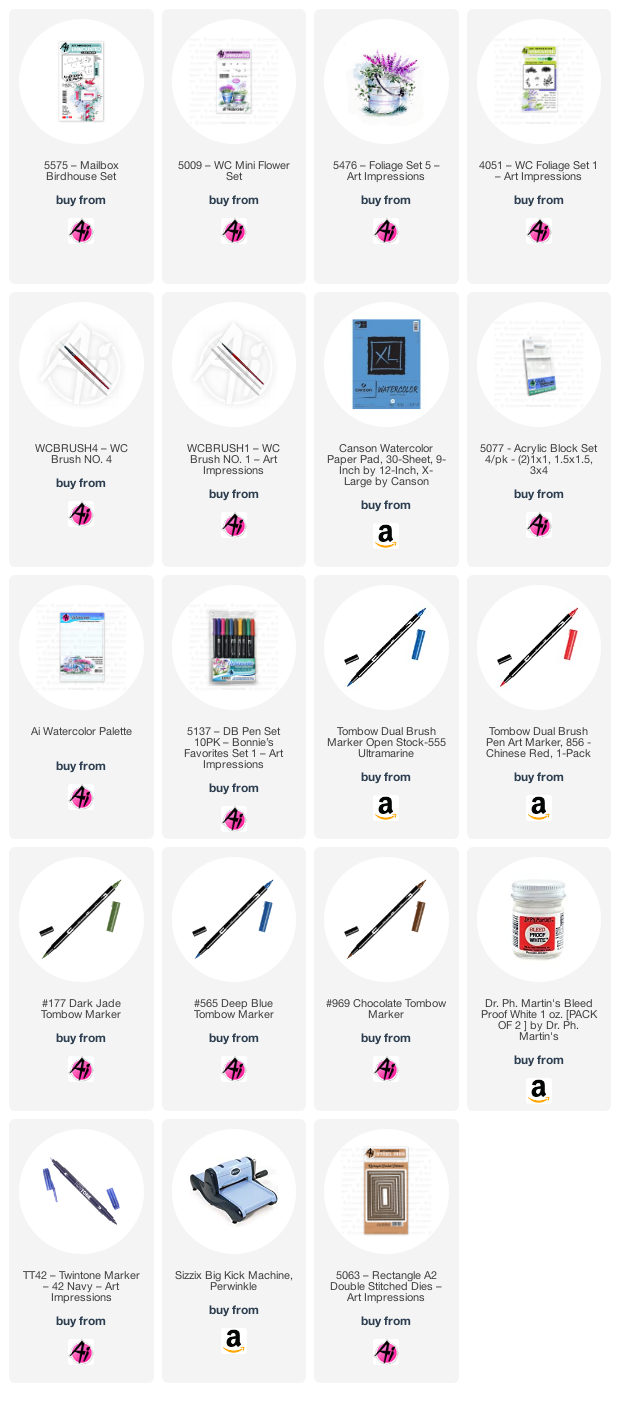
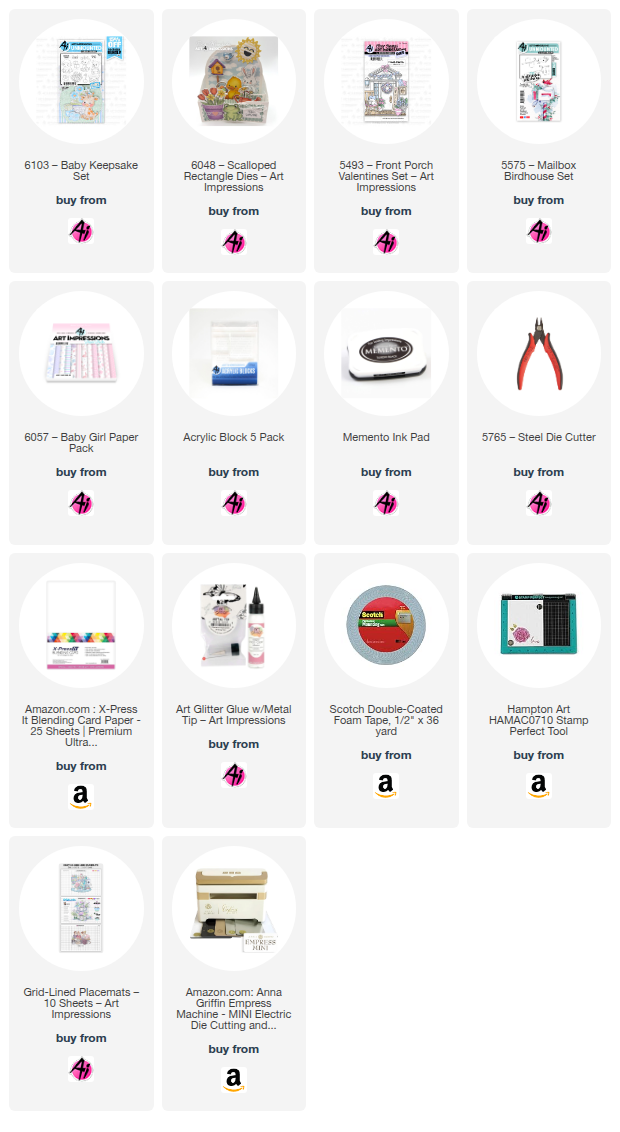
To start this one, I stamped, colored and cut out the baby images from 6103 - Baby Keepsake Set. Then I worked on the scalloped background by cutting it out with 6048 - Scalloped Rectangle Dies. This is the only die I used for the card base and it's for decoration. You can cut it without a die if desired but it looks awesome with it. The size is approximately 2 1/8" x 3 1/4." I stamped the mailbox with 5575 - Mailbox and Birdhouse Set and colored it and the grassy scene with Copic markers.
Once all of the elements were ready, I tucked the baby items into the basket and glued them to the basket to hold them in place. A nice feature of the 6102 - Baby Keepsake set is that the die slices open the top of the basket so you can load it up with accessories. It can also be used on it's own if desired too so it's very versatile.
Once the elements above are ready, I set them aside to work on the pieces of the card. Cardstock cut and scored as shown forms the base of the card that will support the pop-up mechanisms and mats. To make this card have more interest, I incorporated patterned papers from 6057 - Baby Girl Paper Pack. The patterns are so soft and sweet. They also have some heft to them so you can use them for interactive cards and not worry that they won't withstand the workout these cards have to sustain.
Next cut and score this set of mats and strips.

The first step is secure the baby girl patterned paper to the 9 1/2" pink strip. The pencil mark is just to help you see that this strip is centered to the patterned paper. Note that in the second picture I used a narrow oval punch to cut the notch shape that makes the tab opening.
The next part of the instructions makes the slider part of the card. The pink 3 3/4" x 3 1/4" piece is the sentiment area. Just to jazz it up a little, I stamped a message, blocks and booties on it. This will appear at the bottom of the card when the tab is pulled so as a little surprise to the recipient.
Once set, go ahead and pull the tab. It should reveal the message and make the Oh Baby card panel pop up.
Now comes the twist. Grab the 5 1/2" x 1 1/2" pink strip with the four score lines. Fold where scored to form a box at the bottom. Glue the last fold to secure the box shape. This is the second pop-up mechanism for the card.
Once the glue is set, activate the slider mechanism by pulling the tab. The tab forces the middle panel to stand up and the pop-up mechanism connected to the middle and front panels helps it stand. This action also creates a space between the 1st and middle panel. It's a cool 3D effect with two stand-up panels instead of the typical single panel.

Below is the completed card in its closed position. It doesn't fold completely flat, but it's close and it will fit in a mailing envelope without a problem. I added another of the Oh Baby papers to the pink strip as both a mat and a sentiment. I used my scissor to trim the patterned paper to match the tab opening and glue it in place. This is an optional step. If you want to do this, you should do it before adding the box mechanism and top mat in case the box ends up being glued on it. This same area will fit a sentiment banner if you would prefer that.
And there you have it! I think this design is very nice and I plan to make more of this style in different themes. I hope you'll give it a try.
Now it's your turn! Submit a card that has any reference to mail using Ai Stamps and get a chance to win free stamps. Wishing everyone who participates good luck.
Thanks for joining me on the blog today. As always, find your favorite stamps, dies, papers, and accessories at the Ai Store!
Happy Crafting!
Janet - YouTube - Blog - Facebook - Instagram - Pinterest
Thank you Janet for the sweet card and the wonderful tutorial.
Now, let's see who won our Love, Love Me Do challenge.
Please contact Leah at Feedback@artimpressions.com
to claim a free stamp set of your choice!!
Be sure to grab your winner's badge to display on your social media.
Our Lucky Random Winner was:
#8 Bonnie W.
Please contact Leah at Feedback@artimpressions.com
to claim a free stamp set of your choice!!
Be sure to grab your winner's badge to display on your social media.
Congratulations to both of our winners!
Now for our new challenge!
✻ Please make a new card or handmade crafty creation using either stamps, dies and or designer paper from Art Impressions. You can make any item you wish; this is not limited to cards! (unless specified)
✻ Limit two submissions per person.
✻Please include your first name and last initial on your submission. You may include your entire last name, but it's not necessary.
✻We love to comment on your entries, but keep in mind if you use a private group or a platform that you need to sign up for, we probably won't be able to.
✻ The Ai Challenge is open to everyone, international submissions are welcome!
✻ Include a link back to the Ai Blog or grab our button on the top right of our sidebar!
✻ Share the Ai love if you can, by clicking and commenting on your fellow crafters.
✻ Make sure to get your link up by the deadline to enter your creations.
✻ Good luck and happy stamping!