Showing posts with label WC Beach Boys Set. Show all posts

Saturday, July 16, 2022

Watercolor Weekend 7-16-2022

 Hello Ai fans!

It's time for our Watercolor Weekend!


This week our Design Team has three very different cards so no matter what sort of inspiration you're looking for, you should be able to find it here!

Art Impressions just released a fabulous new WC Journal Series and we're in love with it!

First up this week is Dot and her fabulous card using the new 5575 – Mailbox Birdhouse Set.
Hello,
I am still playing around with red, white and blue and decided to use the brand new 5575 - Mailbox, Birdhouse set for my Art Impressions Watercolor Weekend card. Twice a month on the first and third Saturdays, you can find inspiration from the Watercolor Design Team on the Ai blog under the Watercolor Weekend tab. Be sure to check it out! 


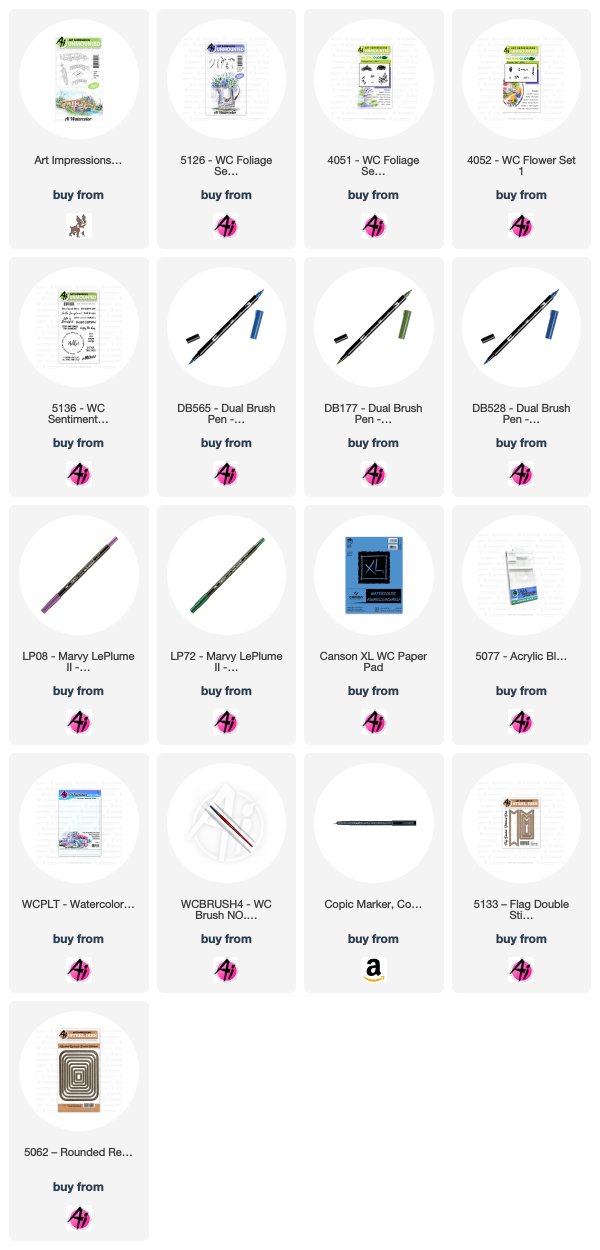
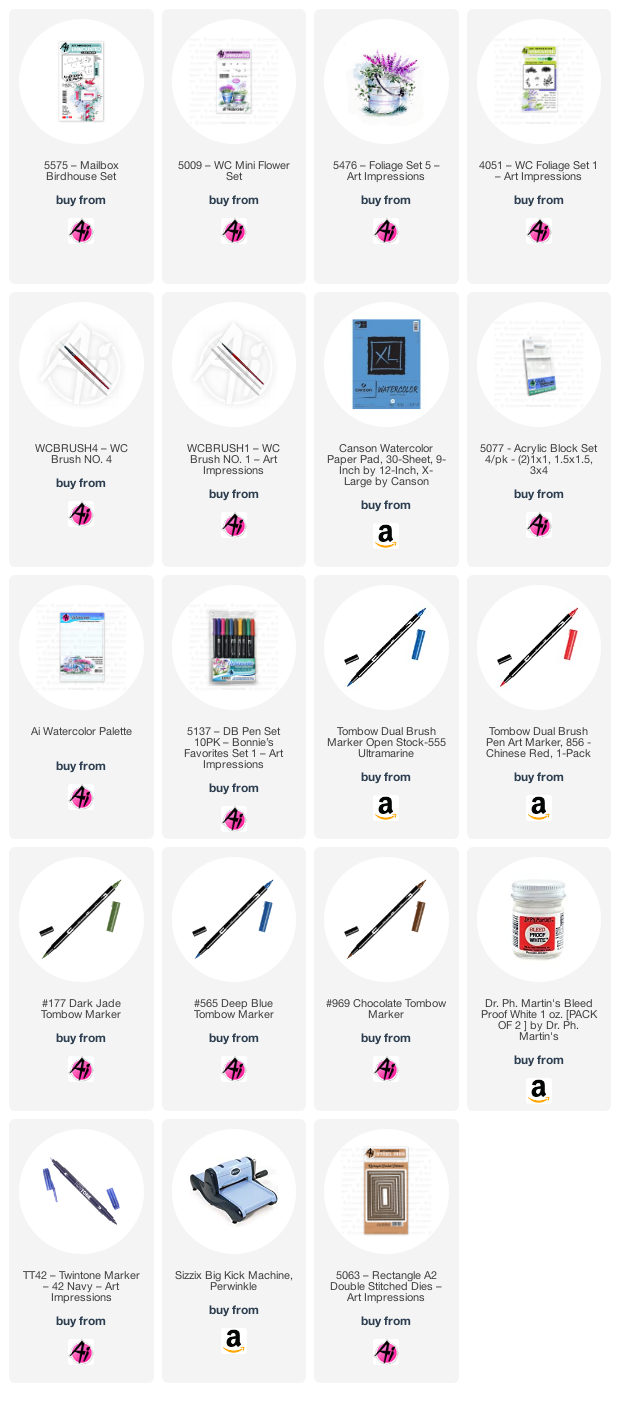
To make this card, ink up the birdhouse set with both 565 and 969, stamp it off and then stamp it on your watercolor paper so it's not too dark. Pull the color out of the lines. Use a pencil and a ruler to draw the flag. See Bonnie's tutorial here to make the flag. Use Tombow 555 for the blue parts of the flag, birdhouse and planter. Use the Tombow 856 for the red parts. Ink the foliage from the 5476 Foliage Set 5 with 177 and stamp them in the pots. The bottom flowers are from the same set but you ink the flowers with 565 which is more purple than blue like the 555. Ink the grass from the 4051 Foliage set  under those bottom flowers and pull the color up and below the grass. The red flowers are from the 5009 Mini Flower Set. The sky is 555. Use Dr. Ph Martin's bleed proof white to add the stars to the flag and the dots to the pot. I used a small stylus but you could use a small paint brush. Cut it out using the 5063 A2 Double Stitched Die Set. Hope you give it a try!

Next up is Tricia.  
She also used one of the new WC Journal sets. Tricia's holiday card features the 

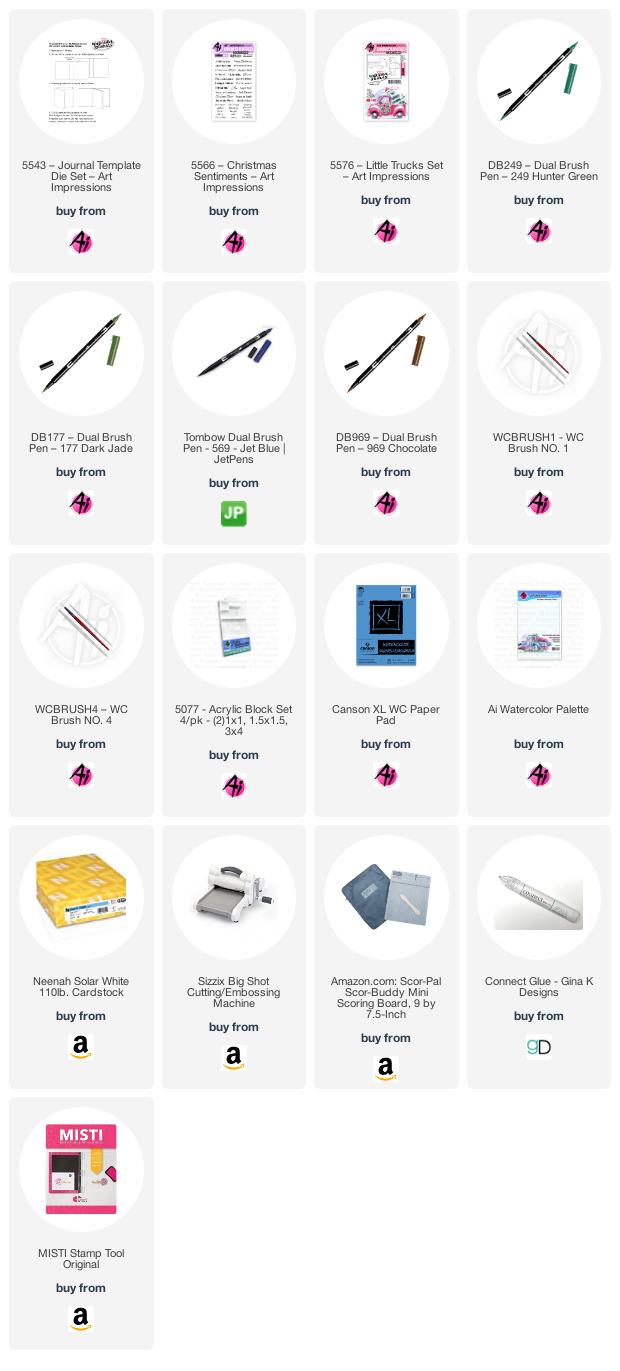
I started out by inking up the VW Bus Pickup with 969 and 569.  I stamped it off and then stamped it onto my watercolor paper and pulled the color out of the lines.  Next, I added some red to the truck and a mixture of the brown/blue to the tires.  For the tree, I inked up one of the evergreen trees with green, stamped it off, I masked off the cab and bed of the truck, and, using my positioner placed the tree into the back of the truck.  I pulled some green out of the lines.  I wasn’t careful because I have my Dr PH Martins bleed proof white!
 

Using my palette, 569 and lots of water, I moved it into mountain shapes behind the truck.  Remember, things in the foreground are dark and they get lighter the further away they are.  I added a little bit of 569 beneath the truck.  I went over any areas I wanted to add white back in and used my bleed proof white to create snow.
 
I stamped a wreath and cut it out with the heart from the new watercolor journal die set.  I stamped the sentiment using my black ink and MISTI stamping tool. The sentiment is a new one with this release.  Lastly I signed and dated. 

The new dies also includes this really cute decorative square (reminds me of a postage stamp) and the decorative corners.  I have a feeling I am going to be using these for years to come.  The patterned papers are an old pack from Gina K designs.

Our last card comes from Karen.
She went beachy this time. 
Her card reminds me so much of my kids when they were little.

Hello Ai Watercolour fans!
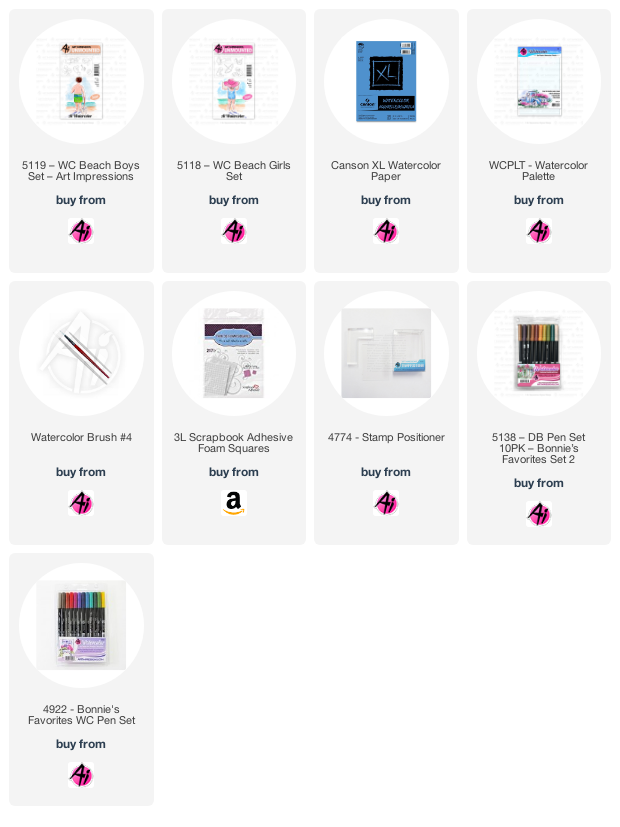
I've created a summery scene this week, featuring 5118 - WC Beach Girls Set, and 5119 - WC Beach Boys Set:


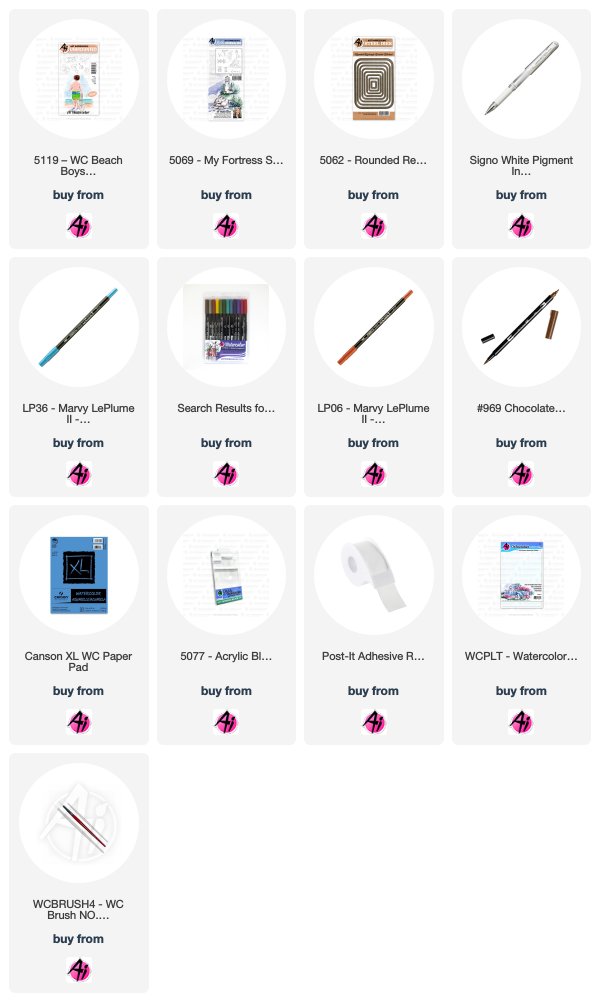
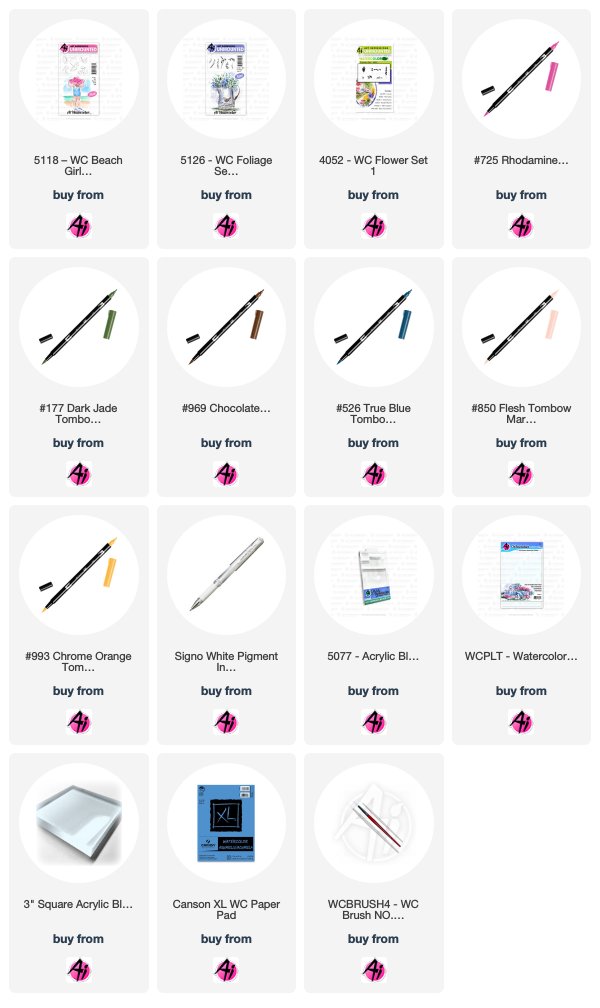
Using my stamp positioner for placement, I stamped the little boy and girl on my Canson XL Watercolor Paper using #992, and sketched in the shape of a sandcastle between them, along with the shoreline and horizon.  I built up their skintones using layers of #850, and painted his hair with #969, and hers with #850, then #947 overtop to give her a reddish/strawberry blond look, leaving the crown of each head very pale on top where the sun would hit.  His suit was painted with #569, and hers with #993/055.  #977 was painted in as the sand, with several darker layers on the castle, and around the figures.  I mixed #493 and #569 to create the darker water shade, and then used just #493 to paint in the sky.  #245 added a pop of bright green to the bucket.
I used #565 to add shadows in the sand, then used the fine point of a grey marker to slightly darken the outline of the children, and to draw in the little flag and the bucket handle.  I die cut out my scene and mounted it with 3D adhesive onto my patterned background.


From the Patriotic, to Christmas, to the beach...our designers created some wonderful cards. 
You can find their inspiration every 1st and 3rd Saturday of the month.

Be sure to check out the new Journal Series.
The dies can be used on cards as well as the journal as can all of the stamp sets.


We hope you all have a wonderful weekend and are inspired to do something crafty!
Be sure to #artimpressions if you do because we love to see your creations.

Saturday, March 16, 2019

Watercolor Weekend Roundup - Bikes and Beaches!

Hello, Ai Watercolor Fans! It is time for another Watercolor Weekend, a special blog post featuring projects from our Watercolor Guest Design Team. Today we welcome Karen Day as our new design team member! You may remember Karen's beautiful cards from our weekly design team, so please welcome her back in the comments. Inspiration today includes plenty of beach-inspired scenes, as well as that cute bicycle we all love so much. Let's take a look!

Dot Freel - Instagram - Blog - Pinterest
 Hello Watercolor Friends,

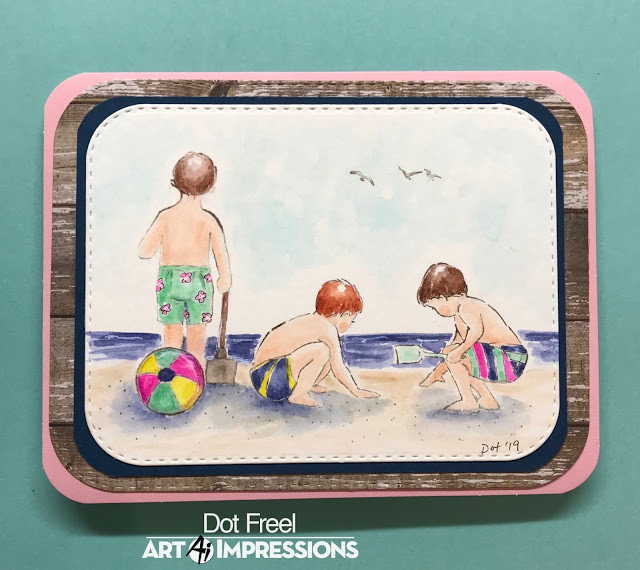
You may think it's a little early for beach scene cards but my three grandsons, Conor, Caide and Charlie, are in Hawaii right now probably in a similar scene. Lucky boys! I made this card for the Art Impressions Watercolor Weekend using the brand new 5119 - WC Beach Boys Set. There's also a WC Beach Girls set which I have to get! The first thing I did was stamp the boy in the middle (Caide) using 40 brownish grey. Next I stamped the beach ball and then masked it off and stamped the standing boy (Conor) also in the 40 brownish grey. I stamped the third boy (Charlie) again in the 40 brownish grey. I used 77 pastel peach on the palette to watercolor each boy. I used 6 brown to color in the hair of the boy in the middle. I used 969 brown for the other two boys' hair. Coloring their trunks was fun. First I added the stripes and flowers using my favorite Copic Multi Liner 0.03 pen. I colored the trunks and beach ball using the 5 yellow, 565 blue, 725 pink, and 34 pale green. I used the 969 brown to color in the shovel handle and 40 brownish grey for the actual shovel. I used 990 to watercolor in the sand and 565 to color in the water and 36 manganese blue for the sky. I added 565 blue to the palette to watercolor in the shadows under the ball and kids. I used the 40 brownish grey fine tip to add the dots to the sand. I stamped 3 of the birds using the 40 brownish grey from the 5069 - My Fortress Set. I used a Signo White Pigment Ink pen to add white caps into the ocean, the high light on the ball and dotted the centers of the flowers on the swim trunks. I used my Copic pen to sign and date it. I cut it out and framed it using the 5062 Double Stitched Rounded Rectangle Dies and a rounded corner punch for the card itself.

You can find more inspiration by following me on my Instagram account here.
Karen Day - Blog - Facebook - Pinterest
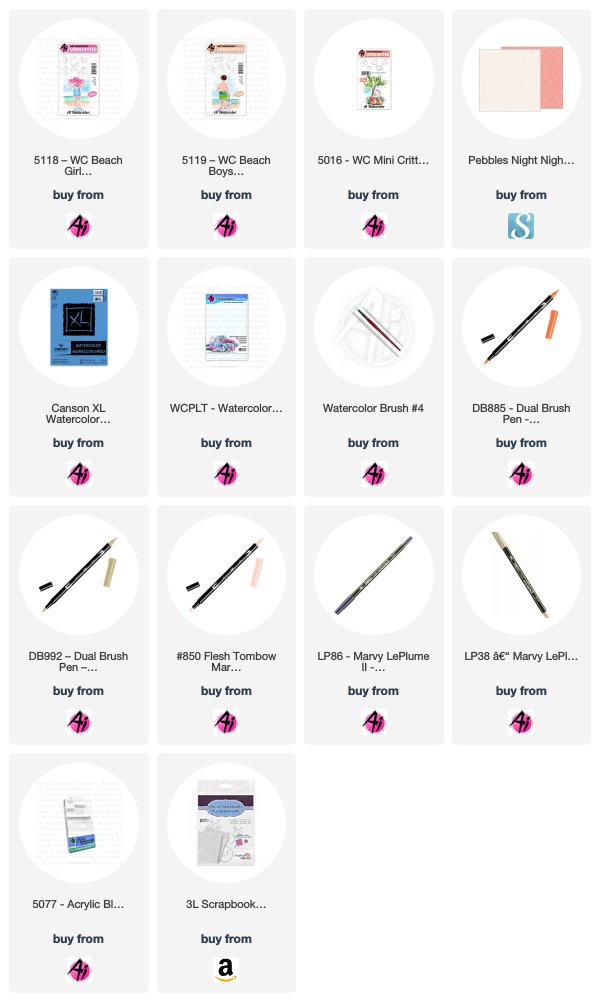
I started creating my image cluster by stamping the puppy from the WC Mini Critters Set, the sitting little girl from WC Beach Girls Set, the beach ball from WC Beach Boys Set - masking each as I went along - and finally stamping the umbrella from WC Beach Girls Set. I coloured each of the stamps with my 992 Sand Tombow marker, except for the girl, where I used my LP38 Oyster Grey Marvy marker. I wanted a paler shade for her skin tone, as she's sitting partially in bright sunlight. I also used the fine tip of my LP38 marker to draw in the blanket. With a damp WC Brush4 paintbrush, I softened all of the lines, and then began filling in the colour by scribbling my markers onto my palette: Tombow 991 Straw for the hat/ball; Tombow 885 Warm Red for the umbrella, and added more water to make it more of a pink shade for her swimsuit & the ball. I used my LP86 African Violet Marvy marker to create the shadow under the umbrella, and in and around all of the images on the blanket. Her skin tone is made with several layers of Tombow 850 Flesh, and then I used the same colour to sketch in the suggestion of a sandy beach. I picked up the LP86 with my brush and painted in the water, and after watering it down a little more, used it to paint in the suggestion of a sky as well. *Design tip! You'll notice that I placed everything on the left side of my painting, leaving the upper right corner mostly white. The white space provides a sense of balance for the cluster of images. I could've added a sentiment up there, but felt like it would've been too busy. To assemble my card, I popped up the image and the stripey pink frame that I created with adhesive dots with my periwinkle cardstock peeking out from behind. Happy painting!  
Tricia O'Bin - Blog - Instagram - YouTube - Pinterest - Facebook
Someone shared the photo on Facebook and I love it so I thought I would try to recreate it using my Art Impressions watercolor stamps. I was very happy with how it turned out.

Step 1 - The Planter: I stamped the planter from the WC Window set inked in 969-Chocolate. I left off the bottom of the planter so I could stamp the small grasses below it to ground it. I added some additional color (969&569) from my palette and added some additional lines to make it look like wood slats. I also added some additional details with the fine tip of the marker.

Step 2 - The Bike: To protect the planter, I masked it off and stamped the bike inked in Chocolate. I pulled the color out of the lines and added some additional color from my palette.

Step 3 - The Foliage & Flowers: I inked the small vines from the Foliage Set 4 set with 249-Hunter Green and stamped it into the planter as well as both bike planters. I added water to the foliage.

I used the small flower from the Foliage Set 2 inked with 725-Rhodamine Red and added them to the planter. I used the same color to ink the single flower from the Mini Flowers set and stamped it into the back planter. I used 636-Imperial Purple to ink the small dots in the Mini Flowers set to stamp into the front and back planters.

I inked the small grasses with the Dark Jade and stamped below the planter. I added water to all the blooms and grasses. I added a small amount of 526-True Blue to the sky. Sign and Date! 

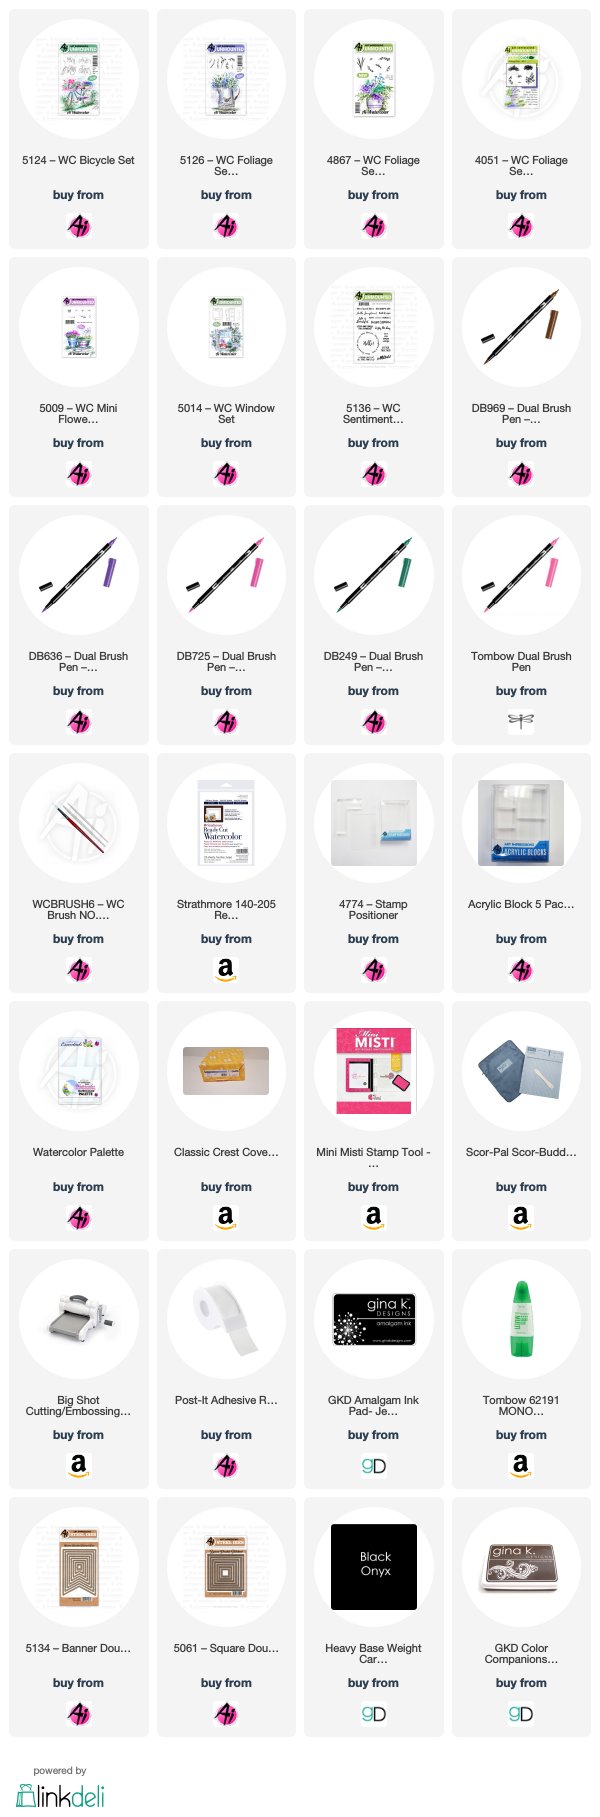
Step 4 - The Card: I cut the square out with a stitched square die. I cut mat from Gina K Black Onyx card stock about 1/8 bigger than the square. I added some white craft foam to the back of the watercolor piece. I had a piece of watercolor background that I had from another project made from watercolor markers which I used to cut a stitched banner from the new stitched banner dies. I cut a little bigger one from Black Onyx card stock. To make the weathered wood background, I scored a white piece of card stock at 1" intervals. I added some Dark Chocolate ink from Gina K Designs direct to the paper in long swipes. Finally, I white heat embossed the Hello from the new WC Sentiments 2 set.

I assembled the card and added it to a white card base. And that's it!


Thank you, team! These projects are just so lovely! Like what you see? Be sure to leave a comment to let us know! Also, don't forget to follow the pink links by the designer's name to visit and follow them on social media, you're sure to find more project ideas with them, too!

Happy Stamping!

Thursday, March 7, 2019

Five MORE Watercolor Sets Now Available! Challenge 251 Floral Cards Week 2!

Hello, Ai Fans!

Last week we released five NEW Watercolor sets, and we have five MORE to share today! Summer is on the way with our WC Beach Girls and Boys sets! These cute kids are donning swimsuits and sand toys as they play on the seashore! Add a tropical touch to your scenes with our WC Palm Trees Set, complete with trunks and leaves for building your own trees! Our WC Garden Shed Set contains four versatile structures that will look beautiful surrounded by patches of flowers. Additionally, our WC Bridges are perfect for creating small waterscapes, with five different bridges to stamp. Hear what Bonnie has to say about these sets in our video! Grab these sets today at artimpressions.com!

Beach Boys Beach Girls Palm Trees Garden Shed  WC Bridge


Bonnie and the design team is here to share some inspiration! Let's take a look!

Bonnie Krebs - Instagram


Dot Freel - Instagram - Blog - Pinterest

Hello Watercolor Friends,

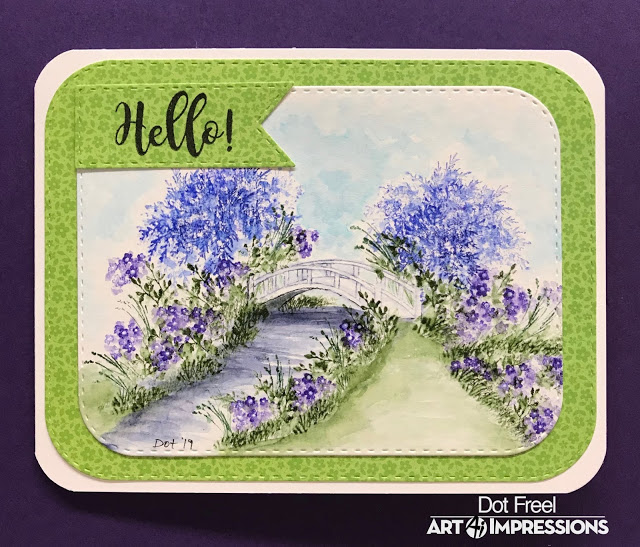
Ready for MORE brand new Art Impressions stamps, including an awesome set of five bridges in this one 5122 - WC Bridge Set? I would love to cross a pretty bridge like this one. I wanted to surround it with flowers and flowering bushes. I stamped the bridge in the center, after inking it with 565 and then stamping it off once on a piece of scrap paper. I pulled the color out of the lines and added a little bit of the 565 to the palette to darken the underside of the bridge and to create the stream. Then I took the bush stamp from the 4051 - WC Foliage Set 1 to create those big blue bushes in the back. Next I inked up the little vines from the brand new 5126 - WC Foliage Set 4 with 177 and stamped them all around the water and bridge. I'm in love with this new foliage set and it has 3 sets that go both ways, it's definitely a must have! I added water to them, then I added flowers everywhere by inking up just three of the tiny flowers from 4052 - WC Flowers set 1 using the 8 violet. I added water to them. I took white paint and tiny stylus and dotted in the centers of many of the little flowers. Next I took the little grasses from the new 5126 - WC Foliage Set 4 and inked them up with the 72 pine green pen and stamped them around. I used the little grass from 4051 - WC Foliage Set 1 and the 177 pen to ink it and stamped the grass all around and added water. I used green from palette to color in the path. I added 528 to my palette and a lot of water to color in the sky. I used my Copic multi liner 0.03 pen to sign it and drew in the lines under the bridge. I used the 5062 - Double Stitched Rounded Rectangle dies to cut out my picture and a background piece. I used this brand new 5133 - Flag double stitched die set to cut out the sentiment flag and stamped it with the "hello" from the brand new 5136 - WC sentiments set 2.

Tricia Kennedy - Instagram

“Soak up the Sun” with the newest release of Art Impressions Watercolor stamps.

Begin by stamping the little girl in the big hat from the WC Beach Girls Set in 969 Chocolate. Watercolor the Art Impressions way with water and a paint brush. Scribble 850 Flesh, 725 Rhodamine Red and 993 Chrome Orange onto your watercolor palette. Brush in 850 Flesh onto her skin, 725 Rhodamine Red onto her hat and 993 Chrome Orange onto her swimsuit. Mask off the bottom of the little girl with masking paper or a post it note, then stamp the foliage from the WC Foliage Set 4in 177 Dark Jade and the flowers from WC Flower Set 1 in 725 Rhodamine Red. Add dot detail to the swimsuit and center of the flowers using a Signo white pigment gel pen. And, add dot detail around the flowers with the fine tip of 725 Rhodamine Red.


This will be Tricia Kennedy’s last week on the team! Tricia, you were a true joy to have on the WCDT and we have loved all your beautiful projects!

Tricia O'Bin - Blog - Instagram - YouTube - Pinterest - Facebook
Step 1: I inked the large bicycle stamp in 969-Chocolate. I stamped it off to the right and masked it off. I inked up the tree from the fairy door set also in Chocolate and stamped it next to the bike. Using a damp brush, I pulled the color out of the lines on both.

Step 2: I added some additional color to the bike and tree. Using my palette, I added some 528-Navy Blue to the bike. I inked up the small vines from the New Foliage 4 set with 177-Dark Jade and stamped them into the front and back baskets. I added a small amount of water to soften them. I added daisy bunches using 725-Rhodamine Red to the foliage.

Step 3: Using the vine from the original foliage set, inked with 249-Hunter Green, I stamped leaves around the tree top. I added grass around the tree and bike using the small grasses from the same set. I inked one of the new Foliage stamps with 636-Imperial Purple and stamped it to the left of the tree as well as between the tire spokes. (Funny note: as I am typing I realize that I didn’t draw in the spokes of the bike…LOL I will put them in now). I added some teeny tiny flowers along the ground for added interest. I added water to all of the flowers.

Step 4: Make sure to sign and date your watercolor piece. On a separate piece of watercolor paper, I stamped the sentiments Happy Little Moments in Gina K Design amalgam ink using my MISTI. I cut it out with the new Flag Double Stitched die. I also cut a piece of craft foam using the die to pop it up. I added some of the new small vines and some small flowers from the Mini Flower set to the left and right of the sentiment.

Step 5: I used 3 different sizes of the stitched square dies to cut the watercolor piece. I added craft foam to the back of the two smaller squares to give them some dimension. I adhered the largest piece to a piece of Lovely Lavender card stock from Gina K Designs cut to 4 x 5.25. Next, I adhered the craft foam to the middle piece and adhered that to the cardstock. Then I added another piece of craft foam to the smallest piece and attached that to the card. I assembled the sentiment to craft foam and attached it to the bottom of the card.
WOWZA, team! What stunning projects! Have you ever joined an Art Impressions challenge? We LOVE hosting bi-monthly challenges! Not only do we get to see creations from our fans, but we get to giveaway FREE stamps! It may still be wintery in many parts of the country (even at Ai headquarters in Oregon there is a touch of snow falling!), but that doesn't stop us from dreaming about spring! Join us by making a floral-inspired creation for our challenge for a chance to win Ai stamps!


 Here are the Challenge Rules:

✻ Please make a new card or creation. You can make any crafty item you wish; this is not limited to cards!
✻ Limit two submissions per person. You will receive extra votes if you use Art Impressions stamps!
✻ The Ai Challenge is open to everyone, international submissions are welcome!
✻ Include a link back to the Ai Blog or grab our button on the top right of our sidebar!
✻ Share the Ai love by clicking and commenting your fellow crafters.
✻ Make sure to get your link up by Wednesday, March 13 at 5:00 p.m. PST to enter your creations.
✻ Good luck and happy stamping!

Inlinkz Link Party