Hello Ai fans!
Welcome to our newest challenge.
Keep Calm & Celebrate On!
We want to see your creations that celebrate something.
Birthdays, Anniversaries, new baby, new job, new car,
new home, retirement, holidays, graduation...
anything you would celebrate!
Before we see what our Featured Artist Janet created,
let's see who won our Never Have I Ever challenge.
For our Top Spot we selected
She used the flowers, mushrooms and bees from
Please contact Leah at Feedback@artimpressions.com
to claim a free stamp set of your choice!!
Also, be sure to grab our badge to display on your blog, Facebook or Instagram!
Our Lucky Random Winner was:
Please contact Leah at Feedback@artimpressions.com
to claim a free stamp set of your choice!
Also, be sure to grab our badge to display on your blog, Facebook or Instagram!
Congratulations!
Now we're on to our amazing feature from DT Member Janet.
I love this new boat so much and need to find time to use it!
Janet made such a cool, masculine card and she has a great picture
tutorial for her Gatefold Pop-Up Card so that you can try one of these yourself.
How fun!!

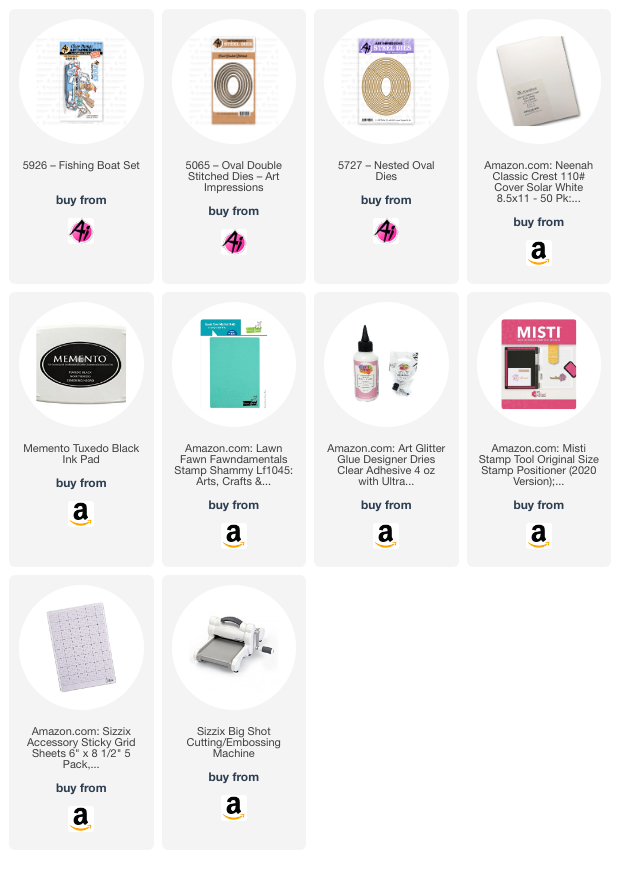
Hello everyone! I am excited to present my project for the newest challenge, Keep Calm & Celebrate On! The challenge is about all and any types of celebrations. Mine is a masculine birthday card. I'm a big fan of fancy folds and this is one I have not made before. It's called a Gatefold Pop-Up Card and it's so easy to make without having any special dies. The card features a gate-style front. I decorated the panels on both the outside and the inside. Also on the outside is a the focal image created with 5926 - Fishing Boat Set. This is a new set issued as part of the Ai Rides collection. It's so very perfect for the guys.
When the card is opened, the pop up feature is revealed. This is so simple but so effective! So let's get crafting!
To create this card, start by making the card base. Cut a piece of cardstock at 8 1/4" x 5 1/2". Score it at 2 1/8", 4 1/4", and 6 3/8". Fold on the score lines to prepare it for decoration.

The second piece needed for the card base is the pop-up mechanism. This is a simple strip of cardstock sized at 1" x 5". Score each end 1/2" from edge then fold and fold on the lines. I chose to use vellum for this but cardstock works perfectly also. Set this piece aside for now.
Choose papers you would like to decorate your card with and cut 4 strips for the inside of the card. For this matted look, cut 4 pieces at 1 7/8" x 5 1/4". Glue them inside as shown.
Flip the card base over and apply two additional pieces of decorative paper. These are also 1 7/8" x 5 1/4". Only the sides need to be decorated since the center panels will be the back of the card.
I next created two nested ovals with dies from the
5065 - Oval Double Stitched Dies and
5727 - Nested Oval Dies. I combined wood and water patterned papers on the larger of the ovals at a horizontal orientation. This is for the front of the card. I used the wood paper on a second smaller nested oval at a vertical orientation. This will be used inside the card.
Next comes the most fun part if you ask me! I stamped all the images in the Fishing Boat Set. I made a few doubles because I knew I would need two fishermen, fish buckets and anchors. You'll notice I didn't color the boots of one of the fisherman. I didn't need to do that because I would not need his lower half on the card front since he tucks into the boat window. I cut all the images out with the dies included in this set.
At this point, I arranged the fisherman in his boat with all the accessories. There are so many ways you could place the items in the boat. There are slits that make slipping these items in super easy. Once I had them where I liked best, I glued them to the boat. Then I glued it to the front of the card. Be sure to only adhere one side of the oval so that it will open.
Since this is a gate fold, it's best to hold it shut with a belly band or a tuck piece. A tuck piece is the best option for this one. I glued the boots and an anchor together and then I mounted it with a foam dot. The oval will tuck under this when shut and keep the card closed. In the photo I had placed it on the top of the oval but after I did that, I realized it would be better at the bottom of the oval so I moved it there instead. There's always options when you are card making! I also stamped the sentiment on the banner and glued that on one side as well.

In a similar manner, I arranged the fisherman and fish on the smaller oval. I also stamped it with one of the sentiments. Now it's time to bring back the pop-up mechanism. Apply glue to the folded ends and center it between the 1st and third fold. Then apply a strip of adhesive as shown and apply the pop-up image. When the card is opened, the middle card fold will bend and cause the pop-up mechanism to pop out away from the back of the card. I told you it was simple!
Let's take a look again at the finished card. First the front. I'll call your attention to the boot and anchor tuck piece. The front oval tucks under it and hold it shut.
And here is the pop-up feature inside. You can see how the oval piece stands out from the back of the card for dimensional interest.
That'll wrap it up for me today. As always, thanks for stopping by. Don't forget to post your Keep Calm & Celebrate On card to our challenge. It's a great way to win free sets. Please visit the Ai store to see all the things you need for your card, journal, and tag making projects. Have a great weekend!

WOW Janet!
That's an amazing card. You know how much
I love masculine cards and this one did NOT disappoint.
So much detail to enjoy. Thank you for the inspiration.
Now, let's see what YOU create for a celebration.
Be sure to link up your project below.
✻ Please make a new card or handmade crafty creation. You can make any item you wish; this is not limited to cards!
✻ Limit two submissions per person. You will receive extra votes if you use Art Impressions stamps!
✻Please include your first name and last initial on your submission.
✻We love to comment on your entries, but keep in mind if you use a private group or a platform that you need to sign up for, we probably won't be able to.
✻ The Ai Challenge is open to everyone, international submissions are welcome!
✻ Include a link back to the Ai Blog or grab our button on the top right of our sidebar!
✻ Share the Ai love if you can, by clicking and commenting on your fellow crafters.
✻ Make sure to get your link up by the deadline to enter your creations.
✻ Good luck and happy stamping!


