Showing posts with label Fright Night Set. Show all posts

Tuesday, July 21, 2026

Happy Fright Night by Reneé Matarese

Hello Ai fans!
Welcome to Summerween.

That's when we celebrate Halloween in summer time.


I love Halloween and was excited for this challenge.
I chose to make a tunnel card with three layers.
Though it's a little difficult to see in the photos, my blue
and orange paper are glittery.


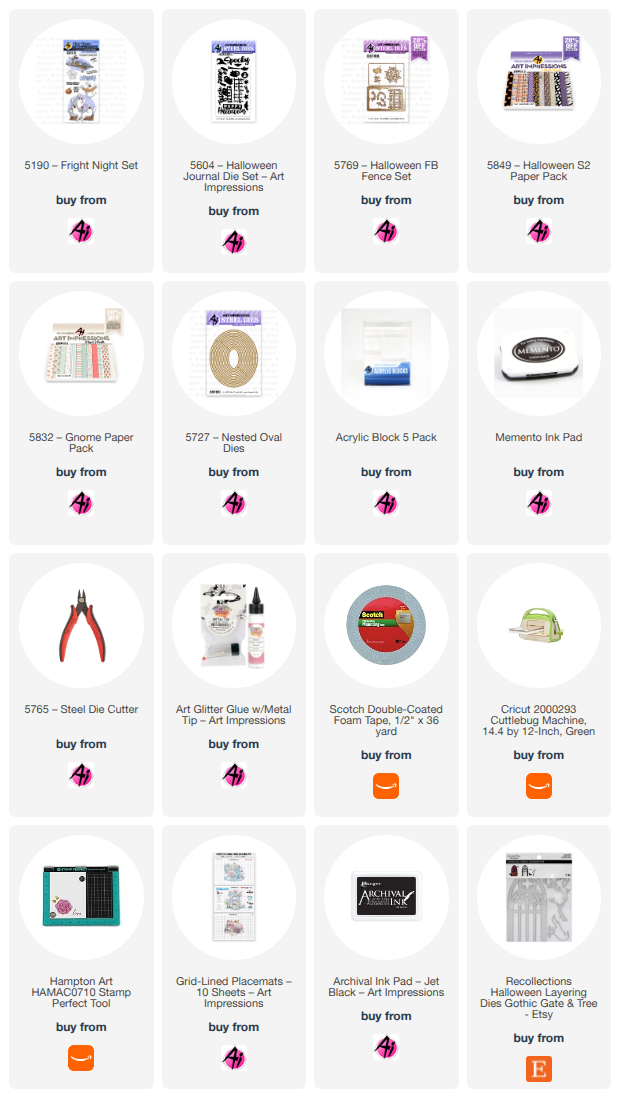
All of the fun little dies are from Art Impressions with the exception of the tree/branch.
I love the character that these dies add to a card. I decorated the inside of my card as 
well. The ovals were left from what I cut out of on the front of the card and the bats
were the piece I trimmed off. I love not wasting anything.


Saturday, September 14, 2024

Fright Night Money Holder


 Hello Art Impressions fans! It's Saturday and it's my turn to present a fun Ai project. It's finally fall and as someone who loves Halloween, I'm really in my element right now. Today I have a Halloween Money/Gift Card project for you. This could be given as is or attached to a goodie bag or other seasonal gift. I think it would be fun to slip this into someone's candy bag without them knowing. Imagine their delight when they would find this in their candy at the end of the night? I'm really thinking about doing this for a kid who visits our house and really went all out on their costume.

The holder was made with 5811 - Gift Card Pocket Set. In addition to the holder, I also used the bow dies included in the set to create the black glitter bow on my project. The ghost, pumpkin, and bats are from 5190 - Fright Night Set. I used the 5726 - Nested Circle Dies to make a moon. Then I stamped and heat embossed the bats on it. I cut the top part of the gift card twice so I could line the inside since my paper was not 2-sided. This is much dressier than blank white paper. I mounted the ghost on foam tape and overlapped the moon. I also added the jack-o-lantern on the corner. The final touches were the black glitter enamel dots and the purple pearl jewels on the bow. 

I really think this turned out well and I can't wait to give it to some lucky trick-or-treater this year! I think I'll also include an anonymous note to wish them a good holiday and explain that I chose to give them a gift for their great costume.

Thanks so much for joining me to see what I created for you today. Please visit the Ai store for the sets I used and all the things you need for your card, journal, and tag making projects. Have a great weekend!

Janet - YouTube - Blog - Facebook - Instagram - Pinterest


Saturday, October 14, 2023

Find Your Broom! by Janet


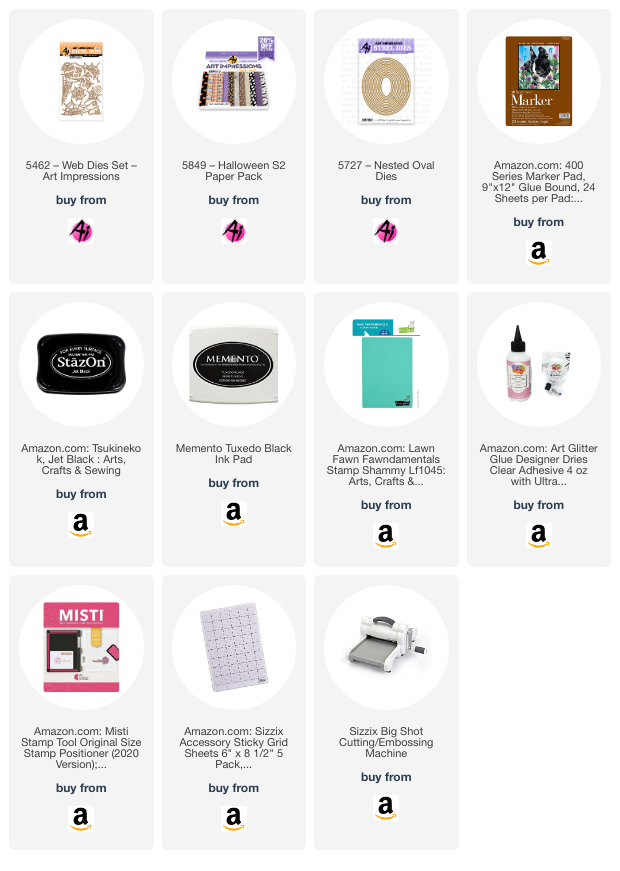
Happy weekend Ai Fans! Today I've got a spooky but fun shaker card using several Ai products. This image comes from 5190 Fright Night Set. I stamped and colored it with Copic markers and colored pencils. I also stamped the bats in this set to the acetate window using StazOn ink. This trio is having a very wild ride indeed!

The spooky bat and sky cardstock is from the 5849 Halloween S2 Paper Pack. I really like this pack. The colors are traditional with great patterns sized perfectly for Halloween card making.

The orange webs and lavender spiders are from 5462 Web Dies Set. I cut the oval opening for the shaker window with the 5727 Nested Oval Dies. I layered two layers of foam tape behind the bat paper and filled the shaker window with a variety of multi-colored sequins and I added some ghost sequins as well. Shakers are one of my favorite cards to make. It's so fun to shake the card and see all the pretty and shiny bits inside.

Thanks for stopping by today. I invite you to stop by the store to see all the new releases for your card, journal, and tag making projects. Have a wonderful weekend!


Janet - YouTube - Blog - Facebook - Instagram - Pinterest 

Saturday, September 16, 2023

SPOOKY Ghost w/Banner by Janet


I've been waiting for September and fall cardmaking. Halloween is something I've always enjoyed and Ai has many cute sets to work with. I recently added this one to my collection. It's 5190 Fright Night Set. This set has three adorable images of ghosts and other cute critters. I'll definitely be using this set again before Halloween is here!

I wanted a background that would be suggestive of ghosts so I chose a Hero Arts Swirl Stencil. I used orange and black glitter paste and mixed the colors lightly together approximately in the middle of a 4" x 5 1/4" gray panel. While it dried, I stamped and colored the ghost with the Halloween banner. I also colored the word Spooky which is in the set. I cut these images out and mounted the ghost on a black scalloped mat with a silver pattern. I cut a free form white matt for the black scallopo and glued them together. I also added purple inking on the edges to help it stand out. I cut the Spooky letters out and glued them on to a piece of vellum. I free form cut this out too. Last I cut a vertical border using a slice of paper from the 5605 Halloween Journal Paper Pack and glued it to a slightly larger gold foil strip.

To put this together, I glued the strip vertically on the card. Then I placed the finished ghost panel and the Spooky word. To further decorate it, I added purple strip gems to the top and bottom border. The finished panel was then glued to a top fold A2 white card base. I inked the edges of it with purple ink to match the square ghost panel. I love how the background really makes the ghost stand out and take center stage on the card. This has a lot of shine too!

Thanks so much for joining me here today. I hope our team will inspire you with many Halloween card ideas this season! Visit the store to see the entire Halloween collection! If you enjoy the season, you will be sure to find several sets that will get you creative ideas going.


Janet - YouTube - Blog - Facebook - Instagram - Pinterest 

Sunday, March 27, 2022

Zuckerman Farms by Reneé Matarese

 Hello Ai fans!

The Cubbies series at Art Impressions are one of my favorite series at Art Impressions.
When I saw the 2021 farm freebies last year I immediately thought of Charlotte's Web. The pig...the rat (Oh Templeton and his rotting food..lol!)  Here, Wilbur is enjoying his new life on the farm with his new friends.


I used so many sets to create this card but it was worth it.  This scene takes me back to my childhood. I loved the book and I loved the movie.

On the front of my card I used the 
5180 – Barnyard Animal Cubbies
4934 – Holy Moley Set
5059 – WC Harvest Set
5173 – Thanksgiving Circlet MTF
4967 – WC Fence Dies
4941 – Spooktacular Set
5190 – Fright Night Set


I continued the scene to the inside of my card.  Wilbur is headed off to the state fair!
I used:


Thursday, October 22, 2020

Halloween Mini Die Set Card!

Hello Ai fans! 

Art Impressions has some super cute new mini dies they are so much fun to play with. You can check out the whole mini die collection HERE. 

The focus of the card is the new Halloween mini die set. This card is very simple so it was fast to put together. I die cut a corner rounded rectangle out of black card stock. I die cut three small squares out of the black card stock with a double sided stitch square die. I adhered the black card stock over the green card stock with foam tape so the mini die cuts would be set back a little bit.


I needed a sentiment for my card so I used two sentiments from the Quivery Mini Shaker stamp set. "Happy Fright night" and "Boo!" I needed to fill in the open space the black space needed to be broken up a little bit so I used the spider web from the Fright Night stamp set and stamped them  with white ink.


Happy Stamping!


Friday, October 16, 2020

Spooky Fright Night Ghosts | By Jessica Shier

 Hello Ai fans!

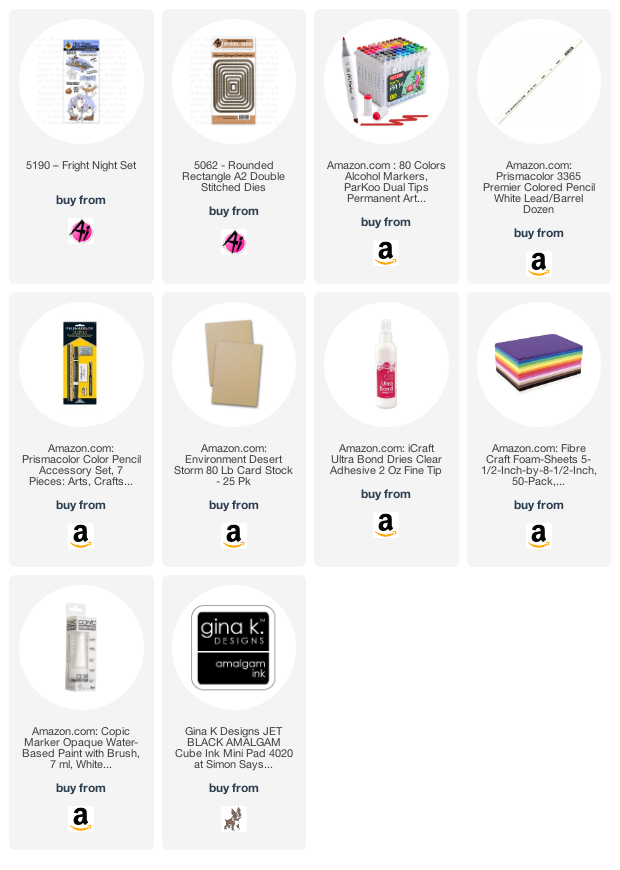
I hope everyone has had a good week so far! One of my favorite holiday sets is Fright Night! I love all the images and the trio of ghosts are just too cute. This is so simply colored and most of the shading is done with a white Prismacolor Pencil! Perfect for some more kraft cardstock inspiration. 


The markers I'm using today are Parkoo. You can find them listed down below. They are a cheap alternative to Copic markers, if you don't mind the bullet tip instead of a brush. I did use a alcohol marker friendly black ink, I like Gina K. Designs Jet Black Amalgam ink. I stamped the ghosts, spooky word and bats on to Neenah Desert Storm 100lb cardstock. 

The marker colors I used will be listed below. Using two shades for each color. I went with a simple shading with a hard line, similar to what the packaging of Art Impressions products show. I also colored in the ground level with several more markers. I like how this has more of a non traditional Halloween color palette.


Once I had the marker coloring done, I started coloring over the top with a white Prismacolor Pencil. This is my most used colored pencil. To get the most out of these pencils I do use a pencil extender. 

I started coloring the white pencil in the certain of the ghosts and lightly shaded out to the edges. I kept a hard line right on the edge to give these ghosts a more rounded feel. You can still see the two shades of colors I used underneath the white pencil coloring and of course white pencil shows up so nicely on kraft colored card stock. I did the same for the spooky word and then also added a little bit of shading on the ground. 


Using some scrap pieces of paper I covered the colored areas and added some white splatters with Copic Opaque white. You could also use white acrylic paint. I did use the Copic Opaque white for the highlights on the ghosts and the eyes of the spooky word. It is hard for me to get a nice line with a gel pen over colored pencils due to the wax from the lead. Using a Rounded Rectangle die I die cut the ghost panel and added a green craft foam layer underneath using the same rounded rectangle die. These are mounted to Neenah Solar White 110lb A2 top fold card base. 

Parkoo Markers Used:

64 Indian Blue, 182 Frost Blue

46 Vivid Green, 174 Spring Dim Green

14 Vermilion, 122 Fluorescent Orange

35 Lemon Yellow, 49 Pastel Green

99 Bronze, 97 Rose Biege

GG7 Green Grey, GG3 Green Gray, 123 Fluorescent Yellow


Thank you so much for joining me today! Happy stamping. 


Saturday, September 19, 2020

Three Sheets by Sharon Caudle

 Hello AI Fans!


I'm back with another Halloween card, this time it's one for the adults! As soon as I saw this stamp, #5190 Fright Night Set,  I KNEW I had to have it!! The sentiment of three sheets to the wind couldn't be any more perfect. I'm telling you, that Bonnie is a genius!!  I added a cute little spider and a bat from the Halloween Mini Die Sets as well. I just drew a little line from the N to make it look like he was dropping down.


So that's it for me today!  Thanks so much for stopping by and until next time - stay safe, stay healthy, and of course - stay crafty!!

hugs


Copics used:
R02, R35, R37
W1
E33, E35, E37
C2, C3, C4, C6, C7
B000


Thursday, October 31, 2019

Three Halloween Cards With the Fright Night Stamp Set- by Crystal

Hi Ai Fans!


I might have gotten a little carried away this week with cards. I was having so much fun with the Fright Night Stamp set that I ended up making three cards with it.


This first card of course would be perfect for a friend who enjoys wine. So cute ghosts drinking wine. I think they are so different and not something I would expect. Oh and the sentiment "THREE SHEETS TO THE WIND!" way too cute. 


This would be good for anyone! I love the stamped bubble letters spelling out "SPOOKY" they are so cute not at all spooky. 


I stamped the sentiment onto a tag "IT'S HALLOWEEN... ANYTHING GHOST!" 


These animals riding away on a broom are adorable. 


Spectrum Noir Markers: 
CR11, CR4, CR9, IG2, IG5, IG7, EB2, EB4, RB1, RB2, PL2, PL4, CG1, CG3, GY1, GY3, CT4, GB6, GB9, GB10, Blender

Happy Stamping! 


Sunday, October 13, 2019

Three Sheets to the Wind by Reneé Matarese

Hello Ai fans!

Today I'm sharing a Halloween card with you.
Halloween is pretty much my son's favorite thing on earth!
He was born in October and is thrilled with that.  He used to ask for pie and cider instead of cake for his birthday.  This year he turned 21 so I thought this card would be cute for him!


These ghosts are so much fun!

I'm so sad...I've been invited to two different Halloween parties this year but I can't attend either because it's my daughter's family weekend at college.  Who thought it was a good idea to have that a few days before Halloween??

Here's the inside of my card...


I used watercolor pencils to color this fun image.


Monday, October 7, 2019

Three Sheets to The Wind by Carol Hintermeier

Happy Monday Ai Friends!

Today I'm using the oh so fun Fright Night Set.  These ghosts with their wine glasses just crack me up! LOL!  They are having so much fun they don't even notice the black spider dangling down towards them!


To begin, I stamped the ghosts and the pumpkin onto masking paper and fussy cut them out.  I then stamped them onto Neenah 80# paper with Copic safe ink.  I stamped the pumpkin first, applied the mask, and then stamped the ghosts.  I put the mask onto the ghosts and added Distress Oxide inks with ink blending brushes.  I used these Distress Oxides: Squeezed Lemonade, Carved Pumpkin, Picked Raspbertty, Lucky Clover, Wilted Violet, Chipped Sapphire, Black Soot, and Mowed Lawn.

Before I removed the masks, I added splatters of some white ink spray for that starry look.  It's hard to see in the photos, but I also sprayed on some iridescent Glitter Dust for some subtle sparkle.  I also used a white gel pen to add a few more stars.   I colored the stamped images with my Copics (colors listed below) and finished it off with some clear sparkle on the ghosts.  I die cut the panel out with a Rectangle Double Stitched die.


The spider is actually part of another stamp in this set.  I just cut it off as it will be easy to piece back in place to use with that stamp.  After I stamped it a few times in black ink, I used my Micron black pen to extend the line up to the sentiment.  I stamped the sentiment and trimmed it into a banner shape with a layer of patterned paper from my stash.


Thank you so much for stopping by today!  I hope you have a wonderful, crafty week!


Copic markers:
C00, CO, C1, C3, E13, E15, E17, E18,
N0, N2, R22, R35, R37, R39, Y17, YG05, YG17, YR16