Hello Ai fans!
Welcome to our first Watercolor Weekend of 2023!

Not only is it exciting because Watercolor Weekend is always fun,
but we have a big announcement to make.
We have a brand new Design Team member.
Please help us welcome Diane Mason.

We've seen Diane's amazing work for years and when the time came we knew she'd be a great fit for the Watercolor Team. She's also great at Copic coloring too. If you've never seen Diane's work, she has a bold, crisp style which will make a wonderful addition to this creative team. We love that all three of our designers have distinct styles.
You can see Diane's bio HERE.
If you'd like to check out Diane's work and follow her so you never miss a thing you can see that here on PINTEREST and on her INSTAGRAM page.
Now that we've met Diane, let's see what our Design Team has created for your inspiration.
First up we have Tricia.
Hello Watercolor Fans and welcome to the first Watercolor Weekend of 2023. We are so excited to be on this journey with you and hope that we can inspire you to create something today. In this new year, I hope the kindness we extend to others we also give to ourselves. We are all our worse critics. The best advise I can give is to paint it to the end, leave it alone and come back later to see what you think. Your mind is amazing, but will trick you into thinking you are no good. Trick it back, because you are amazing too.
Onto the project.
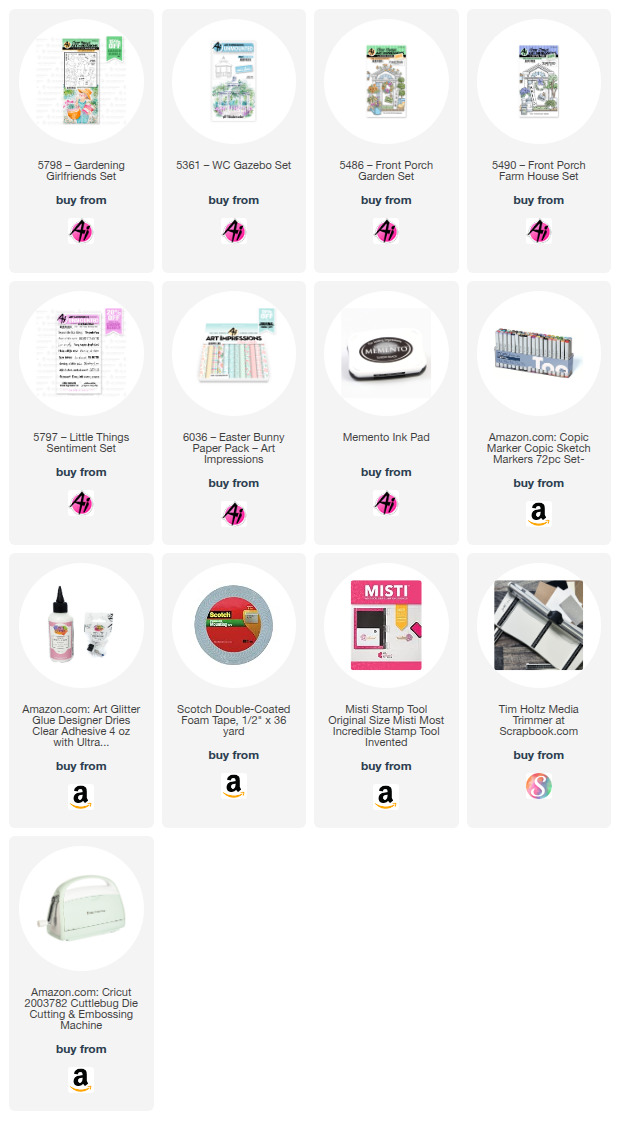
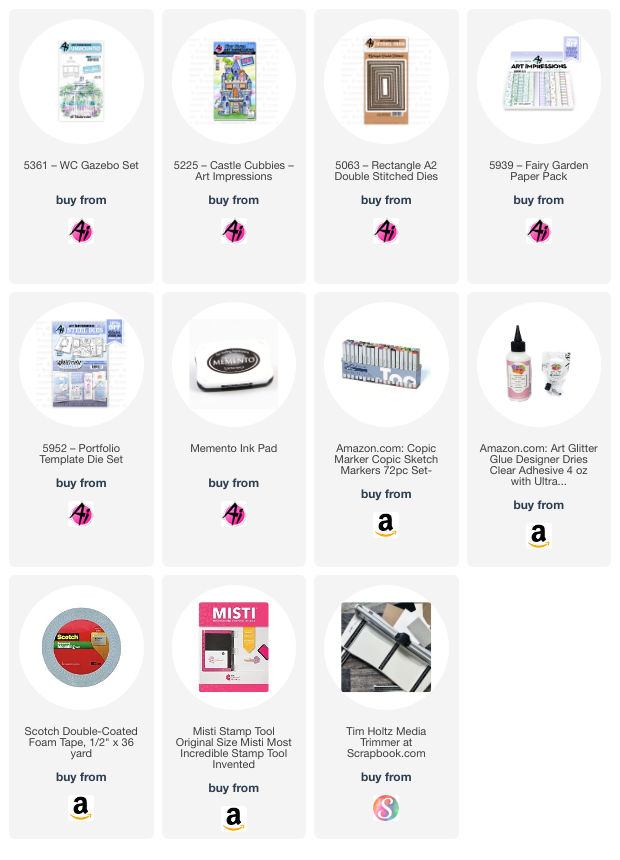
I love to create cards that I can use my current stamp collection to think outside the box. The Gazebo stamp is a favorite, but sometimes I don't want it to take up the entire card.

Because this stamp is so large, I used my MISTI to make sure I was able to ink where I wanted. I inked up only the top two-thirds of the Gazebo (don't ink the lines on the roof as those would be covered with snow) and all the posts except for the middle two, with 569. In order to lighten it up, I stamped it off once, then stamped it in the upper two-thirds of the paper.
Next, I inked the bottom half of the stamp (only the lake, no mountains) with 569. I did not stamp this off, I wanted to be able to pull really dark color into the sides to create an ice rink type of feel. The best thing about white is all the shadows that you can create. TIP: start light and build up darker colors in just the shadowed areas. I tend to have a heavy hand. I bet that Karen's rendition would come out a lot softer.
I softened all of the lines and pulled some of the color into the background. To create the look of a snowbank along the water, hold your card upside down and with a damp brush pull the color out by swiping the brush along the line. This will create a darker value at the bottom and a gradient color along the bank with the pure white on top. It gives the illusion of a banking. I added additional 569 to the banks bringing it lighter as I got to the center.
I painted in the mountain using some jagged brush strokes. Build the color up slowly with the darkest parts being under the snow. For the sky, I brushed in some 565 between the columns and around the mountain and gazebo.
As final touches, the bench from the wrought iron set was a perfect spot for them to rest. It reminded me of the old movies with people ice skating. I added a fence from the Barn set between the columns using my stamp positioner and masking tape. I kept feeling like someone would just fall off the rink without them, lol.
For our skaters and dog, I inked the girl with 636 and N25, the boy with 565 and N25, and the dog with 879 and N25 on her back (looks like my dog :3). They are so easy, just ink, stamp and add just a smidge of water.
After it was done, I felt like it was missing something, so I added the pine tree from the Tree Set I. After I added the water and it dried, I added some bleed proof white. I love to add bling with my Wink Of Stella, so I added it to all the white snowy areas (really pretty IRL). Lastly, I signed and dated!

Come on over to my blog to see the rest of the card details (including the 2023 stamp). It’s always a pleasure to spend some time with you, I hope you are inspired to create today! Happy New Year and Happy Crafting!

Next up is
Karen with two colorful cards.
Happy New Year! I've painted a bright and fun scene today using 5519 - WC Mini Critter Pots.
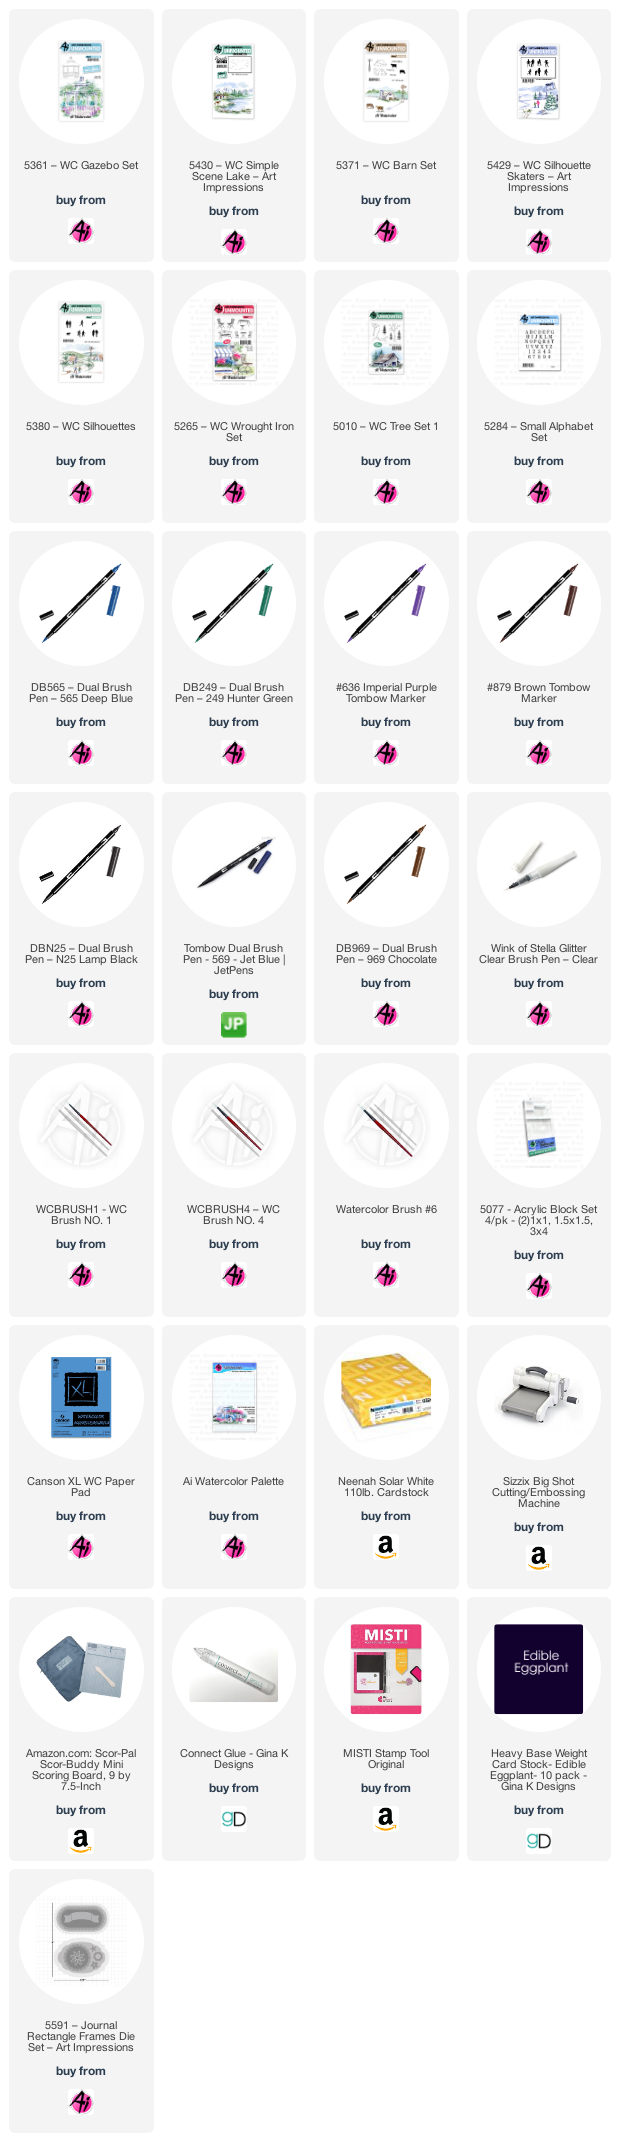
I placed the snail, owl & puppy onto one clear block, which allowed me to place them exactly where I wanted them, and I could ensure they were straight as this is a clear set. I inked them all up in #565/969, and stamped onto my Canson XL Watercolour Paper. With a pencil, I sketched in the plant stands.

I used #569 to paint the owl, #346 for the snail, and #N55 for the puppy. With these colours: #565/757/993/346/126 I created the flowers and foliage using these stamp sets: 5008/4052/4868/5009/5126/4964. After softening the images with a damp brush, I used #N52 to paint in the background, and went in with #565 to add shadows under and on the images.

I used my black Twintone marker to add the dots around the flowers, and to darken the eyes of each critter. I die cut the image and adhered it to my base with some 3D foam adhesive.
Now for Diane's first ever Art Impressions Watercolor Design Team post!
Don't you LOVE it??!!

Hello Ai Watercolor fans! I am so happy to be sharing my very first Watercolor Weekend card with you!
With the holiday season coming to a close, we’re all expected to get back into the swing of things – back to work, back to school, back to all our responsibilities. As a child, I always hoped for just one more carefree, snowy winter day before returning to school. The beloved Snow Day, a day to build snow forts and snowmen, drink hot chocolate, and of course have a friendly snowball fight with friends!
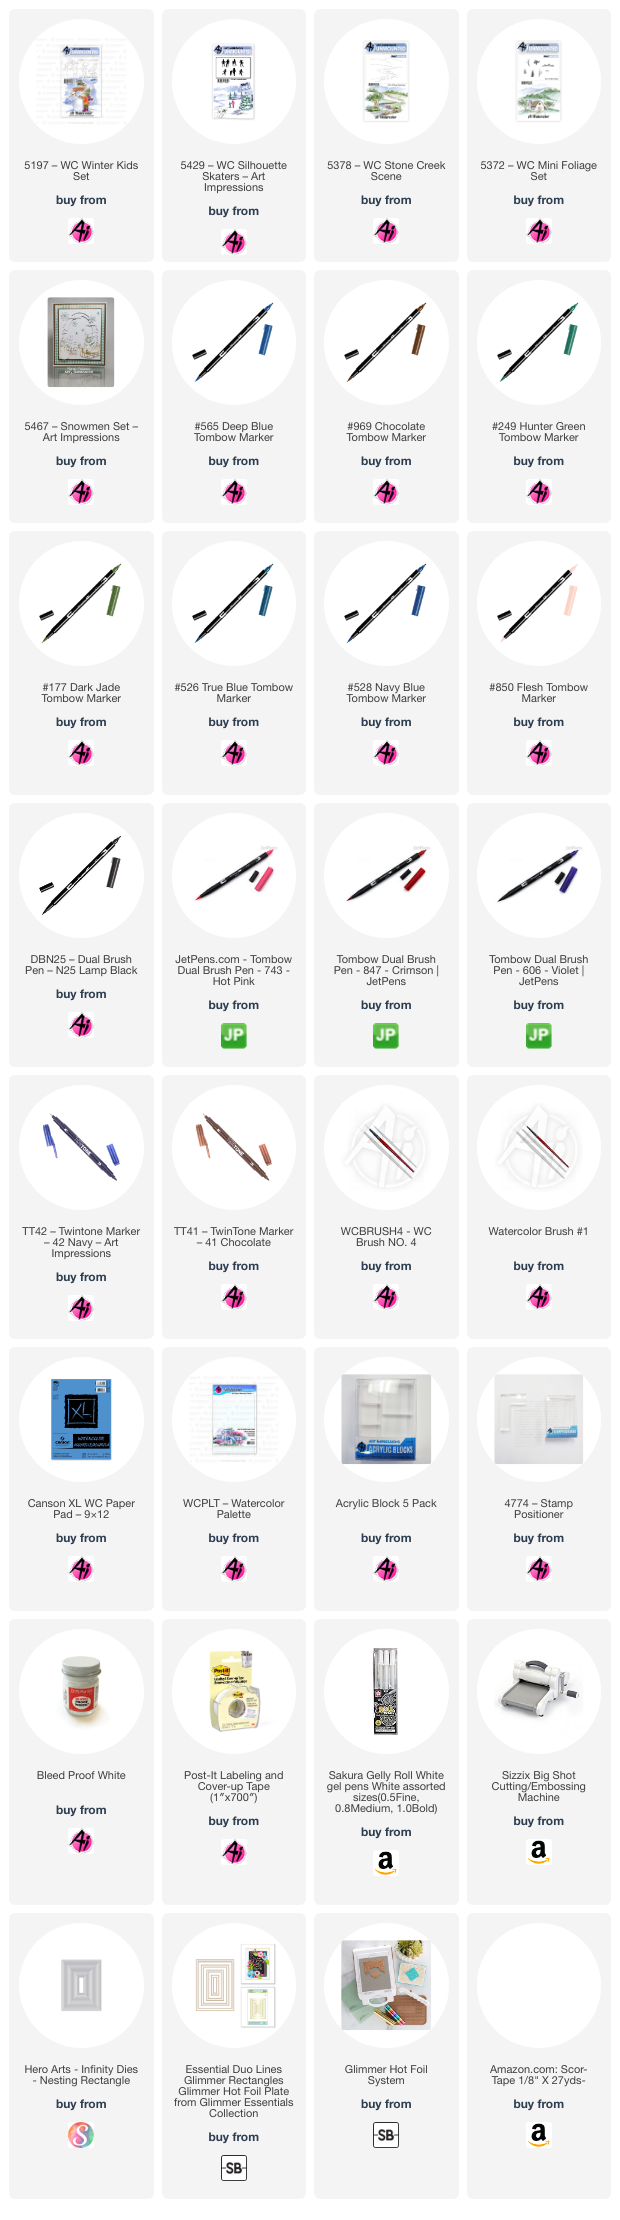
To create this scene, I used the following Ai watercolor sets and Tombow markers:
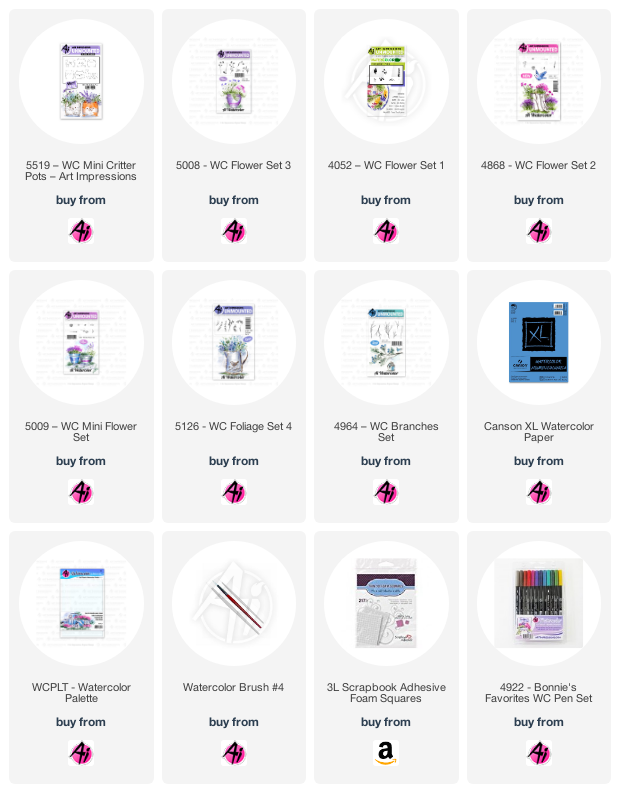
⦁ 5197 – WC Winter Kids Set
⦁ 5467 – WC Snowmen Set
⦁ 5378 – WC Stone Creek Set
⦁ 5429 – WC Silhouette Skaters
⦁ 5010 – WC Tree Set 1
⦁ 5372 – WC Mini Foliage
⦁ Tombow: 565, 969, 249, 177, 526, 528, 743, 606, 847, 850 and N25
To prepare my Canson XL watercolor paper for painting, I masked off the hot foiled edges of the border frame. Next, I inked the wagon of snowballs from #5467 with 565 all over then with 969, avoiding the snowballs. I stamped off on a scrap of watercolor paper before stamping onto my project. For the children in the foreground I used stamps from #5197 and inked them both with 565 first, then 969 (avoiding the areas to remain white, like the hat bands and snowball). I used my positioner to place them on either side of the wagon. I then drew a snowball in the girl’s hand with a pencil.
For the hills in the background, I used #5378. I only inked the hills portion of the stamp with 969 and 565. After stamping off a few times, I stamped the hills to the left and then lined up the stamp to extend the hills to the right and stamped again. Now with the hills in the background, I drew a few more hills with a pencil in the middle to create depth. I then stamped the children in the distance from #5429. I chose the two who looked like they were facing away. I could have stamped them in a single color as a silhouette, but I choose to color them in using my Tombow markers (565 pants, 969 shoes and hair, 743 girl’s jacket and 847 for the boy’s jacket). I stamped them into the center background area to look as if they were running for the hills! With a lightly wet #4 brush, I pulled some color from the hill lines to create snowy hills. Before stamping the fir trees in the distance, I washed in the sky with 565. For the fir trees, I chose the large fir tree from #5010 and the small fir tree from #5372. I inked some of the trees with 249 and some with 177.
With the scene set, it was now time for the fun! With my #4 brush, I began by pulling out the color from the lines on the boy, girl and wagon to establish the shaded areas. I started with the blue inked areas first and then the areas with both 969 and 565.
For the wagon, I mixed a color on my palette of 969 and 526 to create a blue-green rustic color. For the tires I used 969 and N25 to darken the shaded areas. I lightly used N25 for the metal under the wagon and the metal of the handle. For the wooden handle, I used 969. I used a bit of watery 565 to add contour to the snowballs. Next, I brushed in some 565 under the wagon for shadow and a bit around the tires to look like piled up snow.
For the boy in the foreground, I used 528 for his stocking hat and pants, 249 for his sweater and 969 for his mittens, boots and hair (which I added in just above his collar). For the girl, I used 743 for her coat and hat, 606 for her scarf, mittens and boots, 969 for her hair, and N25 for her pants. I used 850 for both of their faces and then a light watery mix of 850 and 743 for their cold little cheeks. With a little 565 from my palette and using my pencil line as a guide, I painted in the snowball in the girl’s hand. Next, I brushed in some hills in the middle and sides of the painting with 565.
With my #1 brush, I carefully added water to the stamped images of the boy and girl in the background to give them definition. I went back to my #4 brush to dab in the fir trees in the background. With everything now painted, I added some footprints and a couple of snowballs in the background using 565 and my #1 brush. In the foreground I used my #4 brush and 565 to paint in some snowy areas around the children’s feet.
For the finishing touches, I brushed on some Dr. Ph Martin’s Bleed Proof White to the trees to add snow. I added stripes to the girl’s scarf with 606 and a 05 white gel pen. And finally, I used my brown and navy Twintone markers to add back any missing lines that needed to be defined. I then removed the Post-it tape to reveal my finished painting! I die cut the card front with a rectangular die and adhered it with double-sided tape to the front of a white card base.
If you’ve stuck with me this far, go make yourself a hot chocolate and take some time to dream about the next wintery Ai watercolor scene you plan to paint – or give this one a try!
Thank you Design Team for these amazing works of art!
Every one of these is amazing!
If you'd like to see all of the Design Team creations you can visit our Pinterest page where we keep all of their paintings and projects in one place to make it simple for you!

Happy crafting everyone!