Showing posts with label Chicken MB 5731. Show all posts

Thursday, August 28, 2025

When One Door Closes Challenge #412

Hello and welcome to our newest challenge!

This one is called When One Door Closes.


We want to see your projects using stamped or die cut doors.
Wait until you see what Featured Designer Dori has created.
She made her own, elaborate chicken coop door!
SO CREATIVE!!

After you check out her card and tutorial, be sure to
scroll down to see who won our last challenge.

Take it away Dori!

--------------------------------------------------------------------------------------------------------------------

Hello AI Friends!

Welcome to my feature for the "When One Door Closes" bi-weekly challenge.
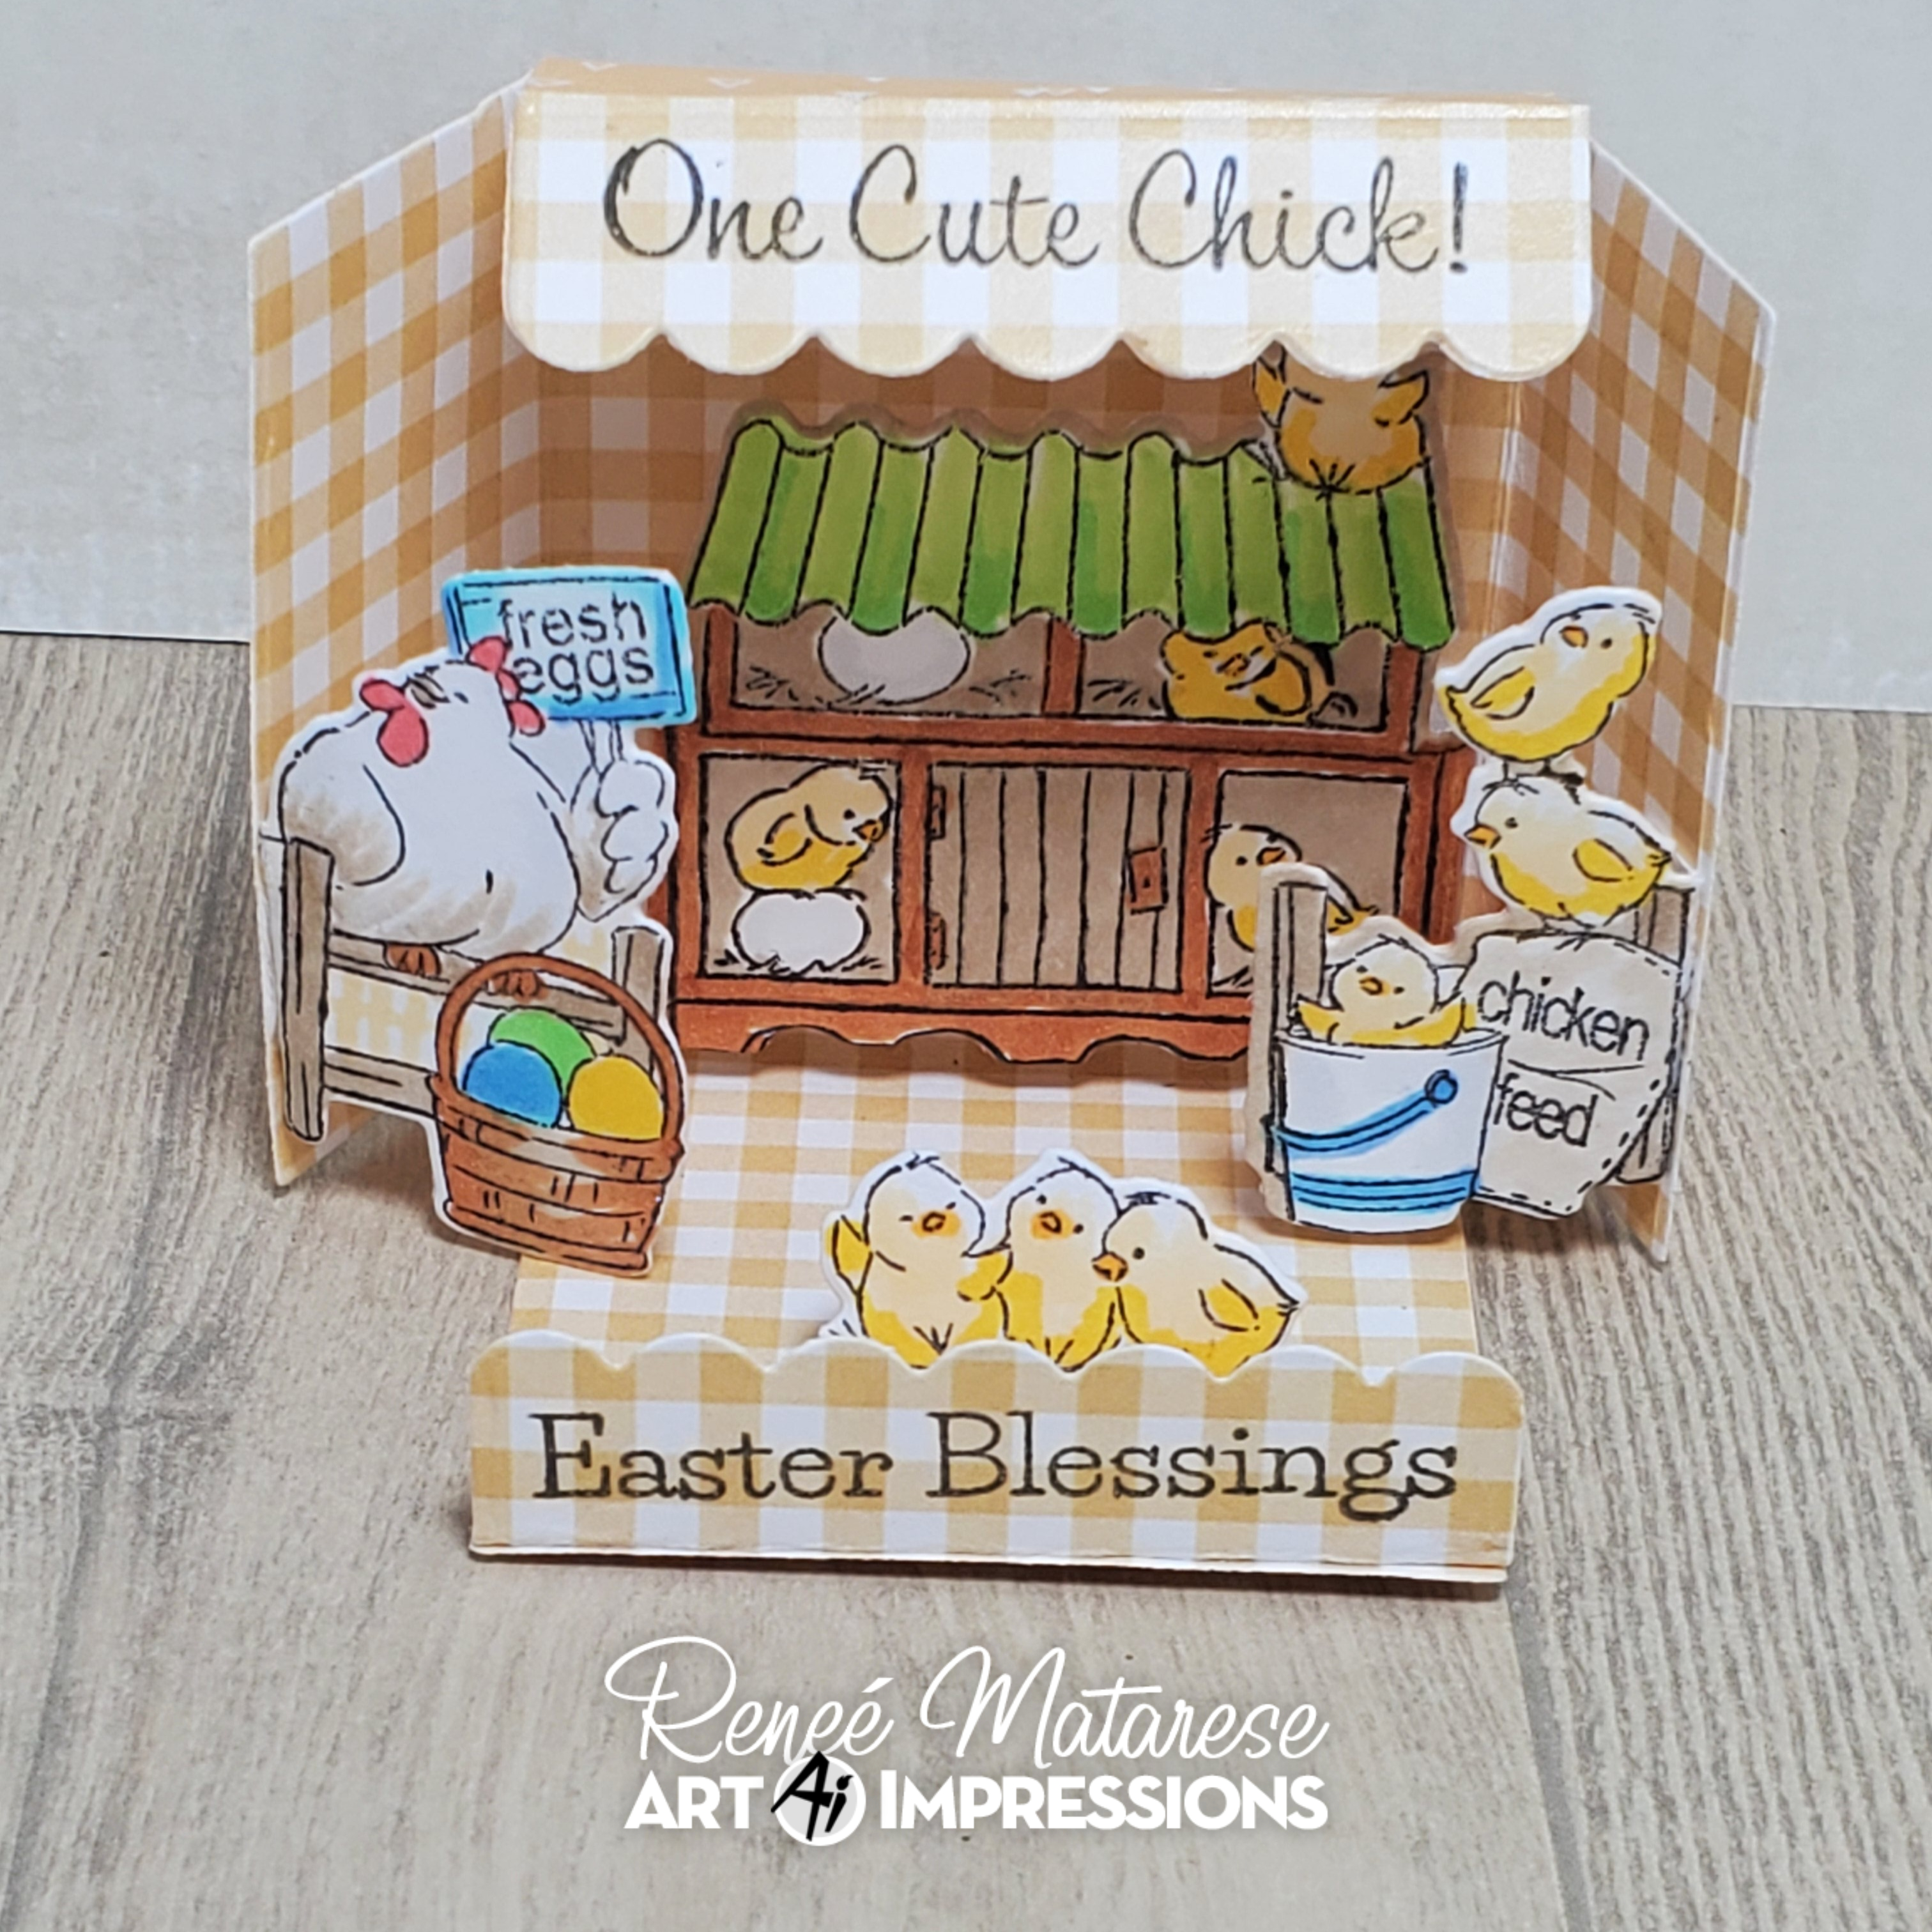
I thought it would be fun to make a chicken coop and create a fun fold door card.  

I used the AICS40 Spring Chicken and the 5731 - MB Chicken set for this interactive card.  How does the saying go "When one door closes, another one opens"?  Who would have thought that it opens to a CHICKEN PARTY!  😁 


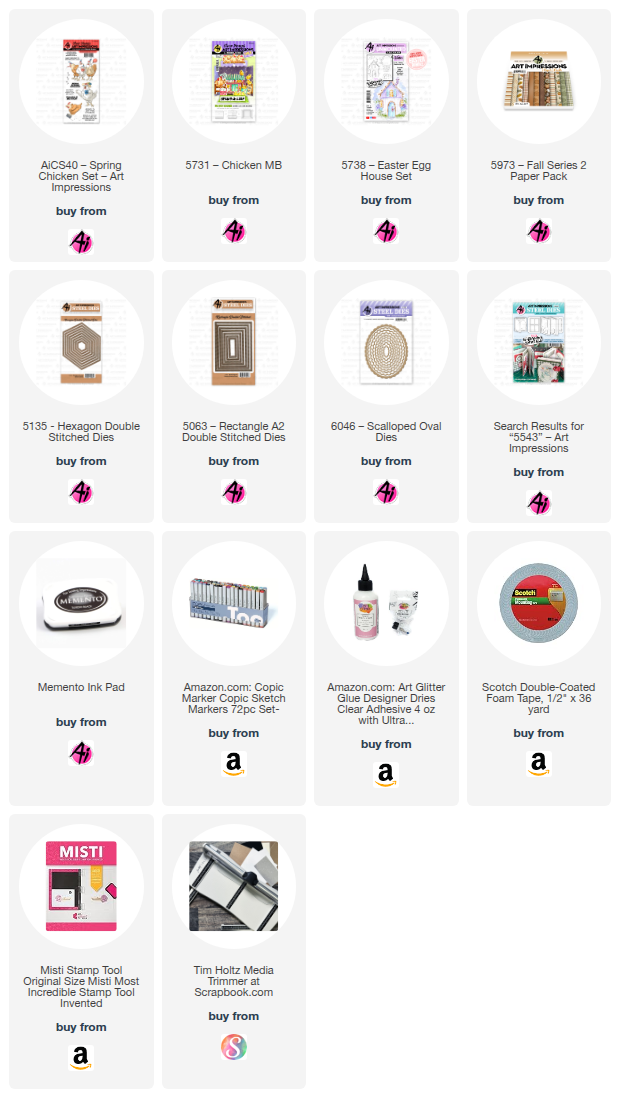
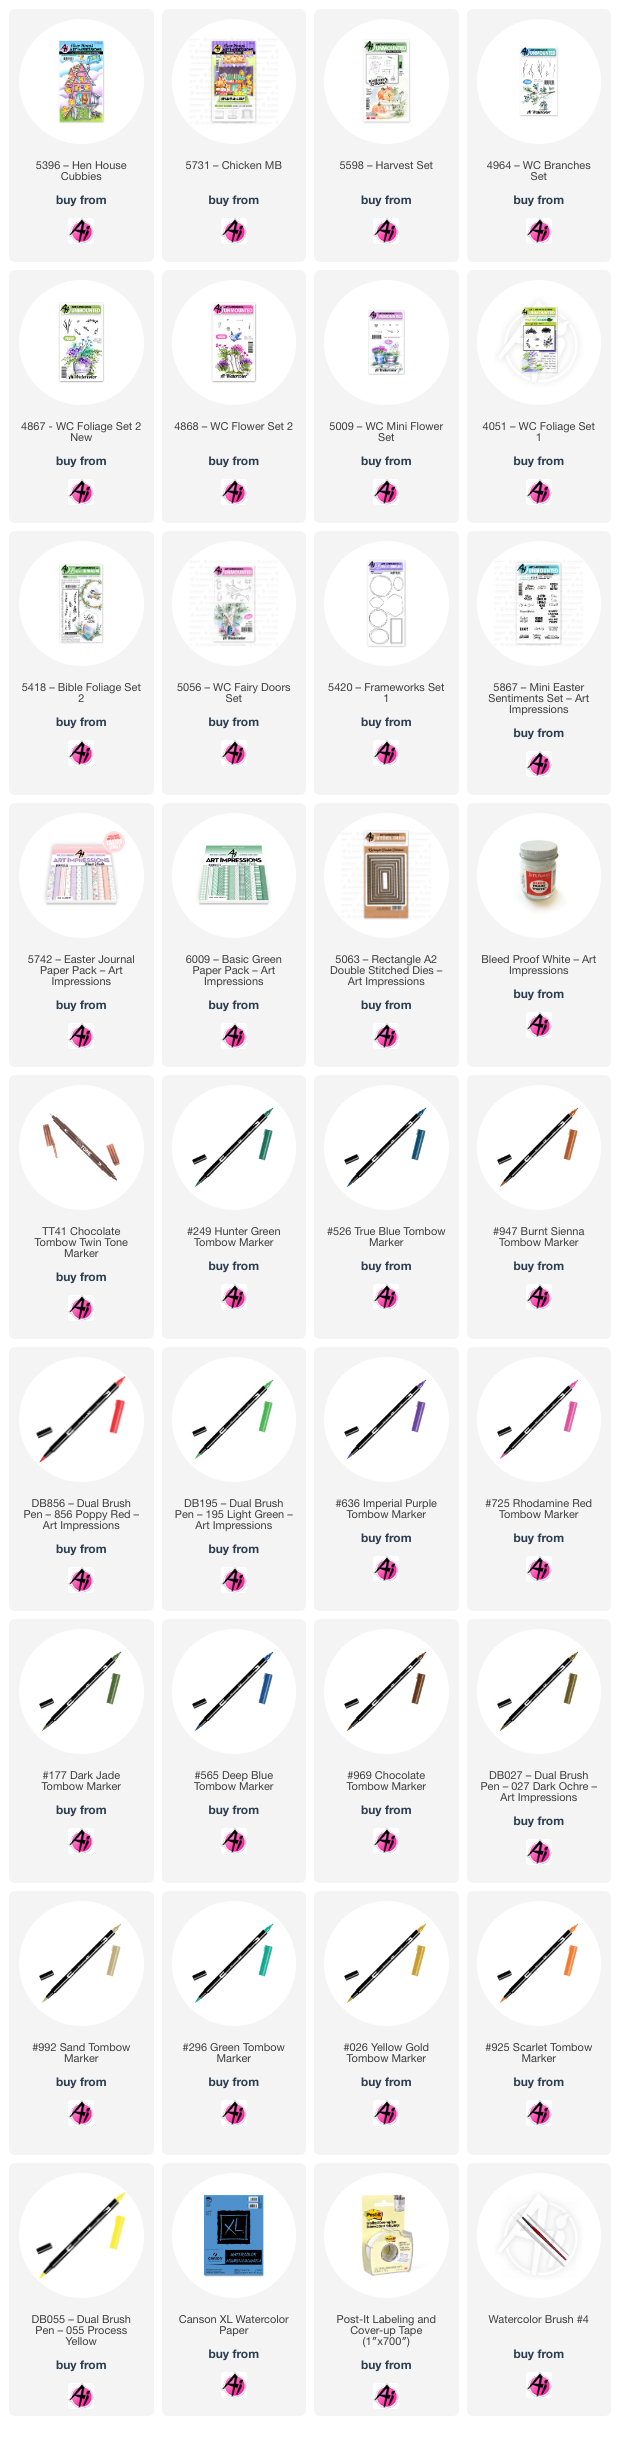
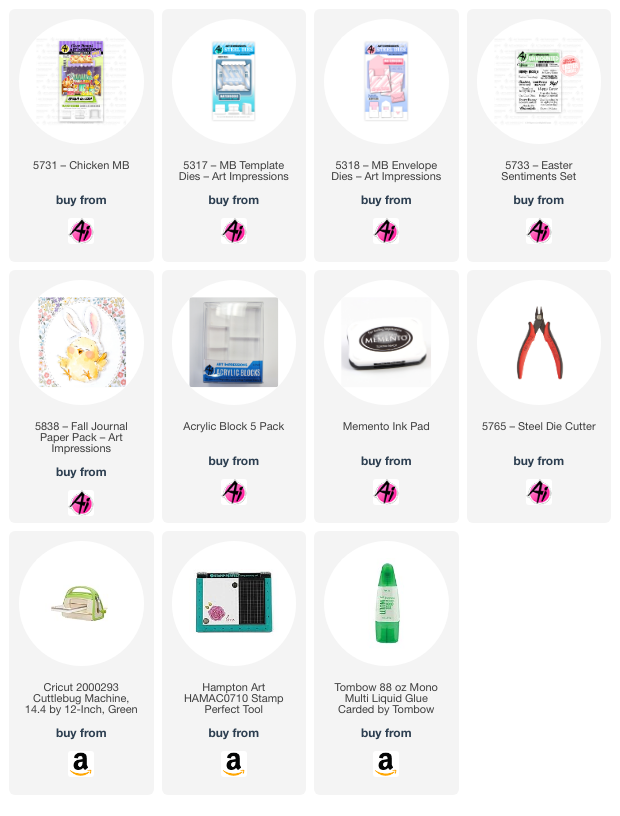
I did the usual by stamping the images onto copic friendly paper with Memento black ink and colored with my copic markers listed below.  I used the 5135 - Hexagon Double Stitch largest die to cut the chicken image and then I used the 5063 - Rectangle A2 Double Stitch largest die to cut the straight edge at the bottom.  The images on the front of the card were cut with the matchbook dies that come with the set.  I fussy cut the tabs off for the matchbook.  I also fussy cut the 6003 - Exclusive Coop freebie.  

To make the fun fold coop card - start with a 4 1/2 x 11 piece of colored cardstock.  Score and fold 
at 2 3/4 and 8 1/4".  Fold the card shut to make an A2 size card.  Use the hexagon die to make a template out of scrap cardstock.  Place the point of the template on the inside edges of the front flaps of the card.  Either draw a cut line for the angle cuts at the top of the card or place the card base into your cutter holding the template in place and cut the angle cuts.  

For the inside pattern pieces, middle - cut a gingham piece 4 1/4 x 5 1/4.  Cut the angles at the top using the cut off angle pieces for the template then cut off the bottom edge to fit.  Do the same for the sides but cut two pattern paper pieces at 4 1/4 x 2 1/2.  Adhere the inside pattern pieces.  To cut the windows, use the template for the angles and draw your window.  Cut using an exacto knife.  Glue some screen material to the inside panel just along the window hole.  Take narrow pieces of cardstock to frame the inside of the window (see below).


For the valance at the top of the windows (inside and out), I cut several edges from pattern paper using the scallop edge from the 5543 - Journal Template die set.  For the front of the card, I placed thicker edges along the bottom and popped up the top thinner layer.  I used thinner edges for the inside windows.

The sentiments came with the AICS40 - Spring Chicken stamp set.  I cut two of them with the 6046 - Scallop Oval dies and adhered them to the inside flaps.  The one on the front, I used the 5063 - Rectangle A2 Double Stitch die.  The eggs on the inside are from the 5738 - Easter Egg House set and are fussy cut and placed onto a straw piece cut using a die from my stash.

As for the front of the card, I used the 5731 - Matchbook Chicken set along with the 6003 - Exclusive Coop freebie (available now with a $30 order).  The fence and grass are dies from my stash.  
The latch was created using several layers of cardstock with a wood grain cardstock as the top layer.  I cut three strips of wood grain cardstock at 3/8 x 1 1/4".  I cut one in half and placed a piece of cardstock behind each.  I folded both of these to make the hooks and glued in place.  
I layered several pieces of scrap cardstock behind one of the other wood grain pieces and placed a brad into one end.  I used the heart die cut as the anchor so that the latch would turn.  Punch a small hole into the heart die cut and place the brad prongs through it.  Secure the brad but make sure it is not too tight so that it can rotate.  
I cut about 1/4" off one end of the last wood grain piece and layered with several pieces of scrap cardstock.  I then glued this to the back of the other (scrap to scrap) avoiding the brad.  You want the wood grain to show from both the inside and the front.  Glue down the heart and check that the latch will move up and over.  See video below.


I hope you enjoyed my card today.  Thanks for joining me!
Have a wonderful day and keep creating!

Copics used:  T0, T2, T4
E21, E23, R22, R24, R27
YR16, YR18, YR20, YR21, YR24, YR27
Y11, Y13, Y15, Y17
YG06, YG17, G40
B000, B12, B14

Your card is amazing Dori and what a great idea.

Now, let's see who won our Sports & Leisure challenge...

For our Top Spot we chose:


Please contact Leah at Feedback@artimpressions.com
to claim a free stamp set of your choice!!
Be sure to grab our badge to display on your social media too!


Our Lucky Random Winner was #3 Sue V.


Please contact Leah at Feedback@artimpressions.com
to claim a free stamp set of your choice!!
Be sure to grab our badge to display on your social media too!


Congratulations to our winners!

Have YOU entered one of our challenges yet??
You might be one of our next winners.
What's holding you back??
Is it the free stamps?
I didn't think so.
LOL!

Enter below. It's fast, easy and you just might be our next winner.
For this challenge, we want to see your projects that have a door on them. It can be stamped or die cut or part of an image. It doesn't have to be a "front door" like the front door series or the slew of watercolor doors Art Impressions carries. You can also use the Cubbies which have doors or any vehicle that has a door on it. Use your imagination! Dori even created her OWN door so there's no excuse if you don't own one.


Be sure to enter your creation for the chance to win a free stamp set from Art Impressions. 
We award one Top Spot and one Lucky Random Winner, and each will win a free stamp set from Art Impressions.

✻ Please make a new card or handmade crafty creation. You can make any item you wish; this is not limited to cards! (unless specified)

✻ Limit two submissions per person.
 ✻Please include your first name and last initial on your submission. You may include your entire last name, but it's not necessary.
✻We love to comment on your entries, but keep in mind if you use a private group or a platform that you need to sign up for, we probably won't be able to.
✻ The Ai Challenge is open to everyone, international submissions are welcome!
✻ Include a link back to the Ai Blog or grab our button on the top right of our sidebar!
✻ Share the Ai love if you can, by clicking and commenting on your fellow crafters.
✻ Make sure to get your link up by the deadline to enter your creations.
✻ Good luck and happy stamping! 


You are invited to the Inlinkz link party!

Click here to enter

Sunday, March 30, 2025

Bonus 5th Sunday Watercolor Weekend with Simone Carr

 Hello Ai fans and welcome to Watercolor Weekend!
This is one of those months where we get a bonus, 5th Sunday, so Simone Carr will be filling in as our Guest Designer for our last Sunday in March.


Please enjoy her amazing art!

Hello Fellow Crafters,

It’s my turn for Watercolor Weekend, and I’m excited to share two new watercolor cards with you! I hope they inspire you to create something beautiful this weekend!
Card 1: Easter Bloom Wreath


For my first card, I took an egg-shaped die to draw an outline so that I knew where to stamp my flowers and foliage. I placed my Canson watercolor paper into my stamp platform. I used the stamp from the Frameworks Set and colored parts of it with 969 before stamping it along the penciled egg shape. Once that was done, I stamped in the bunnies using 569 and 969, stamping off twice before applying them to the paper.
I colored the wreath first by pulling out the stamped color, then moved on to the bunnies, adding layers as needed. I stamped in some foliage but left space for flowers. I stamped grass in front of the bunnies using the larger grass stamp and then added flowers from Flower Set 2. For the white flowers, I used Dr. PH Martin’s Bleedproof White. Finally, I stamped the little bird on the branch using only 969. The sky was softly blended with 526 to complete the scene.
Materials Used:
Stamps:
  • Frameworks Set 1 (5420)
  • Fairy Doors Set (5056)
  • Furries TF (4208) Retired
  • Bible Foliage Set 2 (5418)
  • Foliage Set 1 (4051)
  • Mini Flower Set (5009)
  • Flower Set 2 (4868)
  • Flower Set 2 (4867)
  • Branches Set (4964)
Dies:
  • Rectangle A2 (5063) – Used the largest
  • Mini Easter Sentiment Set (5867)
Paper:
  • Canson Watercolor Paper
  • Easter PP (5742)
Inks & Markers:
  • Tombow Markers (969, 569, 526, 249, 177, 725, 565, 636, 195, 856, 947)
  • Dr. PH Martin’s Bleedproof White
  • Twintone Brown
Other:
  • Stamp Platform
  • Pencil for Sketching

Card 2: Cozy Coop


For my second card, I created a scene using the Matchbox Chickens Set and Hen House Cubbies.
I began by placing Canson watercolor paper into my stamp platform. Since the Matchbox stamps include flaps designed for creating 3D matchbox scenes, I used tape to block off the edges before inking the stamp with Memento Toffee Crunch. After removing the tape, I stamped the image, ensuring only the main elements transferred onto the paper.
With my scene set, I started coloring. For the chicks, I applied Tombow 055 around their heads, blending into 025 and 985 for the body. Their beaks were painted with 925. The hens were given warm, natural tones using 947 and 856. For the chicken coop, I used a combination of 947, 992, and 296, while the chicken feed bag was shaded with 027. To enhance the rustic feel, I stamped a hay bale from the Harvest Set (5598) using 026 and 985.
To tie the whole card together, I used patterned paper from the Basic Green PP (6009) as a background.
Materials Used:
Stamps:
  • Matchbox Chickens (5731)
  • Hen House Cubbies (5396)
  • Harvest Set (5598)
Paper:
  • Canson Watercolor Paper
  • Basic Green PP (6009)
Inks & Markers:
  • Tombow Markers (027, 992, 969, N55, 569, 296, 026, 856, 925, 055, 025)
  • Twintone Brown
  • Memento Toffee Crunch
  • Versafine Clair Nocturne
Other:
  • Stamp Platform
  • Masking Tape for Selective Stamping

I had so much fun creating these two watercolor cards, and I hope they inspire you to try something new in your crafting!
Happy Crafting,
Simone


Tuesday, March 19, 2024

Easter Chicken Matchbook by Reneé Matarese

 Hello and Happy Tuesday!

Today I'm sharing a fun Matchbook card with you in the colors of
our latest challenge here on the blog.


The challenge is to use Navy, Green and Yellow.  You can find inspiration photos and enter your project on the Art Impressions blog HERE.


The paper for the Matchbook is from 5838 – Fall Journal Paper Pack.


The sentiments are all from 5733 – Easter Sentiments Set.


My images are all colored in Copic markers.

YG03, YG07, Y17, Y18, Y23, R14,
C0, B24, BG0000, BG02, E42, E43, E99


Sunday, December 17, 2023

Reneé's Top 10 of 2023

 2023 is coming to an end and that means it's time
to share my Top 10 cards from this year.

My top picks are in no particular order.
It's just how they loaded here when I selected the photos.
You can click on the title or the photo to be taken to the original posts for details.

It's a GIRL! Let's Celebrate!

This was made for the nurse at my school. Little Emersyn just turned 1!


Here's the inside.


Spooky Halloween Journal
Be sure to click on this to see a full video "flip through" of the inside.


Flying Fairies
Be sure to click this to see a video of the fairy under the sun flying.


Here's the inside.


This one is possibly my favorite card this year.
The Mushroom Cubbie set is one of my ALL TIME favorites!!


I hope you enjoyed this stroll down memory lane as much as I have.
Have a very happy, safe and healthy holiday season and check back here in 2024.
There is so much more inspiration to be shared!


Tuesday, June 20, 2023

Tag Journal Recap by Nina

             Hi Ai fans, Nina here and I am so excited to recap with you all the tag pages I enjoyed creating using the adorable images and the die sets from Art Impressions.

This Tag Journal documented my moods since beginning of March all the way until today, each one of them gave me tremendous joy as I dig into my Art Impression collection of stamps and dies, mixing and matching elements from different sets to create one single adorable project.

I will include links to all of the tags in this article along with some photos so it will be easier for you to find them all in one place.

I used the Tag stitched Die Set for all the tags to create the base, I would usually die cut it twice and glue them both to each other so all my tags are sturdy and flat (not warped). For the elements I place on the tags you will find thier name below with each project.

1. You Rule! Tag


This was created for the Teacher Appreciation week using Teacher Rule Set. 


I also have a Video Tutorial here:


I created this one for our Windows Challenege, I used the Little Girl Front & Back set.


3. Spring Harvest Pastel Tag

To kick off the Spring season, I created this tag using the Harvest Together Set.


4. Easter Bunny Tag

Here I used the Sweet Easter Set.


5. Explore Nature Tag

I used the bag stamp from from Ole Buck Set.


6. Woodland Treehouse Tag

This project was created for the April Showers Ai Challenege where we included rain or clouds, I used Woodland Tree Cubbies Set.


7. Teacher Appreciation Tag

I created this one to thank all teacher as we hit the second day of Teacher Appreciation Week. I used Teacher Rule Set.

8. Barnyard Party Tag

This tag was for our Ai challenege "Don't Fence Me Up". I mixed and matched many decorations and critters from different Ai sets to achieve this adorable partying scene on the inside, it had an interactive door than opens up to this fun scene. I used:

4967 – WC Fence Dies
5180 – Barnyard Animal Cubbies
5455 – Birthday Buggy Set
5491 – Front Porch Party Set
5722 – Birthday Journal Set
5443 – MB Nativity


9. Life is Sweet Tag

Yet another tag, I used the adorable Birthday cake GCH Die set.


10. Spring Time Tag

 For this Spring tag I used the cute HM Garden Set which is an add-on for the Holiday Mansion Set.


11. Fabulous Flowers Tag


I was the featured Design Team member for the Fabulous Flowers Challenege and I created this tag as one my projects for this challenege. I used Birdhouses stamp Set.

12. Baby Steps Tag

I used images from MB Nursery Set which is one of the Matchbook sets. Matchbook sets were the perfect size to create scenes on these tags.


13. Chicken Coop Tag

Again for this Spring Tag using one of the Matchbook sets, just the perfect size. Here I used the Chicken Coop Set.


I also created another tag for our current Midnight Snack Challenege that will be up on Art Impressions Blog Next Tuesday. Stay tuned.

Here are images for the complete Journal..


I had a blast creating this Tag Journal I hope you enjoyed each one of them. Thanks for being part of this journey!