Showing posts with label bookmark. Show all posts

Sunday, June 21, 2026

Bucket of Blooms & Birthday Smiles by Simone Carr


Hello crafty friends! Wishing a very happy Father's Day to all the amazing dads and father figures out there. 

For today’s card, I created a sweet garden scene featuring the Mini Mice and Squirrel Set.

I started by inking the large stones with Tombow 565 + 969, leaving the top area uninked. I stamped the image off two to three times before stamping onto Canson Watercolor Paper for a softer impression.

Next, I stamped the bucket using my stamp positioner. I used the same 565 + 969 combination, applying the color to an acrylic plate and stamping off twice. I positioned the acrylic plate where I wanted the bucket, and once I was happy with the placement, I removed the acrylic plate and stamped the bucket.

For the smaller stones, I followed the same process, inking only half of the stamp with 565 + 969 and stamping off before placing them around the scene.

I then stamped the squirrel using Tombow 969. Using a damp #4 brush, I pulled color from the stamped lines and added additional shading to both the squirrel and the rocks. I also added more color to the bucket for extra depth.

Once the main elements were complete, I began building the scene by stamping in the grass and flowers. I used Post-it Tape to mask the rocks and squirrel before stamping the flowers. I added a light wash of 526 to the background before stamping the flowers and foliage inside the bucket. Using my damp #4 brush, I softened the stamped images for a watercolor look.

After everything was dry, I used Dr. Ph. Martin’s Bleed Proof White to add extra flowers throughout the bucket arrangement and the grassy areas.

The finished panel was cut using the 4th largest Nested Rectangle Die. I then layered it onto patterned paper from the Encouragement PP collection using the 1st and 2nd largest Double Stitched Rectangle Dies to create a dimensional frame.


Materials Used

Stamps & Dies

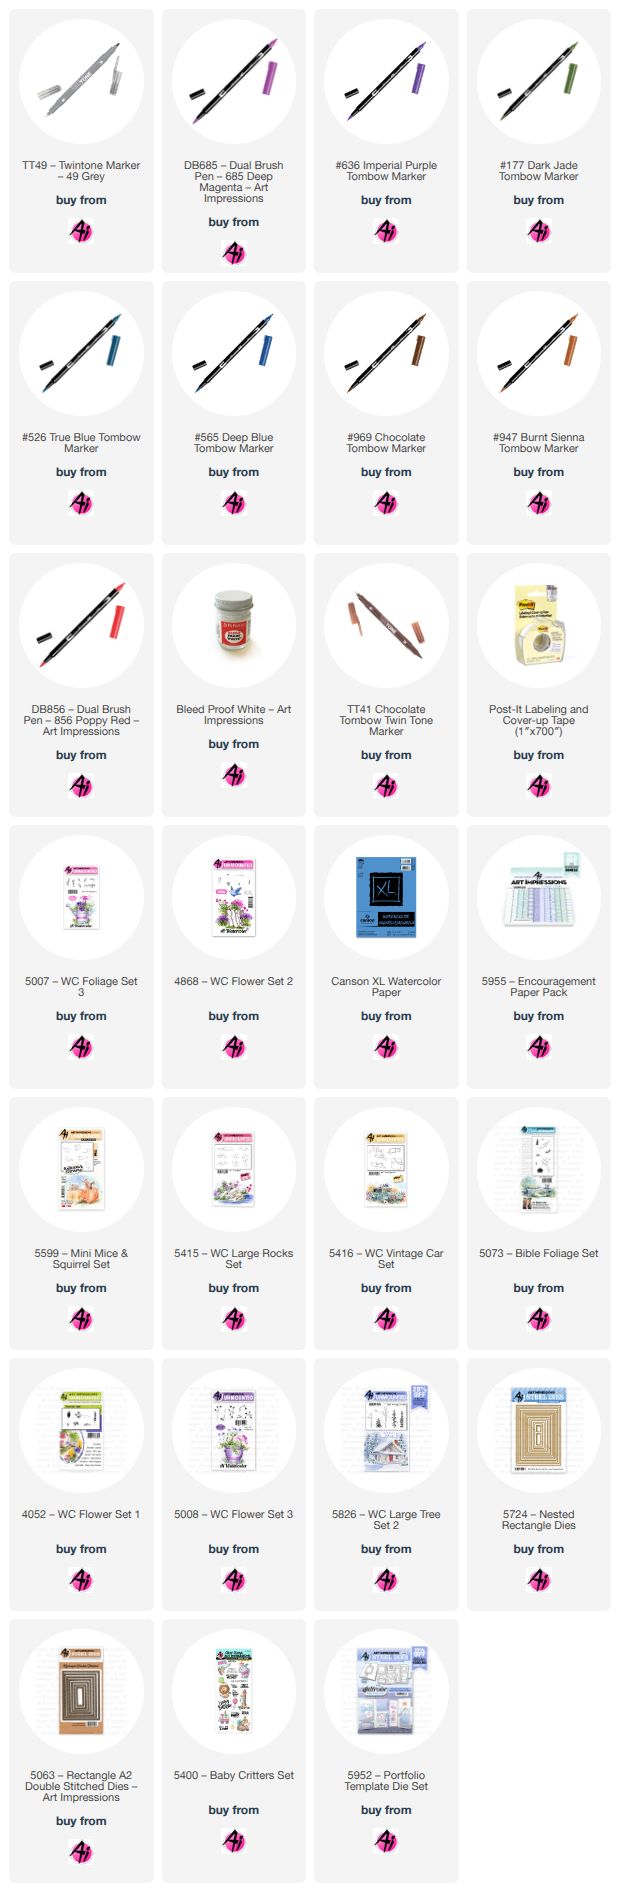
• 5599 – Mini Mice and Squirrel Set
• 5415 – Rock Set
• 5416 – Vintage Car Set (Bucket)
• 5073 – Bible Foliage Set
• 5007 – Foliage Set 3
• 4052 – Flower Set 1
• 4868 – Flower Set 2
• 5008 – Flower Set 3
• 5826 – Large Tree Set 2 (Grass)
• 5724 – Nested Rectangle Die (4th Largest)
• 5063 – Double Stitched Rectangle Die (1st & 2nd Largest)

Paper

• 5955 – Encouragement Patterned Paper
• Canson Watercolor Paper

Inks & Mediums

• Dr. Ph. Martin’s Bleed Proof White
• Post-it Tape
• TwinTone Marker – Brown

Tombow Markers

• 565 + 969 – Stamped Stones & Bucket
• 947 – Squirrel
• 856, 636, 985 – Flowers in Bucket
• 452 – Bucket
• 685 – Flowers Outside the Bucket
• 177 – Grass & Flower Stems
• 526 – Sky
• N49 – Bucket


For my second project, I created a set of birthday tags using the Baby Critters Set.

I started by using a die from the Portfolio Template Die Set (5952) to cut the tags from Canson Watercolor Paper. Next, I used a Crop-a-Dile to punch the oval opening so I could determine how much space I had for stamping the images.

I placed each tag into my stamping platform, which made it easy to restamp the images if needed. I stamped the critters using Tombow N95, then added the "Happy Birthday" sentiment with Versafine Clair Nocturne.

Next, I stamped the stars and balloons using N95 as well. Once all the images were in place, I began coloring. All of the colors used are listed below.

After coloring, I added Wink of Stella to the stars for a little sparkle. On the giraffe tag, I used Nuvo Crystal Drops for added dimension and interest. One thing I discovered is that the glaze softened the lines I had drawn on the balloon, causing some of the details to fade. It's a good reminder that dimensional products can sometimes alter watercolor details, so keep that in mind when adding finishing touches.

Once everything was completely dry, I added the eyelets and finished the tags with ribbon.

I hope you enjoyed this weekend’s projects and found a little inspiration along the way. Thanks for stopping by, and I hope to see you next time!

Materials Used

Stamps & Dies

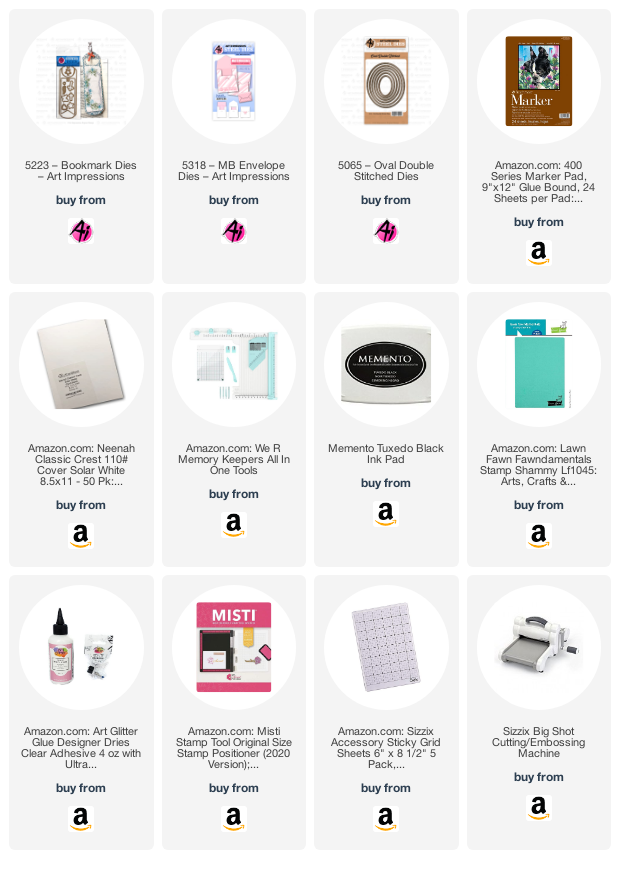
• 5400 – Baby Critters Set
• 5952 – Portfolio Template Die Set

Tools & Embellishments

• Crop-a-Dile Oval Punch
• Wink of Stella
• Nuvo Crystal Drops

Paper

• Canson Watercolor Paper

Inks & Mediums

• Versafine Clair Nocturne
• TwinTone Marker – Brown
• TwinTone Marker – Grey

Tombow Markers

• N95 – Stamped Images
• 565 – Shadows

Giraffe: 991, 947, 969, 195, 493, 942, 703, 912

Hippo: N60, 947, 910, 703, 296, 985, 856, 969, 912


Saturday, April 17, 2021

Hat's Off Gift Tag - Paper Doll Fun! by Janet


Hello Ai Fans! So if you watch our blog, you know Ai has a BRAND NEW just released line called Hat's Off. This is such a fun concept and I truly enjoyed creating this gift tag using the Hat's Off Miss stamp and die set. 

This tag is long and skinny which I think looks especially great on gift bags. The tag may look familiar. It is actually made from the Bible Journaling Bookmark Die set. I used a partial die cut technique so that it would come out as a tag without the tab that is normally used to insert it over a page. The tag also has a place to store the hats on the back. I used the Matchbook Envelope Die to hold them when not in use. The idea is that the recipient can take the hats on and off and enjoy seeing the different looks that creates for the lady.

I've got a video showing you how I made this tag as well as a close up of all the hats, mask and the sentiments that are perfect for each hat style. Just click on the link below:


I hope you take a look at the new Hats Off line at the store. They are really wonderful fun and I know you'll get as big a kick out of these as I do. 

Happy Creating!

Janet YouTube - Blog - Facebook - Instagram - Pinterest


Sunday, February 21, 2021

You're a treasure! by Reneé Matarese

Hello Ai fans!

So, 2020 was pretty weird and 2021 doesn't seem to be all that different so far. I am a Special Ed. Program Aide at an elementary school. I'm sure most people don't really know what that is. During the 2019-2020 school year my job was to work in 2 fifth grade classrooms.  I would assist kids with IEPs and 504s (just fancy abbreviations for they need more help than some kids) I would also pull small groups of kids out of classrooms for study groups for extra math or reading help.  We also had an "enrichment" period where I had taught 3 cooking classes.  I had just started a tutoring business and had two kids signed up.  Flash forward to March 2020 and that all came to a screeching halt.  I was stuck at home not helping children at all. 
Flash forward again to Fall 2020 and thankfully we were back in school. My job (hopefully temporarily) has changed dramatically though.

My job this year has me outside shuttling kids through a parking lot when parents drop them off and pick them up because parents aren't allowed in the lobby anymore.  I spend 2 hours a day on lunch room duty because we have to have social distancing. I spend very little time at all on academics this year which is heartbreaking.  I am a firm believer in every cloud has a silver lining though. I have met a group of school employees that I don't normally get to see. I even broke down all barriers when for the first time a "non cafeteria" worker was asked to help out in the kitchen. We now send home meals for every single day that kids are not in school.  Our cafeteria staff was overwhelmed trying to serve kids in person and creating hundreds of meals to go home with them as well.

One sweet woman and I bonded over my love of cooking.  She shared recipes with me and brought me a magazine with some things she wanted me to read. I wanted to thank her so I made her a bookmark since I know she loves to read.

Sorry for the long post...I love my job, even this year, and I LOVE my co-worker friends!!

I used a
couple Art Impressions sets on my bookmark.

and


Saturday, March 21, 2020

Watercolor Roundup : Bible Journaling


Hello, Ai Fans! Happy Watercolor Weekend!

As we are all hunkered down at home and finding new ways to be creative with our time, we are so glad that we get to share a little beauty with you. If you haven't tried our Bible Journaling sets, you're missing out! There are beautiful borders, images, and sets that compliment any card, scrapbook, or bookmark.
From our heart to yours, sending you wishes of health, happiness, and the beauty of spring!

Be sure to follow these lovely ladies on social media by clicking the link in pink next to their names!


Tricia O'Bin - Blog - Instagram - YouTube - Pinterest - Facebook


Hello Ai Watercolor fans, here is my project for this Watercolor Weekend!  Hope you are staying healthy, happy and crafting!

I started out using the Blossom Border set and Bookmark Die from the Art Impressions New Bible Journaling release--coming NEXT WEEK!!
  I started by tracing the Bookmark Die onto a piece of watercolor paper, enough to hold 2 bookmarks.  This will give me a guideline for where I need to place my stamps.

I used one of the borders and inked it up with 177 and 526.  I stamped it along the bottom of the bookmark.  I re-inked it and stamped it a little above the first stamp.  I repeated this one more time and then stamped it again at the top and bottom.  I liked the look of the second generation stamping.

Using water, I softened all of the leaves and blooms with a damp brush.  I used a little more water next to the outside of stamp to pull some of the color into the background.  I stamped the sentiment into a semi-clear spot.

To make the bookmark, I ran the watercolor paper through my big shot using the new Bookmark Die.  I trimmed it down to match where the slit ends.  I cut the bookmark out of Christmas Pine card stock and Neenah Solar White 110 lb card stock to give it some weight.  I glued all the layers together.

These flowers are so fun to watercolor. I hope you will join us this weekend and show us your work using #AIWatercolor!  Have a great weekend!


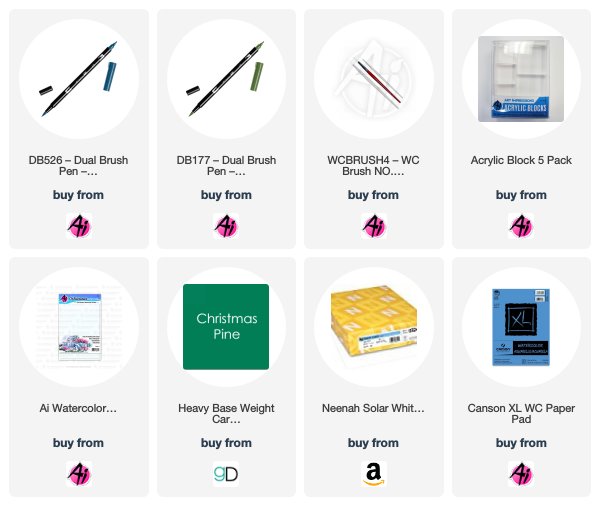
SUPPLIES:


Dot Freel - Instagram - Blog - Pinterest


Hello,

Have you seen the brand new 5223 - Bookmark Dies 10 piece set from Art Impressions? It is fabulous! It comes with two bookmark dies and eight little dies to add embellishments like the heart I added to the top of mine. 

This set releases next week on the Art Impressions website, but is available on scrapbook.com or simonsaysstamp.com if you just can't wait!

I made this bookmark by first taping two pieces of paper together so it would be sturdy. I tried it the other way also, but found it works best for me by taping the two pieces together prior to die cutting the bookmark. I cut out a piece of watercolor paper to fit and stamped the cross from the brand new 5268 - Rugged Crosses Set inked in first 565 then in 969. I pulled the color out of the lines and added some of the brown and blue onto the cross from the watercolor palette.  I stamped the vine and grass from the 5073 - Bible Foliage Set inked in 177 and pulled the color up and out. I stamped the taller flowers from the 5074 - Bible Flower Set inked in 177 and 528. I inked the smaller flower in 565 and 177. I used the 565 off the palette to color in the sky and ground.  I used a Wow Embossing Pen and Ranger Distress weathered wood embossing glaze to add the dimension you see on the flowers and the rope on the cross.  I love how this bookmark turned out and I know I will be making many more!

Thank you for checking out my blog!  You can find more of my cards on my Instagram account here

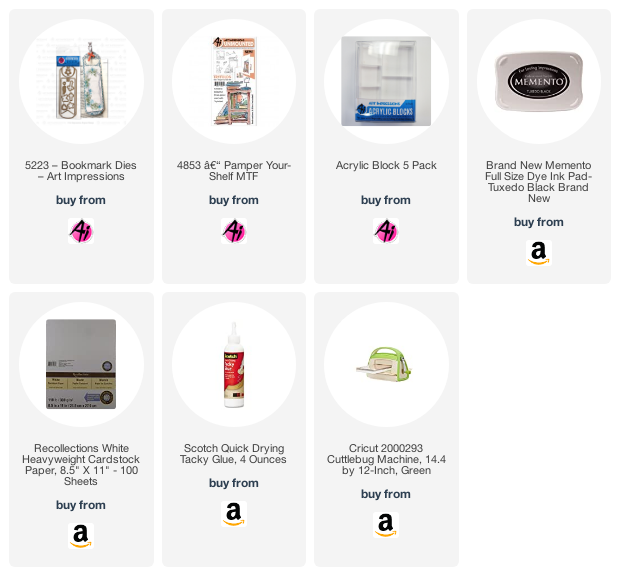
Supplies used listed below:
<


Karen Day - Blog - Facebook - Pinterest


Greetings Ai Family!!
A quick card today, using the harp image from 5199 - Praise Instruments Set:


 Using my Tombow Dual Brush Marker #992 Sand, I coloured just the harp strings (as I wanted them to be a lighter tone, and then used #969 Chocolate to colour the frame before stamping it onto my Canson XL Watercolor Paper just left of center.  I scribbled #947 Burnt Sienna onto my palette, and painted it onto the frame, leaving some white areas as hightlights.


 With #565 Deep Blue, I stamped the daisy bunch from 5074 - Bible Flower Set, multiple times in different spots around the harp.  Then with #249 Hunter Green and the small sprig in the same stamp set, I added greenery in and around my flowers.  I touched everything with a damp #1 paintbrush to soften the lines, then I pulled out a few of the colours to ground the harp, and add a background of #565.  The sentiment is from 5130 - On The Sparrow Set, stamped in Onyx Black Versafine Ink.  I die cut my scene using a 5062 - Rounded Rectangle A2 Double Stitched Die, and used pop dots to adhere it to a deep purple mat, and onto my card base.


Thank you, ladies, for brightening our day with your simply elegant creations! We absolutely love seeing everyone's personal style show through on each card!

Happy Stamping!

Thursday, May 18, 2017

MTF bookmark by Diane Zechman

Hello Ai friends and happy Thursday!
 
Today I am sharing a project using one of the new Art Impressions Mini TryFolds4853 – Pamper Your-Shelf MTF.
 
This set is created to make a trifold card and includes two dies to cut out the openings in the two layers of the tri-fold, allowing for a sneak peek of the images inside. Instead of making a trifold card, this time I wanted to try something a little different. I've been wanting to make a cute bookmark with this set...it is just perfect for one!
 
To avoid extra layers that I would normally have by die cutting the inside of the shelf for the mouse to peek through, the middle image was omitted.  I stamped and reverse masked the shelf, then stamped the mouse inside.
 

After my image was layered how I wanted it, I slipped it into a plastic bookmark sleeve.  Some paper flowers and ribbons finished it off.
 

A bonus for using double sided patterned papers is that your back side looks pretty too!


Have a great day and… happy stamping!