Showing posts with label stencil techniques. Show all posts

Friday, September 20, 2024

Happy Fall Y'all! Card by Tasha

 Happy Friday friends!

Tasha here sharing a Fall themed card inspired by the current Art Impressions "Not Just Paper" Challenge.  My card features the super cute 5507 - Harvest Together Set and has a little bow and leaf stickers to go with the challenge theme. I love these colors!

I stamped the main image with black ink and used the included dies to cut it out. I used markers for the coloring and added little accents with a white gel pen; I love my gel pens! I also stenciled a pretty background to bring in more color and add to the Fall feel of the card. 


Lastly, I embossed "Happy Fall, Y'all" on to tan paper and added layers of gold glitter paper, colored card stock, and Art Impressions pattern paper to complete the card. 

I hope you enjoyed today's project and will participate in the "Not Just Paper" challenge.
Have a great day!



Friday, June 14, 2024

Keepin' it Reel! Card by Tasha!

Hi Art Impressions Friends!

Tasha here sharing a card featuring the fun new 5926 - Fishing Boat Set. This fish-themed set is perfect as we head into Summer and makes a great Father's Day card! The little fisherman looks so happy driving his boat and I love all the accessories!

For this card, I created a stenciled background using Distress Oxide Inks and stamped "Let's Go Fishing!" with black ink on to the water. I think the layered waves look awesome with the different shades of blue ink and the green trees reminds me of boating on a lake in Wisconsin; I love lakes!

To create the decorated fishing boat, I stamped the boat, fisherman, and his accessories with black ink and cut the images out using the included dies. I like that the dies cut openings for the windows to allow the fisherman to look as if he is driving the boat and waving as he cruises down the water. You can also totally customize the project since there are several different accessories you can mix and match, so each card can have a different look.

Lastly, I added layers of brown card stock and brown plaid paper to complete the card. I hope you enjoyed today's project and are having a wonderful day!


Friday, January 26, 2024

Have a Magical Birthday Card by Tasha!

 Hi Ai Fans! 

Tasha here, happy to share with you my latest card creation inspired by the current Art Impressions Challenge, "You're a Gem." When I heard those words, my mind immediately wandered to all things sparkling and magical, leading me straight to the 5345 - Fairy Cubbies and 5790-Fairy Houses Sets.


I began by stamping a delightful fairy house at the heart of the card, surrounded by three hot air balloons floating in the sky. But before diving into the background, I covered the images with masking paper to ensure they wouldn't get messed up when ink blending. Masking paper is awesome and a must have for card making.


To create the sky, I used a puffy cloud stencil and blue Distress Oxide Ink. I also did a similar technique to create the ground by using a grass stencil and green ink. I just moved the grass stencil around and added more ink to give a layered look.


Since the theme is "You're a Gem", I embellished with delicate enamel flowers and a shimmering row of miniature gems. I also attached two enamel hearts to the house and large balloon.

Lastly, I added layers of silver glitter paper, pink and black card stock, and a piece of Ai Valentine's Day themed pattern paper. All the pink & red colors look fabulous and I love how this design turned out!

Thanks for checking out my project and I hope you have a great day!


Friday, January 5, 2024

Relax, It's Your Birthday! Card by Tasha

Happy Friday Ai Friends!

Tasha here, excited to share my first card of 2024 with you all! What better way to kick off the new year than by creating a cheerful birthday card? Art Impressions offers a tons of fantastic birthday stamp sets, and for today's creation, I chose a charming image of a guy lounging in his recliner – perfect for a masculine touch!


To begin, I stamped the main image from the 5421 - Sit Back Laugh Lines Set on to white card stock and masking paper. This masking paper allowed me to cover our laid-back guy before working on the cool background. There's something incredibly satisfying about peeling away the masking paper to unveil a pristine image underneath, isn't there?


For the greeting, I opted for a layered "Happy Birthday" sentiment. Cutting the words from coordinating paper colors added a delightful pop to the card. The blue and white against the stenciled brick wall background created a visually striking effect that I absolutely love.

To bring it all together, I layered Blue, Black, and White paper, adding depth and dimension to the overall design. It's amazing how a few layers can elevate a card and make it stand out.

I hope this card brings a smile to your face and inspires you to make a fun masculine birthday card. Have a wonderful day!


Friday, August 27, 2021

You Brighten My Day Card by Tasha

 Happy Friday Ai Fans!

Tasha here sharing a happy new card featuring the sweet Ai Koalas Set!


The cute koala image was colored with Copic Markers and I used foam tape to raise the image up. Koalas are my favorite animal and just looking at this adorable koala makes me smile!


For the background I used a stencil and a variety of Distress Oxide Inks to create the design. I love how this pattern frames the koala and gives him a rainbow spotlight. 


For the sentiment I used the "You brighten my day" stamp from the WC Sentiments Set. This greeting was perfect for this bright and colorful card and I enjoy mixing my stamp sets. For a little more detail, I cut a simple banner and used orange ink around the edges. I also added a few pink glitter enamel dots for extra sparkle; I love the pink!


To complete the project, I added layers or orange card stock and gold glitter paper. These colors are so pretty and this card would be great to send to someone special any time of the year!


I hope you enjoyed today's card and have a great day!


Saturday, July 31, 2021

A Visit to Fall and a Reverse Stencil Technique by Janet Axtman


Good morning everyone! It's the last day of July and the very beginning of the dog days of summer. My mind turns to thoughts of cooler weeks ahead and yes, you guessed it - Pumpkin Spiced coffee! Being in a fall kind of mood, I decided it would be fun to make some tags to put on upcoming fall birthday presents and bags.

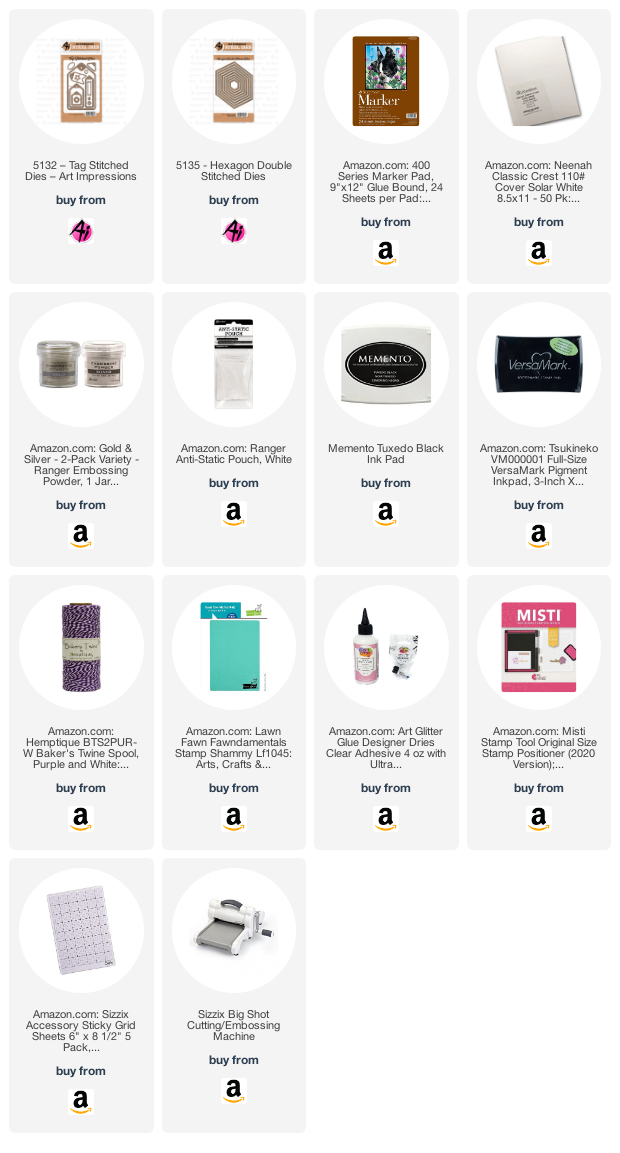
These tags were cut using the Tag Stitched dies set. It's is a great set with the large tag and several other smaller tags and decorative shapes. I also cut tag hole reinforcement donuts from the set.   

Before cutting these tags, I inked up two A2 sized white cardstock panels using a stencil and a multi-striped colored ink pad. In the tag on the left I swiped the ink pad vertically so that the ink would deposit in the blank areas of the stencil in color stripes. Then I flipped the inked up stencil on another blank piece of white cardstock and ran my brayer over the top to get a sort of letter press image from the stencil. This resulted is a reverse and lighter imprint you see on the right tag. Doing it this way made the most of the stencil and the ink I had used.

For these tags, I selected images from the Feast Mode Set. I stamped the fox, squirrel and flower sprays on marker paper and colored them with Copic markers. I fussy cut all the images except the squirrel and arranged the fox on a tag, placing foam tape behind the main fox image. I glued the loose leaves around the fox similar to how the leaves are shown in the stamped image. Last, two of the flower sprays were arranged together at the top.


I stamped and heat embossed two sentiment strips in gold using stamps in the set. I placed these at the bottom of the tags. I also cut a hexagon out of white cardstock using the Hexagon Double Stitched Die Set to use as a mat for the squirrel.

I cut the squirrel image out using a hexagon die and attached it with foam tape to the tag. Then one single flower spray was added to the top. After I did all this, I thought it would also have been cute to stencil golden rays coming out from behind him. If I do this again, I'm going to try that. He'd look a little like a squirrel super hero that way!


Once all this was complete, I added the hole reinforcement donuts in the same cardstock as the sentiment strips. I found a perfect orange ribbon piece in my stash, pulled it through each tag's hole and secured it with a piece of cream and dark purple bakers twine. 

I hope you enjoyed this quick visit to fall themes. It's around the corner and I'm looking forward to the cooler weather, beautiful fall colors, and most of all Pumpkin Spiced coffee! As always, I invite an additional stop at my blog for more details on all the products used for this project.

Happy Creating!

Janet YouTube - Blog - Facebook - Instagram - Pinterest