Thursday, June 30, 2022

Zoo Crew Challenge #330 Week Two!

 Hello Ai fans!

It's week two of our Zoo Crew challenge so that means Design Team inspiration is ready for you!


Last week, Bri was our Featured Designer with her adorable 5458 – Llama Set Funny Farm card.

This week she's added another sweet card using the 4738 – Duck Stackers and 4764 – Slider Die.

These are Bri's final cards as a DT member and we just love them!

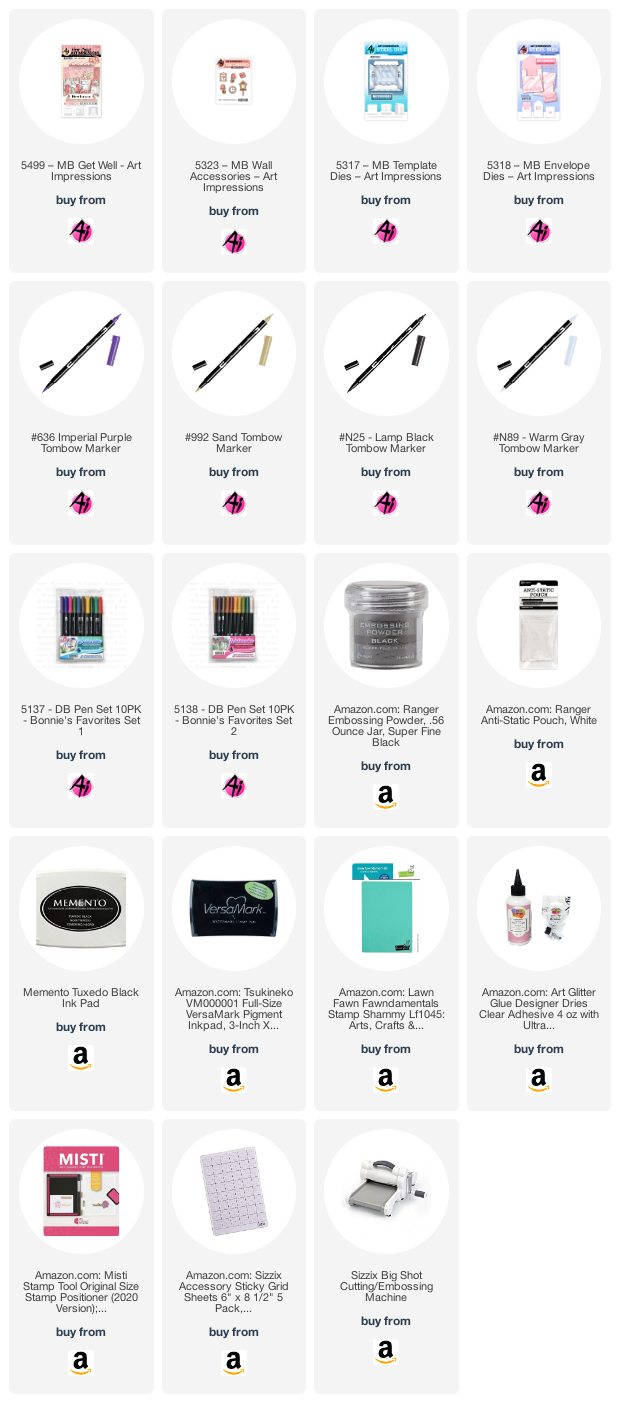
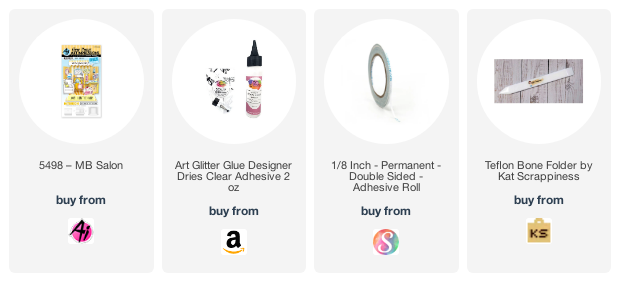
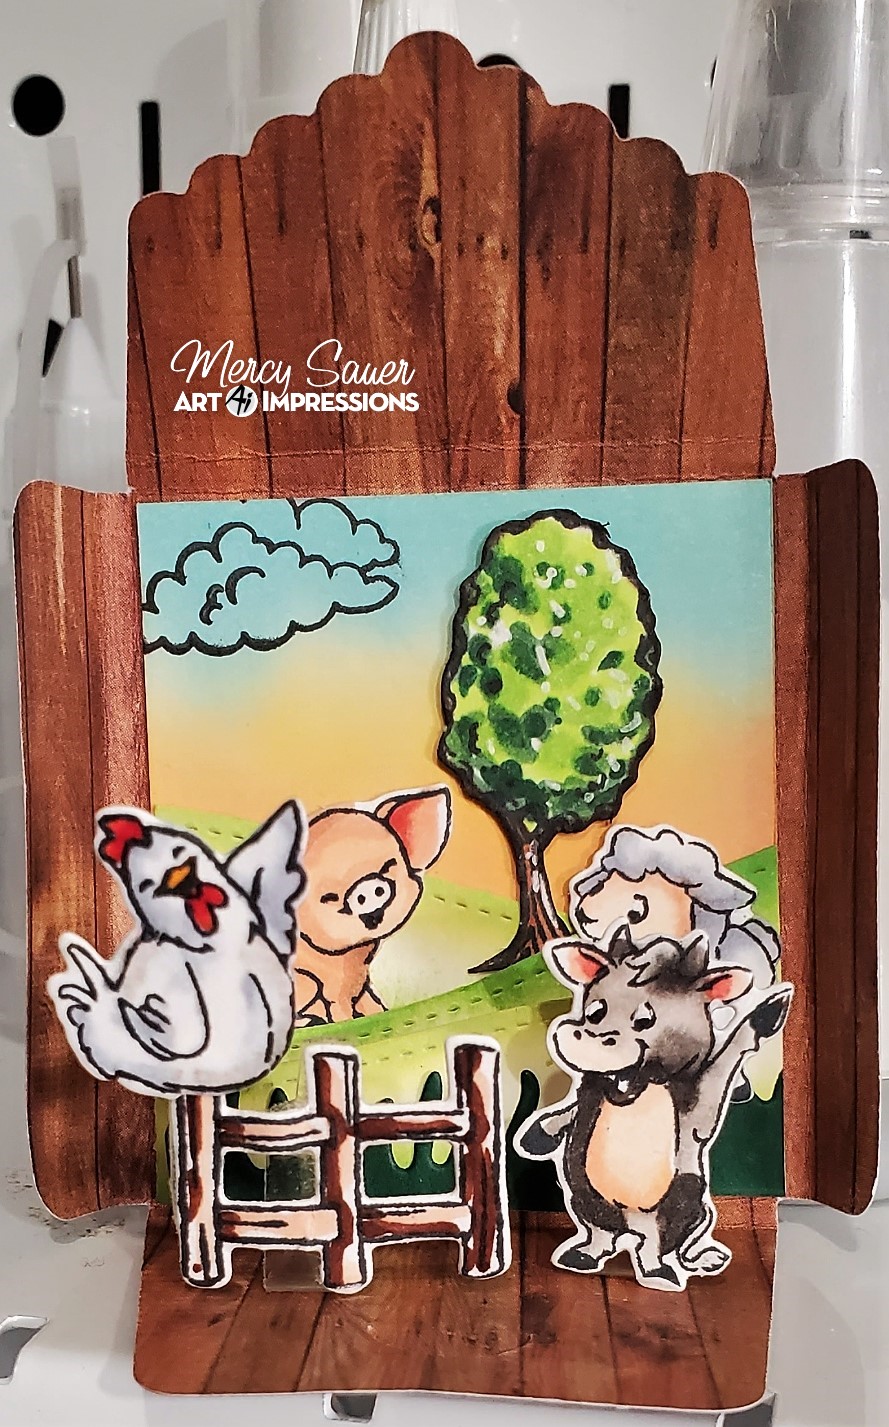
Next up we have Mercy who used the 2022 Freebies along with 5512 – Front Porch Door Set.


Mercy also created a tiny scene using the 5318 – MB Envelope Dies and 5180 – Barnyard Animal Cubbies


Lynn also chose the 5180 – Barnyard Animal Cubbies as well as 

Ai Floral Truck Set (5511)  (pennants)

Ai Enjoy the Ride (5186) (balloons and flag)

Ai Slimline Dies Set (5463)


Tasha used a sentiment from 5136 – WC Sentiment Set 2 with the 2022 Beaver Freebie


Nina's animal card uses 5226 – Bus Cubbies


Janet chose the 5283 – Frog Set and even stamped the inside of her card too!


Inside...


ReneĆ© made two similar cards using the new 5519 – WC Mini Critter Pots and 5528 – Desert Succulent Set.  Hello Friend is from 5444 – MB Garden and was cut using 5132 – Tag Stitched Dies.


Always among the blooms is from 5028 – Potting Shed MTF


In case you missed Kendra's WC Fireworks tutorial you can catch the replay here.


You can also see Bonnie's latest tutorial here.


We hope we were able to inspire you and that you'll give our challenge a try!
Any handmade creation with an animal on it qualifies. Maybe you want to make an ornament or a gift box? Last week our winner made table centerpieces.  We'd love to see your work!

To enter our challenge please read the rules below.
You can find tons of adorable animal stamps at Ai HERE.

Here are the Challenge Rules...

✻ Please make a new card or creation. You can make any crafty item you wish; this is not limited to cards!
✻ Limit two submissions per person. You will receive extra votes if you use Art Impressions stamps!
 ✻Please include your first name and last initial on your submission.
✻We love to comment on your entries, but keep in mind if you use a private group or a platform that you need to sign up for, we probably won't be able to.
✻ The Ai Challenge is open to everyone, international submissions are welcome!
✻ Include a link back to the Ai Blog or grab our button on the top right of our sidebar!
✻ Share the Ai love if you can, by clicking and commenting on your fellow crafters.
✻ Make sure to get your link up by the deadline to enter your creations.
✻ Good luck and happy stamping!


You are invited to the Inlinkz link party!

Click here to enter

Tiny Card Scene by Mercy Sauer

 Hello folks, welcome back to what I call a “bonus week”. This is Mercy with a fun project to finish off the month of June. I created a MB tiny card (from the matchbook series set 5318) with critters from the Barnyard Cubbies set (5180).

It’s the perfect combination to create a unique tiny card !

Let’s take a look at the cute scene I created 

I used the envelope die since the side panels are smaller (however, the template dies from 5317 would also work). 


The next thing I did was to think of the scene and the elements I needed. This is where the small critters came in. They are the perfect size!


Next, I created a “pop-up” hill. To do so, I matched the dimensions from one of the existing sets (I have Chapel set 5496) against the hill I created. I matched the dimensions and fold lines....it turned out perfect. 


At this point I created a back scene for my tiny card 


Pretty easy, and I was ready for assembly! To do so, I folded small pieces of acetate in half as shown below,


I used double sided tape on one side of the tab to adhere the card element and the other side to adhere the assembly (with the element) onto the card. You can see the acetate behind the fence. I used the same method to adhere the cow, the fence and the chicken. All the other elements were adhered directly to my card panel.


Finally, I closed the tiny card and decorated the outside of the envelope. I also added the back support to ensure the whole thing stands on its own.

This was so fun to create...when I craft the world slows down, and this tiny card slowed my world down for a couple of hours. Super fun and relaxing. 


I’ll be back next week, see you then!

Wednesday, June 29, 2022

Patriotic Barnyard Cubbies - Slimline Card by Lynn Dionne

Happy Wednesday Ai Fans!!!

Watch video tutorial here!!!

Let's create a fun patriotic slimline barnyard card today! This would make a terrific 4th of July celebration card but since I have a few family and friends with birthdays around the holiday I was thinking that this would be a perfect Birthday Card design! We will be using the Ai Barnyard Animal Cubbies (5180) which includes these cute little critters, the interactive barn, a country fence and a few cute coordinating sentiments! The dies are included with this set which will make it so easy to cut out these images.

To add a few additional elements, we will be using the banner from the Ai Floral Truck Set and for the balloons and flag we will use the Ai Enjoy the Ride Set (5186)! This is a great way to mix and match your sets to create a custom scene!

To set the scene for our card we will be creating a pretty sun rays background using a stencil and an ink blending brush for a soft blended sky! We will then do some more ink blending to create the grassy border.

We will stamp and color all of the images using the Zig Clean Color Real Brush Pens in the following colors: Blender, Yellow, Bright Yellow, Orange, Lt Pink, Deep Red, Beige, Lt Brown, Lt Gray, Gray Brown, Dark Gray, Blue Gray, Deep Blue.

This card was inspired by the new Ai Blog Challenge!  This one is called "Zoo Crew" which is to create a project that has an animal on it!  We look forward to seeing your fun creations!

Thank you so much for joining me today! Have a fun and crafty day!!!

Ai Barnyard Animals Cubbies Set (5180)  

Ai Floral Truck Set (5511)  

Ai Enjoy the Ride (5186)

Ai Slimline Dies Set (5463)

Tuesday, June 28, 2022

Wedding Chapel by Nina

Hi Ai fans, thanks for joining me today as I share this cute mini card/envelop combination using the recent Matchbook release "Chapel" and the coordinating Matchbook envelop & Matchbook Template Dies.


I first stamped and colored the images with Copic markers and used the dies included in the set to die cut them. I scored the flaps on each piece which the dies created and added thin double-sided tape on each flap.


I die cut the Matchbook template and then taped the flaps from the Chapel pieces on to it. I used silver cardstock paper to die cut the windows to give the project some shine.

I also die cut the envelop using the Matchbook envelop die set and used the same silver cardstock to die cut the cute bow and glued it on the envelop.


Monday, June 27, 2022

Piles of Smiles by Bri Firth

Hello Ai Fans - Bri here! Today I am sharing a bubbly card design featuring the 4738 - Duck Stackers Set, which is part of Ai's Stacker collection. This project is perfect for Ai's current challenge, "Zoo Crew", as it features a pile of adorable ducks! For more details on how I created this interactive slider card keep reading below.

Before we get to the crafty details, I wanted to let you all know this is my last post as a DT member. I have enjoyed sharing all of my wonderful projects with you and will miss you dearly. Remember, you can always find me on my personal blog where I will still share new Ai projects occasionally. 


First, I used the Slider Die to create the 2" x 5" frame for the pull tab mechanism. Next, I traced the open space of the frame onto the white cardstock so I could line all the ducks within the opening. 

I stamped the image and colored the ducks with Copic markers. The colors I used are listed at the end of this post. Once I finished coloring the image, I used tear tape to attach the slider frame to the backside of cardstock with the ducks on it. 


I made the pull tab 1 7/8" wide and 5 1/4" tall. I used a bubble stencil with Broken China and Mermaid Lagoon Distress Oxide inks to create the background on the front panel and on the pull tab. Once the ink dried, I stamped the "Pull Here" sentiment and arrow onto the top of the pull tab in black pigment ink. The pull tab moves easily within the slider frame.

Next, I die cut the front bubble panel with the 3 3/4" x 5" Rectangle Double Stitched Die. I matted the die cut rectangle with teal and yellow cardstock to create the A2 sized card front. I used foam tape to attach the stitched panel to the card front to create extra dimension and to make it easier to grab the pull tab. 

Then I used the teal cardstock again to die cut a circle from the Circle Double Stitched Dies set large enough to fit the sentiment. I heat embossed the sentiment with white embossing powder. 

To finish the card I added iridescent embellishments to coordinate with the bubble background. I just love how this interactive card turned out! So cute!

Hope you enjoyed my crafty inspiration!


Ai Products:

Copic Markers:
Y08, Y04, Y00
YR18, YR16, YR14, YR00
W3, W1
R21, R20

Sunday, June 26, 2022

Get Well Soon Matchbook by ReneƩ Matarese

 Hello Ai fans!

Today I'm sharing two Matchbook cards with you.

I used the 5499 – MB Get Well set along with the 5323 – MB Wall Accessories for the clock.


In order to make these adorable little scenes you need to start with
the 5317 – MB Template Dies.


Here's my second card.
The entire Matchbook Series can be found HERE.


Though not necessary to make the card, you'll probably also want the 5318 – MB Envelope Dies since you'll want the perfect envelope to put your little matchbook in.


These measure approximately 2" x 2" when folded up.
Too cute!! 


Copics used:
BG90, BG93, BG96, R000, R02, R22, R83,
BV000, BV11, Y04, C2, N4, T1, T2, W1, W, W6


Saturday, June 25, 2022

Get Well Matchbook Card by Janet Axtman


Hello Ai fans! Today I am excited to show off my first Matchbook card using one the newest releases in the line. This is the #5499 MB Get Well set. It's so super cute as a get well card and it comes with 4 possible sentiments that can be used which is an expansion from previous sets. It's great having even more options.

I made this by stamping on watercolor paper and using my Tombow Dual Tip Brush Markers to watercolor the images before cutting and placing them in the matchbook card base which I cut with #5317 MB Template Die. Remember that you only need to buy this die once because it works with all the matchbox sets. I also added the clock from the #5323 - MB Wall Accessories Set. I made the perfect envelope for this little masterpiece using the optional #5318 - MB Envelope Dies. Not only does it create the envelope but there are a few additional dies that can be used to decorate the envelope. I cut a tiny little bow to put on the envelope flap.

Tombow Markers Used:
Purples: 620, 553, 636
Grays & Black: N89, N95, N60, N25
Misc. Colors: 761, 062, 992

Thanks so much for stopping by today. The whole Matchbook Line is so fun and unique. I hope you'll visit the store and check out the large selection of rooms and themes.

Wishing you a very crafty weekend!

Janet YouTube - Blog - Facebook - Instagram - Pinterest  

Friday, June 24, 2022

You've Got Style Matchbook Card by Tasha!

 Happy Friday Ai Fans!

Tasha here sharing a new card created with the new 5498- MB Salon Set! The Matchbook cards are so much fun to make and gift to special family members & friends!

The card base was created with the 5317-MB Template Dies and I used double-sided pattern paper to have a different pattern on each side. The base template also include little windows dies and cuts a cute scalloped edge; I love these little details!

For the coloring I used Copic Markers and added little accents with a white gel pen. All of the Ai Matchbook sets fit within the base template and you can mix and match your sets to really customize your scene. I also love that all the sets include the coordinating dies, so it's super easy to cut the pieces out!


I hope you enjoyed today's card and are inspired to create a Matchbook card!

Have a great weekend!