Showing posts with label 5770 - FB Farm Fence Die Set. Show all posts

Tuesday, December 9, 2025

Woodland Horse and Deer by Reneé Matarese

Hello Ai fans!

OH MY GOSH!

The new Woodland Scenes are just the prettiest.
Today I have two cards for you.
My first is the horse and ...
Is this not the SWEETEST little horse?!

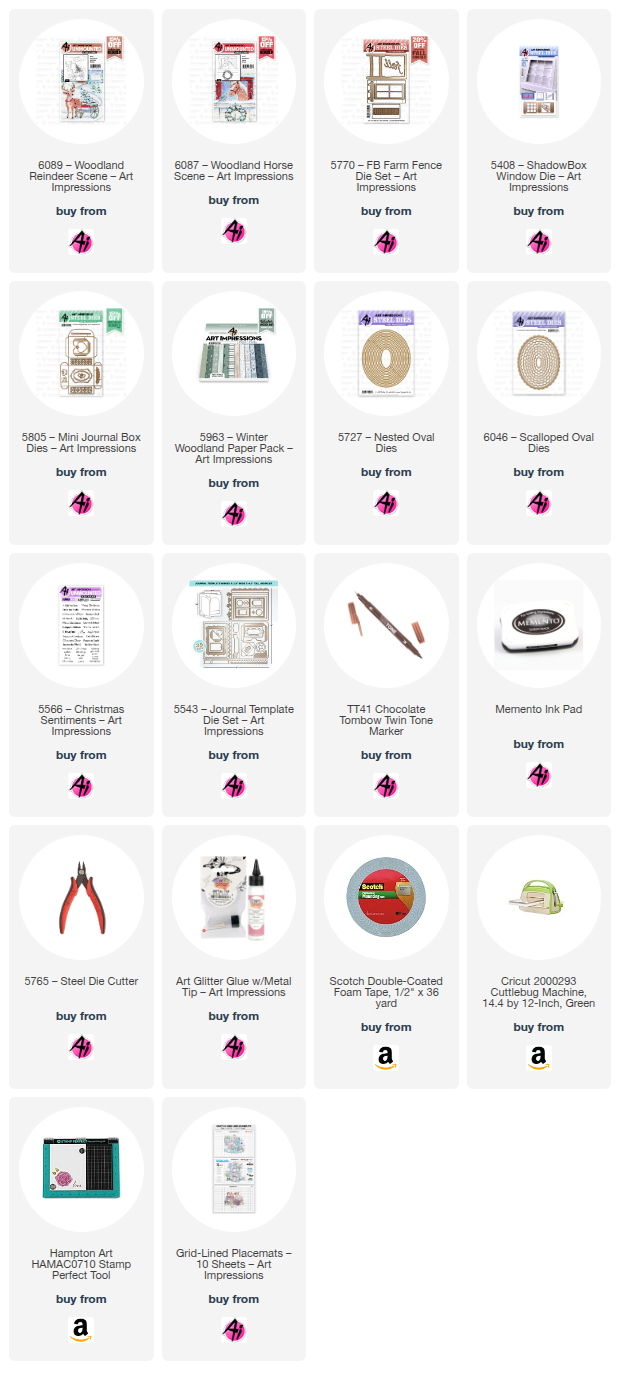
The set is 6087 – Woodland Horse Scene

As soon as I saw this sweet scene, I instantly thought to grab
my 5408 – ShadowBox Window Die which I adorned with greenery from
5805 – Mini Journal Box Dies and shutters from 5770 – FB Farm Fence Die Set.
The cute little bow is from 5317 – MB Template Dies.
The little picket fences are from 5807 – Journal Fence Dies and I used Bleed Proof White
paint to add stripes to the bow.
What a sweet scene this would be to wake up to this Christmas.
For my second card I used 6089 – Woodland Reindeer Scene.
I used the same greenery and bow as on the horse card. My deer is mounted on
Both the inside and front sentiments are from 5566 – Christmas Sentiments
and the one on the inside is mounted on 6046 – Scalloped Oval Dies and
The tree and snow were made using Bleed Proof White. For the tree,
I dabbed it with Copic markers and then lightly went over it with the paint.

Copics:

R29, R37, B000, B34, B91, E30, E31,
E55, E57, C0, N2, YG93
Chocolate Twin Tone
Saturday, September 13, 2025

🍂 Hello Ber Months: A First Fall Card of the Season! by Janet

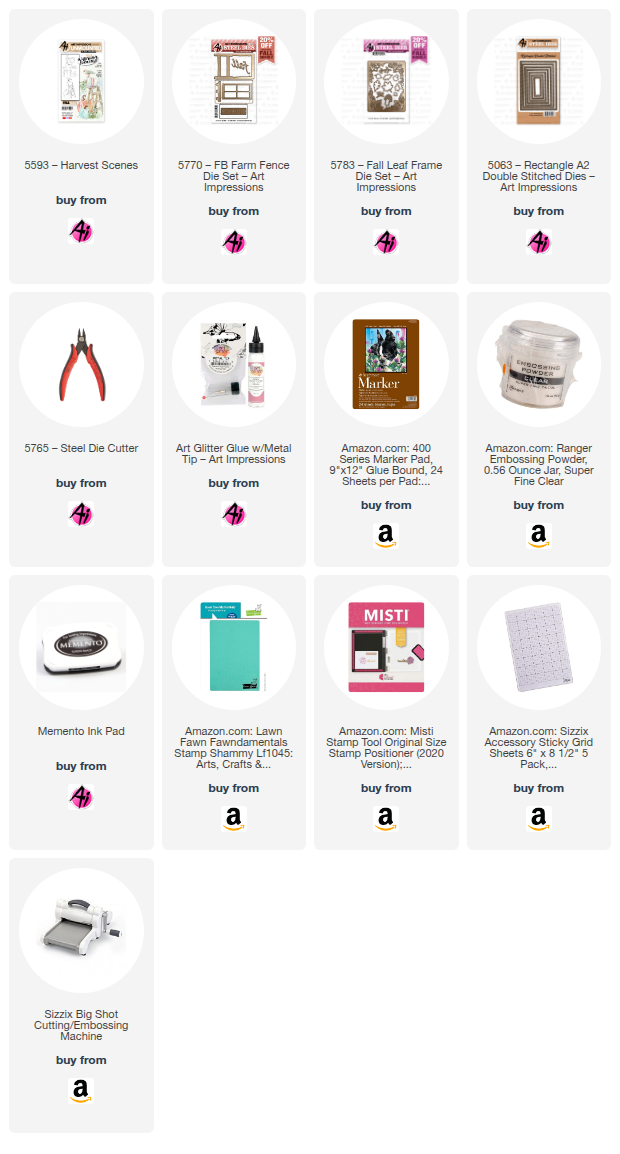
The Ber months (September, October, November & December) are finally here! Today I'm using a charming stamp from the Watercolor Journals line. It's called 5593 - Harvest Scenes Set. I picked it up sometime in the spring or early summer and I've been eyeing it ever since, waiting for it to be the right time. Finally, the moment has come!

I started this scene by cutting a rectangle with 5063 - Rectangle A2 Double Stitched Dies from marker friendly cardstock. Then I  stamped one of the two fall images in the set with the ladder. I colored it with Copic markers in pretty fall colors. I chose a card base with a pre-printed foil frame from my stash. I attached my colored panel with foam tape and centered it in the middle of the frame. 

The ladder image is designed so that you can stamp in flowers or greens coming out of the pot. I had another idea and instead I cut a slit along the rim of the pot with my craft knife. Then I cut some sprigs in fall colors from the 5783 - Fall Leaf Frame Die Set and slipped each under the slit. I secured them on the other side with a piece of washi tape. I also cut two leaves that I placed in the bottom corner. The last touch comes from the word die, "fall," which is found in the 5770 - Farm FB Fence Set. I cut it twice in different colors and stacked them together to get a little dimension and a two-tone color effect.

I love how this turned out and it just proves again that the watercolor sets can be used with Copic markers or pencils and you aren't limited to just watercolor. Some of the cutest stamps in the store are labelled for watercolor but don't let that stop you if you prefer another medium. They can all be adapted to your favorite coloring tools.

Thanks for joining me here today. As always, don't forget to find your favorite stamps, dies, papers, and accessories at the Ai Store! You'll always find something that calls to you. 

Happy Crafting!

Janet YouTube - Blog - Facebook - Instagram - Pinterest  

Monday, August 25, 2025

Too cute to scare away crows - by Sharon Caudle

 Hello AI Fans!

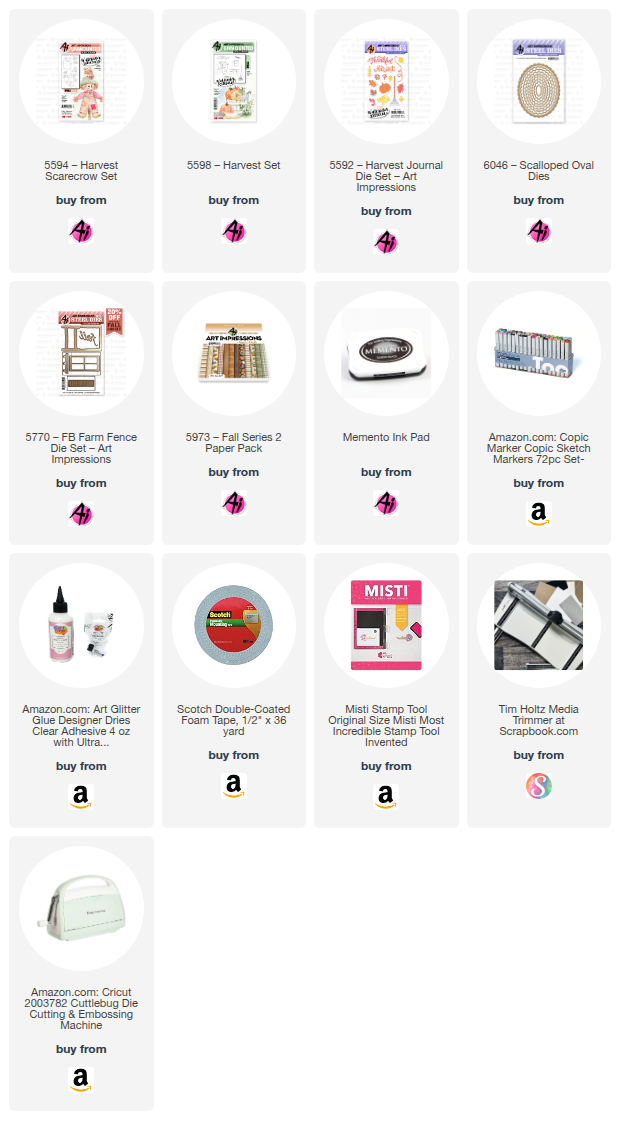
I know we are still into full blown summer, but the season is definitely starting to change. The leaves on the trees have already started to change and September is right around the corner! So I've created my first fall card of the season. I started out by stamping the adorable scarecrow from #5594 Harvest Scarecrow set onto a Copic friendly cardstock. After coloring him up, I cut him out using #6046 Scalloped Oval Dies and then matted that with one of the larger dies in brown. I wanted to see him from the front, but I wanted to place him on the inside of the card. So using #5770 Farm FB Set, I cut a hole through all three layers on the top of my card and then added the fence frame on both the front and then again on the inside. 


All of the pieces that are on the front of the card came from #5598 Harvest Set and #5592 Harvest Journal Die Set. The gorgeous paper is from #5973 Fall S2 PP. 


I also used one of those hay bales to prop up the scarecrow.


So that's it for me today! Thanks so much for stopping by for a visit and until next time - stay crafty!!


Copic markers used:
E13, 15, 17, 19, 21, 23, 31, 33, 35, 40, 42, 43, 47, 51, 53, 55, and 97
YR01, 02, 12, 14, 23, and 31
R12, 32, 35, and 37
YG61, 91, 93, and 97
C1, 2, and 3
Y32


Saturday, June 28, 2025

Warm With Love by Janet


Happy LEON, everyone! That's NOEL spelled backward, and it means we're halfway to Christmas! As card makers, many of us live for the winter and holiday season, so I'm thrilled to have an excuse to embrace those cozy vibes, especially during this scorching week here in Charlotte. Forget putting your head in the freezer—we can craft our way to a frosty escape with a card that positively radiates fresh, new snow!

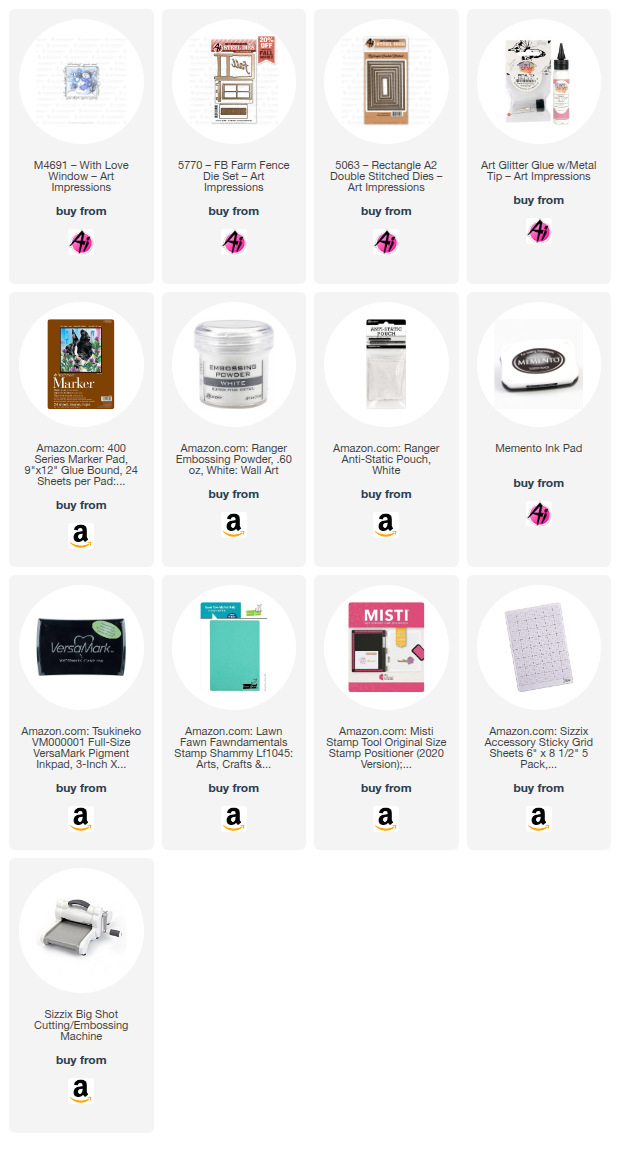
To meet the challenge, I created this scene featuring the M4691 - With Love Window stamp, truly making it a "Window to the World." To bring the window scene to life, I used dies from the 5770 - Farm FB Fence Set to craft two dark navy shutters. The window ledge die from the same set was a bit shorter than I needed, but no problem! I simply cut two, overlapped them, trimmed a few bits, and glued them together. Voilà! I now had a perfectly wide ledge, and you can't even tell it's two pieces.

I started the card with a stitched rectangle cut from white alcohol ink-friendly paper using 5063 - Rectangle A2 Double Stitched Dies. After coloring the cheerful snowman and his bird buddies, I glued this panel onto a pre-made striped A2 card base. For the sentiment, I used a retired set, 5183 - Christmas Kitty Flip Card Set, and heat embossed it with warm silver powder. Of course, any larger sentiment from your stash would work perfectly if you want to try this technique.

To add realistic depth, I applied a thin strip of foam tape to the outside edges of the shutters and wet glue on the inside. This made them mimic real shutters beautifully when adhered to each side of the window image. I also used a thin foam strip behind the window ledge, making it stand out with a 3D effect. I got inspired to add some snow to this scene so I applied white Nuvo Crystal Drops to the shutter edges and the top of the window ledge. For extra shine, I sprinkled white glitter on the Nuvo drops while it was still wet. The result is a cool snow effect. The finishing touch was three sparkling gem and pearl snowflakes at the top.

Thanks so much for stopping by today! I hope you'll embrace the LEON spirit and share your own holiday card for our challenge. Don't forget to find your favorite stamps, dies, and accessories at the Ai Store!

Until next time, happy creating!

Janet YouTube - Blog - Facebook - Instagram - Pinterest