Showing posts with label 5805 - Mini Journal Box Dies. Show all posts

Wednesday, July 22, 2026

Little Miss Boo Card/Box by Dori Mendiola

 Happy Wednesday AI Friends!

Our current challenge is "Summerween" so I decided to start on my Halloween mini journal book for the littles in my life.  Last year, I made Bonnie's Halloween journal into a scavenger hunt book for my oldest grandson and he had the most fun with it.  Actually, we all did!  My son and daughter-in-law made up riddles and clues for the scavenger hunt and I incorporated them into the pages.  Turned out soooo cute, so thank you Bonnie!

Not sure what I'm going to do in this book yet, so I only made the mini card and attached it to the Mini Journal Box #5805.  I'll finish the book at a later date and share at that time, but for now, I'll share the card/box and front of the inside book.

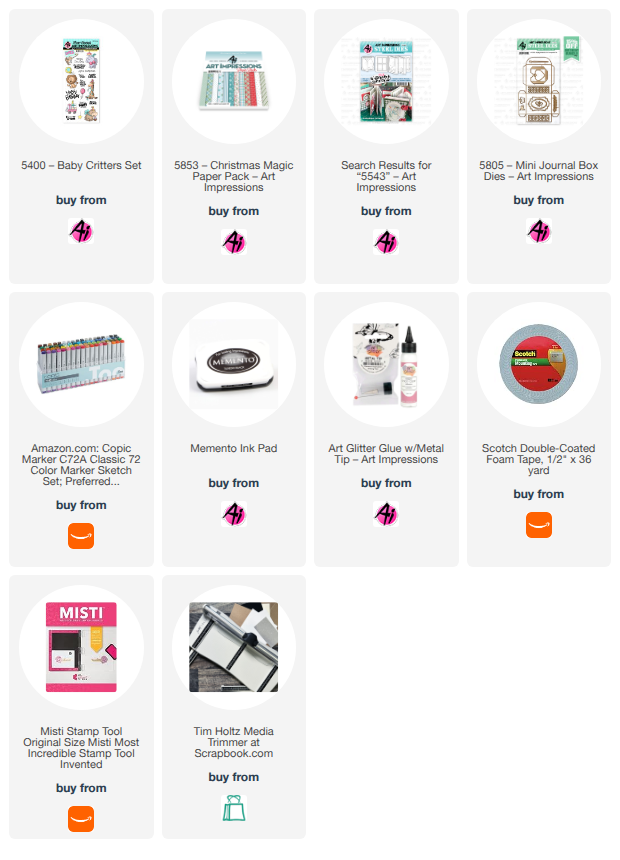
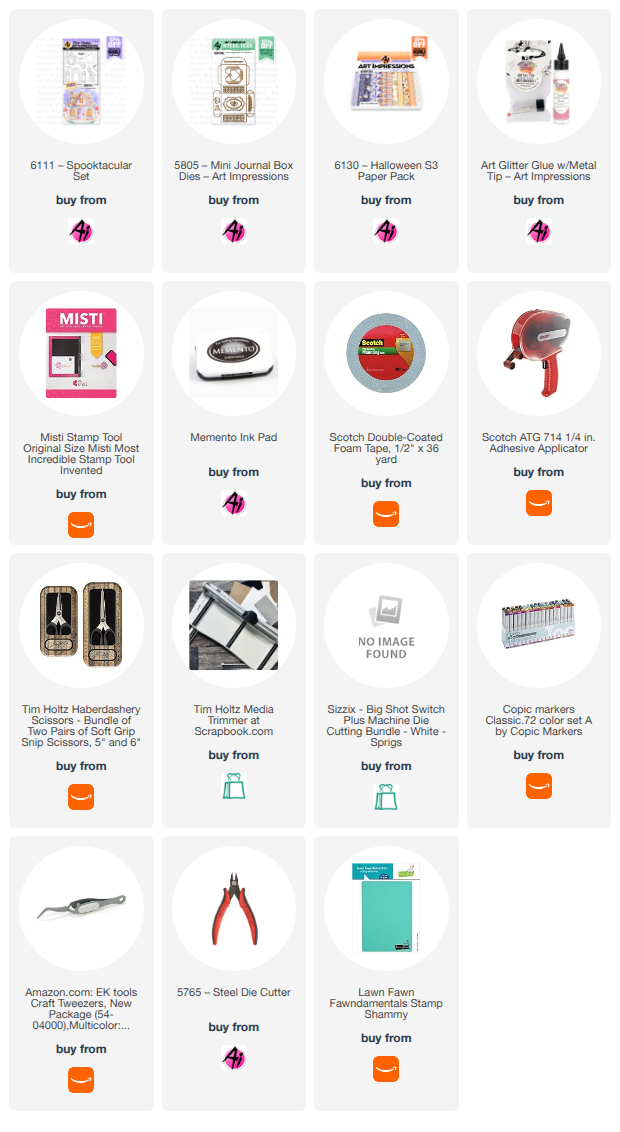
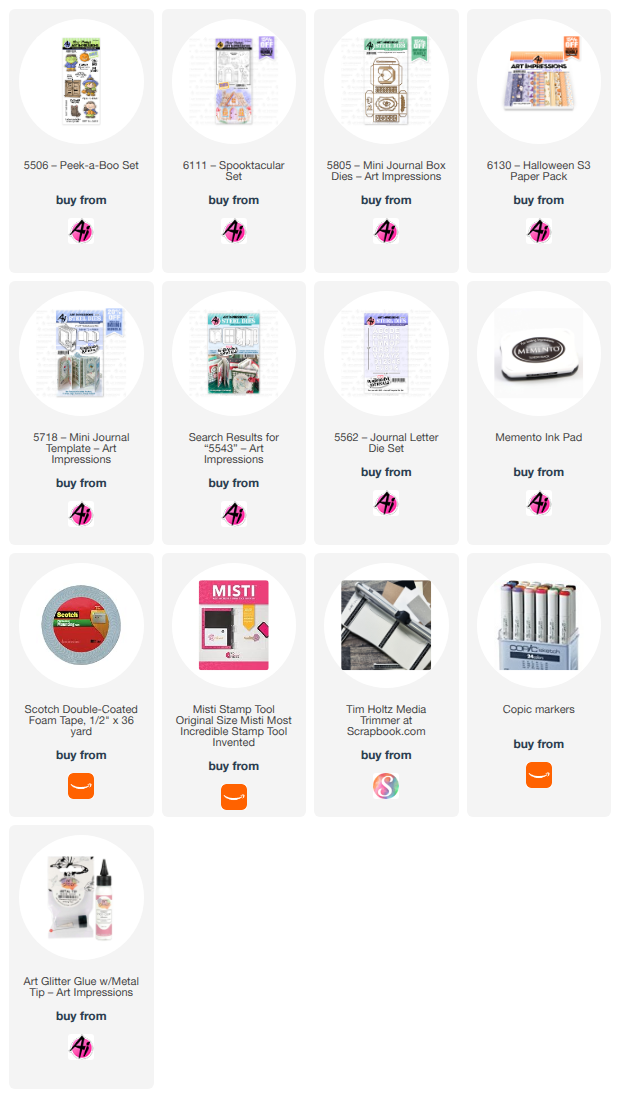
I started off by making the box with the die from the #5805 - Mini Journal Box out of orange cardstock.  I used the #6130 - Halloween S3 PP to line the box and decorate the sides as well as create the backgrounds for the card front and inside.  

I stamped a few of the images from two sets #6111 - Spooktacular and #5506 - Peek A Boo.  I then colored with my copic markers listed below.  Both of these sets come with coordinating dies which I just LOVE!  

I created a cute little decorative card (2 3/4 by 2 1/4) to fit on top of the box.  The pop up ghost has the coordinating die and scores for the folds, which makes the image pop up so easily on the inside.  

I adhered this mini card to the top of the box so you first open the card and then the box.  The card has a magnetic closure hidden under the front image and the inside sentiment.


The Mini Journal box die creates this cute little box with score lines.  All you have to do is fold and glue the sides.  Boom!  Easy peasy!  I suggest using heavy cardstock or add a pattern paper layer for stability.


This box was created by Art Impressions to hold the #5718 - Mini Journal book perfectly.  The finished dimensions are 2 3/4 x 2 1/4 x 7/8.  Also makes for a nice little treat box.


Thanks for joining me today and I hope you enter our "Summerween" blog challenge for a chance to win a free stamp set of your choice.  We love to see your creations!

Have a wonderful day!

Copics used:  E00, E01, E11, E21, E23, E25
N0, N1, N2, N3, N4, N6           R20
YR12, YR14, YR16, YR18         Y17
V12, V15, V17      G20, G21, G24

Tuesday, June 30, 2026

Tony's Tiny Joke Book (post #2) by Reneé Matarese

 Hello Ai fans!

I had a request for a birthday card for a 9 year old boy.

One of the things I was told he likes was "9 year old boy humor."

I very much like lame dad jokes and instantly thought of making him his own little
journal full of jokes he can tell people.

I shared the cover and the first few pages a couple of weeks ago.

Here is the next installment of pages.


I found all of the jokes online and printed them from my computer.


The adorable fish are from the retired Submarine Cubbies set
and the alligator is a retired freebie stamp.


Tuesday, June 2, 2026

Tony's Tiny Joke Book by Reneé Matarese

 Hello Ai fans!

I had a request for a birthday card for a 9 year old boy.

One of the things I was told he likes was "9 year old boy humor."

I very much like lame dad jokes and instantly thought of making him his own little
journal full of jokes he can tell people.

I'll start by showing you the box I made to give it in and the cover and first two pages.
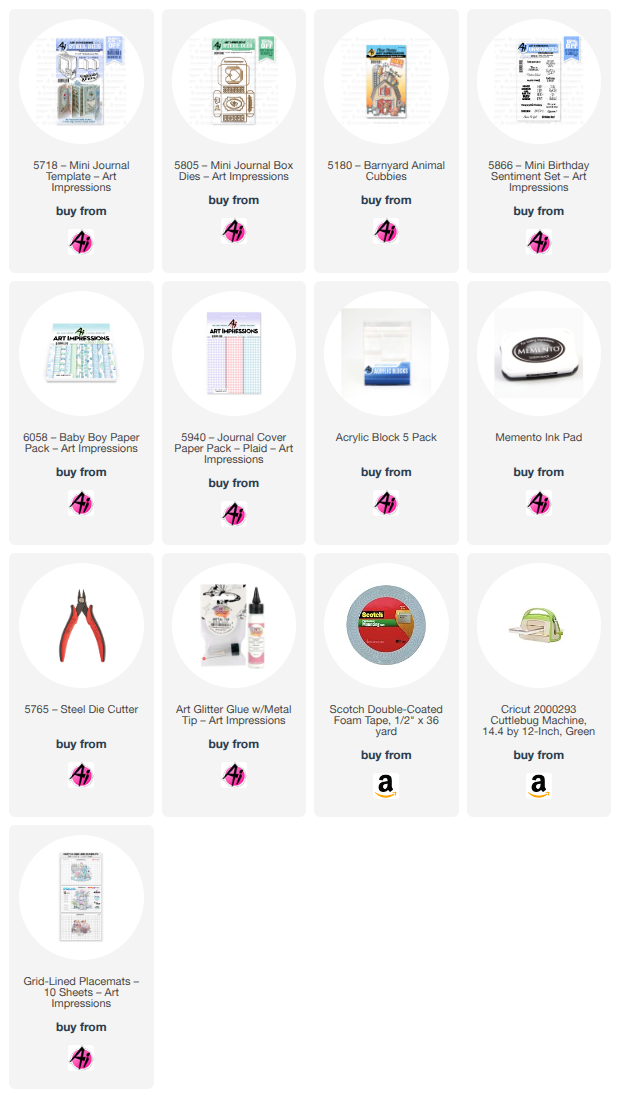
The box was created using 5805 – Mini Journal Box Dies and 5940 – Journal Cover Paper Pack – Plaid.
The sentiment is from 5866 – Mini Birthday Sentiment Set.


The journal and frame dies are from 5718 – Mini Journal Template.
I only did a "half journal" because I'm limited in time. This means I only cut the journal template twice so it looks like a regular book and not a fold out journal. I still plan to hopefully fit 10 jokes into it.


Here are the first two pages, the inside of the cover and the front of page one.
I used the corner die to hold the flaps closed. The little octopus is from retired 5397-Submarine Cubbies Set and the sweet duck is from 5180 – Barnyard Animal Cubbies.


The journal and pages are made from 6058 – Baby Boy Paper Pack.


Stay tuned at a later date for more jokes from Tony's Tiny Joke Book!
LOL!!!


Saturday, February 7, 2026

Small Box, Big Love: A Handmade Valentine’s Treat Box by Janet

Valentine’s Day is all about those "little something" gifts that show someone you’re thinking of them. Today, I’m sharing a project that proves great things really do come in small packages! This handmade treat box is perfectly sized for a trio of chocolates and uses some of my favorite versatile dies.

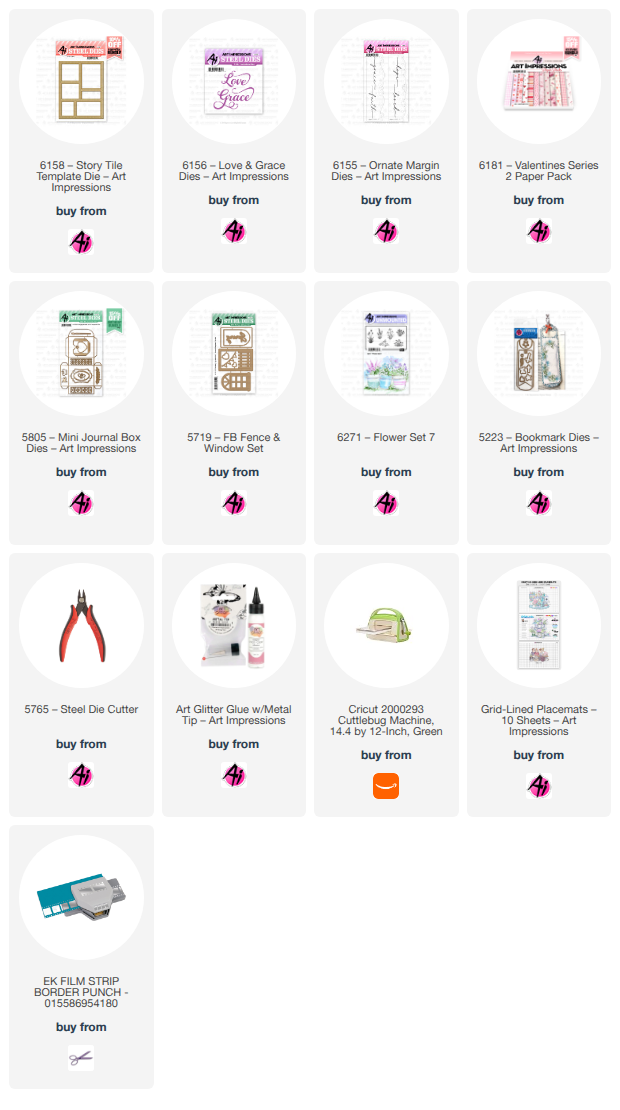
The base of this project is the 5805-Mini Journal Box. While this die was originally designed to house mini journals, it’s a total craft-room chameleon! It measures 2 5/8" x 2 1/4", which happens to be the ideal footprint for three decadent chocolates.

To give a sneak peek of the goodies inside, I used one of the dies from the set to cut a window in the top of the box. There’s something so professional about a window box—it instantly levels up the presentation.

I used a stunning rose pattern from the 6182-Valentines Series 2-Cover PP to form the box. It provides that vintage, elegant vibe that Valentine's Day deserves. I decorated the sides of the box with pink cardstock border patterns cut with the die set. It adds a lovely structural contrast to the floral paper.

No gift is complete without a tag! I cut a matching pink cardstock tag (another gem from the die set) to feature a feathered friend. I perched the adorable little duck from the 6106-Spring Keepsake Set right on the front.

Pro-Tip: Every Valentine needs a heart! I added a tiny red pearl heart to the duck’s chest for that essential pop of festive color.


 Once the box was glued together and the chocolates were nestled inside, I went for a bit of shimmer. I wrapped the entire box in thin silver cording, threading the tag through as I went. I finished it off with a multi-looped bow in the same silver cord to give it some height and "wow" factor.

This project turned out so sweet, and it’s a wonderful way to use your journal dies in a fresh, sugary  sweet new way.

Thanks for joining me on the blog today. As always, find your favorite stamps, dies, papers, and accessories at the Ai Store!

Happy Crafting!

Janet YouTube - Blog - Facebook - Instagram - Pinterest  

Tuesday, December 9, 2025

Woodland Horse and Deer by Reneé Matarese

Hello Ai fans!

OH MY GOSH!

The new Woodland Scenes are just the prettiest.
Today I have two cards for you.
My first is the horse and ...
Is this not the SWEETEST little horse?!

The set is 6087 – Woodland Horse Scene

As soon as I saw this sweet scene, I instantly thought to grab
my 5408 – ShadowBox Window Die which I adorned with greenery from
5805 – Mini Journal Box Dies and shutters from 5770 – FB Farm Fence Die Set.
The cute little bow is from 5317 – MB Template Dies.
The little picket fences are from 5807 – Journal Fence Dies and I used Bleed Proof White
paint to add stripes to the bow.
What a sweet scene this would be to wake up to this Christmas.
For my second card I used 6089 – Woodland Reindeer Scene.
I used the same greenery and bow as on the horse card. My deer is mounted on
Both the inside and front sentiments are from 5566 – Christmas Sentiments
and the one on the inside is mounted on 6046 – Scalloped Oval Dies and
The tree and snow were made using Bleed Proof White. For the tree,
I dabbed it with Copic markers and then lightly went over it with the paint.

Copics:

R29, R37, B000, B34, B91, E30, E31,
E55, E57, C0, N2, YG93
Chocolate Twin Tone

Saturday, October 18, 2025

Snow Globe Shaker Mini Journal Box by Janet

Hello Ai Fans. Today I have a mini-journal box with a small twist. As I was looking at the 5805 - Mini Journal Template Box Set, inspiration hit me. I wondered if I could fit a 5808 - Snow Blob Shaker Dome on it and yes, it does fit if you carefully center the circle that the done fits into! I had to trim a tiny bit off of the flat part of the dome on the edges to make it fit but it does work and I am pretty pleased with that! It makes this little box extra special.

The church scene was created with the 5791 - WC Snow Globe Set. I cut the circle out with the die in this set and then stamped the church a bit above the bottom edge knowing I needed room for some snow. I masked off the church with masking paper and then I used the tree stamps in the set to create the stand of trees behind and to the side of the church. I used Copic gray markers to put in a little shading and a very light blue green marker in the windows. In hindsight, I think it would have been more cool to color the windows with yellow as if the lights were on inside but I thought of it too late.

After stamping, I used Delta Decorating Snow to create snow texture on the ground and on the roof. Then I added some fine white glitter to the globe. The result is a very snowy scene. It reminds me a lot of the many rural churches where I grew up in North Dakota. It also looks a lot like my home church in the town where I went to school. We made our way many snowy and cold Christmas Eves for midnight candlelight services. I have some really lovely memories of snow that glittered like diamonds in the headlights as we drove from the farm into town for those special services. 

Once the scene was ready, I cut the box out of a sheet of striped paper from the 5964 - Winter Woodland Cover Paper Pack. I carefully centered the circle die in the middle of the cover and then installed the completed dome. I also added several small snowflakes to the front which were made from the dies in the snow globe set.

Inside, I glued in a glitter cardstock piece to cover up the back of the shaker dome to make it look a bit more finished.


Here is a picture of the side of the box which I decorated with dies from the box set. The elongated ovals in this die are supposed to be removed but I left them in place because I liked the look it created. 

So of course, I MUST create a mini-album to put into this box. I think that's a pretty big hint about what my next blog posts are going to be! Stay tuned. Now that we have the Dwellings sets, there are several really fun little images that can go into the mini-journals.

Thanks for joining me here today. As always, don't forget to find your favorite stamps, dies, papers, and accessories at the Ai Store! You'll always find something that calls to you. 

Happy Crafting!

Janet YouTube - Blog - Facebook - Instagram - Pinterest  

Thursday, September 18, 2025

Koala-Ty Time by Dori Mendiola

 Happy Thursday AI Friends!

This week's blog challenge is "Wild About You" showcasing any animal, or animal print, stamp, die, etc.  Many AI stamp sets work with this challenge, but since I found a leafy felt fabric, I thought it would be perfect to use with the #5349 - Koalas set.


I stamped two Koalas from this set, as well as the sentiment, onto copic friendly paper with Memento black ink and colored with my copic markers listed below.   I die cut each of the Koalas using the coordinating dies included with the set.  I also cut another pair of Koalas from heavy cardstock to back the colored image so they would pop up on the card with more stability.  I used the leaf die from the #5805 - Mini Journal box to cut several green leaves.  The sentiment was cut using the #6045 - Scalloped Circle die and popped up in the center of the frame panels.

The background frame, as well as the other leaf, were cut from dies I had in my stash.  To finish off the card, I used some enamel dots and placed them on three of the panels.  

Thanks for joining me today!  I hope you show us your creations by entering in the blog challenge.  See above tab for details and your chance to win a free stamp set of your choice.  
We always love to see what you create!

Have a wonderful day and keep creating!
Copics used:  W0, W1, W3, W5
E21, E23, E24
R20, G43, G46
B12, B14

Tuesday, July 8, 2025

Hello card with GOLD paint! by Reneé Matarese

 Hello Ai fans!

Today I'm sharing the second card that I made for the
Spritz, Splatter AND PAINT challenge here on the Art Impressions Challenge Blog.


I started by embossing a light blue piece of cardstock and then I chose certain raised parts of it to paint with the new Winsor & Newton Gold paint from Art Impressions.


I also die cut two pieces of Canson watercolor paper. One, I painted gold. The other was glued to the back of it to make it sturdier because I wanted to pop up my frame.


Inside the frame I added the recipients initial, a little flower and (of course) a bee!


A little hello finished it off.


Be sure to enter your creation that uses paint in some form on your project.