Showing posts with label 5782 - Snowflake Frame Set. Show all posts

Friday, November 21, 2025

There's Snow One Like You!

Happy Friday Art Impressions friends!

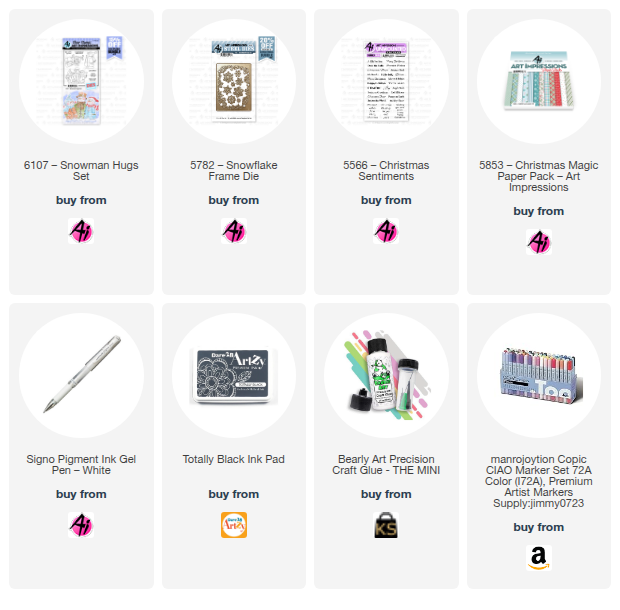
Tasha here sharing a snowy holiday card featuring the new 6107 – Snowman Hugs Set. I am not a fan of Winter, but I dolove creating cards with snowy scenes and cute snowman stamps—and this little couple is just adorable!

After stamping the sweet pair, I used the included dies to cut them out before coloring. To build the Winter scene, I framed them with the 5782–Snowflake Die, which adds such a perfect frosty border for this style of card.

For extra color and texture, I layered the center panel over an oddly embossed red card stock piece, then added navy blue and black layers along with a candy cane striped pattern paper. I love how these colors pop together!

Lastly, I stamped a simple “Merry & Bright” greeting in red ink and attached it to the bottom of the center panel. Three glittery enamel stars in the sky finish the design with a little sparkle.

Thank you for checking out today’s card, and I hope you have a wonderful day!


Thursday, October 2, 2025

Winter Wonderland by Dori Mendiola

 Happy Thursday AI Friends!

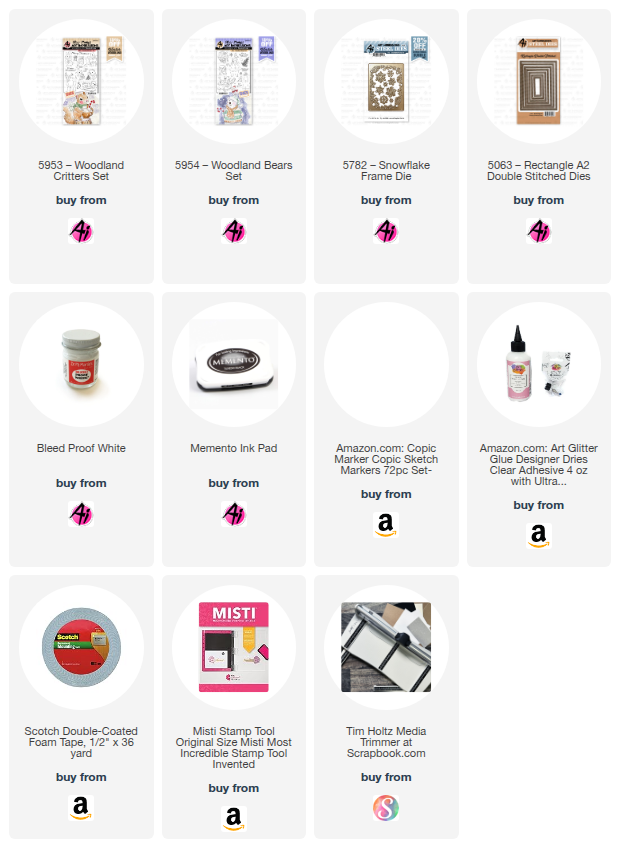
I was having too much fun making cards for the current Blog challenge "In The Navy" so I'm sharing two of the them with you today.   I used the #5953 Woodland Critters and #5954 Woodland Bears.  These would make such a cute gift set for that special someone that has everything.  What's better than giving/receiving handmade gifts?


I started out by stamping the images onto copic friendly paper with Memento black ink and colored with my copic markers listed below.  Each of the images in both sets come with corresponding dies.  As usual, I die cut an extra set from heavy cardstock.   I love the dimension and stability.

Card #1:  I created a fun pull tab interactive card where the critters slide down the hill when pulling the tab.  This is a square 4 3/4 inch card.  To make the stitch border, I partial cut two sides using the largest #5063 Rectangle A2 Double Stitch die and then cut the other sides to make this large square.   I spattered Dr. PH Martin's Bleed Proof White paint onto the navy blue cardstock base to create a snowy background and also glued some of the snow die cuts that were left over from card #2.  The stitch snowy hills were using dies from my stash. 
Card #2:  I created a popped up frame card.  Using the #5782 Snowflake Frame die, I die cut two frames with heavy cardstock and glued them together.  Saved some of the snowflake pieces from the frame die cuts and used on card #1.  This card measures 3 1/4 x 4 1/4 inches.  I spattered Dr. PH Martin's Bleed Proof White paint onto the navy blue cardstock base to create a snowy background.  Again, I used a curvy stitched die from my stash to create the snowy hillside.  I popped the frame and the images up using foam tape onto the hillside.  Added a bow and the card is finished. 
Hope you enjoyed my cards today and you decide to join us in the Blog challenge.  See above tab for details and a chance to win a free stamp set.  We love to see your creations!

Have a great day and keep creating!

Copics used:  E30, E33, D35, E37, E40, E41, E43, E44
E51, E53, E55, E57, E59
N1, N2, N3, N4
Y13, Y17, Y19, 23, Y26, 
R20, R22, R24, R27
BG90, BG93, BG96, BG99
BV20, BV23

Thursday, January 23, 2025

Snow Friend by Dori Mendiola

 Happy Thursday AI Friends!

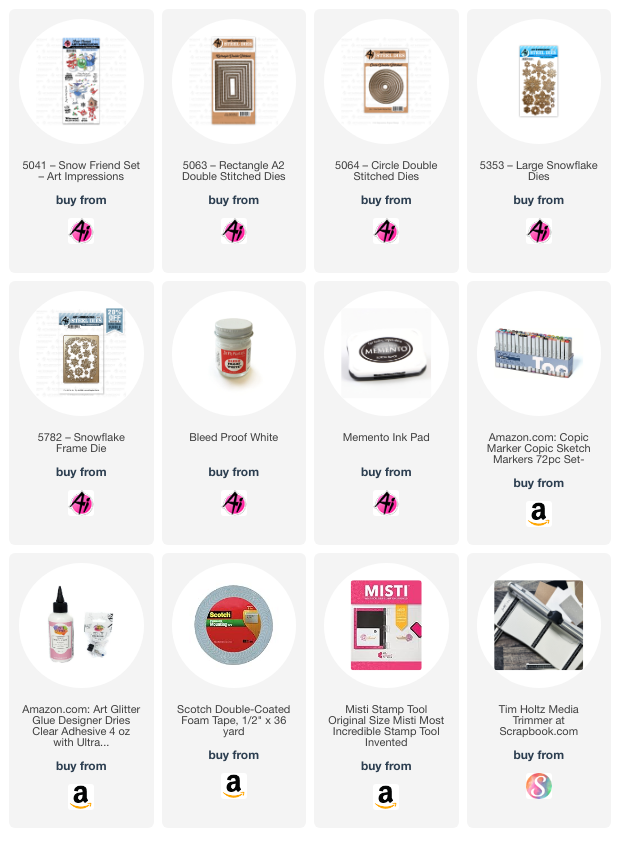
Today my card was inspired by the current blog challenge "Monochromatic".   I've never really done this before, but I found it quite fun!  All you have to do is create a card using one color (or different shades of one color).  I decided to use the 5041 - Snow Friend set.  I've always loved this snowman but since Christmas has passed, I wanted him to reflect the winter season.


I stamped the image with memento black ink onto copic friendly paper and colored with my copic markers listed below.  I then fussy cut him out and cut off the string of Christmas lights that he is holding.  Some of the strings still showed, so I colored over the string pieces with a white paint pen and they are no longer visible.  TaDa!  😀

I ink blended a white cardstock panel with Ranger Distress Oxide inks (colors Prize Ribbon and Salty Ocean).  I spattered a little water onto the panel and dabbed it off with a paper towel.  Then I flicked some Dr. Ph Martin's Bleed Proof white paint, mixed with some water, with a small paint brush onto the panel to create a snowy effect.  I cut the panel with the largest 5063 - Rectangle A2 Double Stitch die and I used the 5064 - Double Stitch circle to cut a partial circle out of the top right side.  I created two snow mounds with white cardstock from a panel cut with the rectangle A2 double stitch die.  Lastly, I die cut several snowflakes from the 5353 - Large Snowflake die and the 5782 - Snowflake Frame sets.
 I covered the snowflakes with stickles and created an icy ground to skate on.

That's my card for today!  Hope you enjoy and keep creating!
Make sure to enter the challenge - see tab above for details and a chance to win a free stamp set.

Copics used:  C1, C3, E21, E23,
B0000, B00, B12, B14, B16, B21, B23
R20, YR12, YR14

Sunday, November 17, 2024

Gather Together and Merry Penguins cards by Diane Mason

Hello, and welcome back for Watercolor Weekend!


Hello, AI Watercolor Friends! It's that wonderful time of year - Thanksgiving is on its way, and Christmas is just around the corner. Today, I'm excited to share two festive cards with you. The first is a quick and easy Thanksgiving card, perfect for the season. The second is a playful, interactive Christmas shaker card featuring the adorable penguins from the newly released 5929 – Christmas Train Set.

Gather Together card:

For this quick and easy card, I selected the chair stamp from 5593 – Harvest Scenes Set. I love the beautiful colors of autumn and thought this scene would look so pretty paired with the patterned papers from the new fall paper pack (5973- FALL S2 PP).

I inked the image with the usual combination of 565/969 and stamped it off once before stamping it onto my Canson XL watercolor paper. With a damp brush, I pulled some color from the image to add shadows and dimension. I added a little 565 to the white chair for added shadows. For the birds, I painted 947 for the wings and 933 for the tummies. I wanted to give the watering can an old and weathered look. I used N52 to shade the watering can and a touch of 565 to deepen the shadows. For the rust, I dotted on some 947 here and there and blended some of the dots with a damp brush. I painted the red stripes with 856. I made sure the stripes curved upward for proper perspective since you could see the bottom of the watering can. I left the milk can white and added a little more 565 for contours. The handle was painted with 947.

The green pumpkin was painted with 228. I really like this green, it’s similar to 177 but has a grayer undertone. I added 993 for the yellow highlights. For the orange pumpkin, I used 933 for the base and 933/947 to shade the pumpkin. Both stems were painted with 969. I painted the wooden basket with 947 and 969.

Before adding the flowers and foliage, I brushed in a sky with a watery mix of 565. I added vines to the milk can using the vine stamp from 5126 – WC Foliage Set 4 inked in 177 and dabbed with a damp brush. Next, I added flowers to the wooden basket. I used the daisy bunch stamp from 4052 – Flower Set and stamped in 933 and 856. Using the same vine stamp, I added some foliage below the flowers and dabbed the vines and flowers with a damp brush. I got a little carried away with the flowers, so to tone them down a bit, I dotted in some tiny white flowers with Dr. Ph. Martin’s Bleed Proof White.

I added a shadow under the chair and near the basket and milk can with 565. I used a brown TwinTone marker to add fine details to the scene. The painting was die-cut with a stitched rectangle die and matted with patterned paper from 5973 – FALL S2 PP. The “Gather Together” sentiment is from 5600 – Harvest Sentiments Set and was heat embossed in gold.

You all know I like to decorate the interior of my cards. The sentiments are from 5600 and the fall leaves are from 5598 - Harvest Set. The leaves were painted with 947, 228, 177, 856, 933, and 993.

Merry Penguins Shaker Card:

I think the little penguins from the 5929 – Christmas Train Set are so adorable. They look so excited and happy, and ready to shake up some fun!

I stamped the four penguin images, and an extra sitting penguin for the interior of my card, with Versafine Onyx Black ink onto my watercolor paper. Versafine ink is permanent once dry, stamps clean sharp images, and works perfectly for watercolor. It is also easy to remove from your stamps. I shaded all the white areas with N52 and a little 565. For the hats and scarves, I used 526 and decorated the scarves with a white gel pen. The bodies were painted with N25 and the beaks in 933. Rosy cheeks were added with a watery mix of 856. I then die-cut all the penguins and set them aside.


For this slim-line card, I cut a 7 x 8 ½ inch piece of white cardstock and folded it in half for the card base. I cut a 3 ½ x 8 ½ inch piece of shimmery white cardstock and adhered it to the card front. Next, I added a 2 ¼ x 8 ½ inch piece of blue cardstock to the center of the card. For the MERRY shaker windows, I created a template using a piece of white cardstock and the letter dies from 5072 – Block Letters Die Set. Since there is only one “R” die, I used an “N” die as a placeholder for spacing. I used a strip of removable tape to hold my dies in position, removed the “N”, and die-cut a template from the white cardstock. I added the second “R” to the template and ran it through the die-cutting machine again. Next, I cut a 2 x 8 ½ inch piece of blue plaid patterned paper from 5964 - Winter Woodland Cover Paper Pack. I positioned the template over the plaid strip, aligned the letter dies in place, and die-cut the windows for the shaker. Using a pencil, I lightly traced the letter openings onto the blue cardstock to mark where the shaker wells would go. Then, I used foam tape to build the wells and filled them with a wintry mix of beads and sequins. I added clear acetate to the back of the letter strip and carefully adhered the strip over the shaker bits. I used a die-cut 'R' as a guide to position and adhere the inner pieces of the letter, securing them in place.


Next, I glued the penguins onto the card and added a touch of sparkle by scattering die-cut silver glitter snowflakes from the 5782 - Snowflake Frame Die.

For the inside of the card, I adhered a ½ inch strip of plaid paper along the bottom edge and placed a sitting penguin on top for a fun finishing touch. The “Merry Christmas” sentiment is from 5953 – Woodland Critters Set. Let the merry-making begin and shake, shake, shake!

Thank you for stopping by for Watercolor Weekend. I hope today’s cards have inspired you to create some cards to share with your friends and family this holiday season. Until next time, wishing you and your loved ones a very Happy Thanksgiving and, as always, Happy Painting!