Showing posts with label 6009-Basic Green Paper Pack. Show all posts

Thursday, June 19, 2025

Baby Boy Panda by Dori Mendiola

 Happy Thursday AI Friends!

Today I have a cute little baby boy card for you using the #6017 - Baby Panda set.  This is the absolute cutest little set and makes the cutest baby cards!  
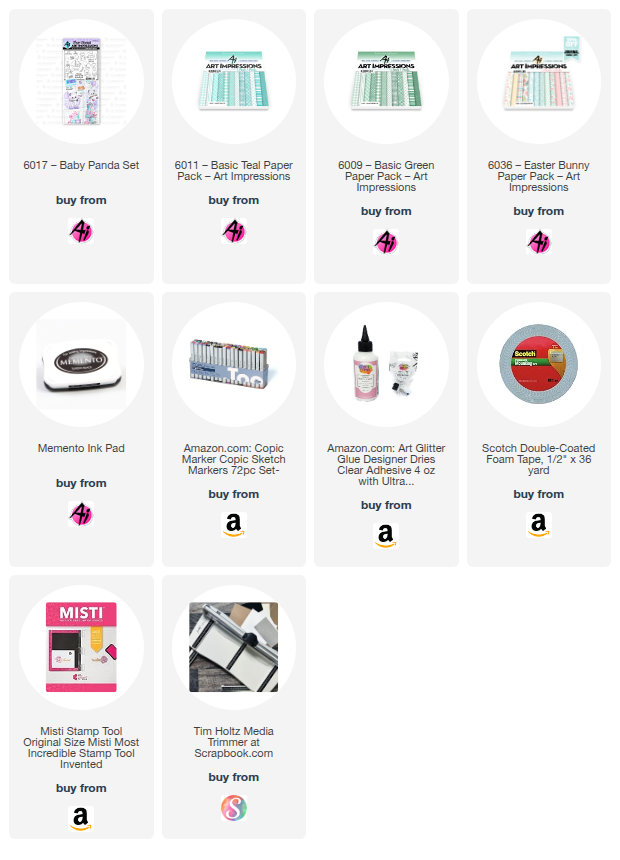

I started out stamping the images on copic friendly paper with Memento black ink and colored with my copic markers listed below.  I cut each out with the corresponding dies that come with the stamp set.  To create the background, I using my cloud stencil and Distress Oxide Broken China ink.  The papers for the frame and the grass are from the #6011 - Basic Teal PP and the #6009 - Basic Green PP.  I paper pieced one of the balloons and the carriage sun cover using the #6036 - Easter Bunny PP.

The upper panda moves as if floating in air (see video).  This is a simple interactive mechanism. 
To provide more stability to the swinging panda, I suggest die cutting a second panda w/balloons out of heavy cardstock and adhere to the backside of the colored image.  Punch a circle in the cloud background, small enough to hide behind the balloon.  Place a foam dot in the center, adhering the bottom side to the card base, and the top side of the foam dot to the back of the top balloon.  The panda will swing back and forth as if he is floating in air.   

I hope you are having a wonderful start to your summer!  Have a great weekend and thanks for joining me today!

Copics used:  C00, C0, C3, C5, C7
B00, B12, B14
Y11, Y13, Y15, Y17
YR12, YR14, YR16
G40, G43
R20, R22

Thursday, May 29, 2025

Barbeque Dad by Dori Mendiola

 Happy Thursday AI Friends!

My card today is inspired by the blog challenge - We 💓 Dad's!  

Who doesn't love a Barbeque Dad?  My husband loves to grill and believe me, I'm not going to complain.  It's so nice when you can split the cooking!  

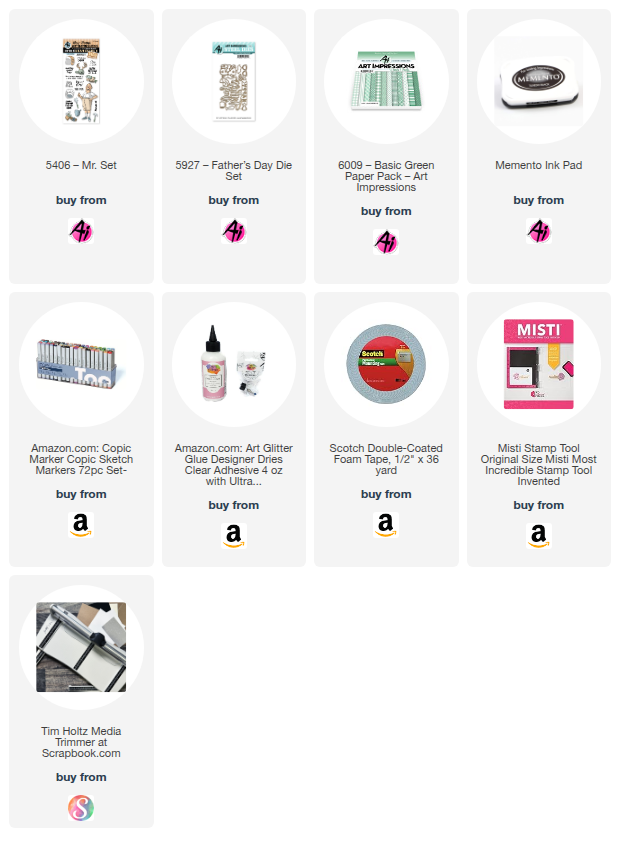
I knew the #5406 Mr. Set would be perfect for him for Dad's day!  This stamp set is sure to meet one of the many hats that your Dad wears.   From a hunter, to a fisherman, to a Tim the toolman, so many hats to choose from.

I began by stamping the images onto copic friendly paper and colored with my copic markers, listed below.  After coloring the images, I used the coordinating dies to cut them out.  I love it when the stamp set comes with dies.  I picked a plaid pattern paper from the #6009 - Basic Green paper pack to paper piece his shorts.  Who doesn't love plaid shorts and black socks?  😁 

I also used the same paper pack for the background and the grass.  I made the background look like a shirt (even added a tie) by cutting an inch slit down the middle and folded down to look like a collar.  I added a die cut tie from the #5927 Fathers Day die set as well as the #1 on the grill lid.  This die set also includes a couple of sentiments.  "Super Dad" is one of them but I just cut off the mustache.  The grill die was from my stash but fit perfectly with Barbeque Dad.

Thanks for joining me today and I hope you enjoyed my card.  Make sure to check out the Bi-weekly challenge and enter your card/project for a chance to win a free stamp set of your choice.

Have a great day and keep creating!
Copics used:  E23, W0, W1, W3, W5
G21, G24

Sunday, March 30, 2025

Bonus 5th Sunday Watercolor Weekend with Simone Carr

 Hello Ai fans and welcome to Watercolor Weekend!
This is one of those months where we get a bonus, 5th Sunday, so Simone Carr will be filling in as our Guest Designer for our last Sunday in March.


Please enjoy her amazing art!

Hello Fellow Crafters,

It’s my turn for Watercolor Weekend, and I’m excited to share two new watercolor cards with you! I hope they inspire you to create something beautiful this weekend!
Card 1: Easter Bloom Wreath


For my first card, I took an egg-shaped die to draw an outline so that I knew where to stamp my flowers and foliage. I placed my Canson watercolor paper into my stamp platform. I used the stamp from the Frameworks Set and colored parts of it with 969 before stamping it along the penciled egg shape. Once that was done, I stamped in the bunnies using 569 and 969, stamping off twice before applying them to the paper.
I colored the wreath first by pulling out the stamped color, then moved on to the bunnies, adding layers as needed. I stamped in some foliage but left space for flowers. I stamped grass in front of the bunnies using the larger grass stamp and then added flowers from Flower Set 2. For the white flowers, I used Dr. PH Martin’s Bleedproof White. Finally, I stamped the little bird on the branch using only 969. The sky was softly blended with 526 to complete the scene.
Materials Used:
Stamps:
  • Frameworks Set 1 (5420)
  • Fairy Doors Set (5056)
  • Furries TF (4208) Retired
  • Bible Foliage Set 2 (5418)
  • Foliage Set 1 (4051)
  • Mini Flower Set (5009)
  • Flower Set 2 (4868)
  • Flower Set 2 (4867)
  • Branches Set (4964)
Dies:
  • Rectangle A2 (5063) – Used the largest
  • Mini Easter Sentiment Set (5867)
Paper:
  • Canson Watercolor Paper
  • Easter PP (5742)
Inks & Markers:
  • Tombow Markers (969, 569, 526, 249, 177, 725, 565, 636, 195, 856, 947)
  • Dr. PH Martin’s Bleedproof White
  • Twintone Brown
Other:
  • Stamp Platform
  • Pencil for Sketching

Card 2: Cozy Coop


For my second card, I created a scene using the Matchbox Chickens Set and Hen House Cubbies.
I began by placing Canson watercolor paper into my stamp platform. Since the Matchbox stamps include flaps designed for creating 3D matchbox scenes, I used tape to block off the edges before inking the stamp with Memento Toffee Crunch. After removing the tape, I stamped the image, ensuring only the main elements transferred onto the paper.
With my scene set, I started coloring. For the chicks, I applied Tombow 055 around their heads, blending into 025 and 985 for the body. Their beaks were painted with 925. The hens were given warm, natural tones using 947 and 856. For the chicken coop, I used a combination of 947, 992, and 296, while the chicken feed bag was shaded with 027. To enhance the rustic feel, I stamped a hay bale from the Harvest Set (5598) using 026 and 985.
To tie the whole card together, I used patterned paper from the Basic Green PP (6009) as a background.
Materials Used:
Stamps:
  • Matchbox Chickens (5731)
  • Hen House Cubbies (5396)
  • Harvest Set (5598)
Paper:
  • Canson Watercolor Paper
  • Basic Green PP (6009)
Inks & Markers:
  • Tombow Markers (027, 992, 969, N55, 569, 296, 026, 856, 925, 055, 025)
  • Twintone Brown
  • Memento Toffee Crunch
  • Versafine Clair Nocturne
Other:
  • Stamp Platform
  • Masking Tape for Selective Stamping

I had so much fun creating these two watercolor cards, and I hope they inspire you to try something new in your crafting!
Happy Crafting,
Simone


Saturday, February 22, 2025

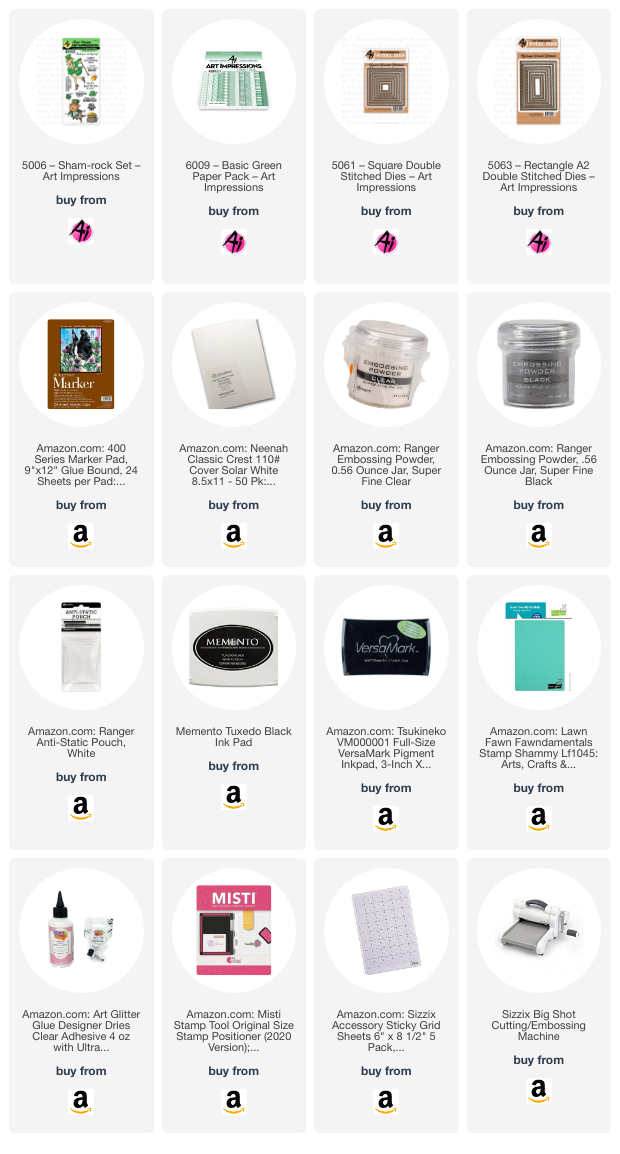
Shake Your Shamrocks! by Janet


It's going to be St. Patrick's Day soon so I decided to make a card for the occasion before it's too late! I have a couple friends who get such a kick out of me sending them St. Patrick's cards. And why not? They are fun to make and give!

Art Impressions has a super fun set for the holiday called 5006 - Shan-rock Set. I chose to make the leprechaun the focal point of my card. He's doing a good Irish jig for the occasion. I also colored and fussy cut out the hat, shamrock, pot of gold, and the beer mug. It's hard to tell in my photo but I stamped the coins on gold metallic paper, cut and pieced them into the pot. 

To make this card I used the 5061 - Square and 5063 - Rectangle Double Stitched Dies to make windows in a piece of 4" x 5 1/4"cardstock from 6009 - Basic Green PP. You can buy dies that will cut windows out but why do that when you can make your own with your Ai stash of dies? Because they are double-stitched, the windows are framed in stitches which provides a professional and finished look. 

I heat embossed the sentiment with gold embossing powder and then glued the window panel on top of a piece of dark green cardstock. I put gold glitter cardstock behind the pot for some added interest. The finished window panel was glued on a white A2 card base. I mounted the images using foam tape. The final step was to add three gold stars as accents.

I hope you get to shake your shamrocks this St. Patrick's Day! Thanks so much for joining me here at the blog. As always, please visit the Ai Store for the products I used and all the things you need for your card, journal, and tag making projects. Happy creating!

Janet YouTube - Blog - Facebook - Instagram - Pinterest