Showing posts with label 5601 - Halloween Accessories Set. Show all posts

Thursday, October 8, 2026

Ghoul Friends!


Hey there, everyone! I hope you are having a wonderful week! Are you all ready for Halloween?? Halloween is my favorite for decorating and the time of year, so I am thrilled right now. lol I am such a fall girl. My card today is using the 5038 Ghoul Friend Set from Art Impressions. I just love these two. To start, I stamped all of my stamps with black ink. Once dried, I ink blended some soft yellow ink over my lanterns to create a glowing effect. 


Next, I masked these two ladies off by just stamping the stamp onto another piece of paper, cutting it out and placing it on top of the original stamped image. Carefully holding the mask down, I uses a dark blue ink and ink blended over the image and around the lanterns. Once I got the desired look that I wanted, I started coloring with my Copic markers. I also used a ground stamp from the Ink Blot Shop. Once finished with coloring, I added some Glossy Accents to the wine glasses and the ladies eye glasses for some shine. I then stamped the images and sentiment inside the card, matted it on a cute patterned paper from Honeybee Stamps and glued that all together. I hope you have a wonderful rest of your day! 


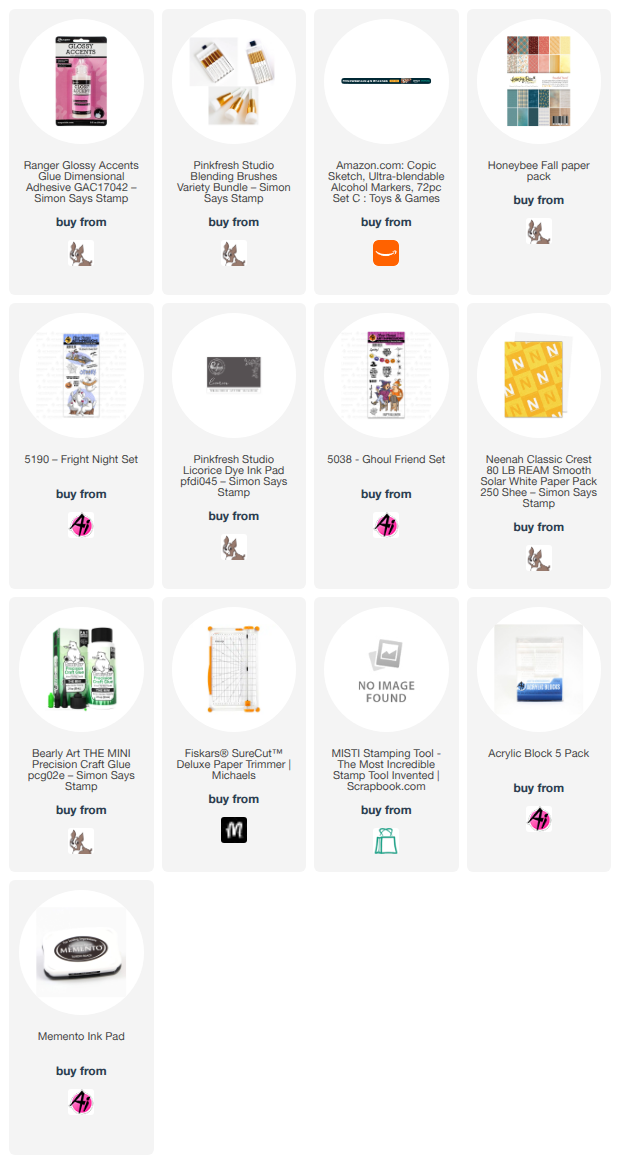
Materials Used

Stamps

  • 5190 Fright Night Set
  • 5601 Halloween Accessory Set
  • 5028 Ghoul Friend Set
  • Ink Blot Shop Ground
Paper

  • Fall Pattern paper from Honeybee Stamps
  • Neenah Classic Crest card stock for stamping on
Markers & Inks

  • Momento Ink Pad
  • Black thin Liner Pen
  • Copic Markers Used: V93, V28, V25, V22, V95, E000, E00, E21, E13, R20, E37, T6, T9, E55, E59, 110, V99, C5, C6, YG23, YR16, YR15, YR18, YR09, Y28, YG95, YG93, R59, R29, C7, C2
  • Pink Fresh Inks- Licorice, Lemon Whip, Stargazer


Thursday, September 24, 2026

Halloween Farm Scene


Good morning, everyone! Today I am sharing a card using the newly released Country Side Series stamps from Art Impressions! This particular scarecrow stamp is made into a fall theme, but I changed it up and added some bats, spiders and added faces to the pumpkins for a fun Halloween card. This card was made using craft paper and colored pencils. I use both Faber Castell Polychromos Colored Pencils and Prismacolor colored pencils. You do not need both. I just have had a set of each for YEARS so I use them both together. I blend the colors with Gamsol (odorless mineral spirits, also known as OMS) and paper blending stumps. 


 I first stamped my two images onto the craft cardstock. Then I made masks for the barn and the top of the scarecrow fence scene out of some paper. I also secured a Tim Holtz moon mask, and then I ink blended some dark blue and dark grey ink around the edges of my paper. This created a nice and dark sky for a spooky nighttime scene. I went ahead and blended some white ink over the moon to create a glow on the moon and around it. The rest of the project was colored with colored pencils and OMS. I added spiders, bats, and webs for a little extra spookiness. I hope you like it! 

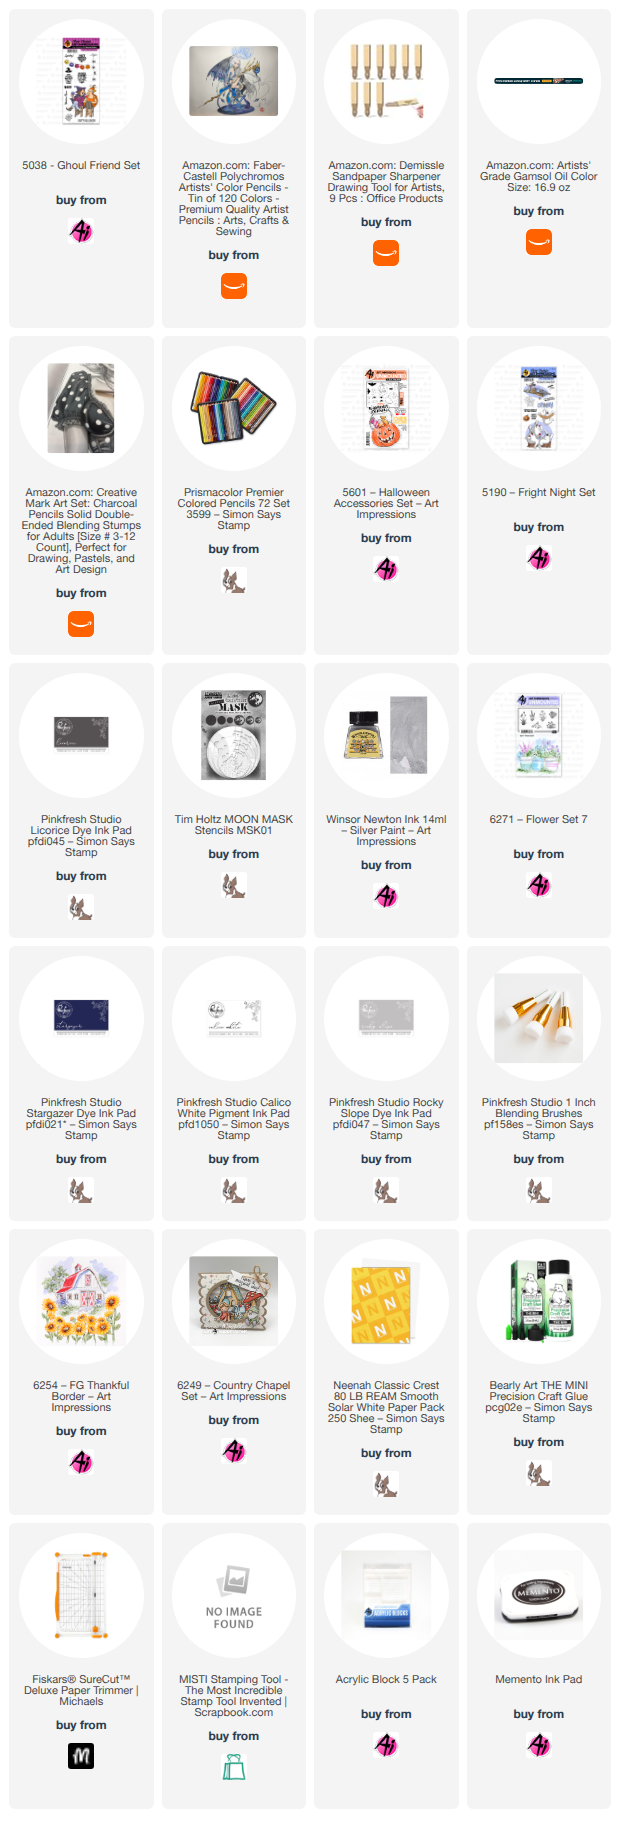
Materials Used

Stamps

  • 5601 Halloween Accessories Set
  • 6249 Country Chapel
  • 6254 FG Thankful Border
  • 6271 Flower Set 7
Paper
  • Craft Colored Cardstock
Markers, Inks & Pencils

  • Momento Ink Pad
  • Prismacolor Pencils, Polychromo Pencils
  • Odorless Mineral Spirits and blending stumps

Tuesday, October 7, 2025

Frankenstein in Spooky Woods by Reneé Matarese

 Hello Ai fans!

Last Tuesday I shared a card made with the new Frankenstein Puppet
and I couldn't wait to share this one. The last one was a little more "serious"
so I made this one a little cuter. I switched up a few things. On the first card I flipped the head upside down to give him a square jaw. This one, done the way it's supposed to be, is a little more rounded.
I also left off the lapels on the jacket this time, making him a little more casual. I really like both
looks and I think Frank is just the CUTEST puppet so far.

You can visit the Art Impressions website to see the entire Puppet Series.


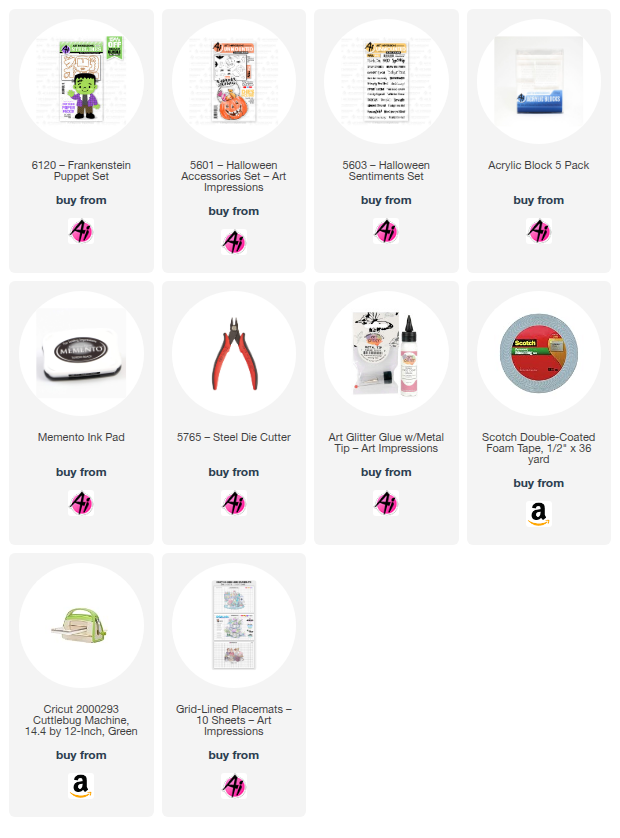
I used the ghosts, bats and Jack-O-Lantern from 
5601 – Halloween Accessories Set. The sentiment is from
5603 – Halloween Sentiments Set.


Copics used:
N2, C4, Y18, Y26, YR04, YR14, YR20

Black Micron

Saturday, October 12, 2024

Here Comes Halloween by Janet


 Hi and happy weekend. Halloween is ALMOST here! Yay! Love this time of year as it's full of fun and then rolls right into a time of family and thankfulness with Thanksgiving.

My card celebrates the holiday and is full of texture. The yellow background is made of felt. I cut it using 5604-Halloween Journal Die Set. I cut out all the other black images with this set as well. The Jack-O-Lantern and candies were stamped, cut, and colored using 5601-Halloween Accessory Set. The card base was pre-purchased and was printed with the rustic wood pattern. All I had to do was arrange all the cut pieces as shown on it. I dressed the card up a little by wrapping twine around the front. The final embellishments are gold enamel dots. For a simple card, it's a lot of fun and quick to make. 

Thanks so much for joining me to see what I created for you today. Please visit the Ai store for the sets I used and all the things you need for your card, journal, and tag making projects. Have a great weekend!

Janet - YouTube - Blog - Facebook - Instagram - Pinterest

Sunday, September 15, 2024

Spooky Crew and Halloween Boo-quet cards by Diane Mason

Hello, and welcome back for Watercolor Weekend!

Hello, Ai Watercolor Friends! I hope you're having a fabulous weekend! Today, I’m excited to share two Halloween cards with you. The first card features stamped images from the newly released 5934 - Spooky Crew Set. For my second card, I’ve created a Halloween floral "Boo-quet" scene using images from the recently released watercolor sets: 5918 - Floral Long Stem Bouquet, 5920 - Long Stem Foliage Set, and 5921 - Glass Containers Set. Let’s get started!

Spooky Crew Card:

To start, I stamped the spooky house image from the 5934 – Spooky Crew Set using Versafine Onyx Black ink onto Canson XL watercolor paper with my MISTI stamp positioner. I then placed a square die from the 5061 – Square Double Stitched Dies over the scene and traced the interior with a pencil to outline the painting's boundaries. Next, I stamped the tree in the foreground, slightly below and to the right of the house. For the moon, I traced the bottom of my Dr. Ph. Martin’s jar. I brushed in a watery sky using 526, carefully avoiding the moon area, which I painted with 933. I added fences from the 5371 – WC Barn Set, inking them with 969, and used my Art Impressions 4774 – Stamp Positioner to place them into the scene. I masked off areas with Post-it tape where needed. A small tree from the 5372 – WC Mini Foliage Set, inked in 969, was added to the background on the left. For the house, I used 977 and 969 for the boards, porch, and spooky tree. The window trim, shutters, front, and tree doors were painted with 636. The jack-o'-lantern was painted with 933 and 925, and highlighted with 993. Its stem was painted with 177 and 249. The window interiors were done with 993 and 933. The stones on the chimney and at the base of the house were painted with 969 and 565. To represent the moon's glow, I added touches of 993 to the chimney and the stones at the base of the house. For the roof tiles, I used N25 and 993, and shadows on the house were created with 565.

I sketched a path leading from the porch and the tree. Shadows on the path were added with 565, while 993 was used for the moon’s glow. I brushed a light mix of 098 for the grass. For added detail, I used the tiny grass stamp from 5372, inked in 098, to create small clumps of grass. I inked the small leaf bunch from the 4867 – WC Foliage Set 2 with 969 and added leaves to the trees. For the larger tree, I also inked the leaves with 177. Using the same stamp, I added bushy vines to the grassy areas, using 177 for the greenery and 969 for a more earthy tone. Finally, I used a silver Signo gel pen for the door hinges and knobs.

To create a spooky sky, I added streaks of color using 526 and 565. I darkened some areas of the moon with 993. I then used brown and black TwinTone markers to restore any lost details. For the jack-o'-lantern details, I used a fine black Micron pen and Dr. Ph. Martin’s for the teeth. I also erased any remaining pencil lines and die-cut the painting with a square stitched die.

The Spooky Crew set includes dies, so I inked the owl and witch hat with Versafine Onyx Black ink and die-cut them using the coordinating dies. I used the following colors for the owl: 910, 942, 856, 977, 969, 565, 933, 993, and 925. For the witch hat, I used N25 and 636. I applied Sakura Clear Glaze pen to the owl’s eyes to give them a shiny finish.

The “Booo!” sentiment was stamped onto yellow cardstock and die-cut using a banner die from the 5902 – Mini Scalloped Frame Dies set. The purple checked patterned paper is from the 5849 – Halloween S2 Paper Pack. The owl and the witch hat banner were both mounted with foam tape for added dimension.

For the inside of the card, I added a strip of patterned paper and stamped the sentiments in orange and purple ink.

Halloween “Boo-quet” Card:


The new floral images from 5918 - Floral Long Stem Bouquet and 5920 - Long Stem Foliage sets, made it easy to create this Halloween bouquet (or should I say, “Boo-quet”).


I began by inking the container stamp from 5921 - Glass Containers Set in 565 and 969, and stamped off once before adding it to my watercolor paper. I traced an oval die from 5065 – Oval Double Stitched Dies to define the boundaries of the painting. I inked the tops of some leaves from 5920 in 249, masked the lip of the container with Post-it tape, and stamped them into the container. I inked the ghost from 5601 – Halloween Accessories Set in N52 and stamped it just above the leaves to the right. I stamped the bat in Versafine Onyx Black ink to the right. The ghost and bat are floral picks for the bouquet. I created masks for the ghost, center leaf, and bat. I inked the floral bouquet stamp from 5918 in 993 for the flowers, and 249 for the stems and leaves. I added some filler greenery from 5920, inked in 098, and masked as necessary. I added candy corn images to the container from 5601 inked in N52.

With a damp brush, I pulled color from the lines of the container to give shape and contour. I painted the lip of the container with 993 and also added a stripe above the candy corn. Next, I added a band around the neck of the container in 933 and a stripe below the candy corn. Details were added to the band with the bullet tip of 925. The bottoms of the candy corn are 993, the middle is 933 and the tops are shaded with N52.

I pulled color from the flowers, leaves, and stems with a damp brush (avoiding the area within the ghost). I didn’t add water to the filler greenery. 933 and 925, were added to the flower centers. Additional 993 was added to the flowers and 249 to the leaves and stems. Using a damp #0 round brush, I carefully added water to the flower within the ghost and dabbed it with a dry paper towel to lift the color. This helped to make the ghost look transparent. A little N52 was added to the ghost for shading. I brushed in the background with a watery mix of 526 and added a shadow below the container in 565. Next, I inked just the top of the swirly stick from the 4964 – WC Branches Set in N25 and stamped it into the bouquet, masking where necessary. I drew the bottom portions of the sticks into the container with a black TwinTone. The floral pick sticks were drawn in with a silver Signo pen. The tiny spider from 5601 was stamped onto the container using the positioner for perfect placement. I hand-drew the spider web with a gray TwinTone marker. I used the bullet tip of 098 to intensify the berries on the greenery. Finally, I added a little watery Dr. Ph. Martin's Bleed Proof White to the ghost and bat for details.

The skeleton image from 5487 – Front Porch Halloween Set was inked in N52 and die-cut with the coordinating die. The hat was painted with N25 and 933. The skeleton was shaded with N52. Facial features were darkened with a fine black Micron Pen. I used a gray TwinTone marker to enhance some of the lines of the skeleton.

The orange checked patterned paper from 5849 – Halloween S2 Paper Pack was matted onto a yellow cardstock card front and die cut with an oval die from 5065. The same oval die was used to die-cut the painting. The painting was attached to a white card base. The patterned paper piece and skeleton were both popped up with foam tape. 

For the inside of the card, I added a strip of patterned paper and stamped the sentiment from 5037 – Halloween Magic Set in orange.

Thank you for joining me for Watercolor Weekend! I hope my cards will inspire you to make some fun, spooky Halloween cards to send to family and friends. Until next time, Happy Painting!

For the Spooky Crew Card:


For the Halloween Boo-quet Card: