Hello, Ai Fans! Happy Watercolor Weekend!
Our fantastic design team is at it again with these cards inspired by the current season--Valentine's Day and the transition into spring. Their delicate creations will make you yearn for spring to come, and send a little love your way as well.

Hello,
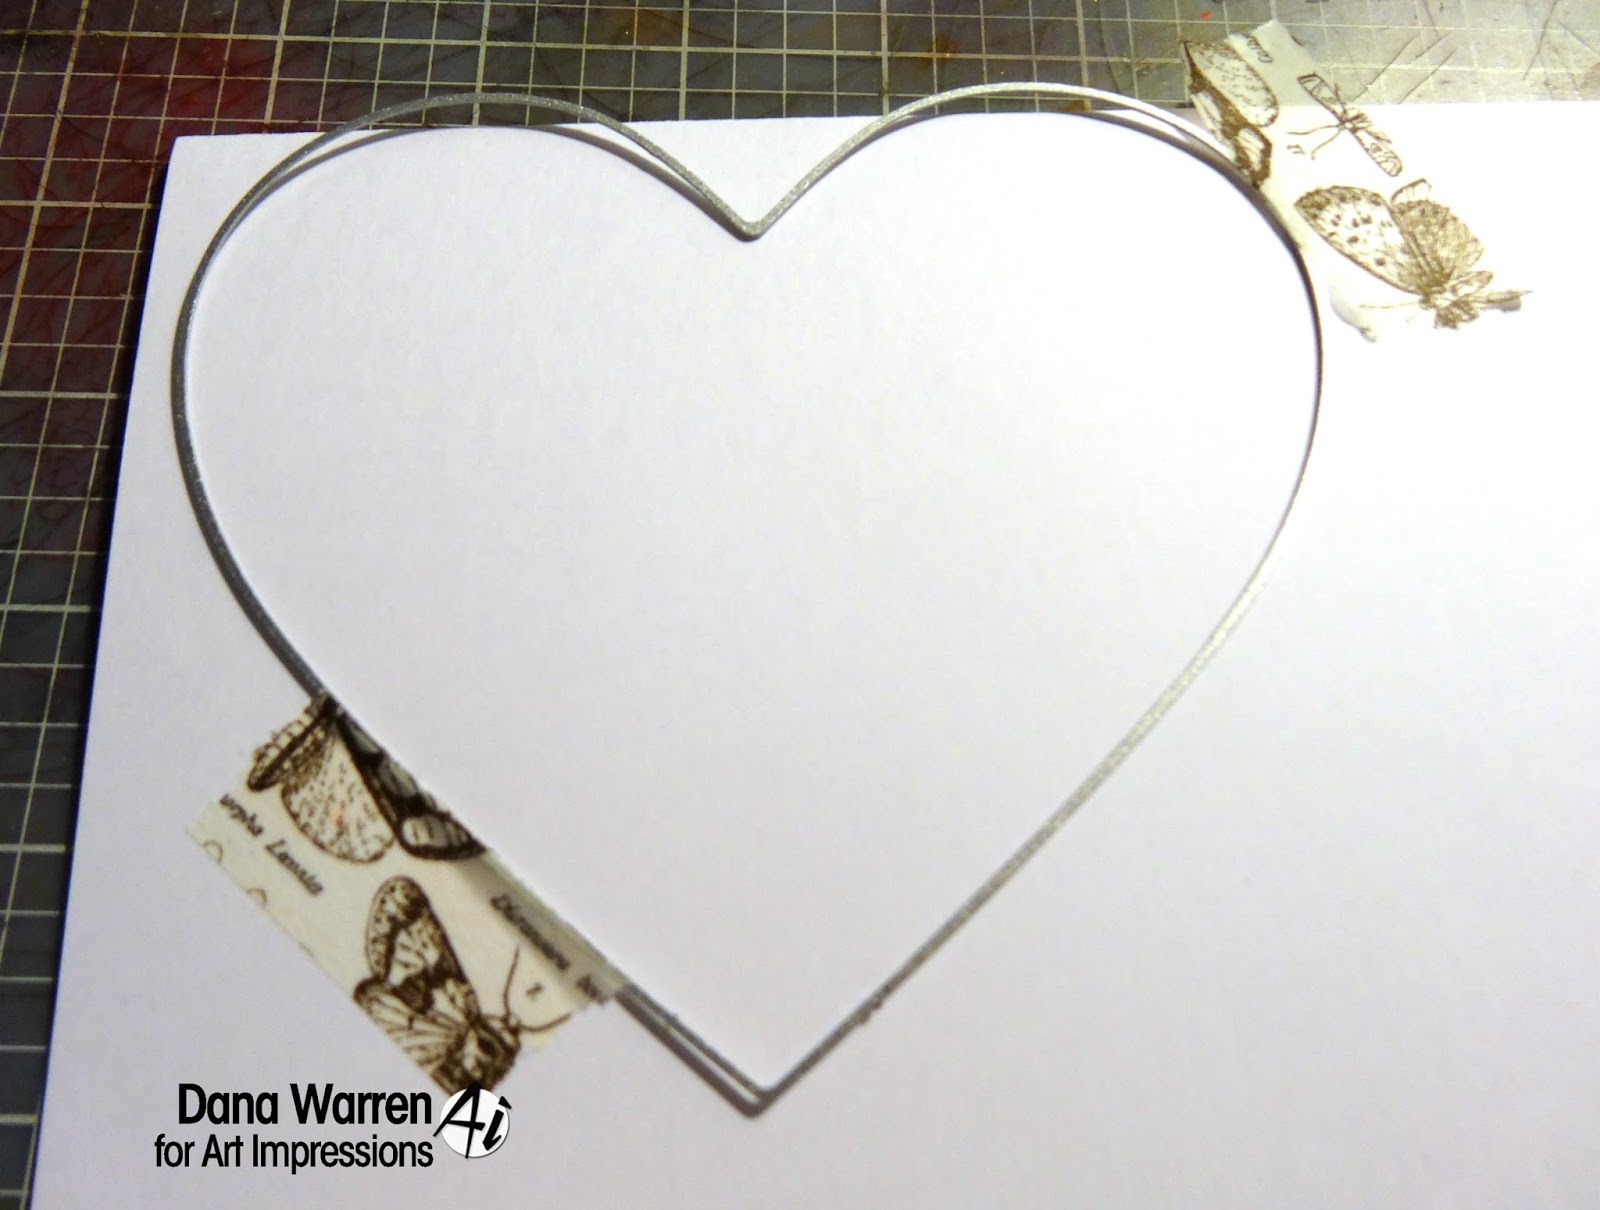
It's time to make some Valentine's so I made this one for the Watercolor Weekend on the Art Impression's twice-monthly blog post. I started with the sign and the walkway from the 5131 - Stone Path Set because I thought of putting "Lover's Layne" on the sign for the one I made for my husband whose middle name is Layne but when it was done, it was still missing something so then I decided to use the cute elves from the 5125 - WC Elves Set. I made this card by inking only part of the path in the 969 than in 565, leaving off a few stones from each end. I pulled the color out of the lines and then I stamped the sign inked in 969. I added some brown from the palette then when it was dry, I used my black Copic fine pen for the letters. Next, I stamped the elves inked in 969 using my stamp positioner. I used 158 on the palette to watercolor the green around the rocks and under the elves. I then watercolored the elves in 850, 847, 565, 177, 977 and 969. I stamped the grass from the Foliage Set - 4051 in 177 and then I stamped the dot flowers in 847 from the 5009 - Mini Flower Set. I dabbed at the flowers with a wet brush. I stamped the blue flower inked in 177 and 528 from that same set. I watercolored the sky with that same blue 528. The sentiment is from the In the Air set - 4753 and I cut it out with the tag die from the 5132 - Tag Stitched Dies Set. I used a Sakura Glitter Gelly Roll pen to add glitter to the flowers. I cut out my scene and sparkly paper with the 5062 - Rounded Rectangle A2 Die Set.
Supplies used listed below:


Today I'm using the 5194 - WC Shoe Set, along with 5123 - WC Decorative Jar Set. I coloured my shoe with my Tombow Dual Brush Marker #565 Deep Blue, and went over it with #N57 Warm Grey 5. I stamped it on my Canson XL Watercolor paper, and then pulled out the colour with with a damp #4 paintbrush. I concentrated the colour in the areas where the shadows are strongest - under the arch, the heel and under the rolled top edge.
I've used two of the flower images from 4761 - Watering Can, starting off by colouring just the bloom of the hydrangea-like image with #533 Peacock Blue, and stamping it multiple times. After cleaning, I stamped it several more times coloured with #991 Light Ochre. Using the multi-bloom image, I coloured the flowers with #772 Blush, and the stem in #312 Holly Green. With the tiny foliage stamp from 5009 - WC Mini Flower Set, I stamped it repeatedly in #312, filling in spaces, and allowing the greenery to spill out the sides. After dabbing the flowers with my damp brush, I went in directly with the fine point of my #312 marker, darkening some areas, drawing in leaves on the tall flowers, and adding dots around the bouquet. I did the same with the other markers, adding shading to all of the blooms.
After masking off the shoe & flowers, I used my #4774 stamp positioner to stamp the teapot slightly higher, so that it would appear to be tucked in behind the shoe, colouring it in #565 and #N57 again. I pulled out the colour with my damp brush, concentrating the colour close to the shoe where it would be in shadow, and on the undersides of the teapot, keeping in mind that it is quite curved, so I wanted to leave some white area. After scribbling some #565 onto my palette, I picked it up with a wet brush and painted in the suggestion of a background, and a few sideways strokes to indicate the surface they're sitting on. I also added the blue to the shaded areas of the shoe and teapot to deepen the shadows. I added just a touch of the blush colour to the background and teapot to look like reflections. The Decorative Jar set includes 3 small images that you can use to embellish the containers, so I stamped a swirly one onto the teapot using #533. To finish things off, I used the 5062 Rounded Rectangle A2 Double Stitched dies to cut out my scene, then matted it with a periwinkle blue cardstock and used 3D Pop dots to adhere it to my background. I tied some pink organdy ribbon in a bow under the image and added a few tiny pearls.

Welcome back to the watercolor weekend. I created this Winter Spring Shoe for this weekend because we have had the weirdest weather up here in New England. Why not create a bouquet in an old shoe sitting in the snow?
Project Details
I inked up one of the shoes from the WC Shoe stamp set with my brown. I then inked several spots up with my black, parts that I wanted to keep really dark. I stamped it in the middle of my Canson watercolor paper. Using a smaller paintbrush, I added a small amount of water to the darkest areas pulling some into the other areas of the shoe. From my watercolor palette, I added some additional brown to the shoe's darker areas and softened them into the highlighted area.
I created a mask for the top of the shoe to protect it from the stamping of the flowers and foliage. I started with my foliage. I inked up the small vines from the Foliage set 4 with green and stamped it several times around the top of the shoe and sparingly around the top of the arrangement leaving room for the flowers. I added water to soften the leaves.
I used red to ink up the small flower from the Mini Flower set. I stamped it several times around the shoe. Next, I inked up the long bloom from Flower set 1 with purple. I stamped it several times to create height at the top of the arrangement. Finally, I inked the small dots from the Mini Flower set with blue and stamped it in between the leaves and blooms. I added water to all the blooms to soften them.
To ground my shoe I decided to make it sit on a bed of snow. I used a blue-purple to create the mounds of snow under the show. It is a perfect color for the shadows I needed. For a finishing touch, I added blue to my palette and using lots of water created a sky behind my flowers. And last but not least I signed and dated my work.
This was such a quick relaxing project to make. I am so happy you stopped by for some watercolor inspiration. Be sure to stop by my blog to see how I created the rest of the card! Check out my awesome team members to see all the inspiration we strive to bring you!
Happy Crafting!
Thank you, ladies, for your continued inspiration! We absolutely love seeing everyone's personal style show through on each card!
Happy Stamping!