Showing posts with label Stone Path Set. Show all posts

Saturday, February 1, 2020

Watercolor Weekend Round-up - Spring is in the air


Hello, Ai Fans! Happy Watercolor Weekend!

Our fantastic design team is at it again with these cards inspired by the current season--Valentine's Day and the transition into spring. Their delicate creations will make you yearn for spring to come, and send a little love your way as well.

Be sure to follow these lovely ladies on social media by clicking the link in pink next to their names!

Dot Freel - Instagram - Blog - Pinterest


Hello,

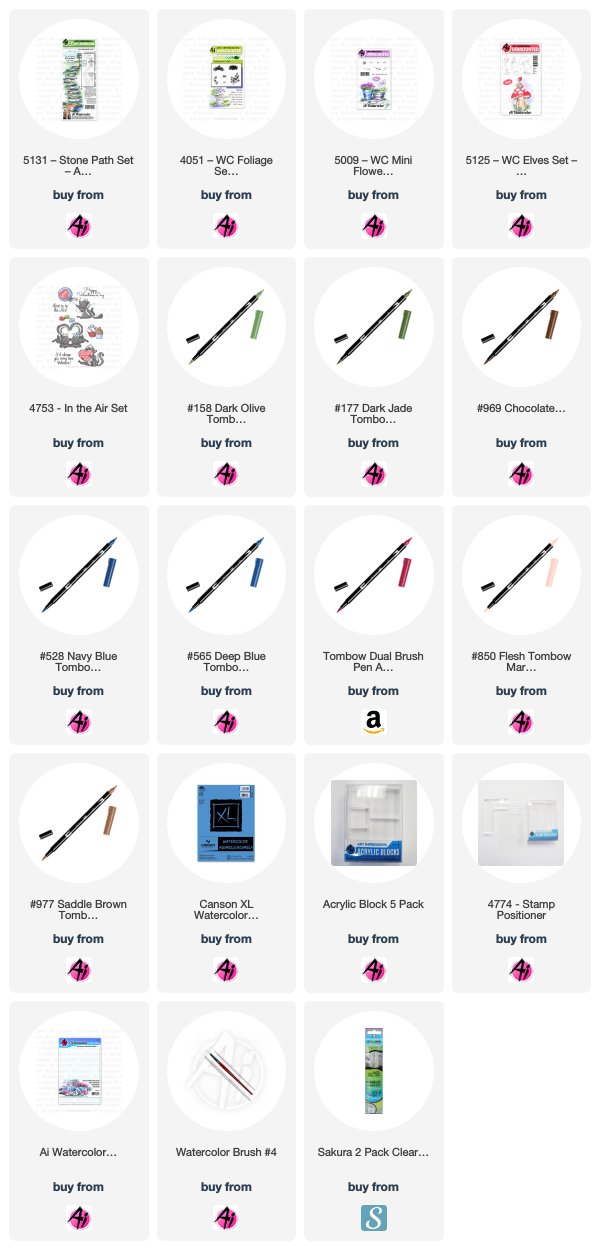
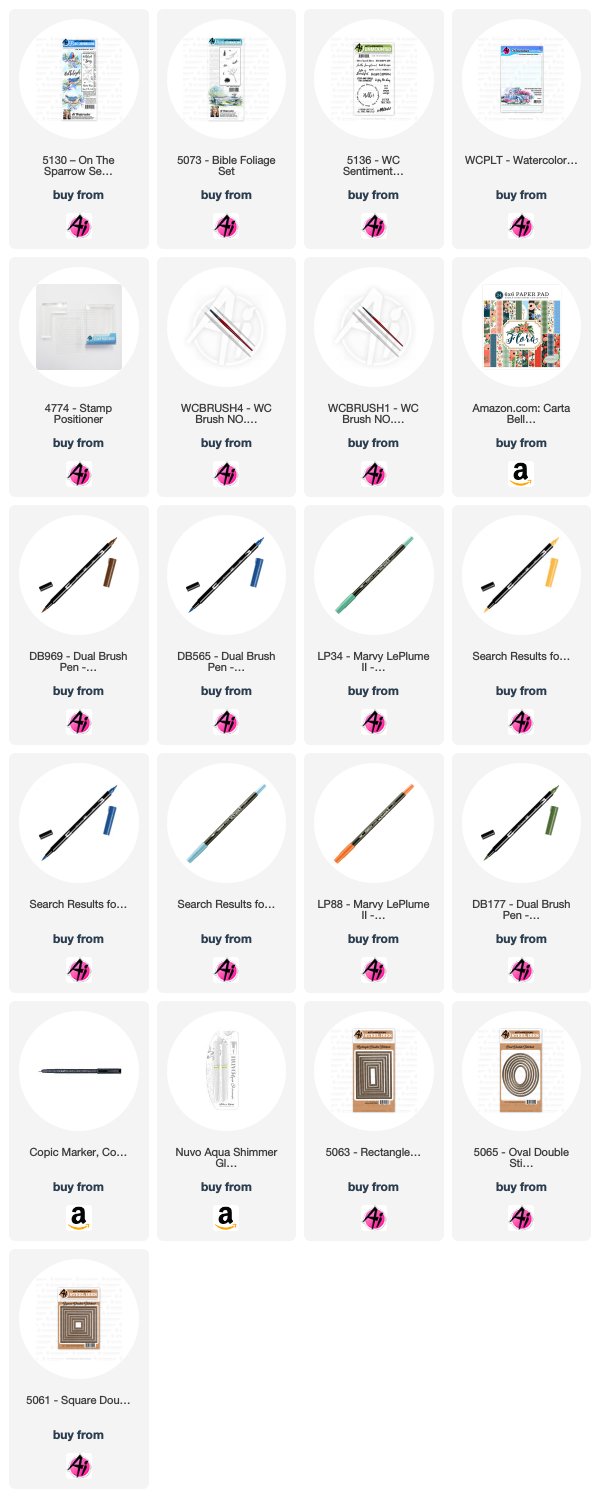
It's time to make some Valentine's so I made this one for the Watercolor Weekend on the Art Impression's twice-monthly blog post. I started with the sign and the walkway from the 5131 - Stone Path Set because I thought of putting "Lover's Layne" on the sign for the one I made for my husband whose middle name is Layne but when it was done, it was still missing something so then I decided to use the cute elves from the 5125 - WC Elves Set. I made this card by inking only part of the path in the 969 than in 565, leaving off a few stones from each end. I pulled the color out of the lines and then I stamped the sign inked in 969. I added some brown from the palette then when it was dry, I used my black Copic fine pen for the letters. Next, I stamped the elves inked in 969 using my stamp positioner. I used 158 on the palette to watercolor the green around the rocks and under the elves. I then watercolored the elves in 850, 847, 565, 177, 977 and 969. I stamped the grass from the Foliage Set  - 4051 in 177 and then I stamped the dot flowers in 847 from the 5009 - Mini Flower Set. I dabbed at the flowers with a wet brush. I stamped the blue flower inked in 177 and 528 from that same set. I watercolored the sky with that same blue 528. The sentiment is from the In the Air set - 4753 and I cut it out with the tag die from the 5132 - Tag Stitched Dies Set. I used a Sakura Glitter Gelly Roll pen to add glitter to the flowers. I cut out my scene and sparkly paper with the 5062 - Rounded Rectangle A2 Die Set.

Thank you for checking out my blog!  You can find more of my cards on my Instagram account here. 


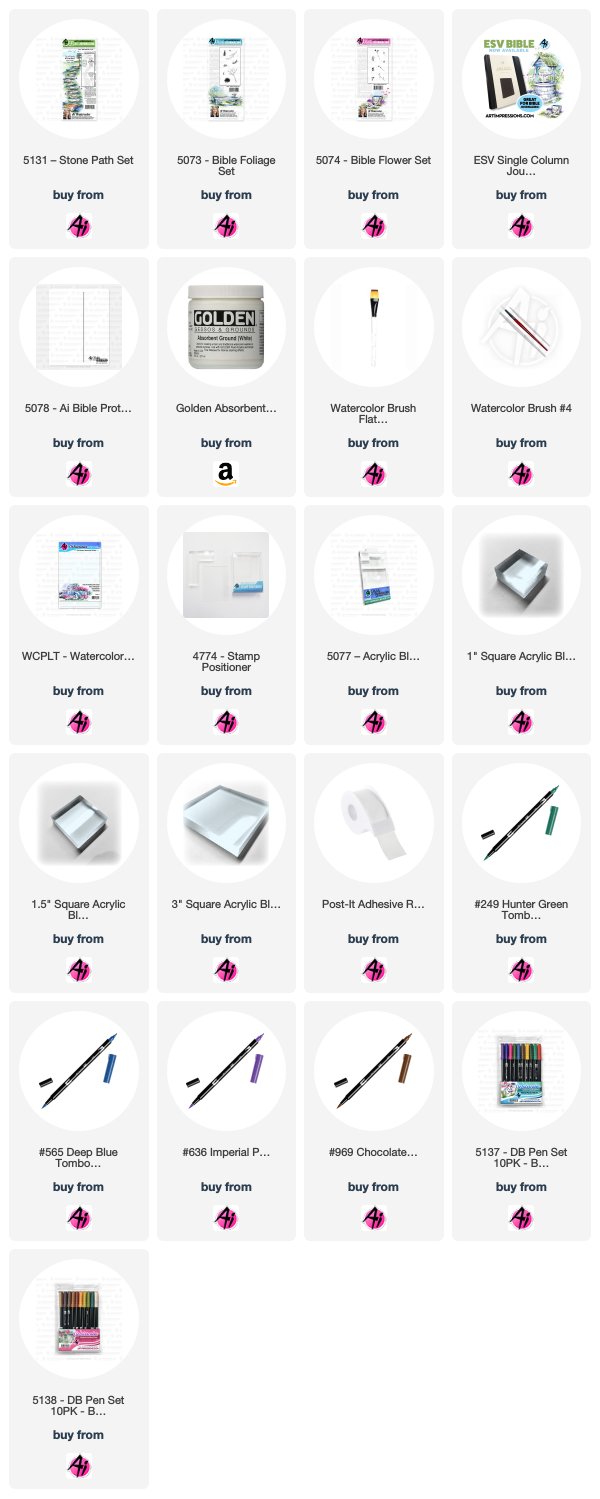
Supplies used listed below:
Karen Day - Blog - Facebook - Pinterest


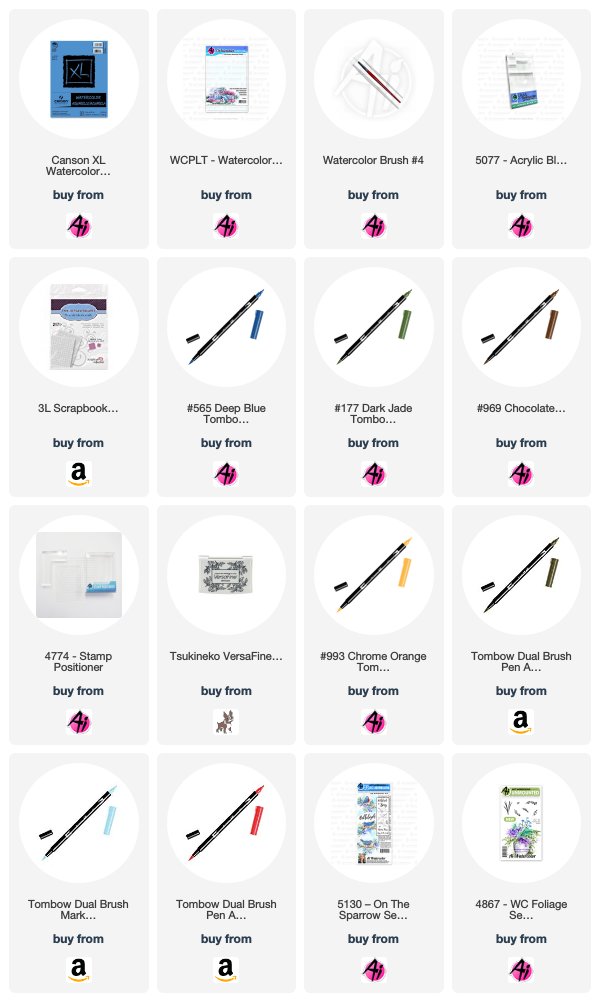
Today I'm using the 5194 - WC Shoe Set, along with 5123 - WC Decorative Jar Set.  I coloured my shoe with my Tombow Dual Brush Marker #565 Deep Blue, and went over it with #N57 Warm Grey 5.  I stamped it on my Canson XL Watercolor paper, and then pulled out the colour with with a damp #4 paintbrush.  I concentrated the colour in the areas where the shadows are strongest - under the arch, the heel and under the rolled top edge. 
I've used two of the flower images from 4761 - Watering Can, starting off by colouring just the bloom of the hydrangea-like image with #533 Peacock Blue, and stamping it multiple times.  After cleaning, I stamped it several more times coloured with #991 Light Ochre.  Using the multi-bloom image, I coloured the flowers with #772 Blush, and the stem in #312 Holly Green.  With the tiny foliage stamp from 5009 - WC Mini Flower Set, I stamped it repeatedly in #312, filling in spaces, and allowing the greenery to spill out the sides.  After dabbing the flowers with my damp brush, I went in directly with the fine point of my #312 marker, darkening some areas, drawing in leaves on the tall flowers, and adding dots around the bouquet.  I did the same with the other markers, adding shading to all of the blooms.  

 After masking off the shoe & flowers, I used my #4774 stamp positioner to stamp the teapot slightly higher, so that it would appear to be tucked in behind the shoe, colouring it in #565 and #N57 again.  I pulled out the colour with my damp brush, concentrating the colour close to the shoe where it would be in shadow, and on the undersides of the teapot, keeping in mind that it is quite curved, so I wanted to leave some white area.  After scribbling some #565 onto my palette, I picked it up with a wet brush and painted in the suggestion of a background, and a few sideways strokes to indicate the surface they're sitting on.  I also added the blue to the shaded areas of the shoe and teapot to deepen the shadows.  I added just a touch of the blush colour to the background and teapot to look like reflections.  The Decorative Jar set includes 3 small images that you can use to embellish the containers, so I stamped a swirly one onto the teapot using #533.  To finish things off, I used the 5062 Rounded Rectangle A2 Double Stitched dies to cut out my scene, then matted it with a periwinkle blue cardstock and used 3D Pop dots to adhere it to my background.  I tied some pink organdy ribbon in a bow under the image and added a few tiny pearls.
Tricia O'Bin - Blog - Instagram - YouTube - Pinterest - Facebook

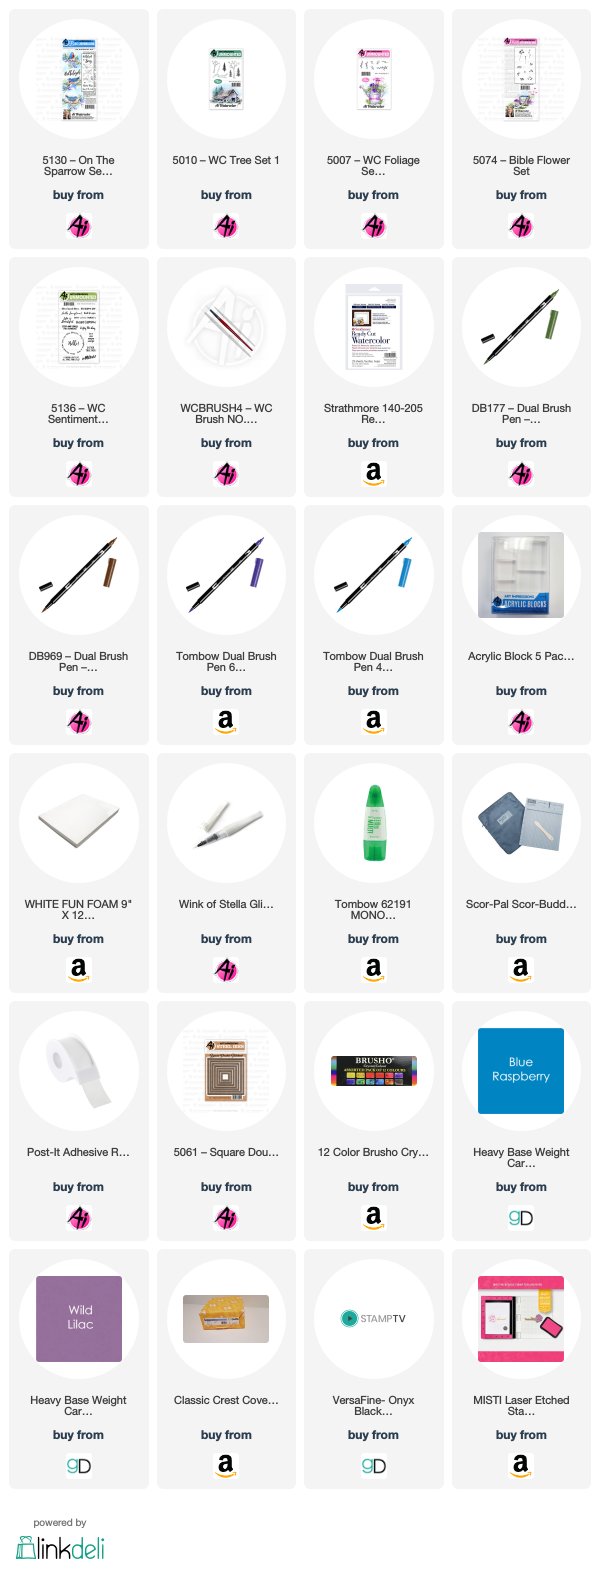
Welcome back to the watercolor weekend.  I created this Winter Spring Shoe for this weekend because we have had the weirdest weather up here in New England.  Why not create a bouquet in an old shoe sitting in the snow? 

Project Details

I inked up one of the shoes from the WC Shoe stamp set with my brown.  I then inked several spots up with my black, parts that I wanted to keep really dark.  I stamped it in the middle of my Canson watercolor paper.  Using a smaller paintbrush, I added a small amount of water to the darkest areas pulling some into the other areas of the shoe.  From my watercolor palette, I added some additional brown to the shoe's darker areas and softened them into the highlighted area.

I created a mask for the top of the shoe to protect it from the stamping of the flowers and foliage.  I started with my foliage.  I inked up the small vines from the Foliage set 4 with green and stamped it several times around the top of the shoe and sparingly around the top of the arrangement leaving room for the flowers.  I added water to soften the leaves.

I used red to ink up the small flower from the Mini Flower set.  I stamped it several times around the shoe.  Next, I inked up the long bloom from Flower set 1 with purple.  I stamped it several times to create height at the top of the arrangement.  Finally, I inked the small dots from the Mini Flower set with blue and stamped it in between the leaves and blooms.  I added water to all the blooms to soften them.

To ground my shoe I decided to make it sit on a bed of snow.  I used a blue-purple to create the mounds of snow under the show.  It is a perfect color for the shadows I needed.  For a finishing touch, I added blue to my palette and using lots of water created a sky behind my flowers.  And last but not least I signed and dated my work.

This was such a quick relaxing project to make.  I am so happy you stopped by for some watercolor inspiration.  Be sure to stop by my blog to see how I created the rest of the card!  Check out my awesome team members to see all the inspiration we strive to bring you!

Happy Crafting!

Thank you, ladies, for your continued inspiration! We absolutely love seeing everyone's personal style show through on each card!  
Happy Stamping!

Saturday, April 13, 2019

NEW VIDEO! Stone Path Bible Journaling Video Part 2

Hello Ai Fans!

Bonnie is back with a new Ai Bible Journaling video for week two featuring our Stone Path Set! In this video, Bonnie continues the stone path to the left page column with a footbridge over a small stream. She uses the middle of the large Stone Path to create steps to the bridge and surrounds it with beautiful flowers and small grasses to set the scene. Bonnie is continuing in Proverbs with this beautiful imagery of our paths.

"Trust in the Lord with all your heart and lean not on your own understanding; in all your ways submit to him, and he will make your paths straight." Proverbs 3:5-6 NIV

"Give careful thought to the paths for your feet and be steadfast in all your ways.  Do not turn to the right or the left; keep your foot from evil." Proverbs 4:26-17 NIV

Join in the Ai Bible Journaling Fun!
Subscribe to Jann's YouTube
Follow Jann on Instagram
Subscribe to Art Impressions' YouTube
Follow Bonnie's Bible Journaling account on Instagram!


View on YouTube: https://youtu.be/Shgb8M9H6Vo


Hop over to YouTube and leave Bonnie a comment, then tag us in your projects on Instagram or Facebook using #AiBibleJournaling!


Happy Bible Journaling!


Thursday, April 4, 2019

Challenge 252 Outdoor Scenes WEEK 2! PLUS, Bible Journaling Inspiration from Bonnie!

Bible Journaling  
Hello, Ai Fans! Are you ready for an inspiration-packed post? 

Stay tuned through the entire post to also catch our new videos with Scrapbook.com! We have NEW interactive cardmaking videos featuring our newest product, as well as watercolor and Bible Journaling tutorials!

First, we're back with the second week of our "Outdoor Scenes" challenge, paired with our new Bible Journaling release! Bonnie is here with some inspiration from her Instagram page @bonniekrebs.biblejournaling! If you don't already follow her on IG, be sure to do so for weekly ideas, mini tutorials, and more! She even runs giveaways on occasion, so you'll want to follow her on Instagram so you don't miss out!


For those of you who want to start journaling in your Bible, or need a refresher, be sure to view our video about how to prep your page with Golden Absorbent Ground. Before every project, we recommend following this process in order to make your page more absorbent (like real watercolor paper), and to reduce bleed-through and wrinkling of your page. Our Bible Journaling YouTube Playlist is up to date with many wonderful videos, with more coming on the second and fourth Saturdays of the month! Be sure to subscribe to our YouTube channel to be notified of new videos!
This challenge is all about outdoor scenes, and our Bible Journaling sets are just perfect for nature-inspired projects. You don't need to use our Bible Journaling line in this challenge, but we'd love to see what you make with your favorite Ai stamps! Remember, top spot wins a prize pack and we grant two honorable mentions a stamp prize of their choice! You can't win of you don't enter!

 Here are the Challenge Rules:

✻ Please make a new card or creation. You can make any crafty item you wish; this is not limited to cards!
✻ Limit two submissions per person. You will receive extra votes if you use Art Impressions stamps!
✻ The Ai Challenge is open to everyone, international submissions are welcome!
✻ Include a link back to the Ai Blog or grab our button on the top right of our sidebar!
✻ Share the Ai love by clicking and commenting your fellow crafters.
✻ Make sure to get your link up by Wednesday, April 10 at 5:00 p.m. PST to enter your creations.
✻ Good luck and happy stamping!
You are invited to the Inlinkz link party!
We have 12 new YouTube tutorials with our friends at Scrapbook.com featuring our 2019 releases! Kate Swanson shows how to assemble our new interactive ideas, and Bonnie Krebs shares all that you love from our Watercolor and Bible Journaling lines! Watch our full playlist to be inspired by all the new ideas!


Happy Stamping!

Thursday, March 28, 2019

NEW Bible Journaling Stamps! Grab Yours Today! PLUS Challenge 252 Outdoor Scenes

Bible Journaling  

Hello, Ai Fans!

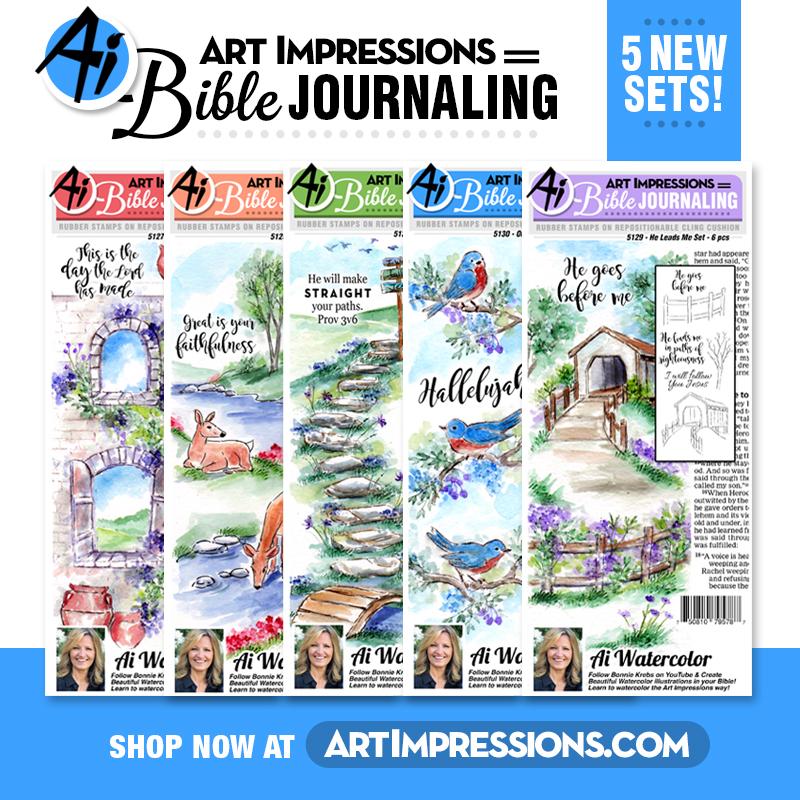
Announcing the debut of our FIVE new Bible Journaling stamp sets, now available on our website! This line was first introduced in July 2018, and as we travel around the country, we are hearing how much you love these products! With the help of our Bible page prep with Golden Watercolor Ground, you can easily watercolor inside your Bible pages with no bleed-through! The images also stamp like our traditional watercolor line, so you can use them to create cards, bookmarks, or framed artwork!


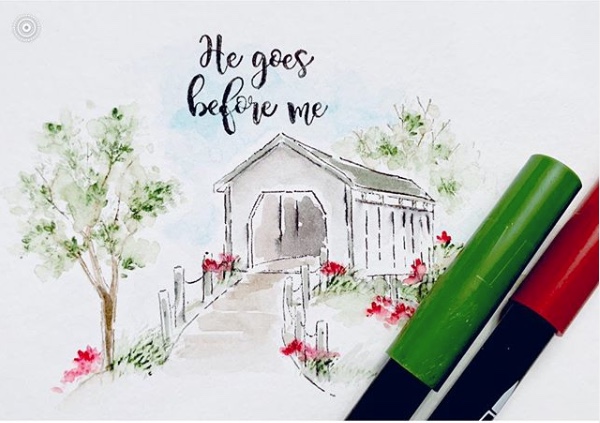
For our new release, we have old-world windows and brick walls in our Build My Life Set, which also includes two clay jars to set on or under the windows. The He Leads Me Set includes a nostalgic covered bridge and fence to guide the way, while our Stone Path Set features tiered stepping stones and a small footbridge. For nature-inspired images, try our As The Deer and On The Sparrow sets, featuring feather and fawn friends reminding us of our favorite verses. Each set includes several sentiments to guide your journaling experience. Also, catch Bonnie's tutorial from last Saturday's Bible Journaling video featuring the Stone Path Set! 


These sets are available now at artimpressions.com!
Stepping StoneOn the SparrowHe Leads Me As the DeerBuild My Life

Our Watercolor Guest Design Team is here with a beautiful feature on these sets! They all chose On The Sparrow, so get ready for some fabulous inspiration for this beautiful stamp set!

Dot Freel - Instagram - Blog - Pinterest
 
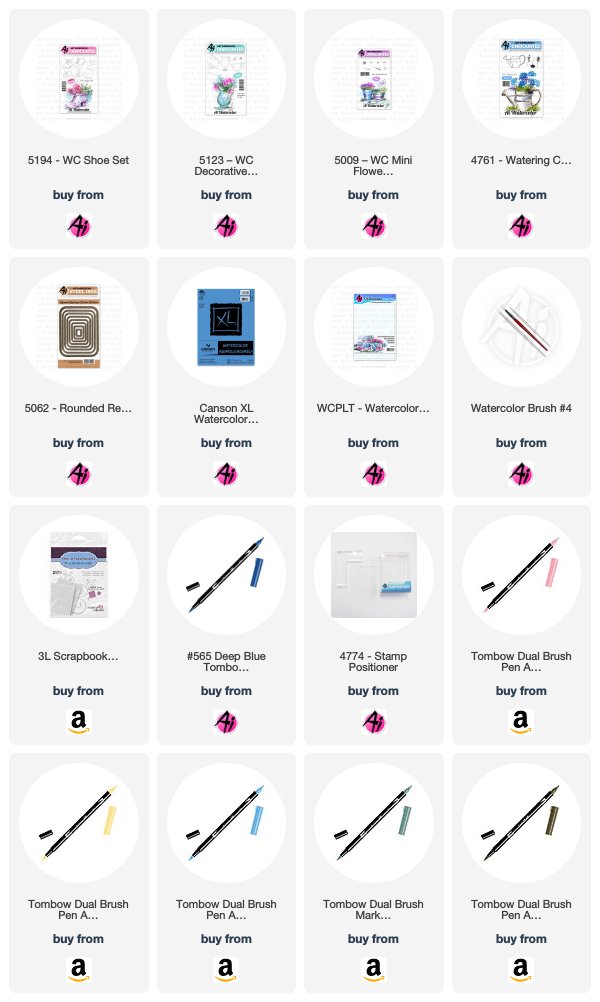
 It's Art Impressions' release day for brand new Bible Journaling Stamps and I use mine for both cards and my bible journaling. They all work together for so many wonderful scenes! I used the brand new 5130 - On the Sparrow Set - 10 pcs to make my card for the Outdoor Scenes Challenge on the Art Impression's blog. I love the size of the birds - bigger than all of the other watercolor bird stamps until now. I actually picked my background papers and card layout before I stamped my scene this time and used the colors from that paper pad to choose the marker colors. Usually, I do it the other way around. To make this card base, take two cards and glue the back cover of one to the inside of the other one which gives you the three paneled card. I cut the orange paper using the 5063 - Double Stitched Rectangle die and attached it to the front of the card. Then I used the 5065 - Double Stitched oval die set to cut through both layers of that front panel. Then I got to work on my watercolored scene.

I inked up the birds in the branches using first the 969 and then the 565 but I stamped it off on paper first because those Tombow markers are really juicy. I used the stamp positioner to stamp the nest on the branch. I pulled the color out of the lines and then I stamped the leaves from 5073 - Bible Foliage Set using the 177. I added water to them then I stamped the berries from the 5130 - On the Sparrow Set using the 88 terra cotta. I colored in the bird breasts in the terra cotta from the palette and their bodies in 565. I used 993 to color in the beaks and feet of the birds. I colored the eggs in 34 pale green and then used the tip of the #1 brush to dot the eggs with 969 and color in the nest and branches. I used 75 sky blue to paint the sky. I stamped the sentiment from the 5136 - WC Sentiment Set 2 in 969 and signed it with my Copic 0.03 multi liner pen. I used a Nuvo glitter pen to add glitter to the eggs, berries and birds. I used the 5063 - Double Rectangle die set to cut out my scene. I cut out the sentiments using the 5061 - Double Stitched Square die set for one and the Double Stitched Oval die set for the other from that paper pad. 

You can find more inspiration by following me on my Instagram account here.
Karen Day - Blog - Facebook - Pinterest
When I first saw the On The Sparrow set, I immediately thought of using it for a Try-fold card (Art Impressions style!) so I played around with the stamps to create a Try-fold card in a size that worked with the images. I'm using a smooth watercolour paper that scored well and doesn't create a bulky card when it's layered three times. It measures 10 1/4" x 5 1/4" and is scored 3 3/8" in from each side. I used three of the lovely script sentiments that come with the set, putting a different one on each layer, because they worked so well together. I created a simple card using one of the bird/branch images, along with the nest and the fourth sentiment "Sing". And lastly, I made a sweet bookmark (what a great gift idea?) I've sprinkled a few matte white sequins on each of the items I made for a little decoration. I've used Tombow Dual Brush markers, starting by colouring the birds/branches with 969 Chocolate, then softening the lines with a damp brush. I used N57 Warm Grey for the robins, scribbling the marker onto my palette, and picking up the colour with my paintbrush, layering a few times to build up the darker shades. Their red breasts are 856, and I used the 993 marker directly on the paper to add a bit of colour to the beaks and feet. I used the medium leafy sprig from 4867 WC Foliage Set 2 New to stamp the leaves in 177 Dark Jade, stamping multiple times without reinking to get both light & dark foliage. I added a touch of robin's egg blue to the eggs in the nest, colouring directly with my 451 marker. And finally, I watered down 565 Deep Blue to paint a blue wash suggesting the sky. 
Tricia O'Bin - Blog - Instagram - YouTube - Pinterest - Facebook
Watercolor Details

Step 1: First, I stamped the left facing sparrow inked in 969-Chocolate. I then stamped the right facing sparrow below and to the left of the first sparrow. I inked up portions of the tree from the WC Tree set. I added water to soften the lines. I added some 476-Cyan to my palette and added some color to the birds making sure to build the color slowly.

Step 2: To make sure I didn't stamp over the birds, I masked them off using I inked up leaves from the Foliage set 3 in 177-Dark Jade. I stamped them sporadically around the trees being sure to leave some white space for the flowers. Add water to the leaves.

Step 3: I inked up the small dots from the Bible Flower set in 606-Violet and added blooms around the branches and birds. I added some Cyan to the left and top of the piece for a bit of sky.

Card Details

Step 1: I cut the piece out with a Stitched Square die. I put this into my MISTI and stamped the "BeYOUtiful" sentiment at the top right in Versafine Black ink. I attached this to a card mat made from Gina K Blue Raspberry card stock. I added some white fun foam behind it to give it some dimension.

Step 2: I found a background that matched that I had done a while ago with some Brusho watercolor powders. I cut the piece down to 3.75 x 5 and attached it to a card mat of Gina K Wild Lilac card stock. I attached that and the watercolor piece to an A2 card base.

Step 3: I added some Wink of Stella shimmer to the birds and blooms and the background. I added 3 sequins to the card for some additional interest.
Thanks, team! These are such beautiful and creative projects! The perfect way to kick off our new challenge...
This challenge is all about outdoor scenes! We look forward to seeing what you create for a chance to win Ai stamps!

 Here are the Challenge Rules:

✻ Please make a new card or creation. You can make any crafty item you wish; this is not limited to cards!
✻ Limit two submissions per person. You will receive extra votes if you use Art Impressions stamps!
✻ The Ai Challenge is open to everyone, international submissions are welcome!
✻ Include a link back to the Ai Blog or grab our button on the top right of our sidebar!
✻ Share the Ai love by clicking and commenting your fellow crafters.
✻ Make sure to get your link up by Wednesday, April 10 at 5:00 p.m. PST to enter your creations.
✻ Good luck and happy stamping!
You are invited to the Inlinkz link party!
Click here to enter
Before we go, let's recognize the winners of last week's "Cutting Edge" challenge!

Top Spot goes to...

 Bev!
Congrats, Bev! We love your step card with our sassy "Never Too Old" Laugh Line's set! (This new set is not yet on the Ai store, but you can find it from one of our dealers) We love the bright colors and the use of two of the fabulous sentiments! The way the lady hangs of the edge fo the card is super striking. Email annelise@artimpressions.com with your address to claim your prize pack!

Honorable Mentions go to...

Charne! 

Reeta!
Congrats, you two! Charne, we adore the way you use the corresponding dies for partial diecutting with your Teapot PopCard set! Too clever! And Reeta, we love your shaped easel card with our Pack Your Bags man! Email annelise@artimpressions.com with your address and select a stamp set of your choice for a prize!

Thanks for joining our challenge, we hope you'll be back again for our Ourdoors Scenes challenge!

Happy Stamping!